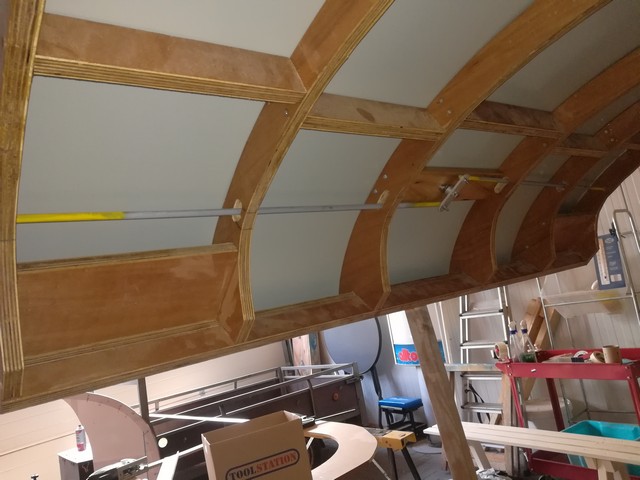
From here on out it's gonna be a bit of jumping around in time, i'll try to keep the story linear :-)
A few weeks ago you saw me adding a plate for the lock to the hatch, and drilling some elongated holes, here is the locking mechanism on the inside:
The iron bars slide in to holes i drilled in the sides, i marked the holes by dabbing a grease pencil (otherwise known as eyeliner) on the ends of the rods.
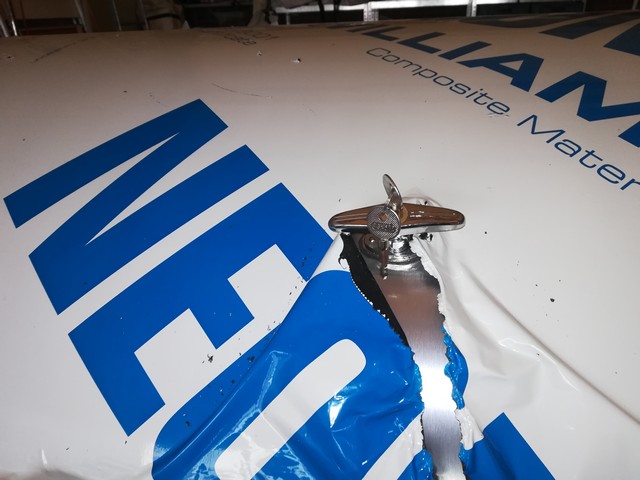
And nothing but the best Chinesium uncle Ali has to offer on the outside:
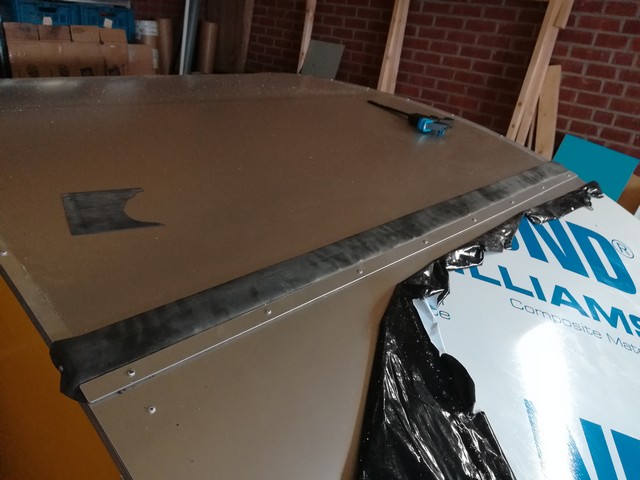
Now with the hatch done, it's time to make the hinge look pretty. The hinge itself is an ugly brown colour, and although it is waterproof, i'd want to make sure that nothing will reach it when driving or stationary with the hatch up. (it might leak in a bit when driving with the hatch up, but that would be quite a silly thing to do

)
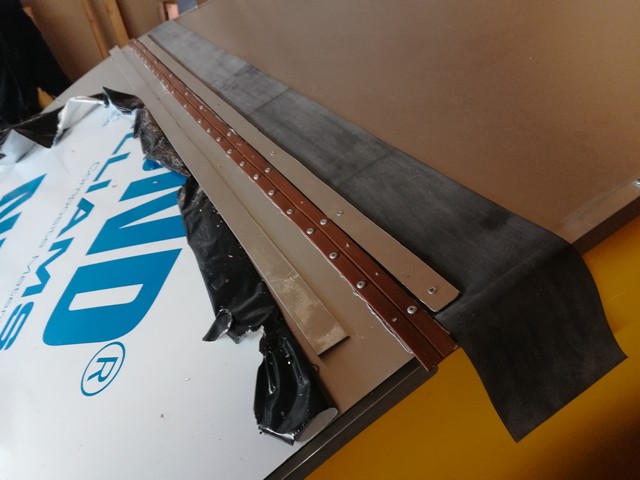
My solution: Adding a strip of rubber in a hook shape over the hinge, mounted with two pieces of offcut from the hatch. The material is EDPM, or pondliner as it was sold to me.
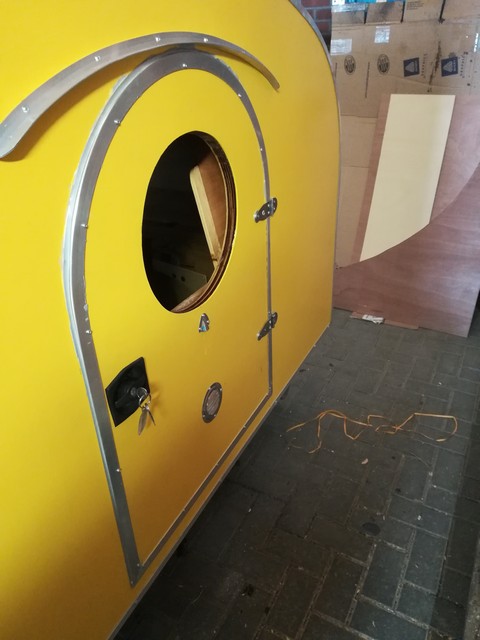
Next up, Doors! It is starting to get somewhere

First order, making some aluminium trimpieces for the doorframe.
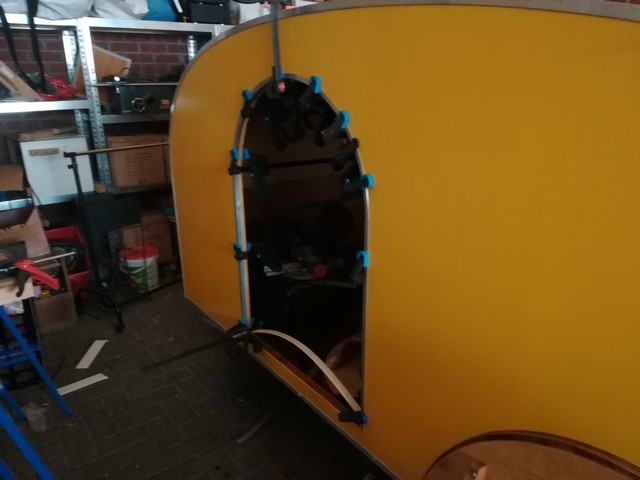
And presto! (times 2 ofcourse)

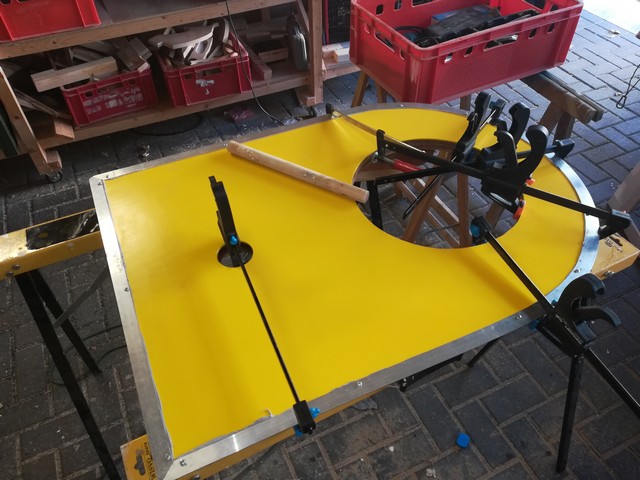
Next the door itself: (note my hardwood clue stick, sometimes the aluminium needs a clue to where to go)
The next image is redacted as it is me shouting and cursing because the door wouldn't fit the frame anymore due to me raising the doorstep a little. Long story short, removing the glued down trim piece and grinding off the stem of the T piece did the trick. Guess what happened on the other side? Nope, i remembered the doorstep, but the door was a little too wide, so, removing the glued down trim (i hate Sikaflex by now) sawing off a few mm (1/8") and slapping on some epoxy and paint and adding the trim again took some time.
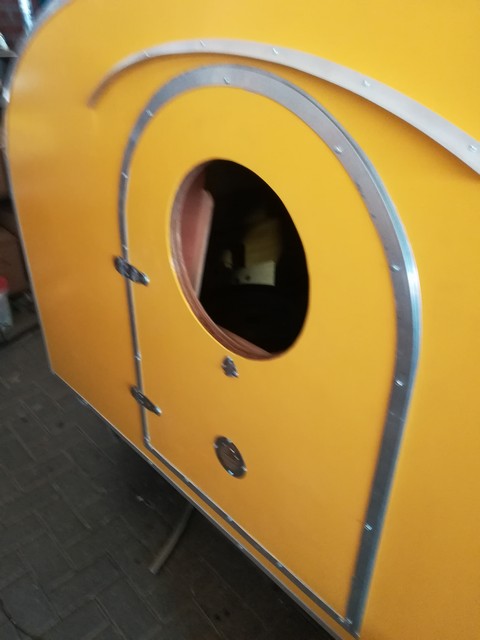
Fits like a glove! Hinges added as well.
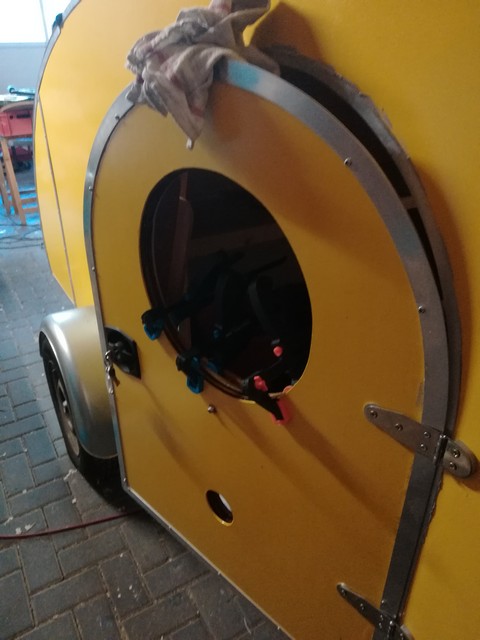
Time to give the Wiley windows a little drain. Drilling a hole from the the inside corner angling down and a small aluminium tube coated in epoxy work nicely. Adding some sawdust to the epoxy to patch up the hole in the watertrench inside fixed that aswel.
To finish it off i added the locking mechanism, a small stainless cover to hide the tube, and one on the venthole.
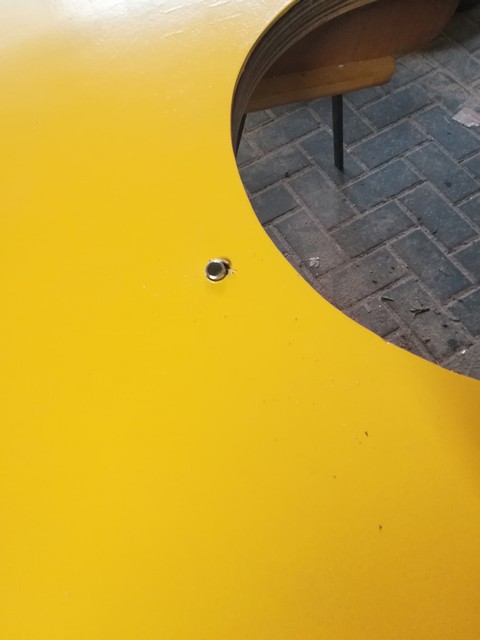
The other side wont get an outside lock, just 2 cams on the inside. I have made the holes for the lock, so if i want to add it later i can do that relatively easy. I also added 2 gutters to keep the doors (seals) a little out of the rain.
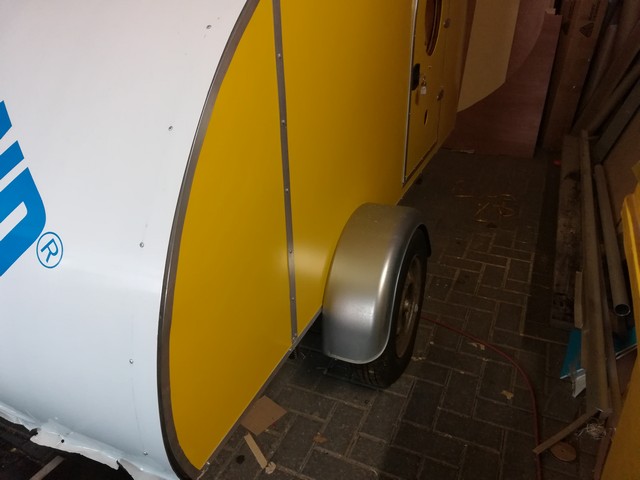
Four years ago when designing this tear i added an extra piece of wood in the sides to mount the fenders on, time to make some holes in it!

Besides what i've shown here i did a lot of other little things, adding a D seal to the hatch, removed the interior lighting that decided to stop working in the last few years, cutting a million gaskets from the pond liner, adding more covers to more ventholes, etc...
It's been 2 weeks since my last update, but i finally get the idea i'm nearly finished. Next up, the driving lights, getting all the mains connected, and another gazillion small things.


 hoping you enjoy using it as much as building it..
 Others will be amazed by total camper and that you made it. My taillights added a little extra weight to the hatch because of the framing, but I like them. Can't wait til I get it skinned all the way and see them finished..