I was able to make SOME progress on the build this weekend. Here are some picture to get you caught up.
The axle came two days earlier than scheduled, so it was like Christmas in December for this guy!!

The axle is a 2k Flexiride torsion axle.
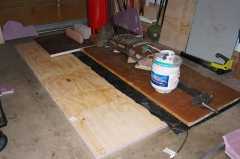
Unfortunately, the weekend was not all jolly. The floor lamination from last weekend didn't go well, so I ended up tossing it out and starting over. $100 down the drain, but much better to redo it now than after the floor is installed. Take two went much better after some tweaks to the process.
I believe the reason for the first failure was two-fold. First, I didn't apply heat right away. Instead, I added weight while the epoxy on the foam was still wet, thinking that it was more important for the uncured epoxy to make contact with the plywood even with a lot of weight with a very flat/heavy counter top to compress everything very evenly. Second, I put a skim coat on the wood and let it cure before laminating it to the foam. This also caused the wood to warp slightly, which didn't allow for full contact of the epoxy. For round two I applied thin epoxy to the plywood, buttered thick epoxy to the foam and applied heat immediately. Much better results this time because both surfaces were wet, which created a chemical bond instead of mechanical, and the heat from the blanket allowed the wood (without cured epoxy on it) to relax and lay flat on the foam. Again, I considered vacuum bagging it, but decided against it even though I believe it would have been a (marginally) better method. Here are some pictures...
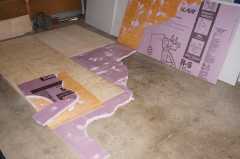
Failed first lamination attempt...
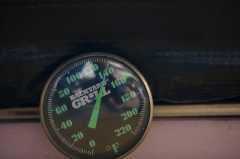
32° shop temp...
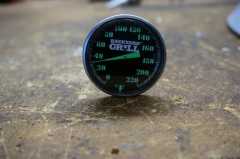
140° heating blanket...
Lamination take two...
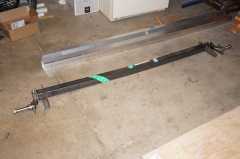
Someone wanted to see a better picture of the sister frame rail. These pictures should give everyone a better idea of where the sister is located in relation to the main rail and the axle. The sister is 4' long, so it'll add some strength and some flexibility in locating the axle for optimal tongue weight.
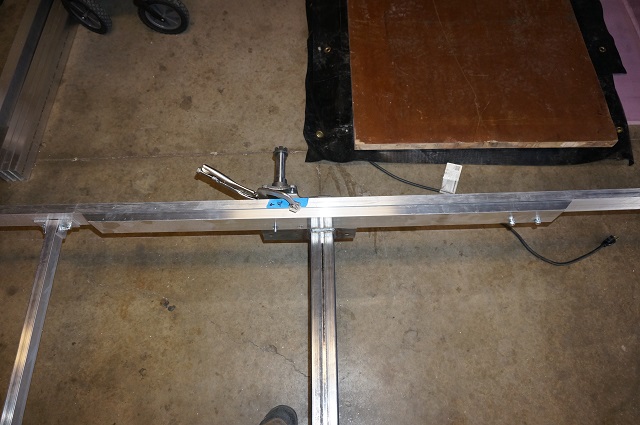
- DSC09840.JPG (133.37 KiB) Viewed 2605 times
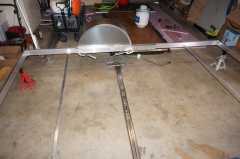
And a quick mock-up of the fender to see how much room I'll have for the door. The plan is to build as much of the trailer as possible before actually locating the axle so that I'll know the final weight distribution. I'll probably use some c-clamps to hold it in place until the very end.
Making a pattern for the inside axle mounting plate. The axle manufacture sells a mounting plate for this axle that is about 1/3 this size.

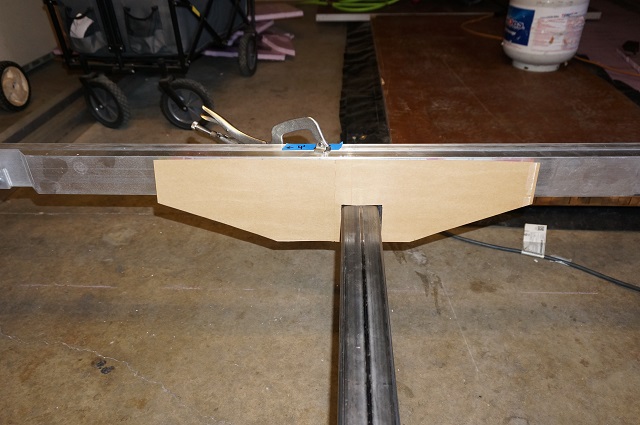
- DSC09844.JPG (129.06 KiB) Viewed 2605 times
A shot of the axle mount and mounting plate from outside of the main rail. There will be a similar plate on this side, but I'll probably make an integral fender back that will tie in with the axle mount.
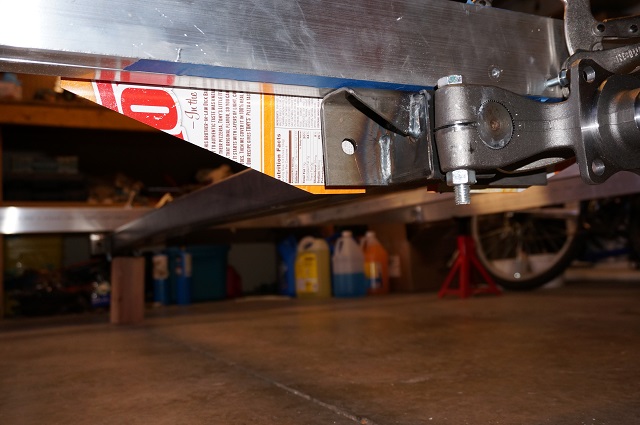
- DSC09846.JPG (122.54 KiB) Viewed 2605 times
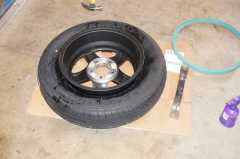
If you have never mounted a tire on a rim without a tire machine, you should try it.

Even more fun is seating the tire bead on the rim with hairspray and a torch!!

On a side note I just want to say I love this site. After reading so many other build journals, I have yet to see any two builds or personalities the same. Everyone has their own twist, their own methods, their own needs/wants, their own backgrounds and their own skills/abilities. Even with all of these differences, the feedback is always very positive and encouraging.

Steve


 Are you using epoxy fillets and butts to connect the panels? If so, you could save it for reuse ...
 When I started building I was too lazy, and then later I was too busy, and now I'm afraid I'm rather protective of some of my tricks, lol.