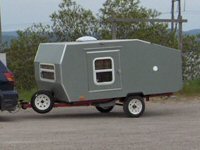
The plan
1. Tear down pop up salvaging as much as practical, specifically saving
1.1. Roof Top Air Conditioner and in-cabin vent/controller
1.2. Roof Lift System (arms, springs, cables, mounts, clutch, etc.)
1.3. Exterior aluminum siding
1.4. Bed rails/slides to include brackets and support arms
1.5. Aluminum trim (as much as possible)
1.6. Misc brackets, hinges, fixtures (I’ll save it now and throw it away if I don’t end up needing it).
1.7. Cushions/Mattresses (3” foam)
1.8. Trailer wiring harness and lights/reflectors (though I will probably rebuild the trailer wiring harness with the extra new wiring from installing new light/electrics inside the camper)
The actual...was honestly pretty close. I am definitely NOT going to reuse the exterior siding on the exterior but it looks so cool and I like the idea of reusing it so may skin some of the interior of the cabin with it. The AC is also suuuuper heavy (130# per the installation guide) I may not re-use it but that's for another post). The lift system is in great shape, same with the bed brackets and slide arms. I didn't save much of the aluminum trim as it was in pretty bad shape, ditto with the miscellaneous brackets. The foam cushions are in awesome shape and wrapped in plastic still, except one which looks like it's been through a tough time. I may clean it up a bit and depending on the result use it in the camper or make a dog bed out of it. I didn't save any of the original wiring harness or lights, it just wasn't worth the juice for the squeeze.
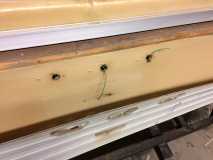
Tear down went really well and surprisingly smooth. I started by removing the rooftop air conditioner and the roof which was barely held on in the first place. Then I took off all the aluminum trim and started peeling back the siding. Here's a pic of the under skin which is a cardboard/fiberboard material that I'm gussing helped give shape and something to staple the exterior siding to.
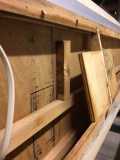
With that torn off you can see the original framing here.
Here's a shot of the camper down to the floor
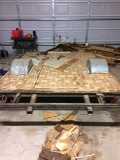
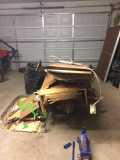
And the final pile of junk we hauled off to the city dump on the now naked trailer.
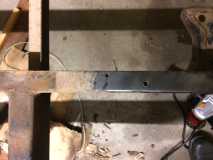
After sweeping the garage it was time for rust removal!! I used an angle grinder and a nasty looking wire brush and got to work. Here's a before and after shot of the first few inches I hit with the wire brush.
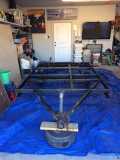
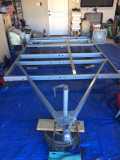
Once the entire trailer was hit with the brush to get the worst of the rust off, I pressure washed it (mostly to get the dirt out of the inside sections that both collected more debris as a result of their hollow and open shape, and were too angular for the wire brush to get at. After it was dry I wiped it down with mineral spirits to get the new rust that had just formed off, and then primed and painted it with Rustoleum brand oil based paint. The primer was specifically designed for rusty metal, and the paint was a hard wearing exterior enamel.
This pic shows both the primed section toward the back and the painted section.
Before...
and after!!
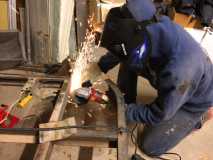
One other thing I really enjoyed doing was using a cutting disc to get a broken/bent leveling jack off the trailer body. It was SO MUCH FUN!!
The guilty party
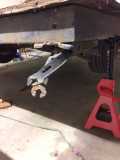
The fun! (also probably need to get a few non-flammable drop cloths for future projects with lots of sparks, but I did at least have a fire extinguisher handy)
And that's the tear down! Now for the flooring.
I used pressure treated 2x2s to give some space for the insulation. The original camper just had the 1/4" plywood secured directly to the trailer frame. I'm a little concerned that if I overbuild compared to the original design I'll quickly exceed the axel weight. I did rough out an estimated weight accounting for all the linear feet of lumber and square feet of plywood, plus insulation and such. I think I'll be good but will have to weight the trailer periodically during the build to be sure.
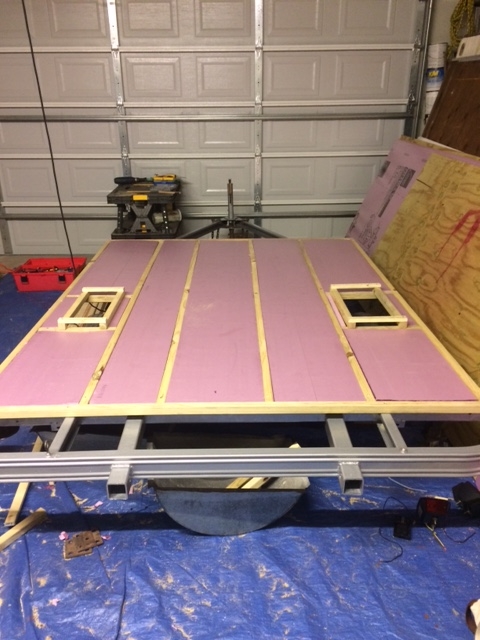
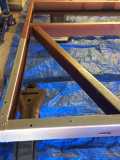
Here's a shot of the 2x2 subfloor frame and the insulation installed. I extended the length of the trailer by 3" on the front and back bringing it to a total of 99" long. This was to fit a twin bed and a full bed. The original beds were the same size front and rear and were 48" wide by 72" long (long ways running from the curb side of the trailer to the street side and wide running from the front of the trailer to the back).
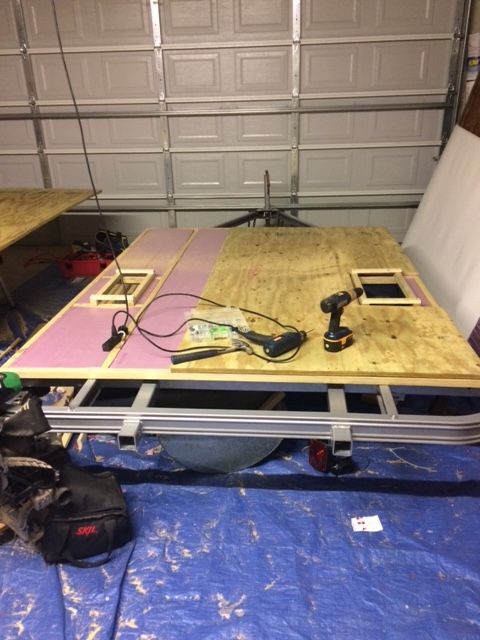
Half the floor installed above. I went with 3/4" ply even though I wanted to use 1/2". The thinnest they sold pressure treated ply was in 3/4" so it's overkill which is bad for weight. After reading a lot about the mix and whether to treat one or both sides of the floor, I went with pressure treated 2x2s for the frame and pressure treated ply for the base. It'll only get exposed to humidity in the air and some road spray when we drive in the rain. I'm a little worried about water getting trapped between the insulation and the ply wood. I'm going to seal any gaps in the insulation with expanding foam so it should be nearly water tight from road spray. Any thoughts??
And now the floor completely installed and I taped out the planned layout as well (dinette is oriented left to right in the bottom left corner. Storage bench in the bottom right corner, kitchen area across the front wall.
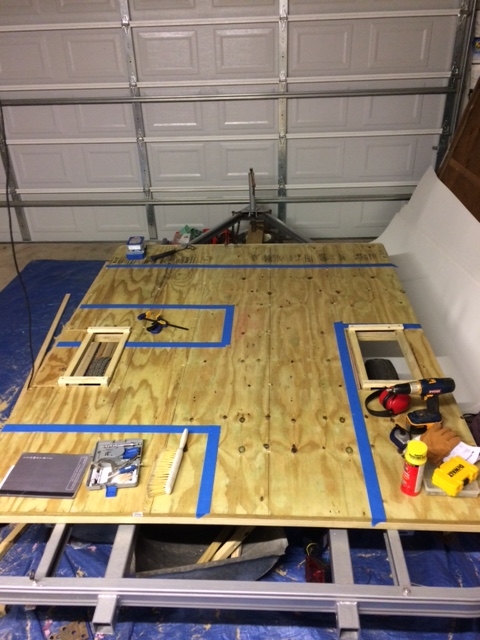
Cheers!!