Hello,
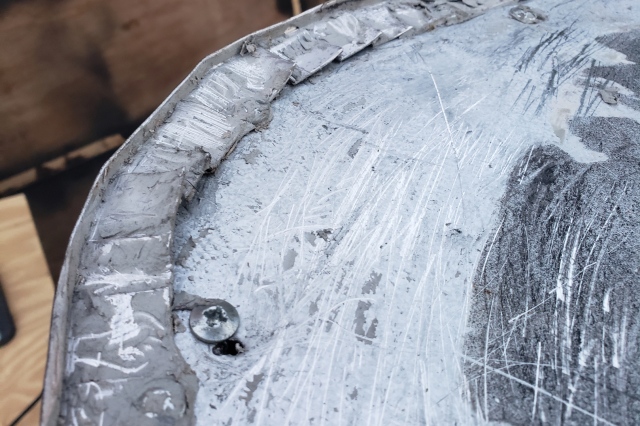
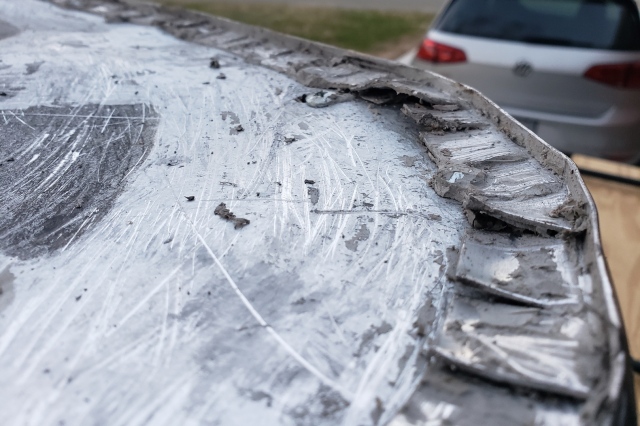
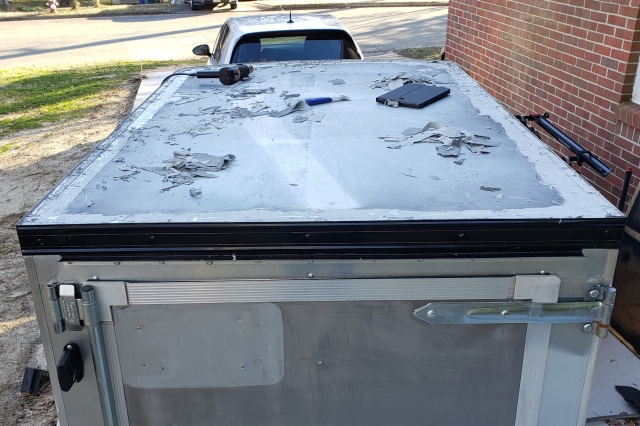
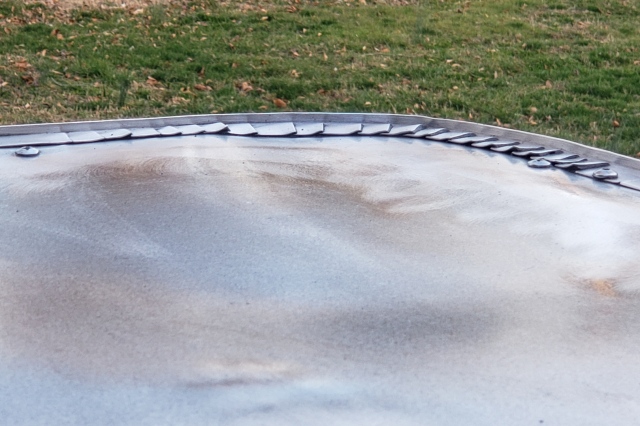
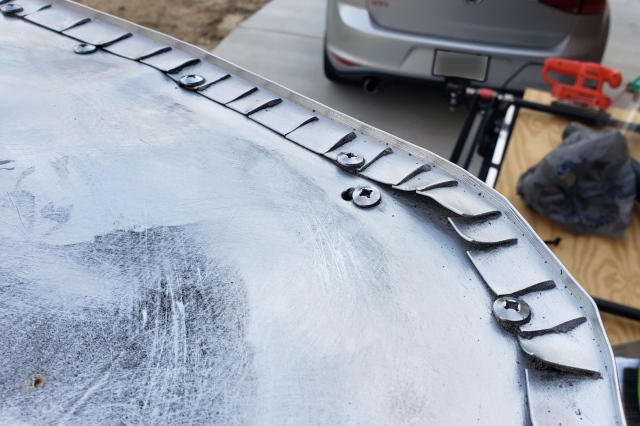
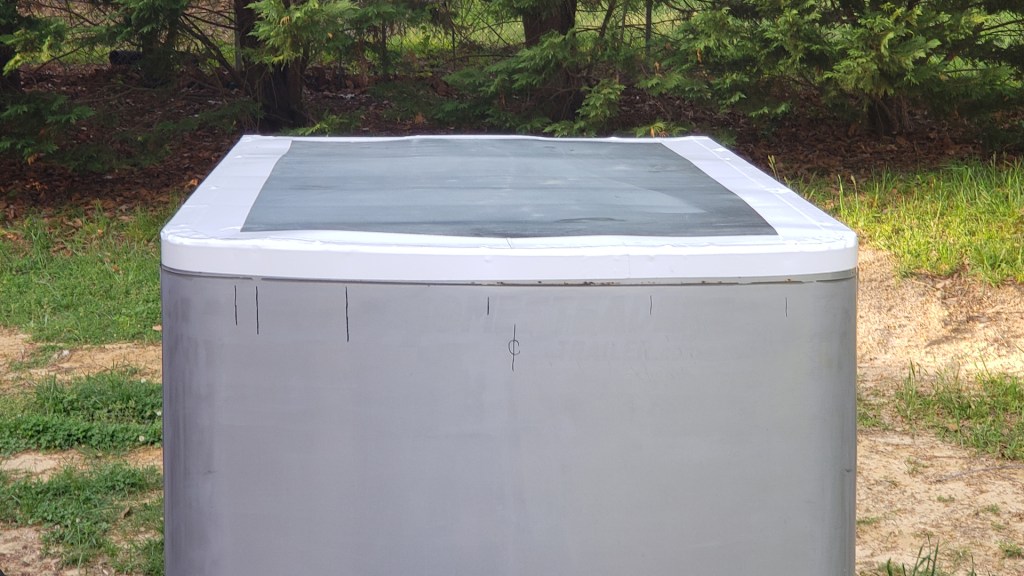
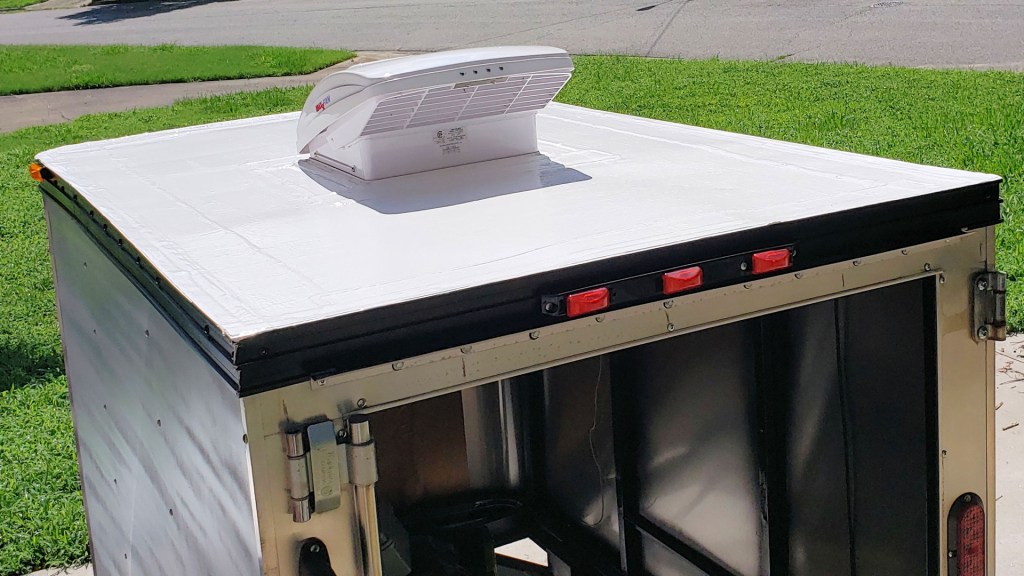
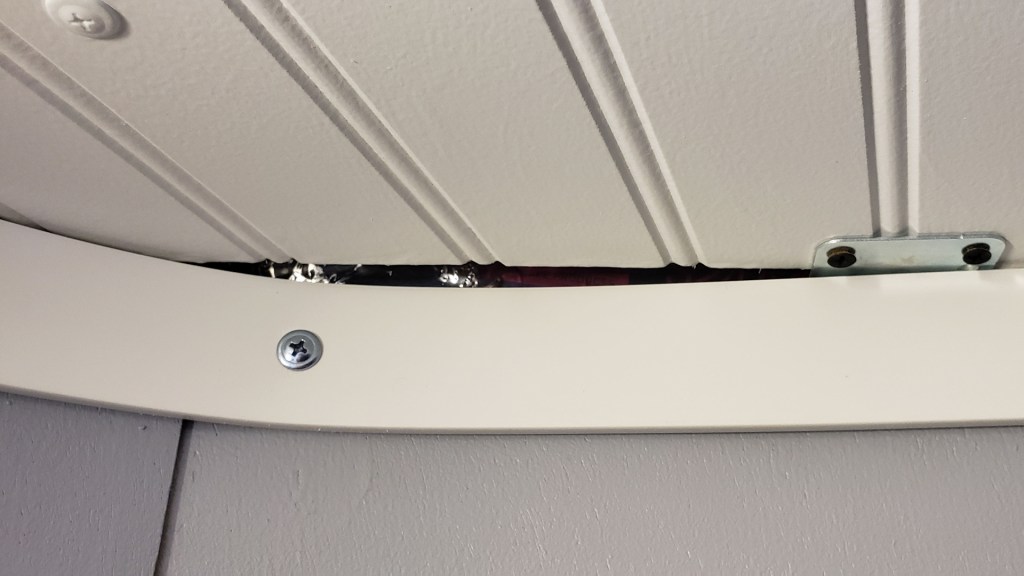
It's been a very long time since I had anything to share here. This project sat for longer than it should have, partially due to health problems, partially due to weather and a lack of indoor workspace. When I last posted, I had just finished cleaning the roof, which was a discouraging project. My next goal was to remove the trim ring to fix the terrible kerfing job that was done by the manufacturer. That did not go well. I think about 1/4 of the 80+ screws either stripped or broke off. The trim ring was just about destroyed during removal. I would have preferred to find a good match, but no luck. I had to buy something else. Check out the high-quality roof construction with the trim ring removed...


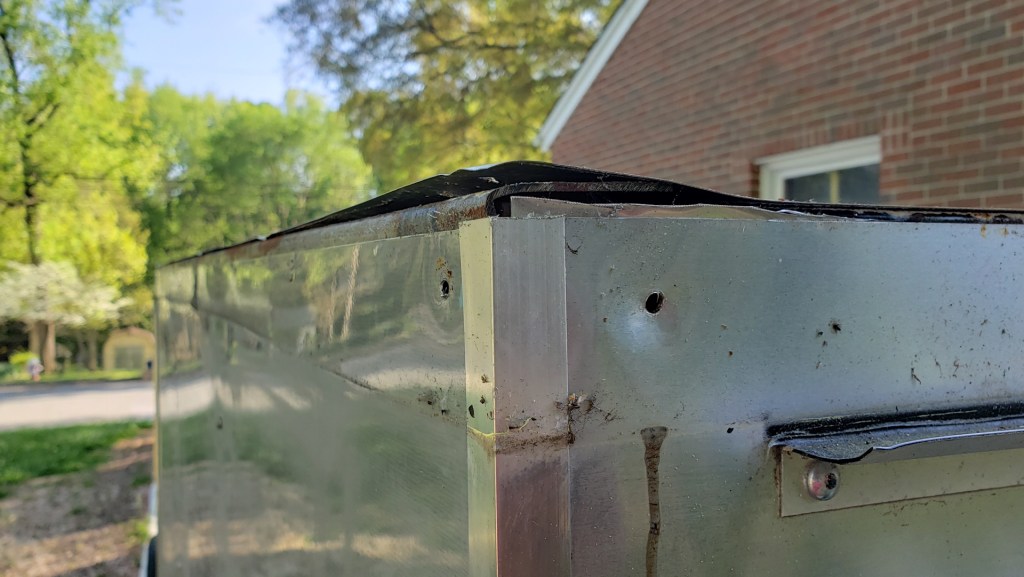
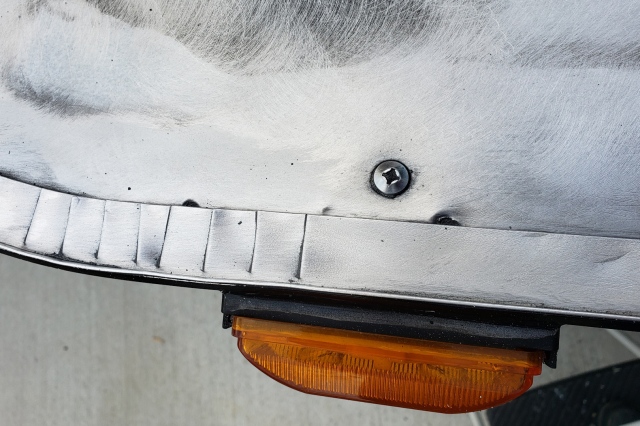
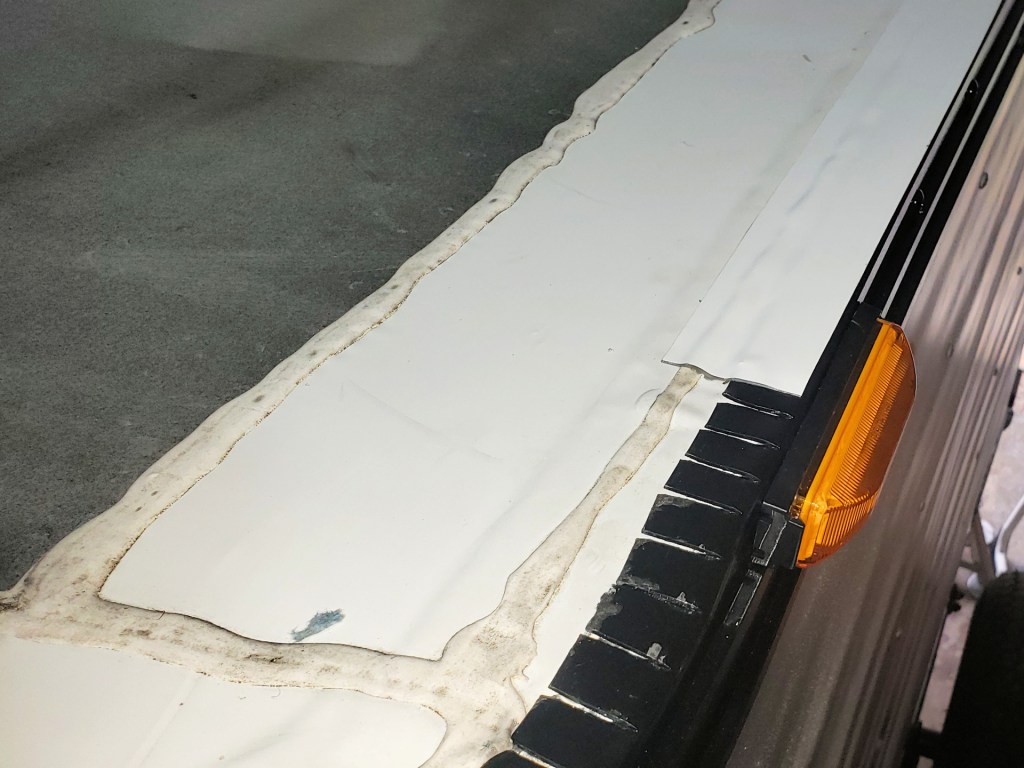
Again, discouraging! I continued by sealing the edges of the roof with Eternabond Tape while I awaited the new trim ring to arrive...
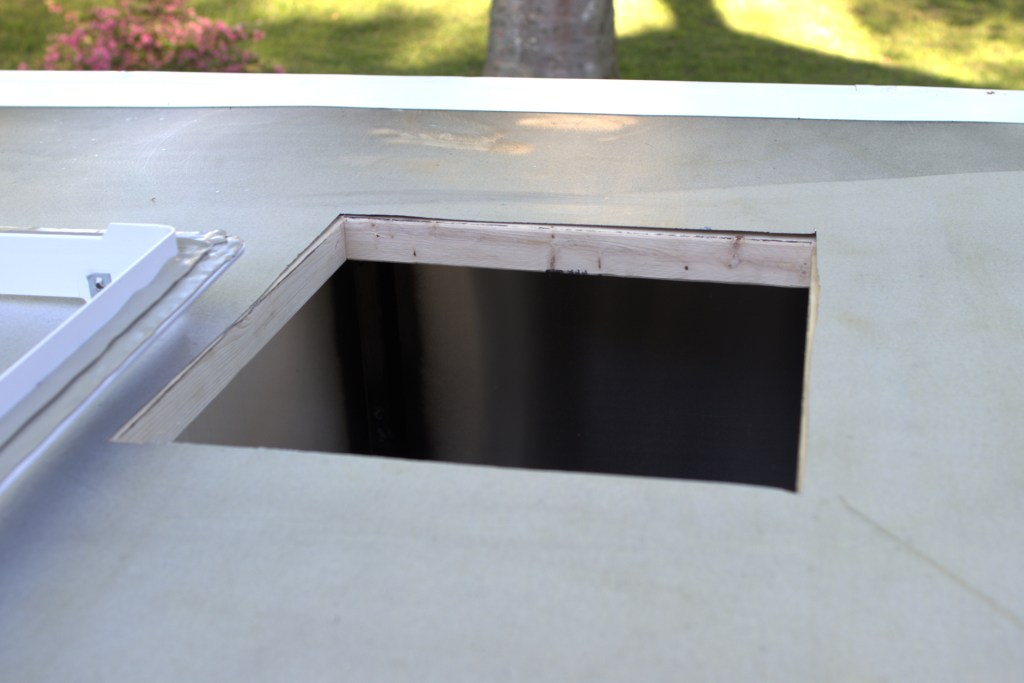
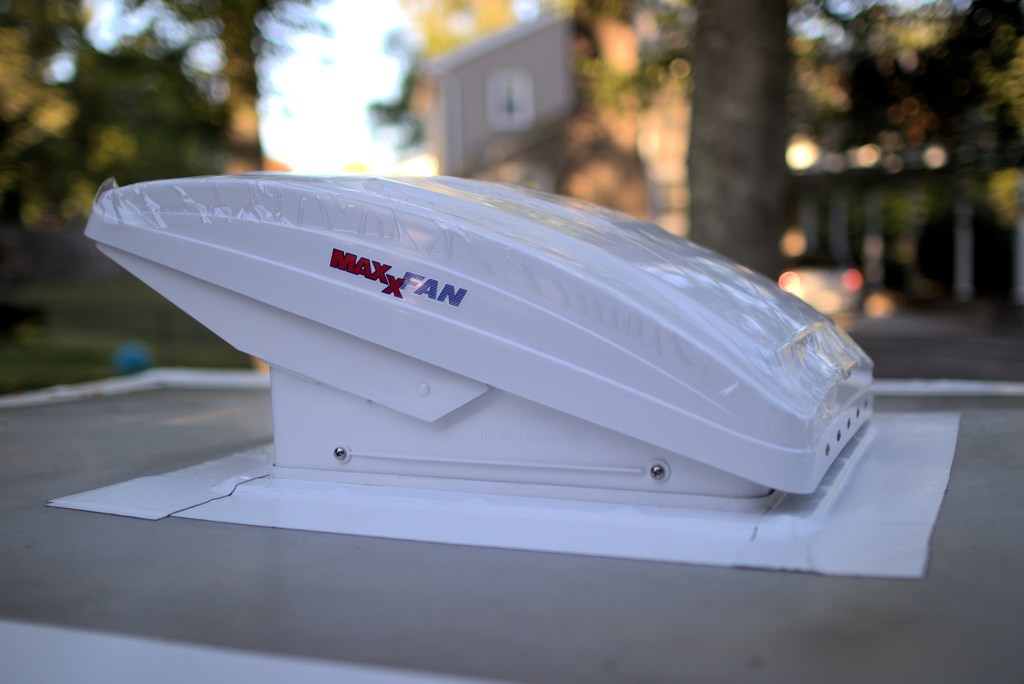
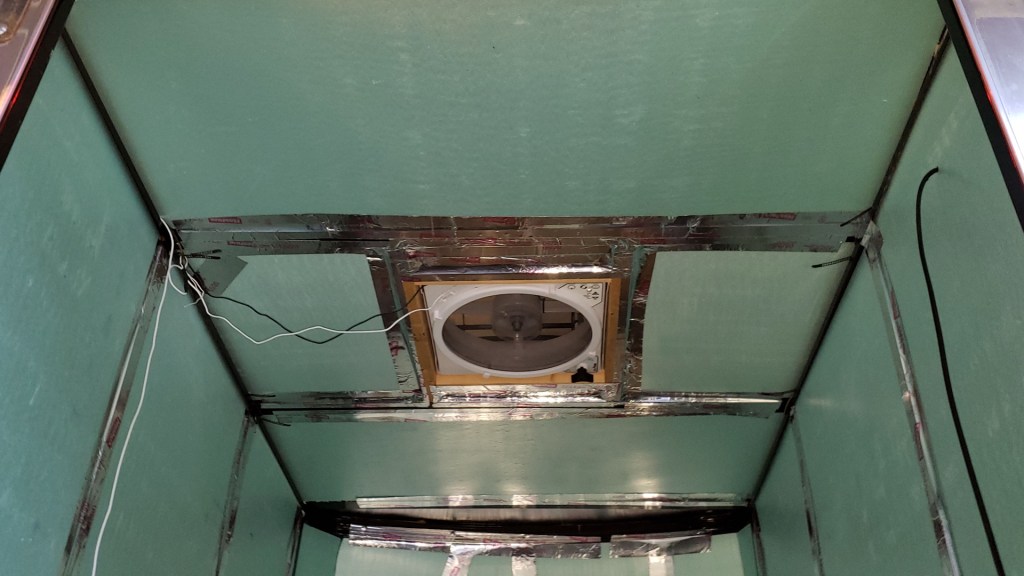
Next, I installed a MaxxAir fan...

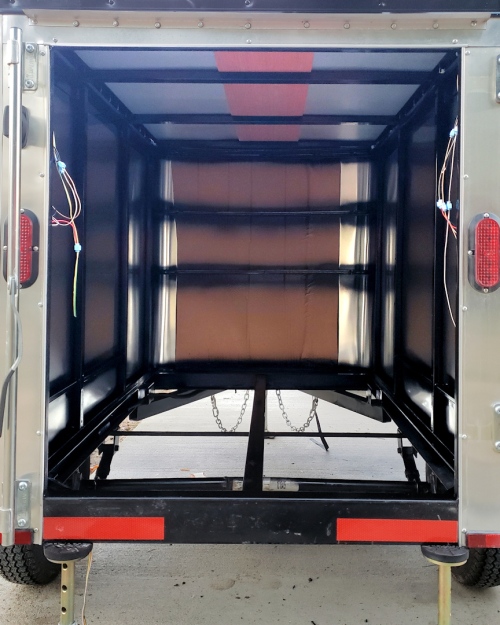
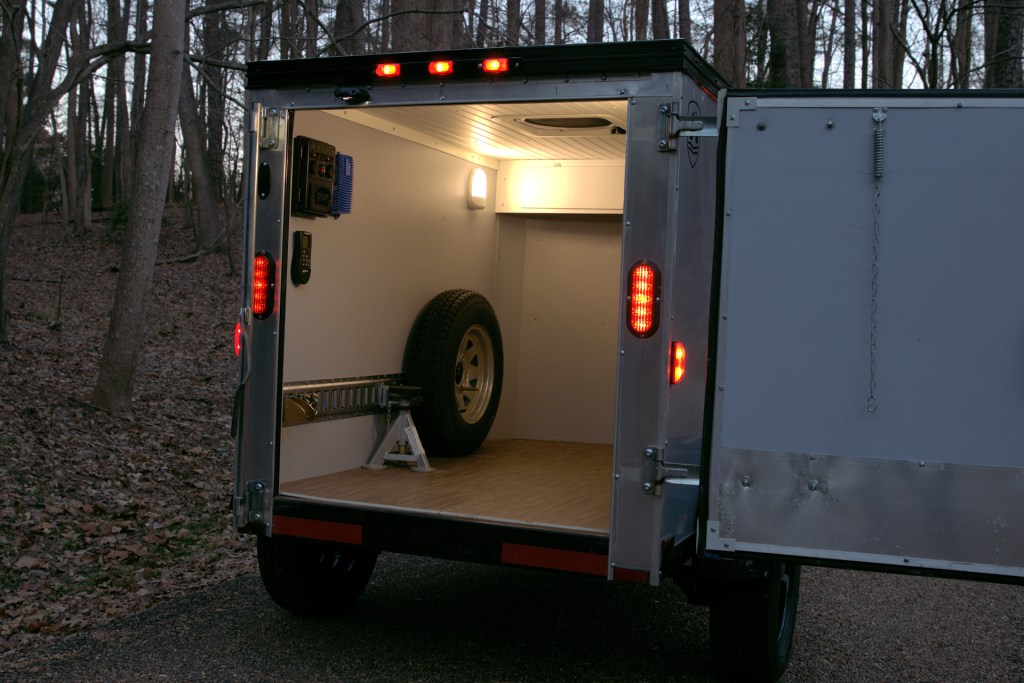
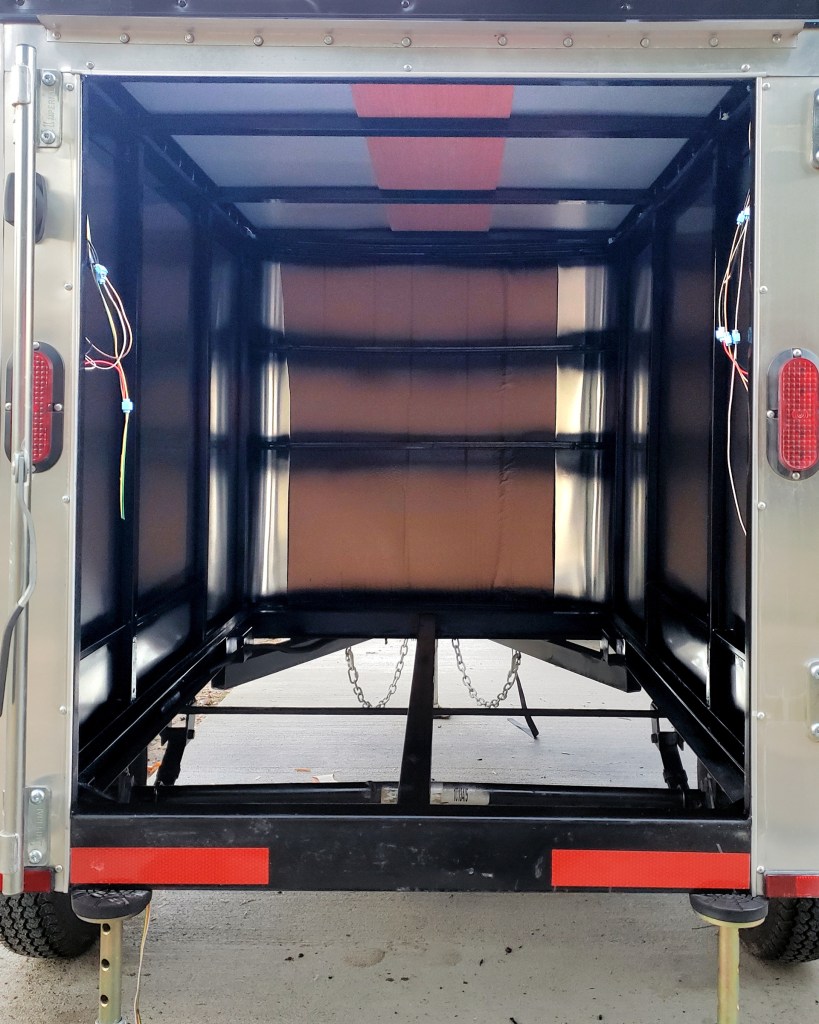
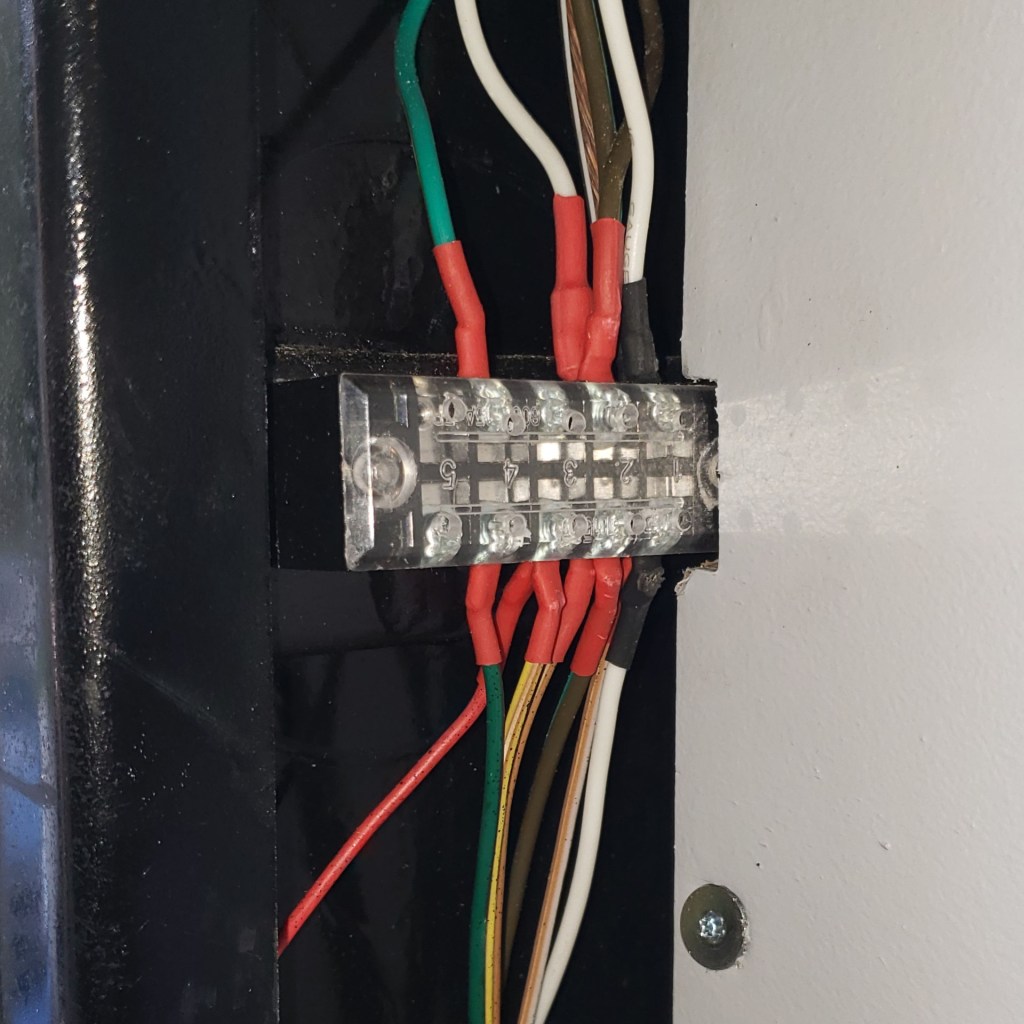
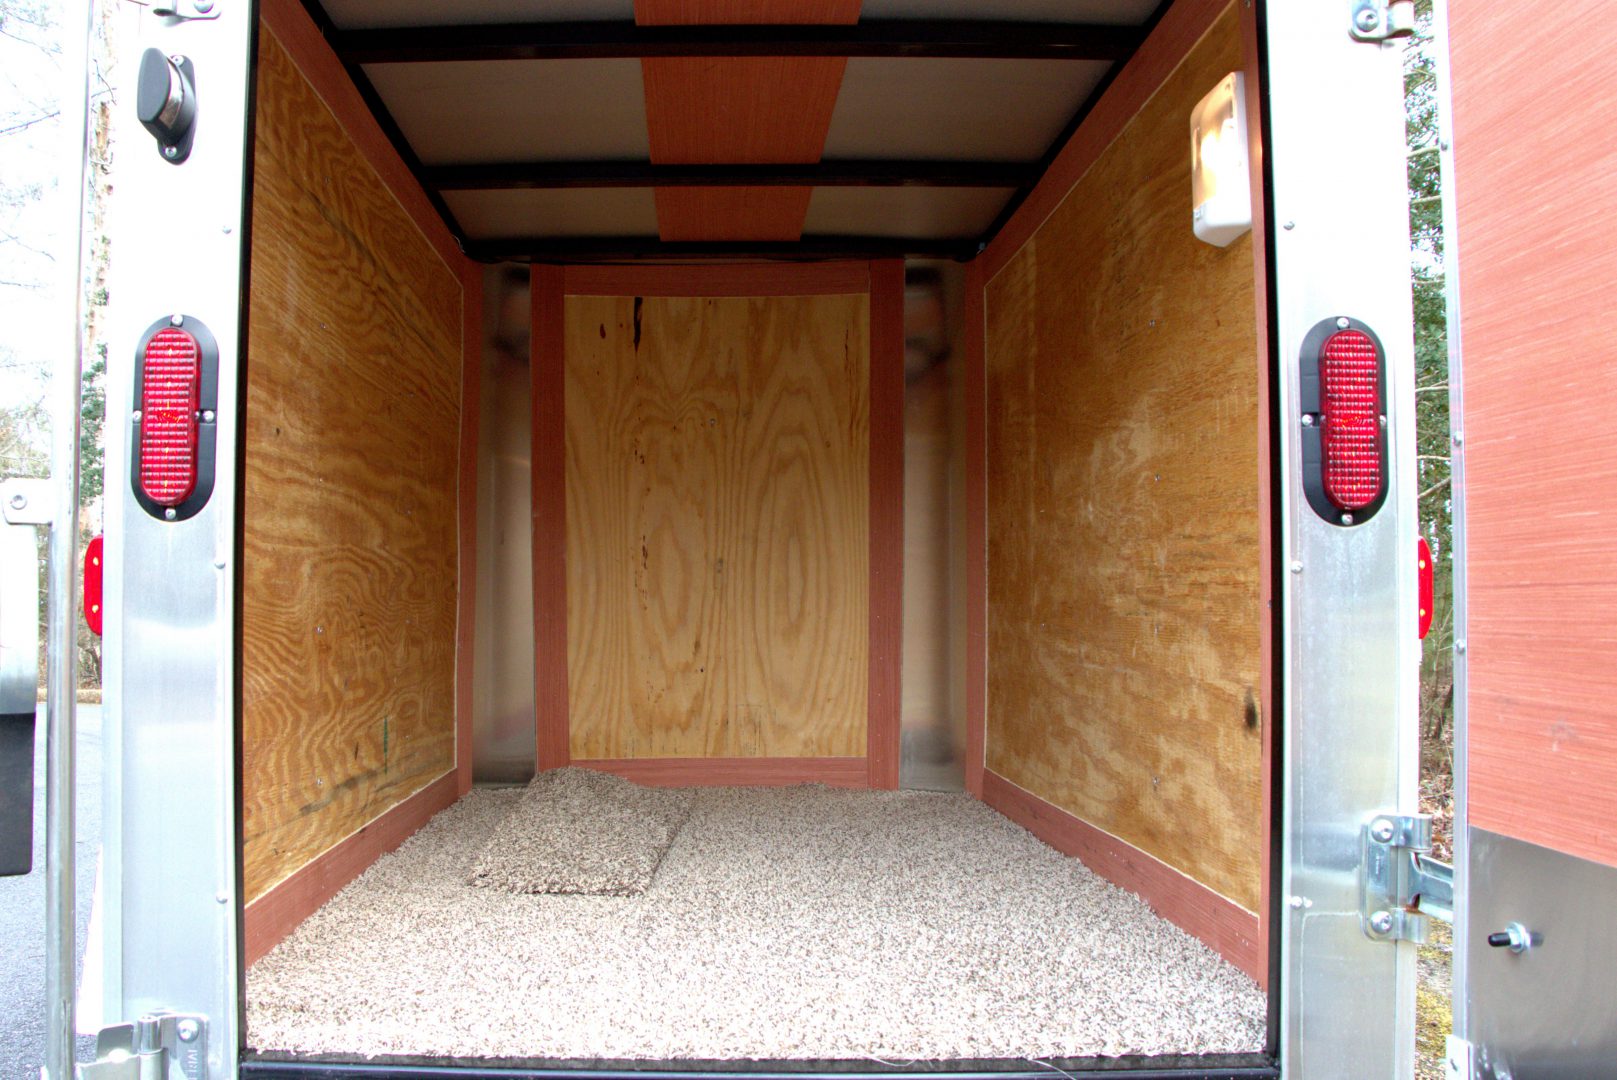
With a fan installed, now I had some encouragement to rework the electrical so that I could get some airflow inside. The factory wiring was terrible! It looked like this on both sides of the back door...
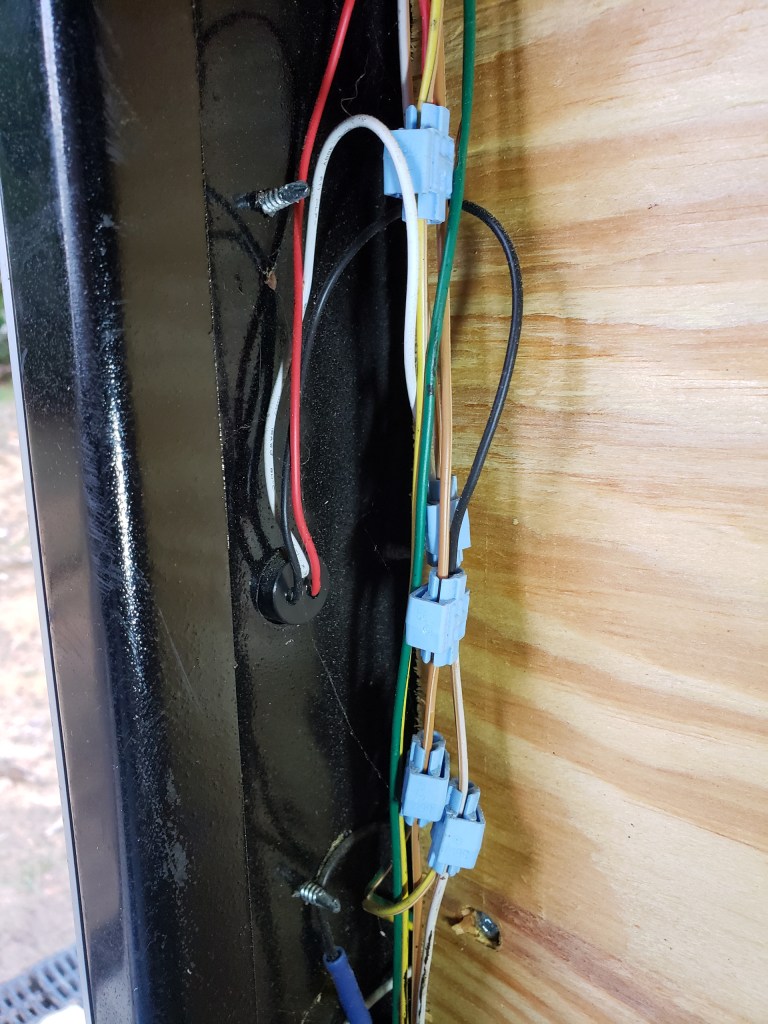
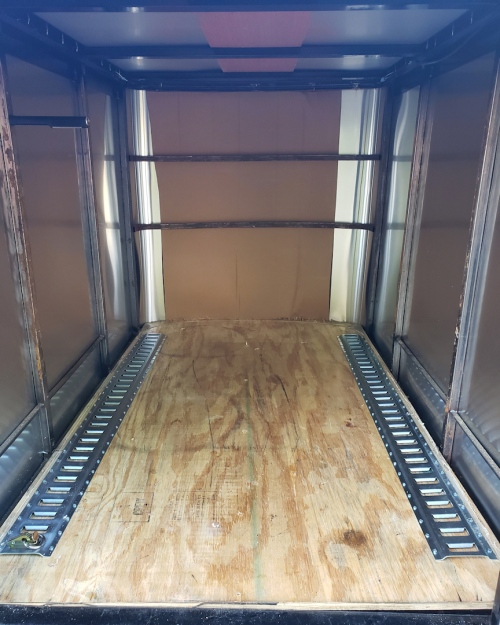
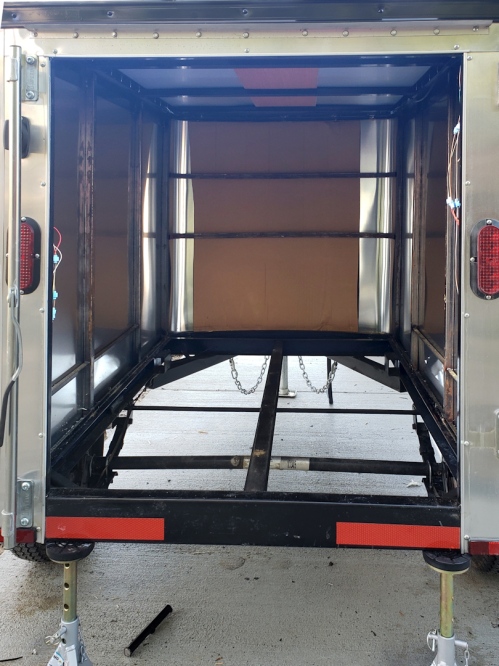
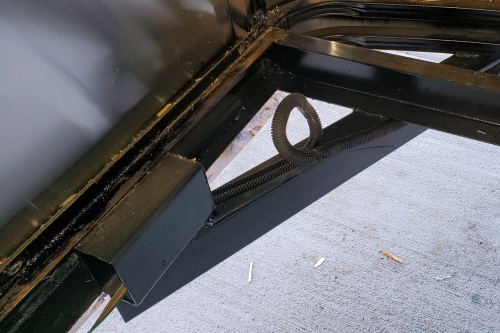
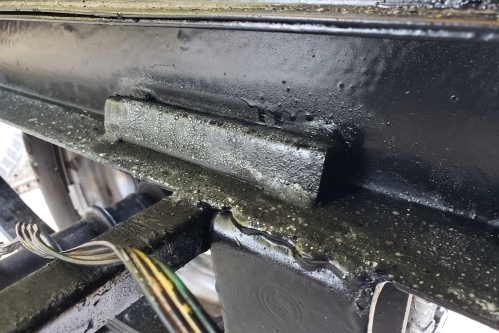
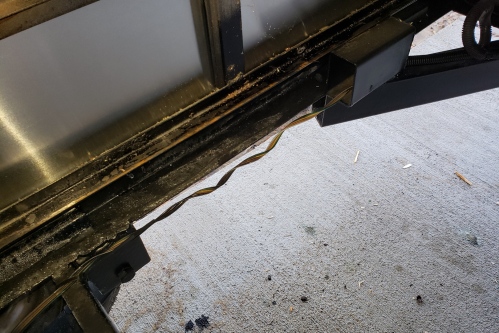
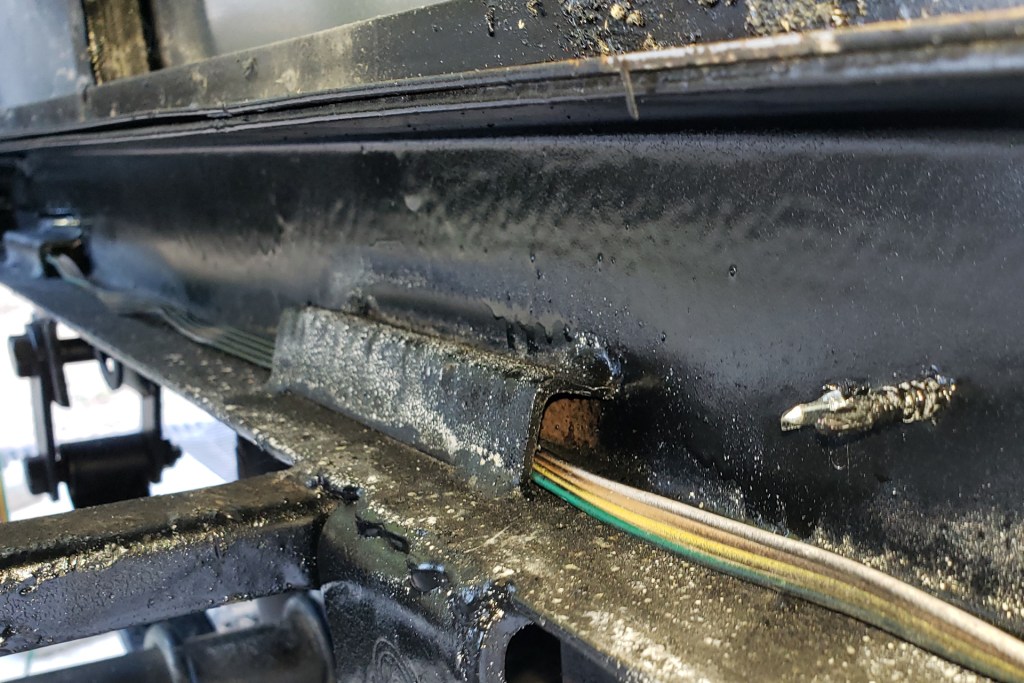
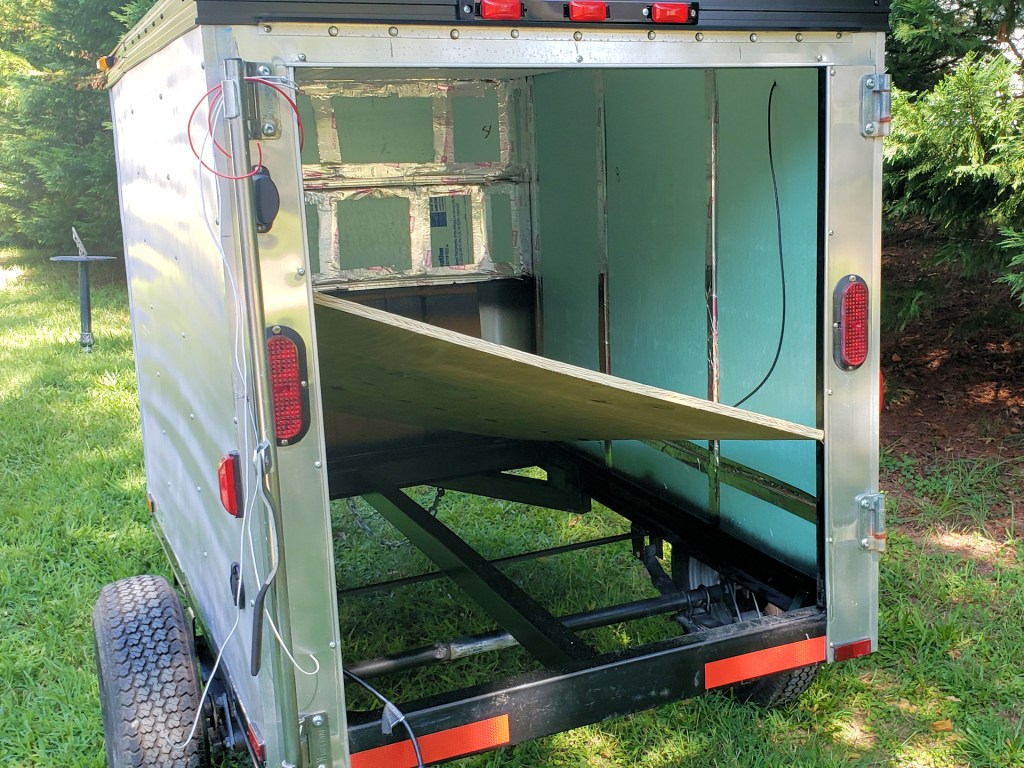
It was clear that Homesteader wired my trailer with whatever scrap they had laying around. They also didn't use the metal wiring brackets on the trailer and appeared to have intentionally twisted the harness MANY times during routing. I bought a new harness so that I could rewire with proper color observance. Given that the front edge of the floor was rotted and I wanted to be comfortable when working inside this tiny trailer, opted to remove the floor and would replace it when I was done working inside...
I sanded and painted the interior structure, something that Homesteader apparently didn't do, as evidenced by the bare metal and rust. Then I installed the new wiring with better routing.
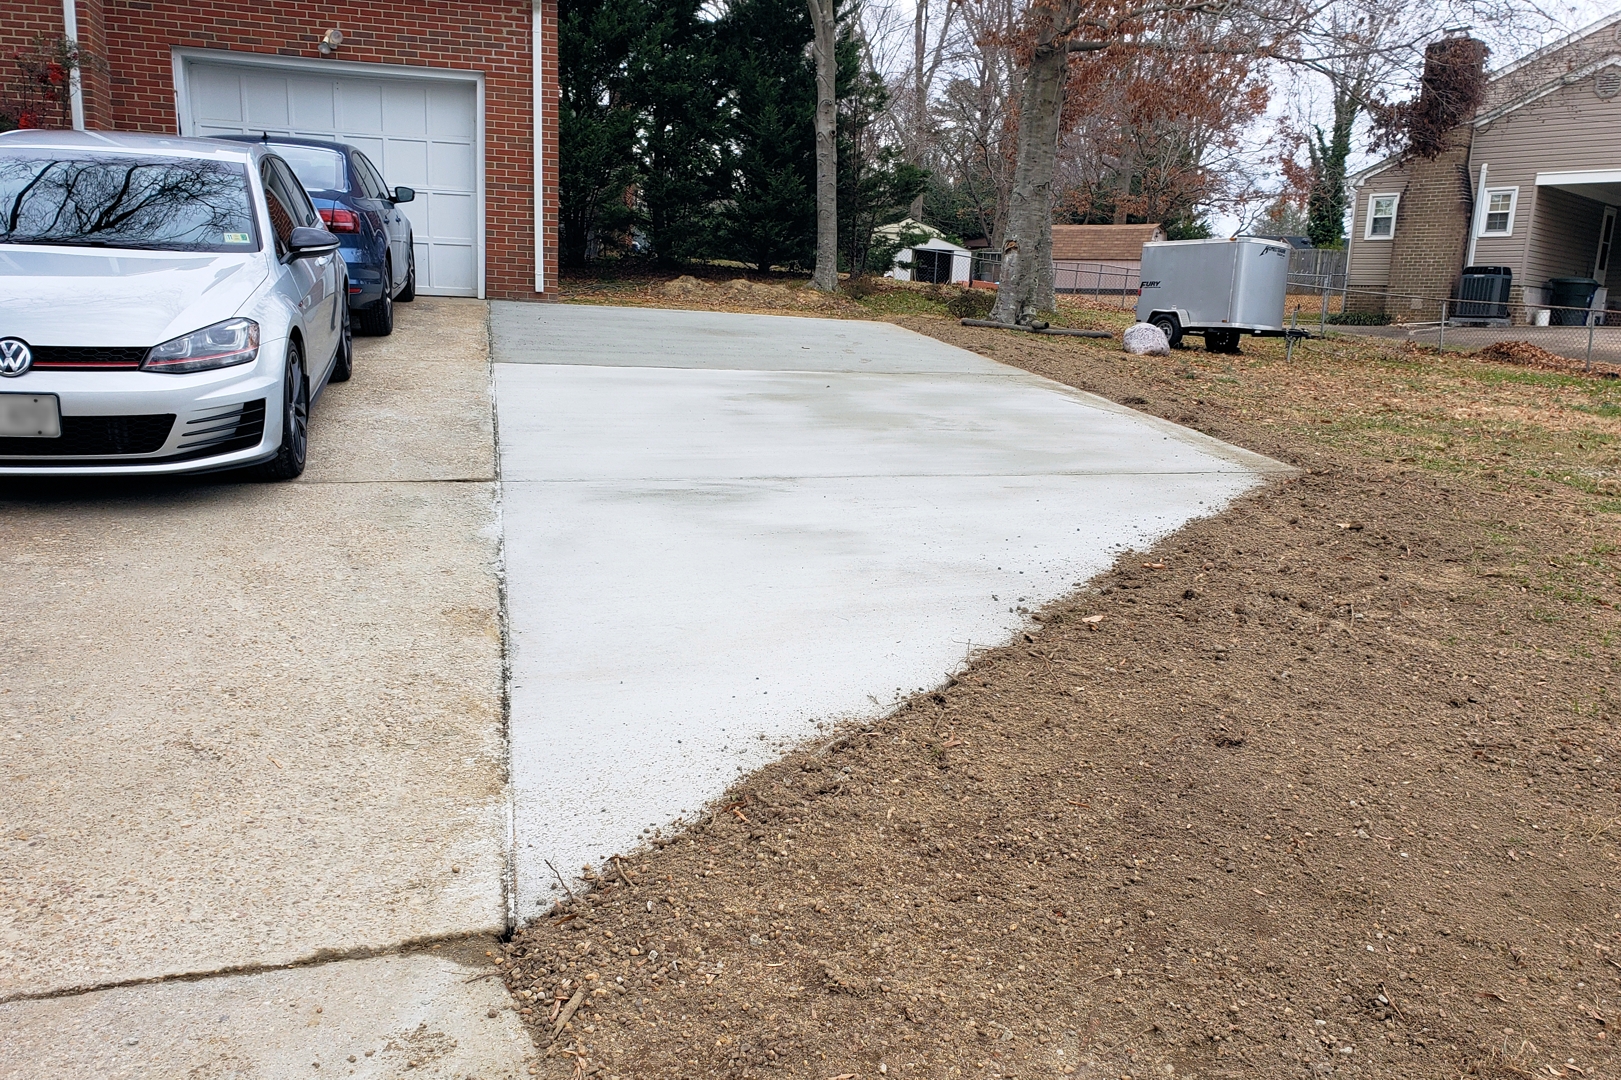
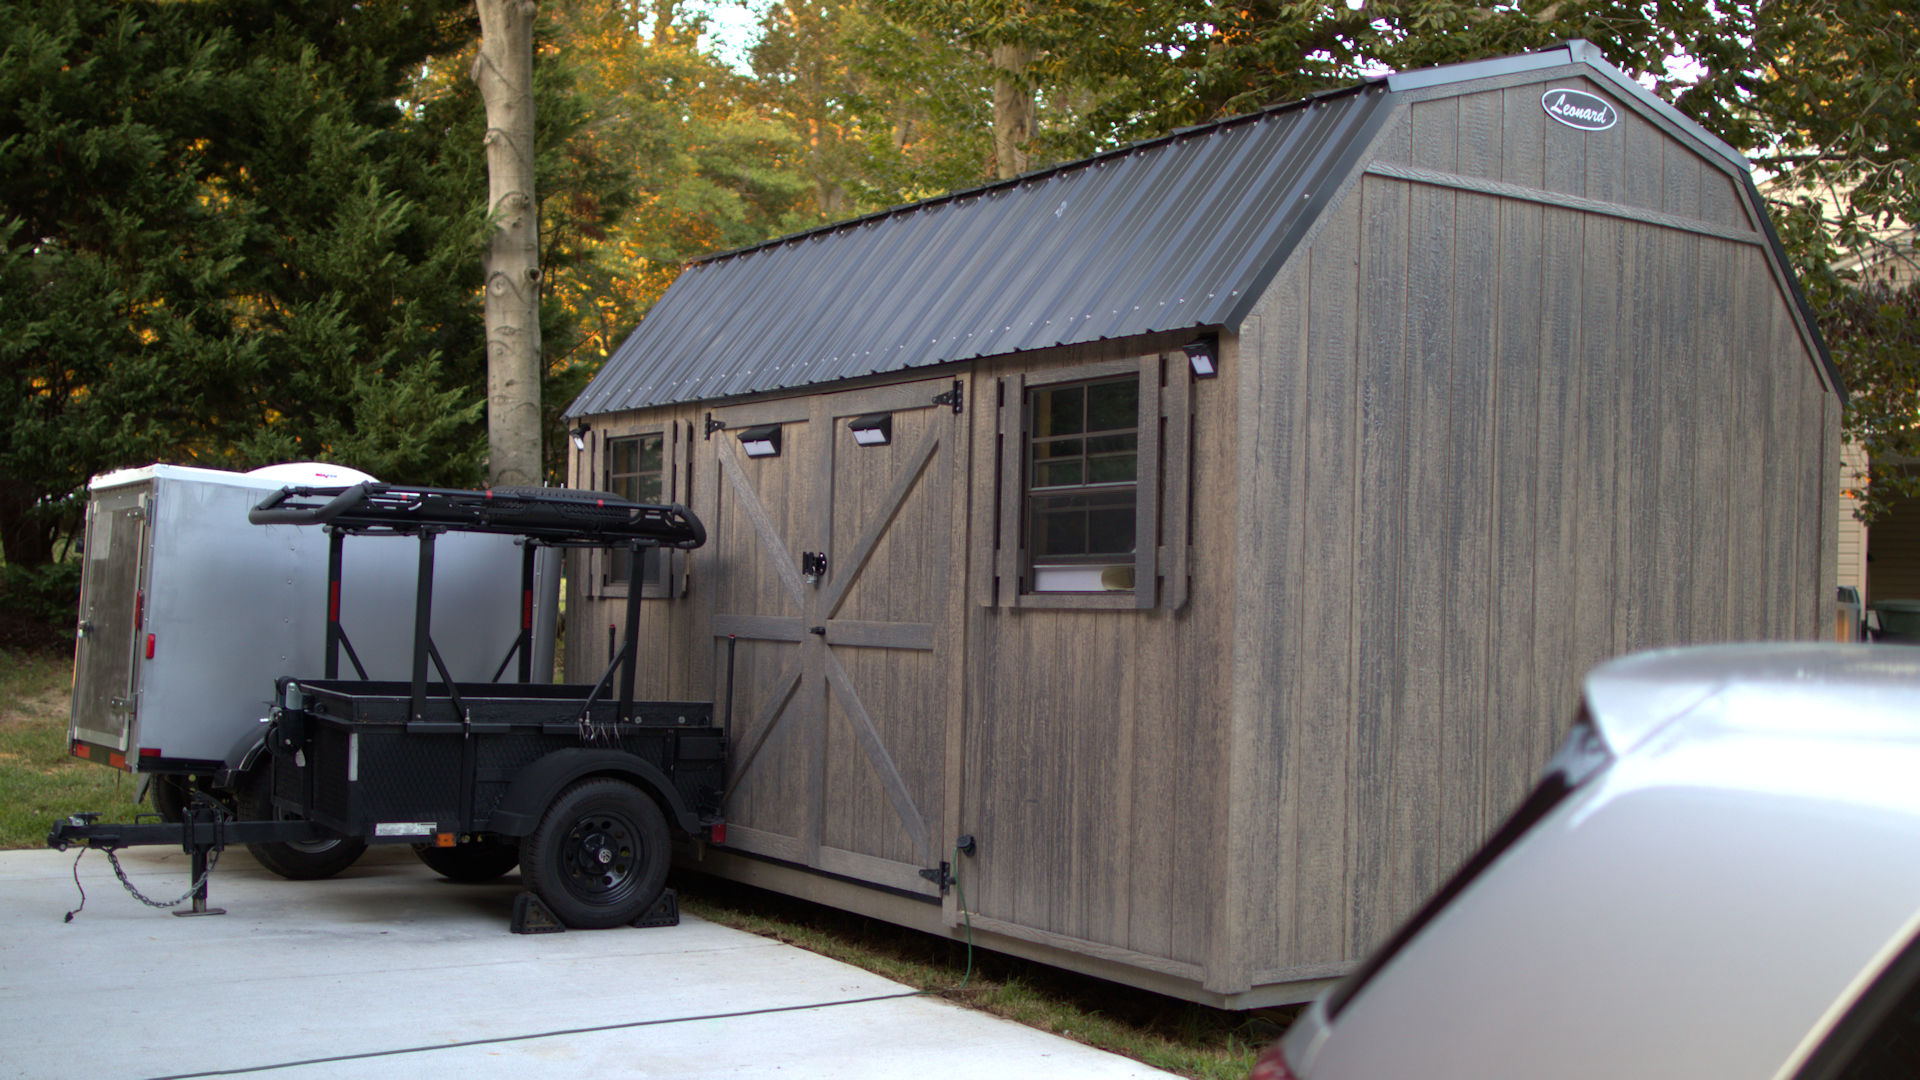
That was all I accomplished in 2019 before the project stalled... AGAIN. Well, I also got a driveway poured, a shed installed, then did a bunch of soil grading and drainage projects.
The trailer had to take a back seat to those projects. Then came COVID and the boredom that comes with staying home. Last year's shutdowns eliminated my commute and, believe it or not, the weather was nice on most days that I could recall. I decided it was time to make real progress on this conversion. I started with that dreaded roof trim ring...

After that, I forged ahead with refinishing the exterior. I had sanded the original paint and had a plan to have it wrapped. COVID put that on hold. My goal was to paint it to match my GTI. So, I decided to try a matching spray paint. It did not work well at all...
I took some advice from a FB group, sanded this down to act as a primer, then coated with a roll-on exterior paint...
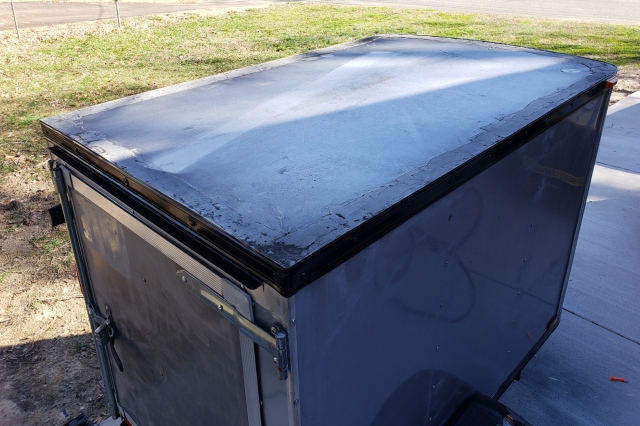
It looked good from a utilitarian view point and from a distance. But I was not pleased with the results. A prissy part of me wanted it to appear more "automotive" and to match my car. I kept it this way while I continued my work.
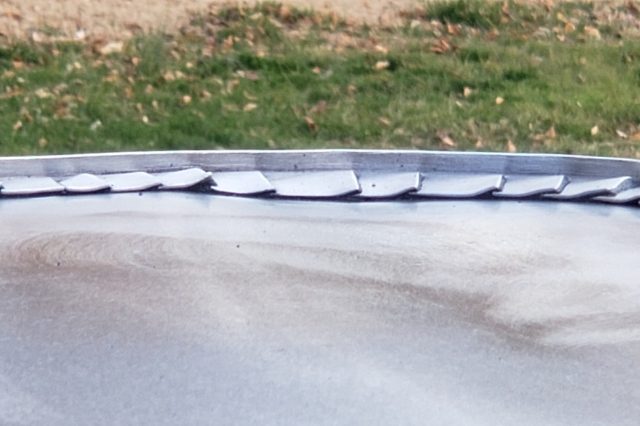
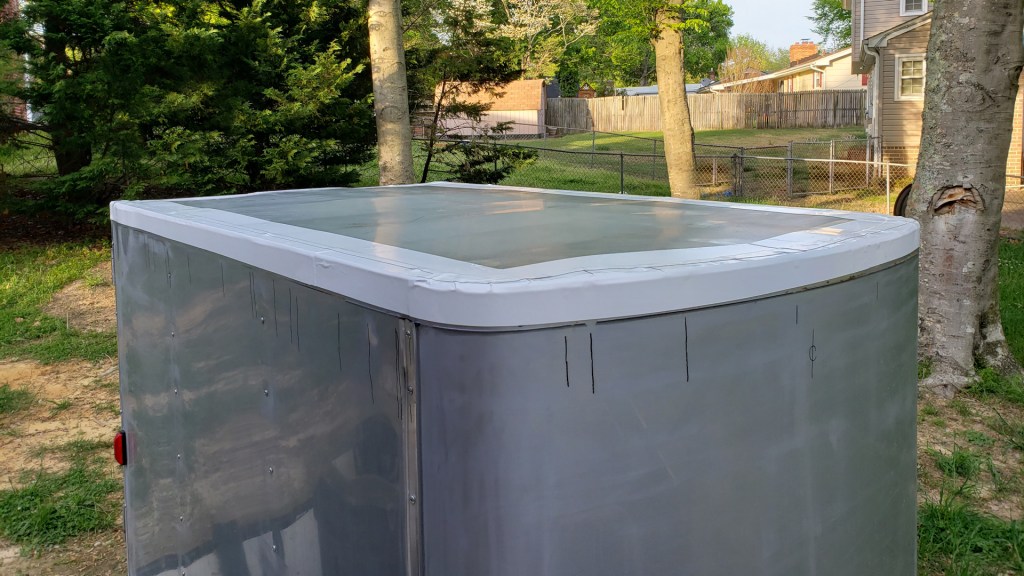
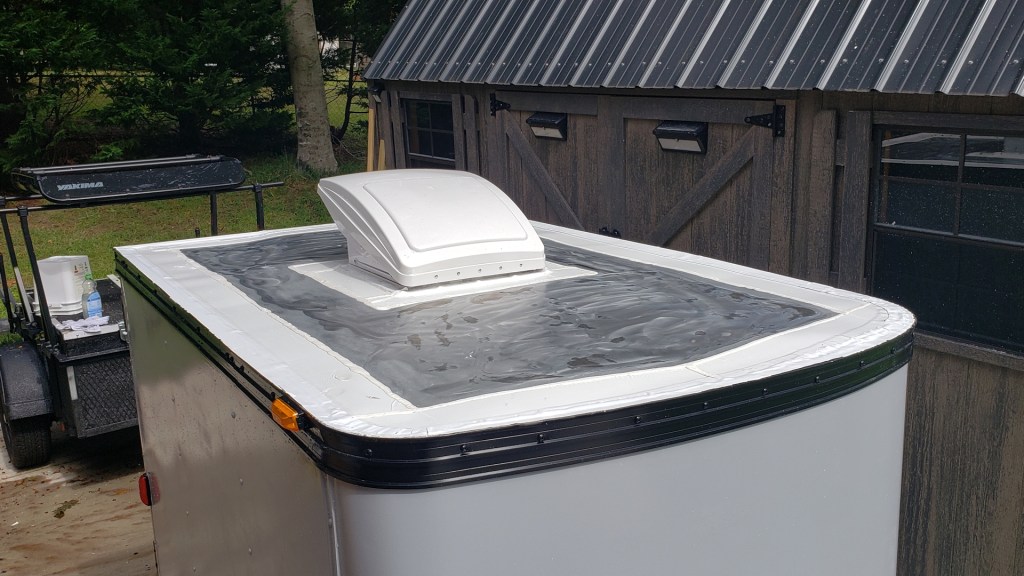
Before deciding to roll-on paint, I topped the trim ring with Eternabond Tape, then finished the roof with Dicor elastomeric sealant...
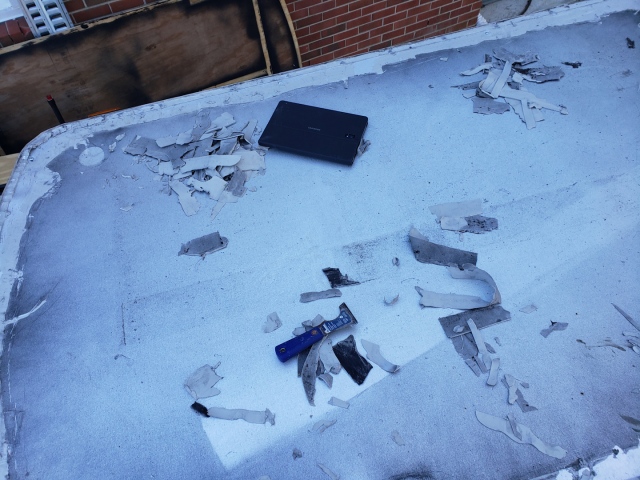
It LOOKED really good, but didn't last long. I had made the mistake of not priming the roof. The elastomeric sealant did not stick to the tape or parts of the roof...

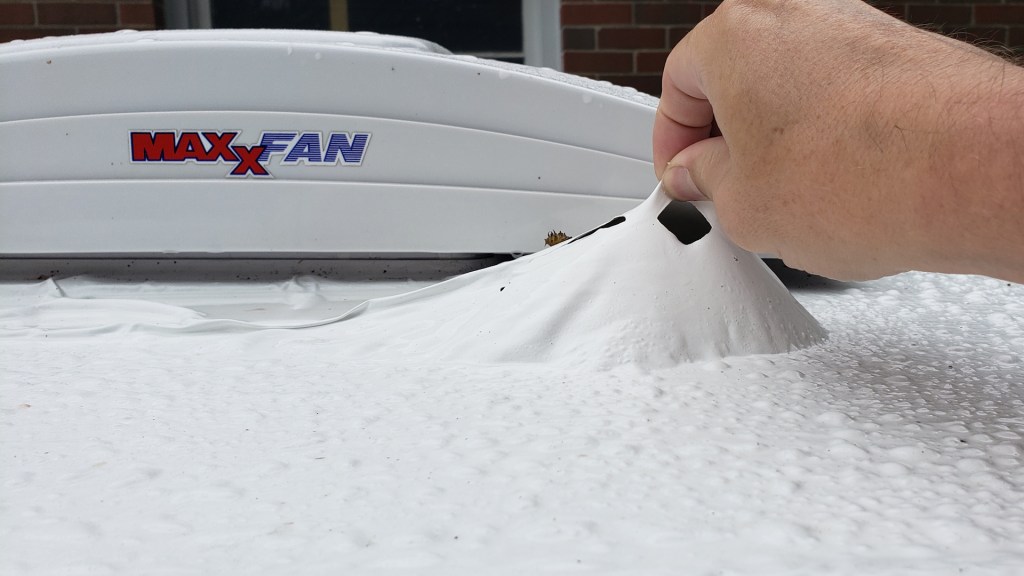
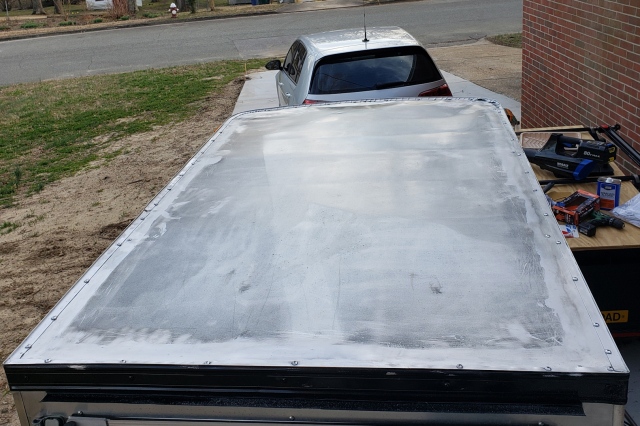
Most of it peeled up easily enough. But enough of it stuck tightly enough that I needed power tools to remove it. Later, I opted to just refinish the roof with primer and white paint. I didn't want to deal with the elastomeric stuff again.
Next, it was time to insulate. The green stuff was all I could find. So, I went with it...
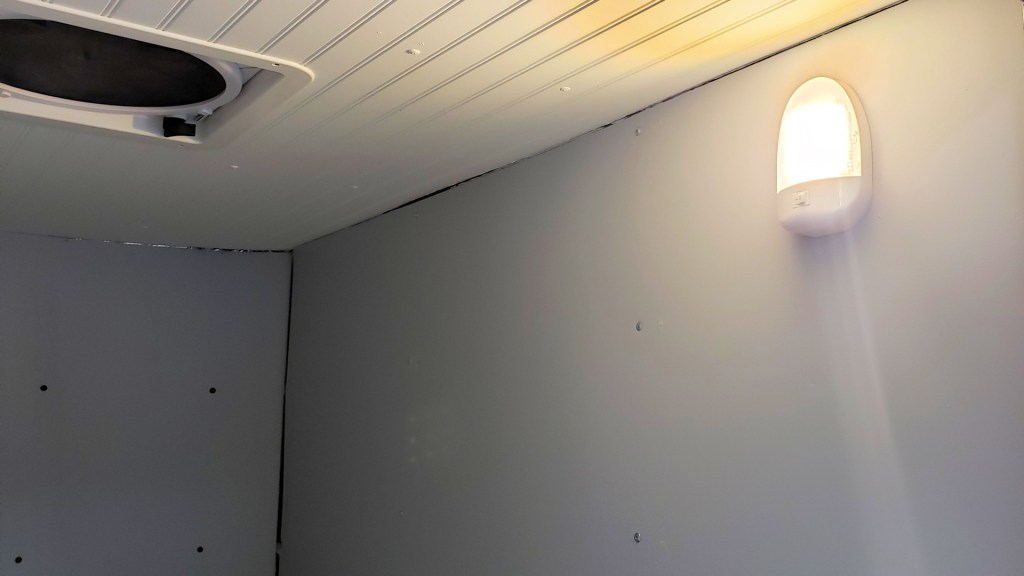
The ceiling was next. It's a piece of beadboard that was leftover from a shed project...

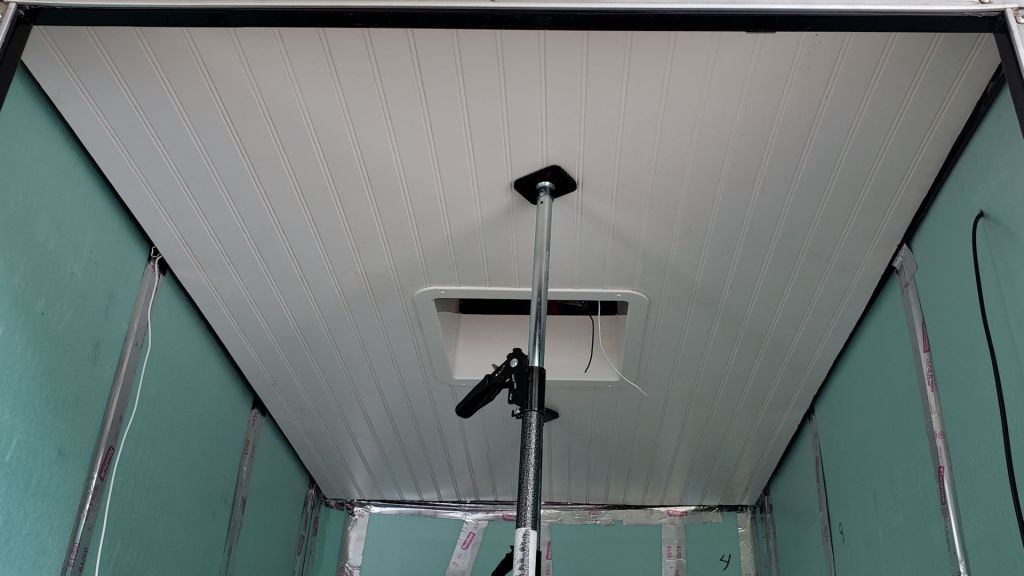
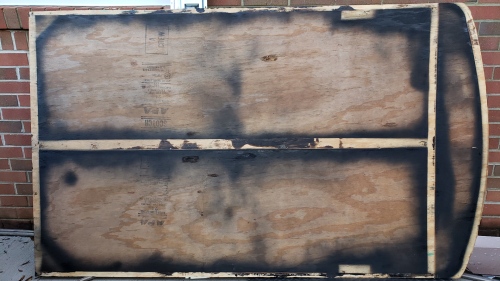
I goofed-up at the front and didn't notice. That will come into play later in the project. I painted the ceiling in place with three coats of exterior latex. Then I cut and installed a new floor. It was a very tight fit. I had a hard time getting it through the door and into position. The original came OUT in one piece. So, I knew I'd eventually get this one IN. Laying on the ground and working from beneath the trailer did the trick...
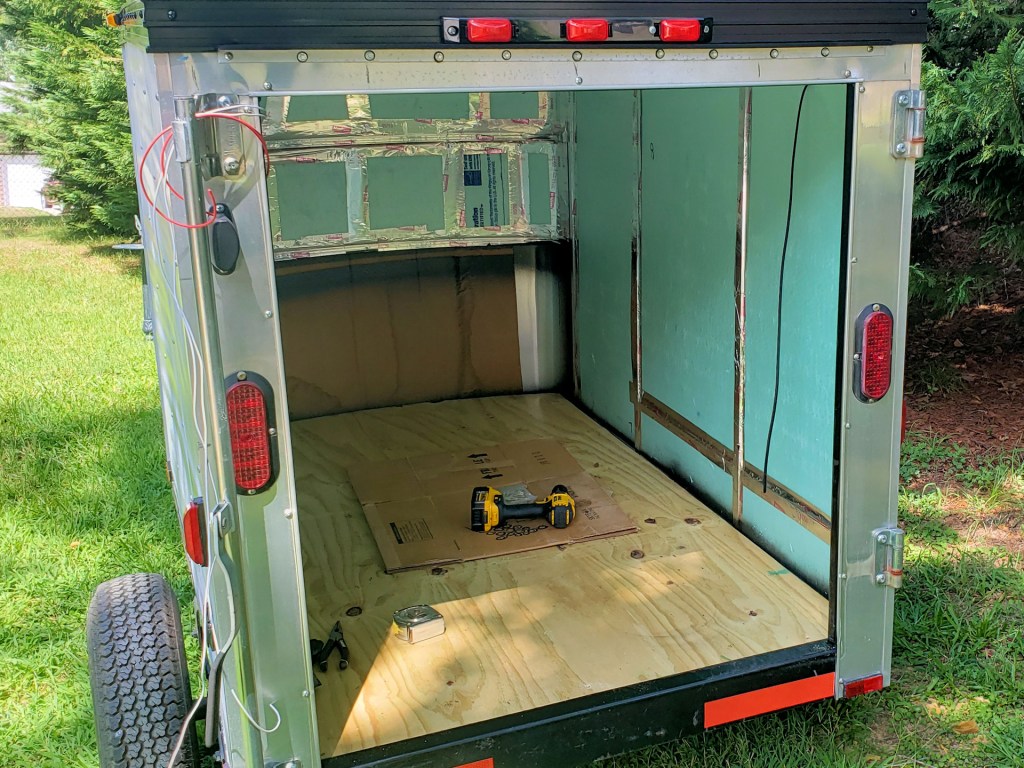
I was asked why I didn't coat the wood. It is pressure-treated and was still damp when I got it. I was making great strides and didn't want to wait for it to dry, coat the wood, then wait again, then deal with any warping. I wanted to get it installed and screwed down before it had a chance to warp. I may still coat the exposed sections of the underside.
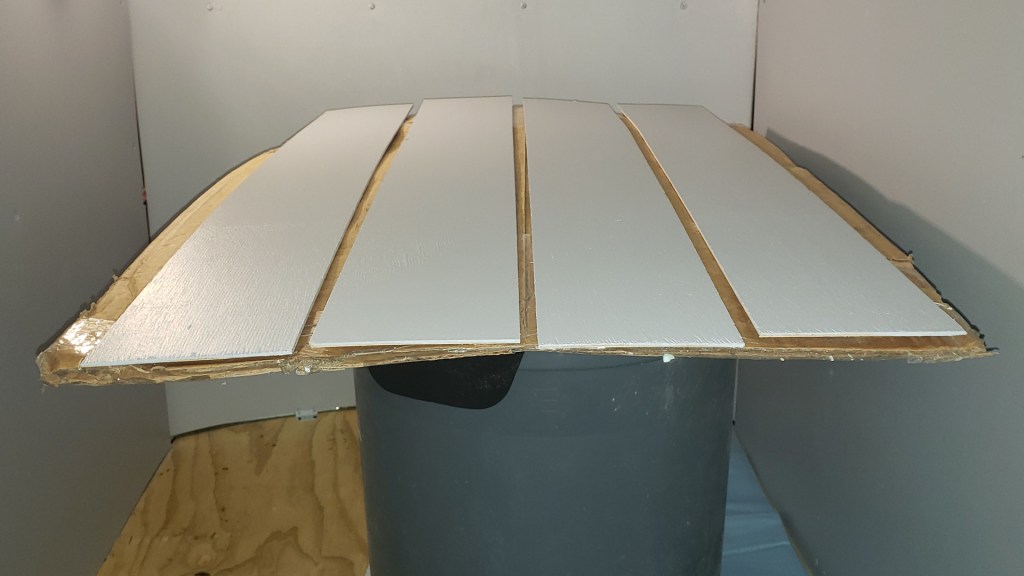
Now for the walls! The originals were 3/8" construction grade plywood. I wanted a smoother finish. I couldn't find a smooth finish in 3/8". So, I "upgraded" to 1/2 sidewalls. In the front, I switched to 1/4" flexible plywood. It enabled me to cover much more of the front wall, which allowed me to use narrower trim strips to cover the gaps. Here's the factory wall vs. my new wall...

As you can see (or assume?), I painted the walls before I installed them. All of these walls were a TIGHT fit. I'm not saying the larger trailer builders have it easy. After all, a big trailer with MY roof's problems would have been a nightmare! BUT, I have just a 38x42 inch door to squeeze those walls through. I needed every inch, plus the curved nose, to get each wall through in one piece. The front wall went in first. It was easy since it curls easily. The passenger side wall went in next since it only has one light on it.
The driver's side wall is where my electrical madness resides...

The wall evolved as I worked. At first, I was just going to power the interior from the lighting circuit. But what about when I'm parked? So, I added a battery to the mix, then a switching circuit for the fan and forward light, then other ideas. Last, I added a smart charger to the set-up. I'd write the details here, but I think it's easier to explain in a video. Check out my video at
https://youtu.be/exT24lSic8w, if sharing it here is permissible.
I addressed the gaps in the corners with bendable 1/8" plywood...
See how they look in the front corners below. They're much easier to remove and work with than the original metal flashing. This could be very helpful if I ever need to troubleshoot my lighting circuits. I added a faux wood foam padding inside. It looks okay and is easier on my knees than working on the wood floor...
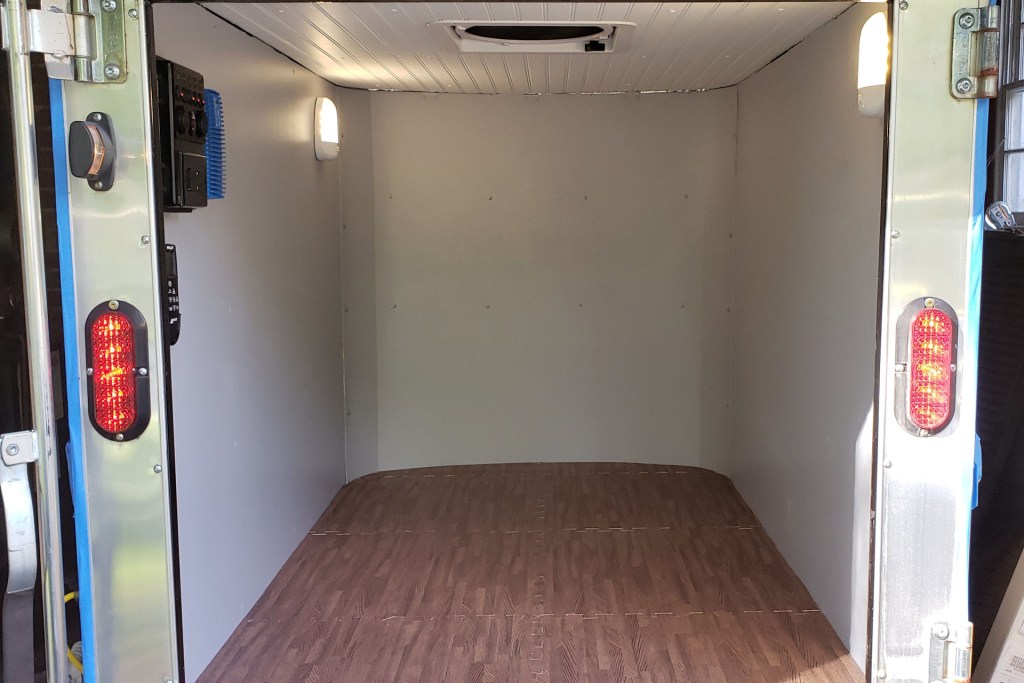
Next, it was time for touch-up paint and trim work along the top of the walls. I opted to use PVC lattice as my "crown molding." It is inexpensive and flexible enough to make the curve. Plus, it's already white.


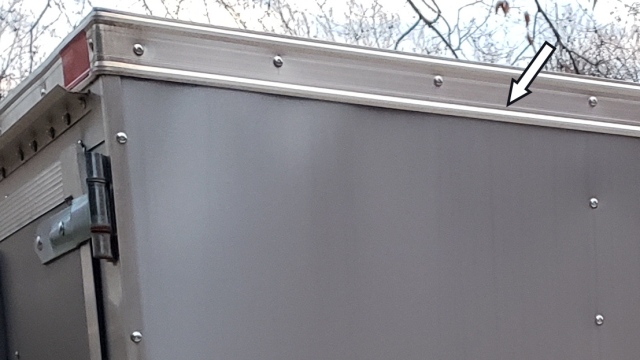
Remember when I said that I goofed-up the front edge of the ceiling? I misjudged how much my trim would cover, resulting in gaps at the front...
I can fill it with white RTV and be happy enough. Instead, I'm going to make a small cabinet to cover the gap. When I say "small," I mean "miniature." It'll practically be a boutique item that's cosmetic only. I'm after a look more than function. Sure, it'll hold gloves or rags. But that's about it. Too large of a cabinet in this small space will result in plenty of head-knocking.
Unfortunately, my mother passed away as I was working on that. So, we wound up taking a road trip from VA to CA to retrieve her cats and some of her effects. The project stalled as we adjusted to our new normal. I'm ready to make more progress, but I cannot paint just yet. It's too cold. So, the interior sits here for the time being.It's functional, just not finished.
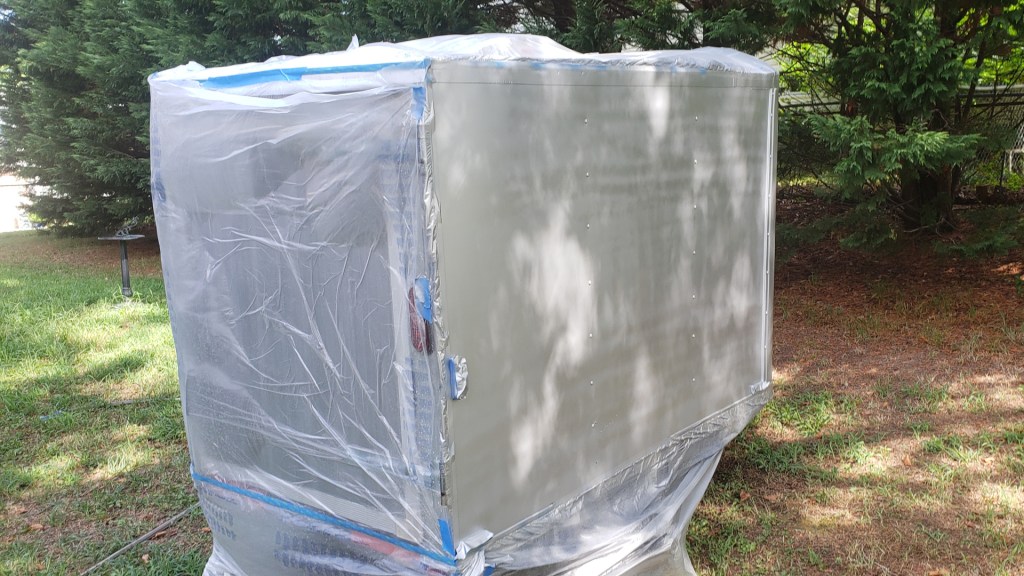
There IS one more thing to report, though. I need to go BACK to CA. This time, the cargo trailer is coming with me. That motivated me to get the exterior refinished. By now (2021), the vinyl wrapping place is open again and I decided I wanted to give him a shot. I stripped the exterior paint from the trailer (again). This time, took it down to bare metal to give him a super-clean surface to work with. I also painted the trim rings since we had an unusually warm day.
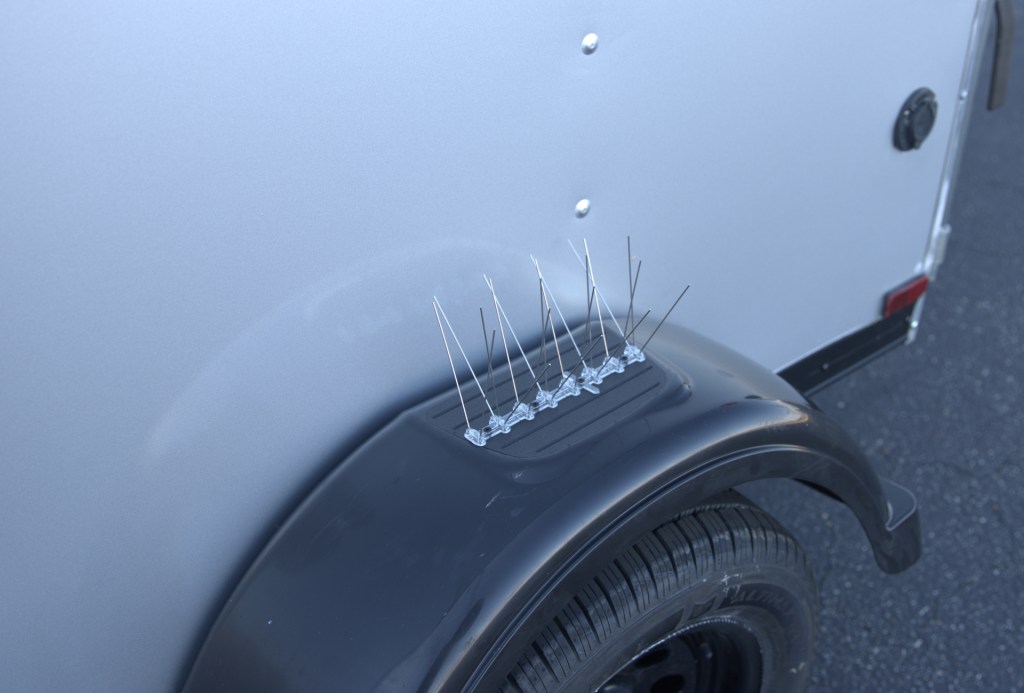
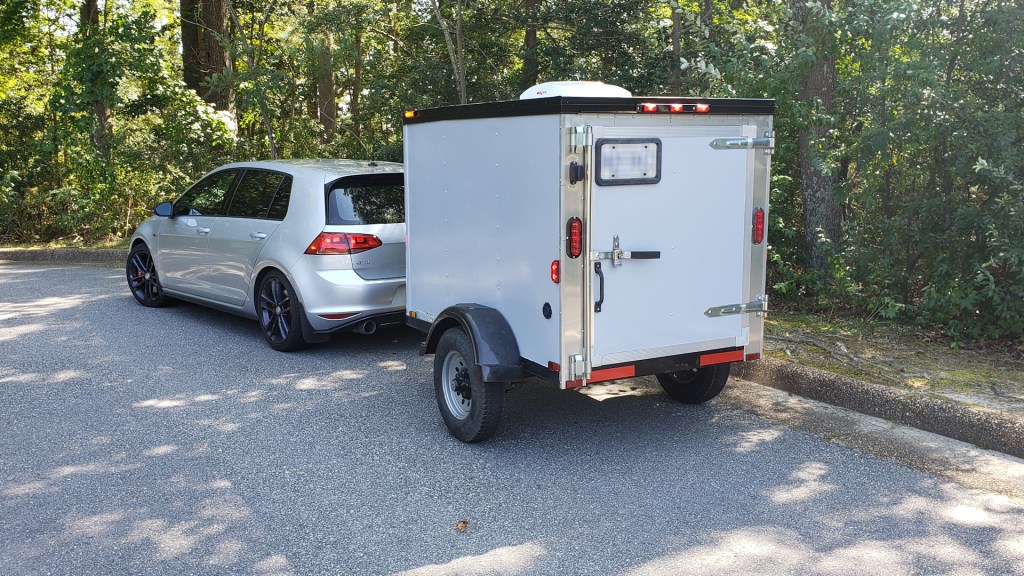
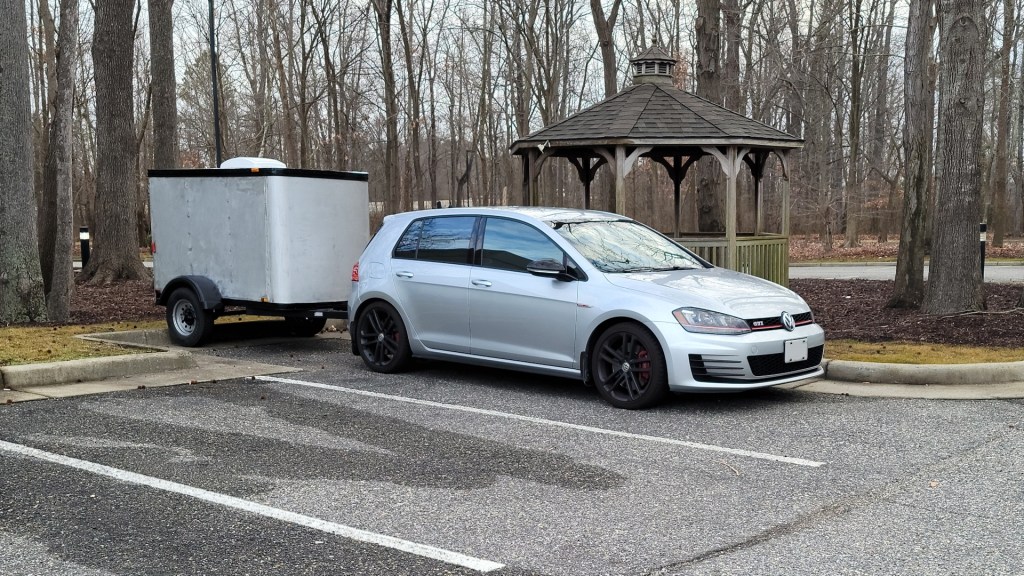
Here's the trailer on the morning I took it in, which was this past Tuesday...
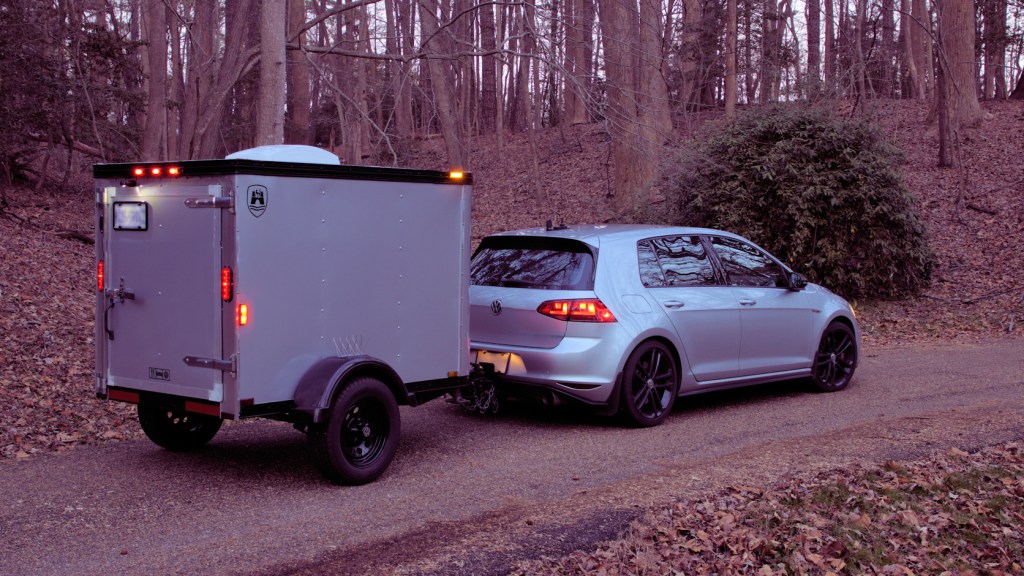
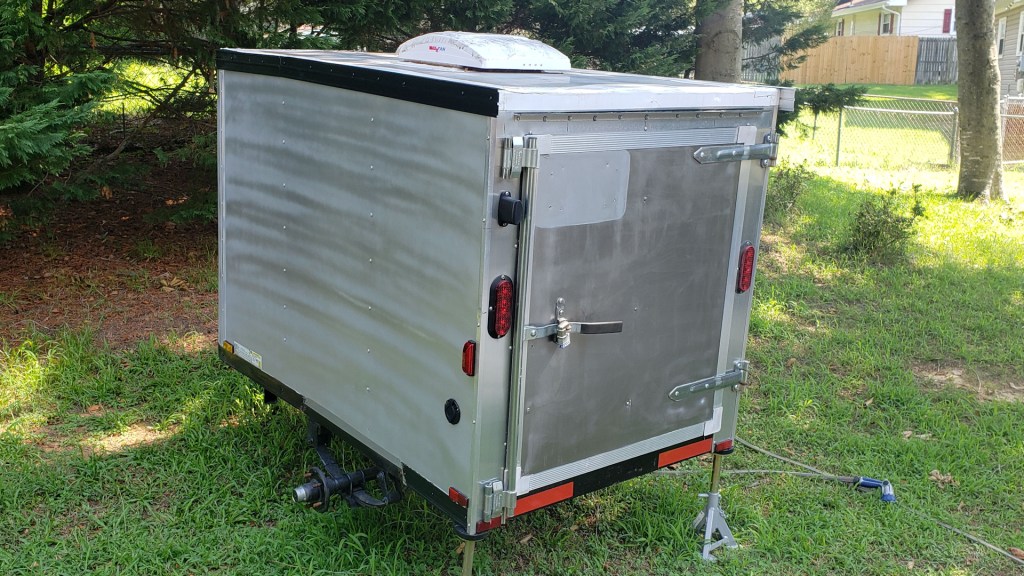
Once at his shop, I removed the fenders and rear door so that there would be fewer seams in the vinyl. He had the car for about four hours. It was still warm enough to cure paint, or caulk in this case. So, I caulked the edges of the trim rings and door hardware, then swapped to a set of black wheels to sort of match the car's. Here's how the trailer looks now...

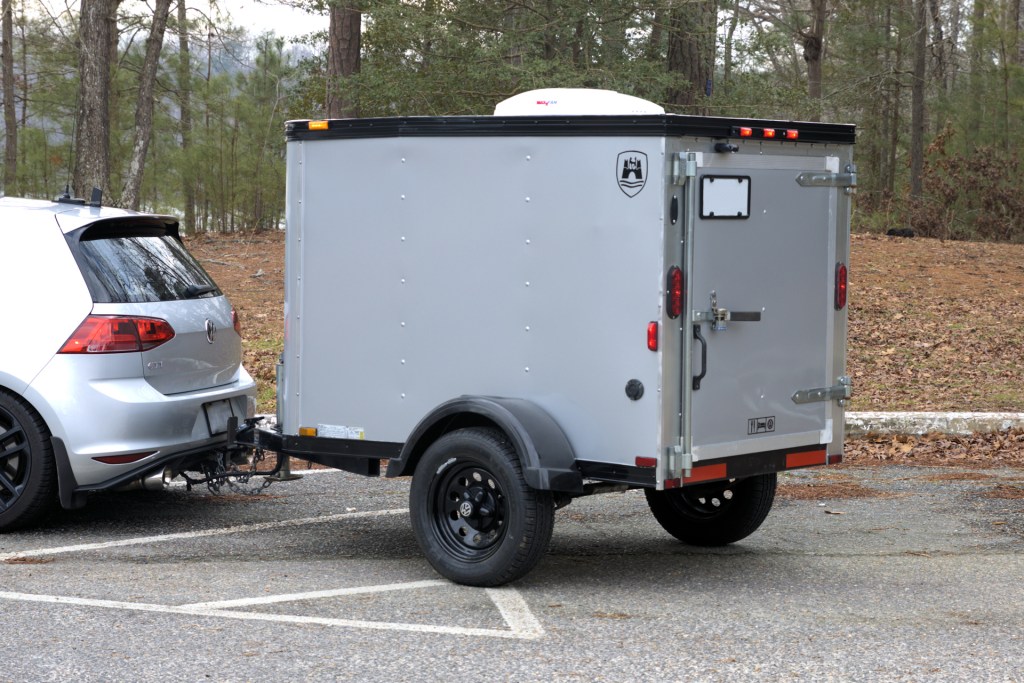
The wrap doesn't match the car as closely as the sample did. I suspect that's either because my car has faded a hair since first comparing the sample two years ago. Or perhaps the wrap itself is a hair darker when applied to the metal. Either way, I'm pleased with the outcome, even if it's not a perfect match. I'm hoping to see warmer weather so that I can finish that cabinet before I hit the road. My paint is standing by for the next dry day above 50 degrees.

If you're wondering, I'm not planning to camp in the trailer during this trip. It's not leisure travel; plus, I'll have cargo on the return trip.
WHEW! Lots of typing for this one! Thanks for sticking around and for any encouragement that you have give me, either here or in Facebook. The video I linked above is part of a playlist that covers the different elements of converting this trailer. I'll update it with the wrap soon. Besides the front cabinet, I have also decided on a rear door solution: A slider. Stay tuned!
Take Care,
Scott
 We'll see how the swing-down door goes first.