While I'm waiting to travel this week (Danube river cruise) I piddled with some small stuff that I wanted to get done. These included a small shelf at the foot of the bed to hold a laptop computer for watching DVD's on rainy nights, a storage box in the front area to store the propane camp stove, and a framework to hold the electrical inlet fittings.
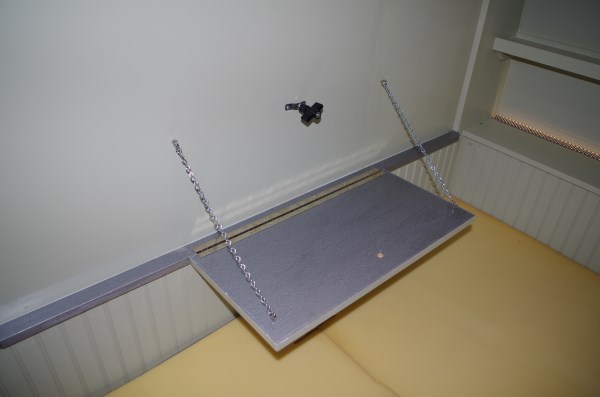
We use an old laptop computer to watch DVD's on a rainy night so I decided to build a folding shelf at the foot of the bed. All the materials in this little project were simply scrap stuff laying around in my junk drawers. The 3/4" plywood was painted to match the existing paint scheme and is supported on a piano hinge with two chains. It is held in place when it's folded up by a bolt and plastic wing nut.
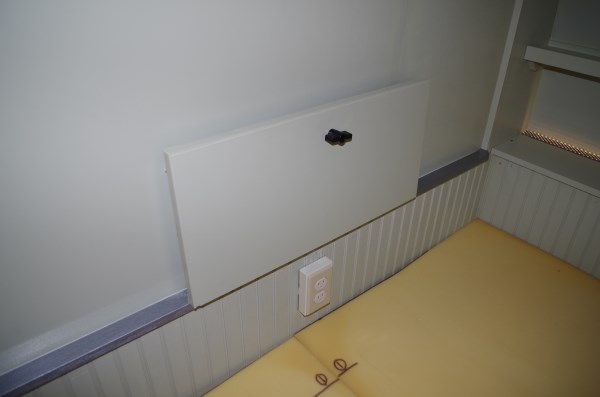
When folded down the top of the shelf shows the same hammered silver Rustoleum paint that is used to trim out the rest of the cabin area.
I installed an AC outlet under the shelf previously for the power cord. When watching the DVD's, we use headphones for better sound quality and less noise for our campground neighbors.

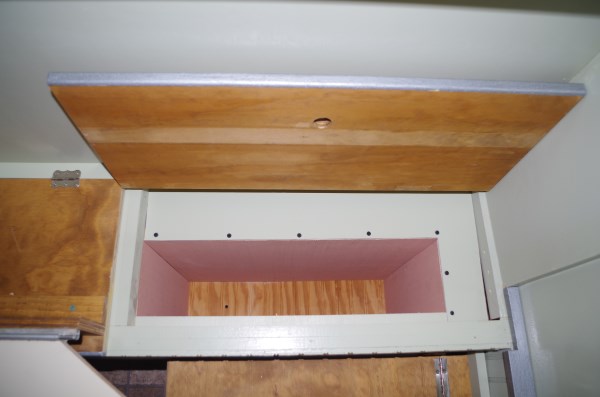
Under the shelf area just forward of the dinette was a wasted space where the old pop-up winch and cable system used to be. I used scrap lumber to build a box for storing our propane camp stove. In the past, we had kept the camp stove stored in the garage and on our last camping trip we forgot to pack the stove. Luckily a good campground neighbor loaned us one. This will keep that from happening again.
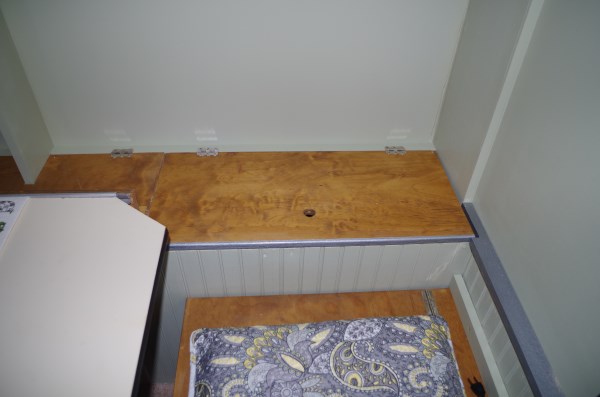
The box is made with a 1X2 framework (Kreg jig and pocket screws) and the 5 mm plywood and simply dropped into the hole and fastened to the framework with a couple of screws. It doesn't fill up the entire space so I used some more 5mm plywood to cover the remaining opening at the top.
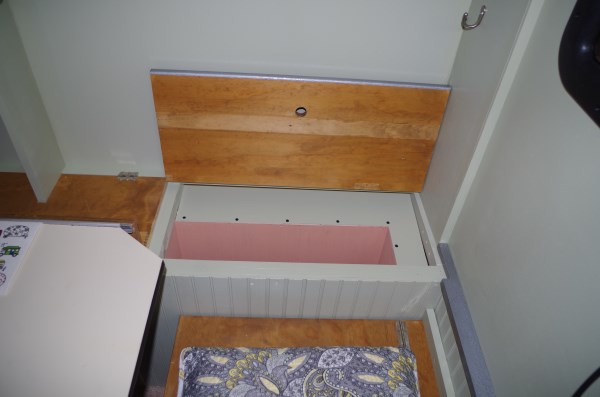
The bottom is simply a piece of the bead board used to trim out the cabin. I'll use a couple of pieces of foam to pad the stove and keep it from banging around when traveling.
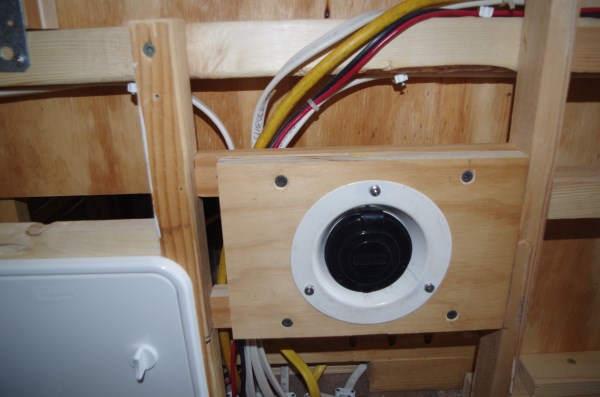
All I needed for the electrical inlet was a small piece of plywood mounted to the wood framing with a hole for the fixture to fit in. Note that the door on the left is one of the four air inlets for ventilation.

The electrical inlet fixture is actually the water inlet from the old original pop-up that I cut and drilled for the Marinco 15 amp electrical inlet to fit. We used this on the previous project also. I'll wire it up later after I install my siding and I placed it in a location so that I can also reach it from inside the cabin near the electrical center under the left dinette seat.
Off to Europe in a few days and will start on the EPDM roof when I return at the end of the month.