I haven't made an entry in this journal for over a year but kept on working while I could. Shortly before my last few entries I got wrapped up in an overwhelming project at work so stopped making entries for a while and didn't even get caught up with the build progress I had at that point. I pulled the trailer back into the garage and it sat for a couple months in the middle of winter then in March we were sent home from the office to work from home and have been at home since.
While stuck at home, even with an overwhelming project at work for most of 2020, I did manage to make significant progress and check many things off of the list, with probably 50 useful pictures to add here. I had the trailer in the driveway in the summer and fall then brought it back inside around Thanksgiving 2020. I'll pick up where I left off from the progress in late August 2019.....
In August I got the side door levers installed but didn't use any of the 3D printed latch catch ideas I had and simply used an angled piece of aluminum to make an edge of the right depth. I don't have a good picture of it now but will eventually when I do the trim work around the inside of the door jamb.
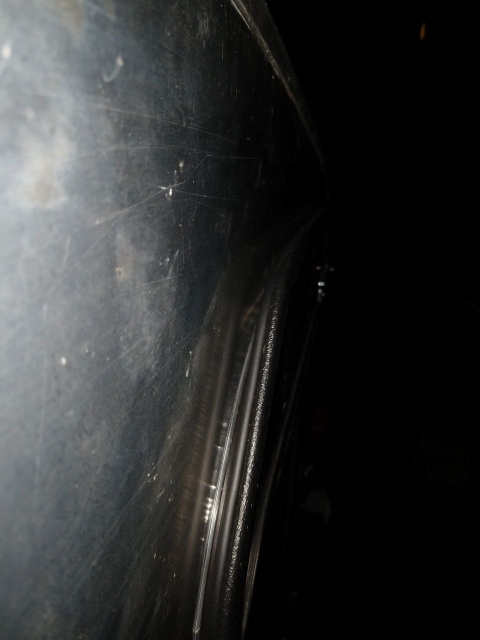
I had a gap at the top of the right side door - the hinges, latches and everything lined up so this must be a little unnoticed (or forgotten?) warpage in the broader aluminum exterior door skin. Even with this gap, no rain got into the trailer - it seems that any water that would trickle down the exterior skin falls into a channel between the 2 door seals. I removed the outer seal and sandwiched the skin between a couple boards and clamps and bent the skin back inward to reduce it but there is a little remaining and will probably need to do it again later.
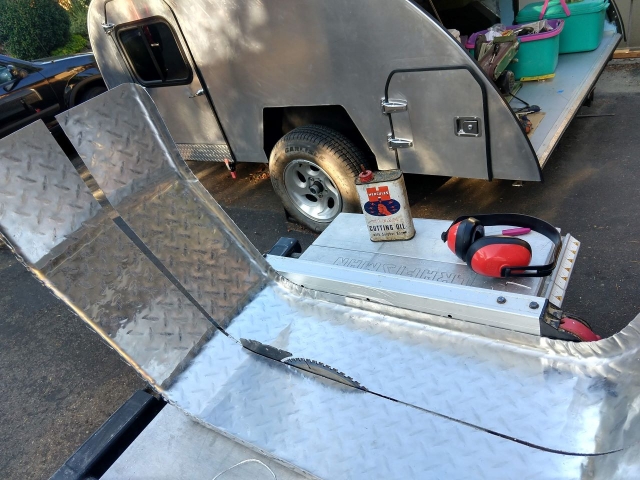
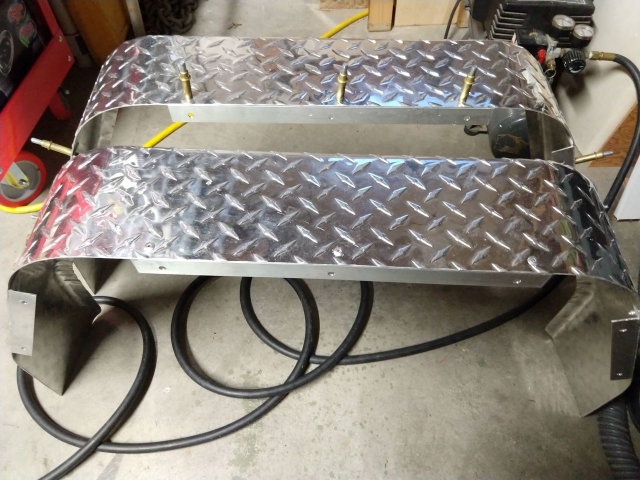
Next I prepared the fenders and installed them. Since the wheels stick only half way out beyond the exterior walls I only needed a half-fender on each side. A few years ago I had a single fender with a Jeep-style shape to it made and it sat here for a long time - you can see it a few entries back sitting on the tongue. I cut it in half down the center and riveted angled aluminum brackets to mount them. These line right up with the 1" square tube frame around the wheel well and I fastened them with self-tapping screws and included fender welting for a finished look.
I simply cut the fender down the center on the table saw (this picture was posed after cutting it, I wouldn't want to let go of it while cutting just to snap a picture).
Here are the brackets being added (with clecos to hold it in place for riveting).
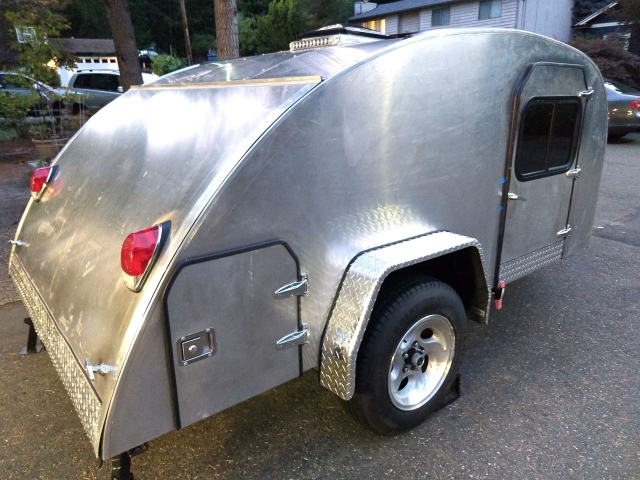
Right side installed with fender welting
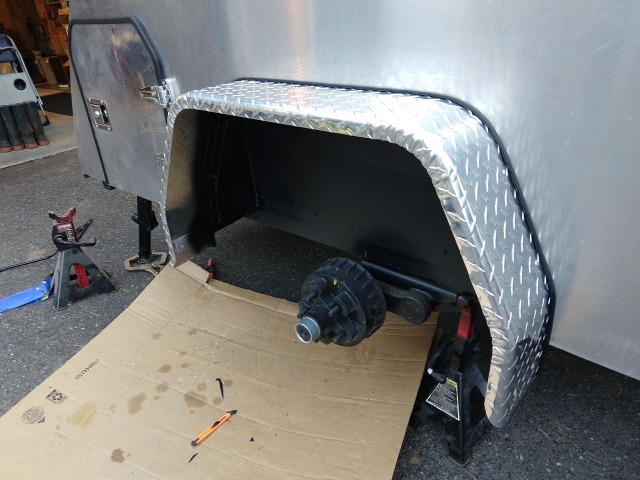
Right side with wheel back on:
I also made some brackets to affix the bottom edges and leave a vertical surface under the trailer frame if I want to add a mud flap later to protect the whole width of the tire. The brackets are hard to see installed because that joint is now covered with undercoating. The flat top of the fender gives a surface to set a beverage or tools and I can clamp on an extension table there too.