tony.latham wrote:It's amazing how much time is consumed with varnishing. I find it a bit fatiguing.
It's not so much the varnishing but the fact that I can't do anything else with it because of the dust. I still have a couple pieces that need the finish that will be varnished while I am wiring the trailer. I will be actually able to do something productive while the varnish dries.
This weekend I put on the roof framing. I cut the 1x3" nominal poplar down to 2 inches wide and then added the notches for the wiring. Here's what I had to show after the first day
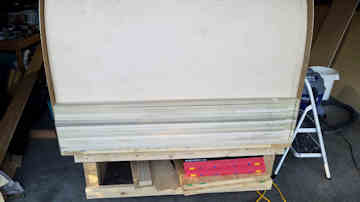
- 20201017_183940 small.jpg (29.37 KiB) Viewed 1957 times
The second day I spaced out the supports and put them on. I looked at the pictures in the book for the installation and I think the roof sat all the way across the walls as opposed to inside the walls as the ceiling did. That meant that some of my supports had to be raised up. I don't know if I miss cut the walls or if something else went wrong. I had to push the ceiling up to the spar, then staple. That worked well for most of the attachments. There were some that I saw light through when I drove the staple. Thinking that I didn't put in a staple, (my cheap HF stapler is prone to misfires) I hit it again, then again. When you see light, it actually means you missed. I did it on one side of the roof spar. Then on the next time, I did it on the opposite side of the spar. The moral of this story is to look at each side to verify that it was a misfire and that not a miss. Otherwise it went well. A little bit of wood filler should make the ceiling look almost as good as new. And if not, well there is always primer and paint. No one will know any different.
Anyhow, as they say, no pictures, it didn't happen. Here are the pictures
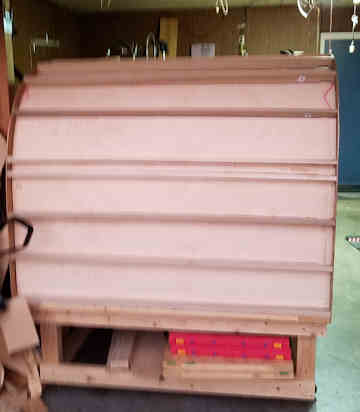
- 20201020_191358 small.jpg (35.88 KiB) Viewed 1957 times
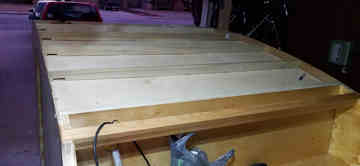
- 20201020_191435 small.jpg (28.3 KiB) Viewed 1957 times
Looking at the front, the two close ones are where I placed the spar to support the diamond plate. You can also see on the left (the fuzzy side since it gets dark so early) where I cut the side to short. I will put the blocking in and then fill with epoxy.
Next weekend we will put the sides of the fan opening in and the blocking. If things go really well, I may start the wiring. Wiring is the one place where I have a question for you Tony. How does the battery and tail light wire enter the trailer cabin? Looking at pictures, it appears to come up through the bottom next to the battery. What I can't figure out and didn't see where you explained is how to seal the opening. I know they make cable glands for larger wire but I think the floor thickness might make them unusable. This is especially important because I want to have my primary charge from the tow vehicle and then solar as the secondary. I am thinking I want a roof rack that will make roof mounted solar ineffective. I have to drive a minimum of 6 hours to anywhere but the canyon, so why not charge from the vehicle. When I get to my destination, I will deploy the solar panel to keep the battery topped off.


