Slow progress at the moment, but progress nonetheless. I'm going to try to include a fair amount of detail on what I buy and how I build to help other new builders find their way. I'm also keeping a Google Sheet with prices, dimensions, and sources for all the materials to get an accurate cost estimate and to help others with sourcing. I'll post the link a little later on in the project. I'm sure we'll make many mistakes with this build, but hopefully they're educational for others!
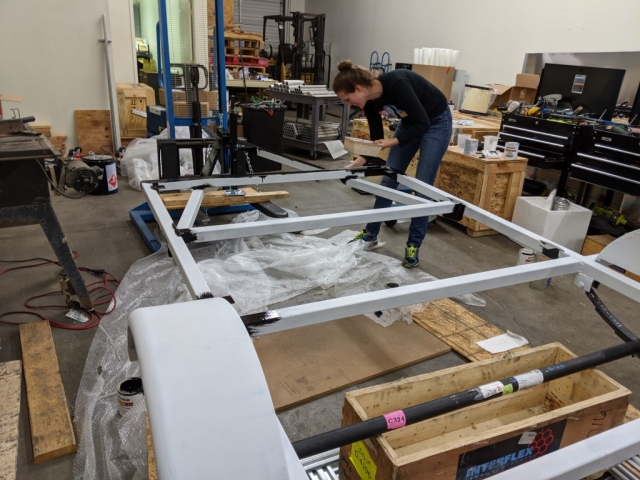
With the trailer frame built, I made some fender mounts and welded them and the fenders to the trailer. Then I spent ~4 hours prepping the trailer for primer (would have definitely preferred powder coating, but the quote was $700) by 1) wiping everything with acetone, 2) wire brushing the welds, 3) sanding all the steel surfaces, 4) blowing the dust off, and 5) wiping everything down with IPA. I didn't take photos of that process because my hands were covered in black metal dust the whole time and I didn't want to touch my phone.
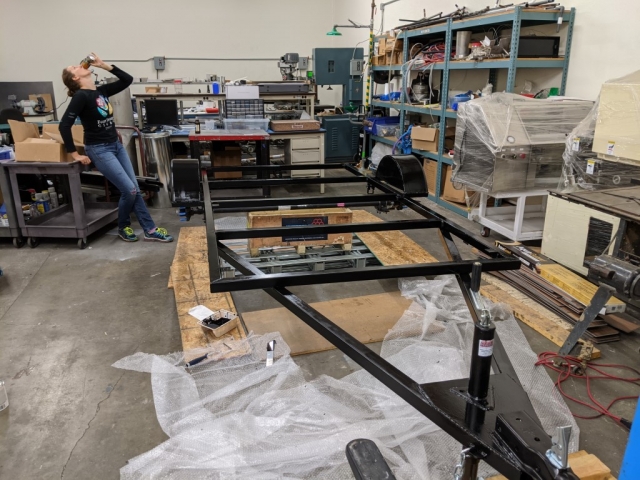
After that, we hand painted Rustoleum Clean Metal primer with brushes and a mini roller and let it set for a few days. We went over that with a Rustoleum 7777 (satin black). It looks quite nice, but it's not as hard as I'd like. After that was wiring (currently attached to the frame with zip ties, though I'd love a cleaner solution if anyone can suggest something simple, sturdy, and rust-proof).
Then I took a trip to the CA DMV to get plated. I thought this was going to be super painful, but I roughly followed the instructions from some others in the community (
http://td.roughwheelers.com/DMV/) and it ended up being a breeze, despite going solo. It took about an hour total (plus me getting there before it opened) to have a VIN and license plate with a title in the mail. Total cost has gone up quite a lot since that link; it cost me $109, which mostly went to "use tax".
I used the freshly plated trailer to go get all the wood in three batches: 2x4s (floor frame), 1 x 1/2" 4x8 Baltic Birch (galley/cabin divider plus drawers), and 3 x 3/4" 4x8 CDX (structural wall) from the local lumberyard; 3 x 1/4" 4x8 ACX (outer wall) and 3 x 1/2" 4x8 ACX (floor) from Home Depot; 8 x 1/8" 5x5 Baltic Birch (interior walls, roof), 2 x 1/2" 5x5 Baltic Birch (shelves, headboard, galley counter).
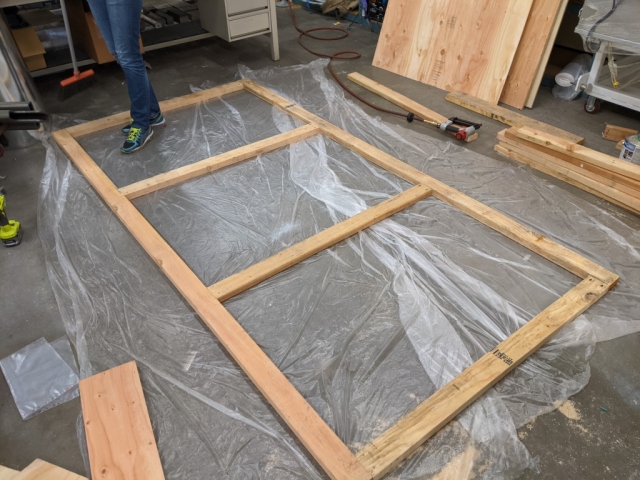
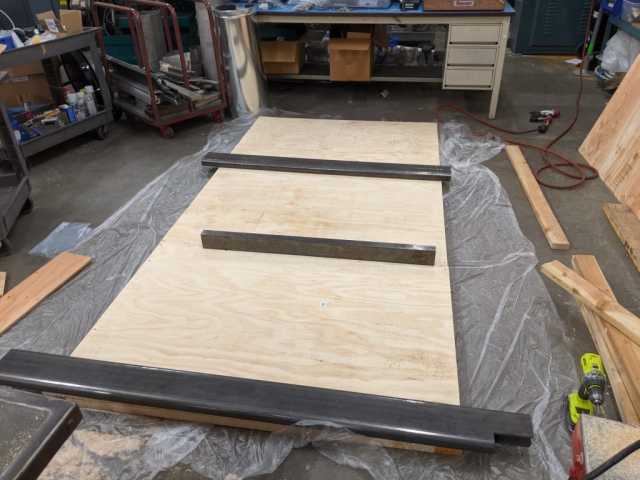
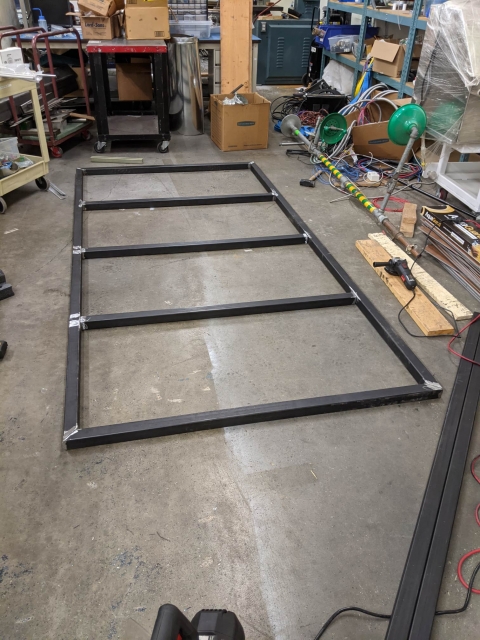
Finally, then, we started cutting some wood. The floor frame is simple: 2 10' 2x4s running the full length with crossbeams cut to make the total width 59.5" (the 1/4" ACX will overhang the edges of this to bring the total width to 60"). They're secured with wood glue and pocket screws. The floor is 3 40" x 59.5" pieces of 1/2" ACX glued to the frame. The original plan was to staple them down, but the 3/4" staples didn't really have any bite (note that the crossbeams are centered on the seam between plywood sheets). We ended up screwing them down, and will cover the screw heads with wood putty before sanding and varnishing. I'm not super happy with how this turned out, as there's a 1/16" gap between two of the pieces of plywood and the edges of the plywood aren't totally flush, but I'll router them down with a flush trim bit and the walls should cover most of the imperfection. The gap will be covered by bed, but we'll probably fill it in with wood putty just for good measure. The plywood also isn't totally flat, so I may add some more crossmembers for rigidity and to hold things flat.
The last picture shows some seriously heavy scrap steel acting as a clamp to hold the plywood down while the glue sets.
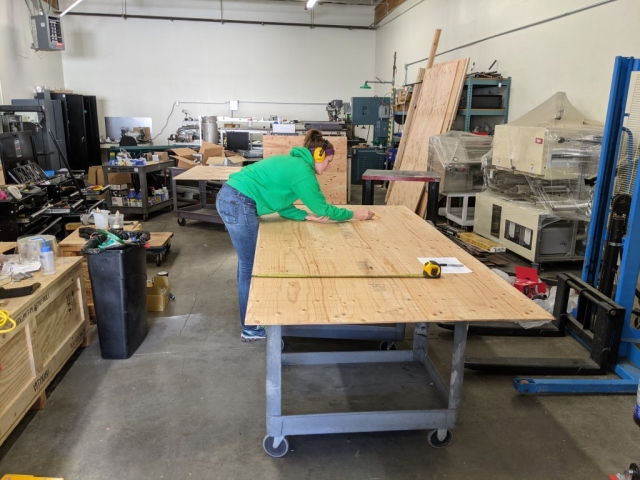
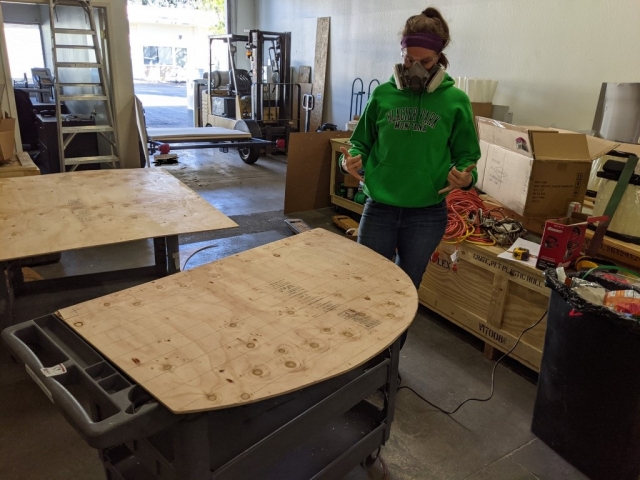
While I was cutting the frame bits, Kirsten (my partner) drew out the teardrop profile out of the 1/4" plywood by making a series of vertical lines spaced 3" apart and measuring and marking them according to our drawing. She freehanded the curves between each point, then took the jigsaw to it. The results were... ok. There was a fair amount of waviness that we mostly removed with a palm sander, but I'm still not enamored with it. Next time we're working on it, we'll go at it with the sander a bit more. We only cut the nose piece this way; most of the tear is still uncut, as we figured we'd start with the smaller section before doing the larger one.
Next steps are to cover the bottom of the floor/frame with asphalt paint, sand and varnish the floor, then finish cutting and smoothing the tear profile from the 1/4" ply. After that, we'll replicate the shape of the 1/4" cuts onto the 3/4" via jigsaw/router with flush trim bit, then start cutting out space for the insulation.