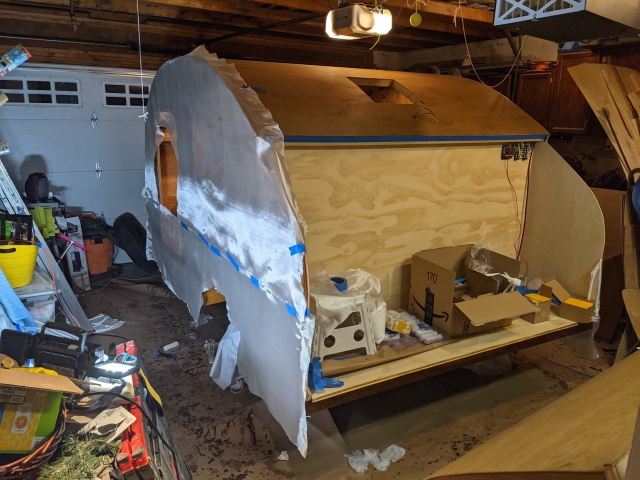
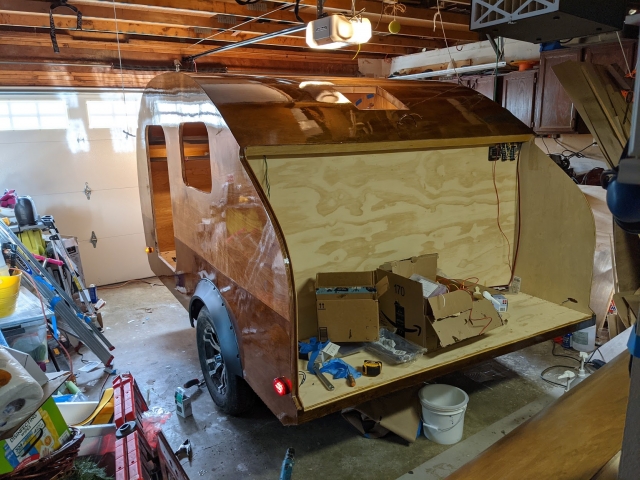
Spring is here and I'm getting ready to get the camper to the state where we can take it camping for the first time. I've been slow posting photos (and I started the build log late too), so I need to catch up posting a few things.
First, I installed the the skins. The top was skinned with two layers of 1/8 plywood, the sides with one layer. The way I went about it was to install the first layer of plywood on the top (I used the cheapest plywood I could find at Home Depot for this layer).
The plywood was clamped with 4 ratchet, a bunch of 1.5x075 and a bunch of shims where ratcheting didn't work quite that well. PL Premium was used to attach this first layer to the frame.
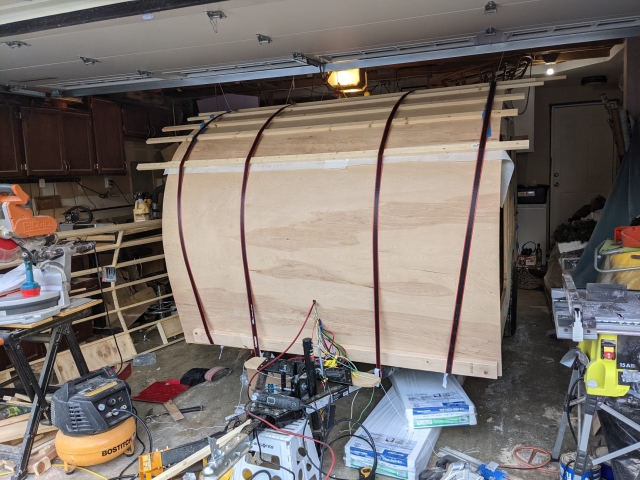
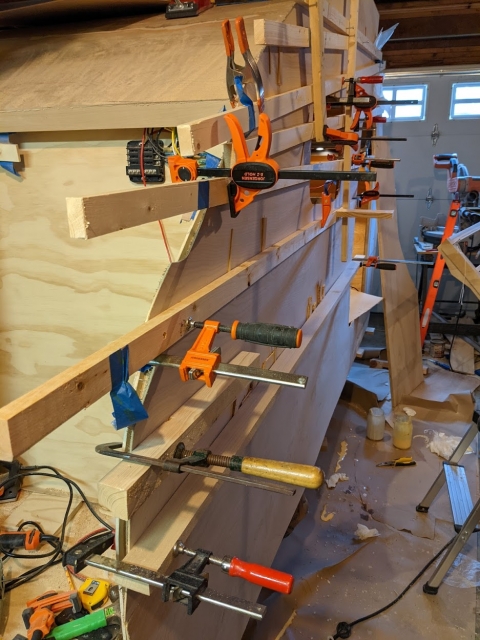
Then sides using 1/8 birch plywood and Titebond III- I struggled finding a good way to clamp the skins on installed walls, but what worked pretty well was to clamp a bunch of 1.5x0.75 scrap wood to the bottom and using any available opening, and then using a bunch of shims. Between the clamping and the elasticity of the scrap wood which pushed hard against the skins, this actually worked really well. Sides could now be trimmed using a router and laminate cutting bit, using the top plywood layer as a guide.
Then another layer of 1/8 plywood on top (this time birch), which could now be trimmed guiding the router using the sides, resulting in a nice, clean joint.
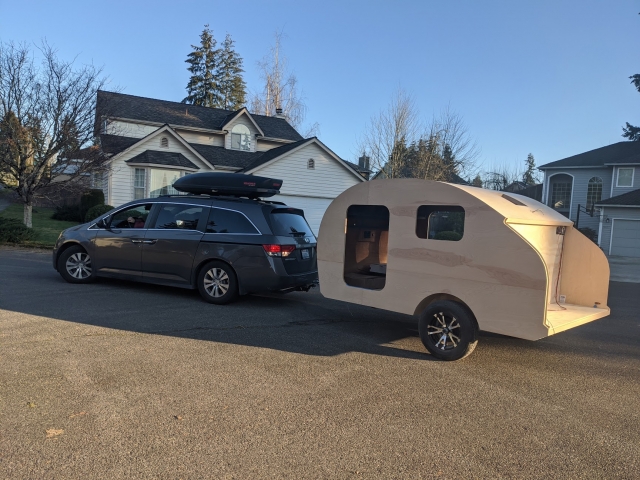
I was able to take the trailer on a first test drive around the house
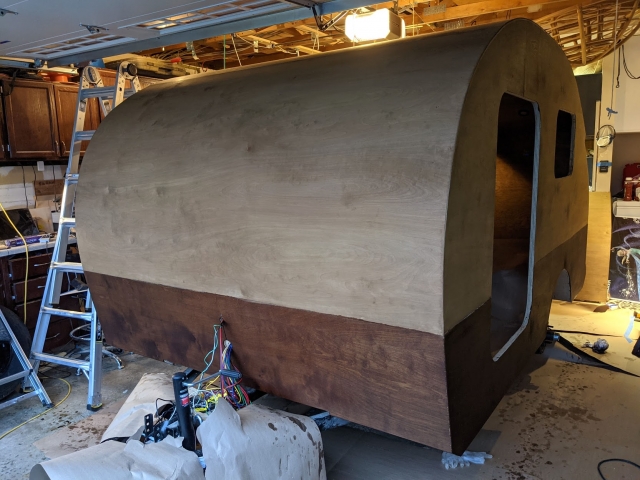
I used aniline dye for staining - there was a bit of a difference in shading between top and bottom plywood, so instead of trying to mas it, I went with a two color look (I've been toying with this idea anyway). The result ended up quite blotchy - I experimented with sealing the plywood first using some scraps, but it didn't seem to have made any difference - maybe I was just doing it wrong. In the end, I decided to skip the sealer all together - since it makes no difference and I was worried about epoxy adhesion.
The result was somewhat disappointing at first, but after epoxy layer a lot of the blotchiness became much less pronounced.
And finally fiberglass (2oz), epoxy (Raka) and varnish (Varathane Spar) - I've been dreading this part, since I've never done anything with epoxy in my life. Turned out to not be all that complicated and sandpaper was an excellent cure for for most of the problems which developed. While I didn't get a perfect mirror-like surface in the end, it's close enough and I'm happy with the result.
