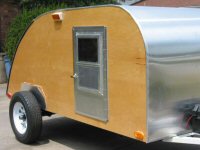
Today was the big assembly day and a complete
win. With all of the pieces prepped and ready to go, the only thing I had to do prior to assembly was cut the dados on the galley side of the bulkhead. Once that was complete, I recruited my mom and dad to come and assist me with assembly. They've seen most of the work that my wife and I have put into this thing so far, and they were almost as excited as we were to see the walls and cross members finally mounted on the trailer permanently.
First, we ran a bead of Loctite roof and flashing sealant along the lower edge of the floor in order to create an additional seal between the frame, floor and bituthene. It was the only polyurethane based product that I could find that was compatible with the bituthene tar. This stuff was messy and has a terribly long (7 day) cure time. I can't say I'd recommend it for much.
After the sealant, we dry fitted the walls to check for any last minute surprises. Once we determined everything looked good, we ran a bead of PL Premium on both the top and side edges of the floor where the walls would attach. We then got the first wall in place and screwed it down.
The lower bulkhead and headboards came next. We ran screws through the exterior side of the wall, into their side edges and used pocket screws to attach them to the floor.
Then came the second wall. My dad and I were both a little worried that lining up the wall with the floor and all three cross members was going to be a headache. We were very pleasantly surprised when everything slid right into place. It all fit like a glove. Couldn't have been any easier. Tedious prep work and planning truly pays off in the long run. The labeled painters tape was also a huge part of the day's success. If there was any gap between the tape and the wall, we knew that that area needed to be pushed in during fastening. Without it, the walls probably wouldn't be perfectly square to the floor.
The only hiccup in the whole ordeal was the jatoba used for the headboards. It is a rock solid, extremely dense wood. Even though we predrilled all of the holes, we still had several screws shear due to how hard the wood was. We drilled the final couple of pilot holes a little bigger to account for this.
All of the sudden, this thing has turned into a real unit rather than a pile of pieces. It'll be nice to show our friends some pictures that they can actually make sense of for once.
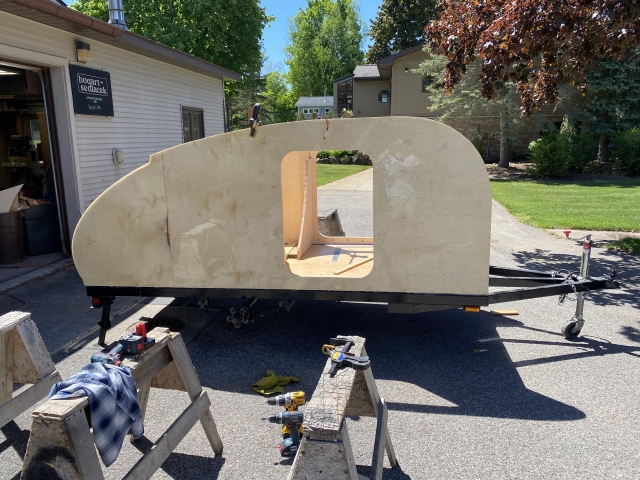
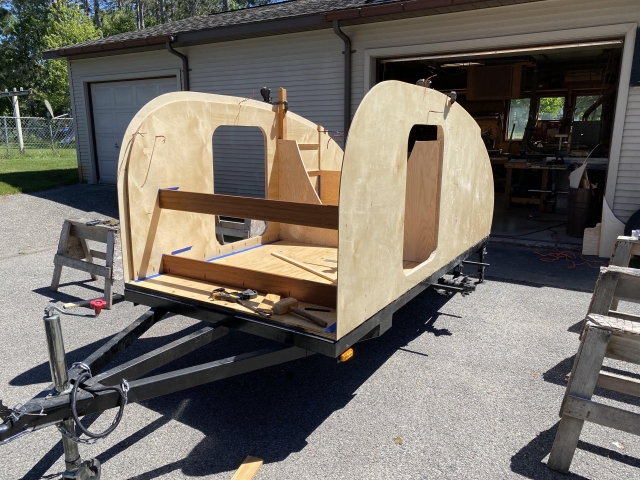
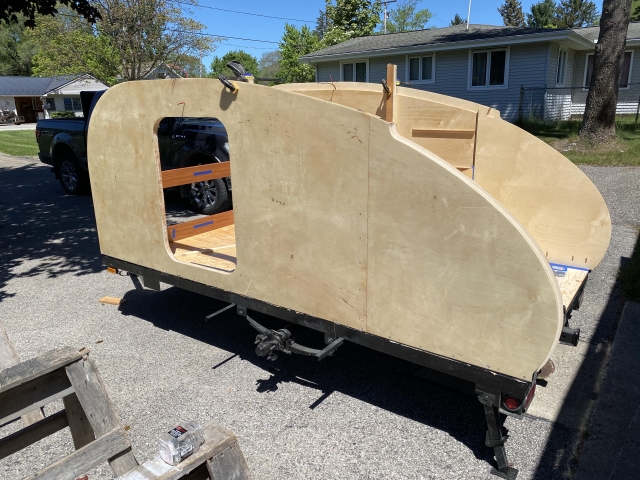
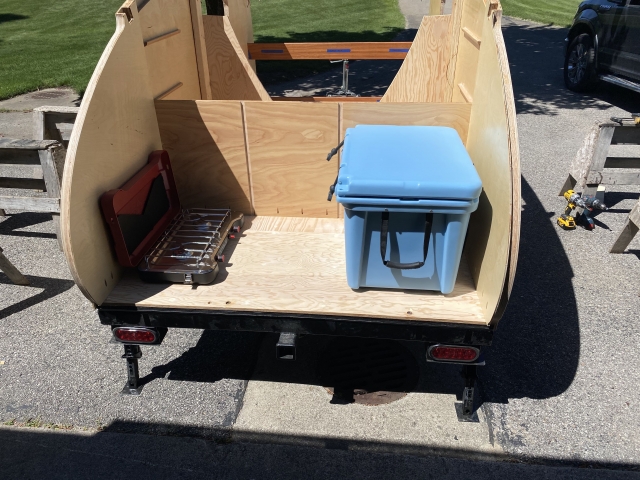
My wife was pleasantly surprised to see all of the progress prior to heading off to work for the night.
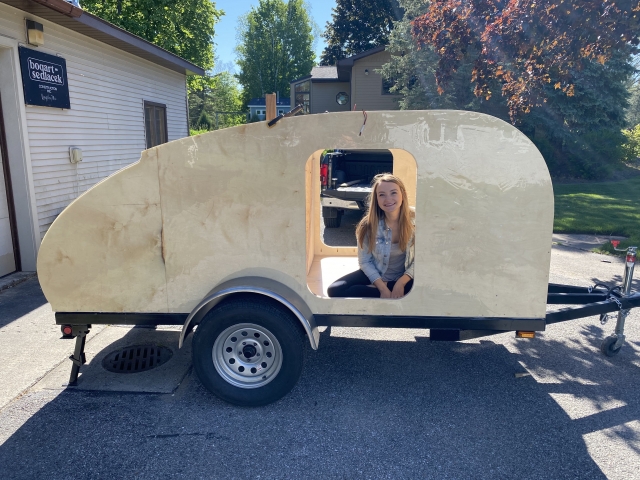
At the end of the day, it was extremely satisfying to have everything come together so well. A perfect 3/8" at the back for the lower hatch seal, the fenders clear the doors, the cooler and stove fit within the dados with their lids open, and the floor is perfectly flat with no gaps between floor and wall.
All of that said,
back to work.
