Now I got a real incentive to finish this beast...I booked a place at the rockabilly festival the pentecost weekend, and that's where I will be inaugurating my BUILT.NOT BOUGHT. trailer! I should be getting my a$$ moving instead of posting here..
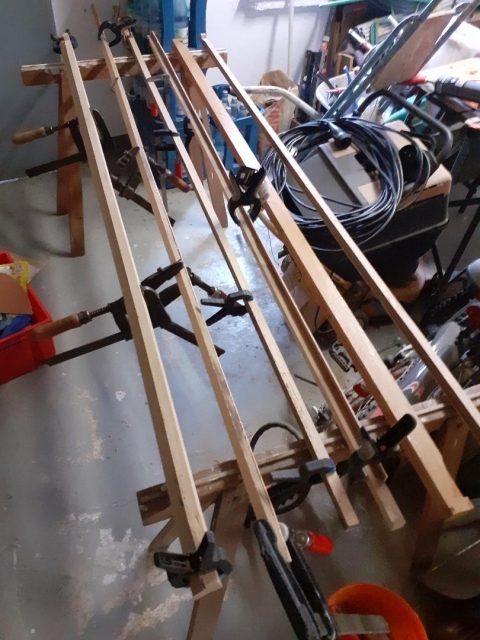
So we had this bout of really wet weather which essentially prevented me from dragging the trailer out and doing some real work, but at least I got the front spar lacquered and a few other roof spars finished. Doing that didn't take up too much space inside the garage.
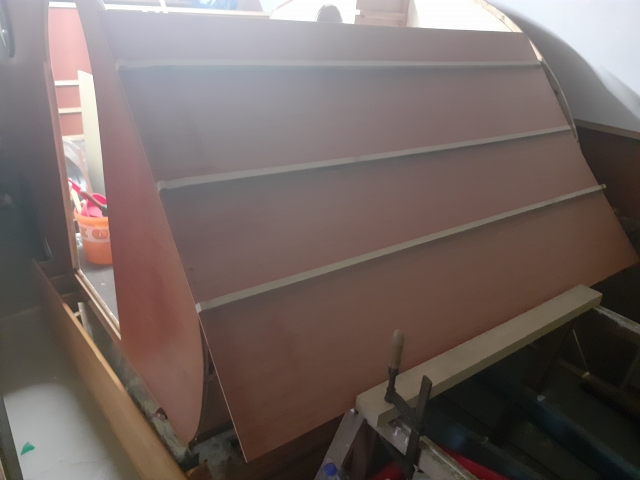
The front spar is already in place and joined with the inner roof panel. Gives a nice stability to the whole cab structure. Now I am trying to get the second inner roof panel up there and in place to join with the sides and the first panel/cross spar. That thing is 4 by 6.5" and doesn't like being moved...and I am all by myself, so I had two supports propped up, dragged the panel on top of them, prevented it from sliding down by fixing the block, and then went inside and dragged the panel over the top. Then I still needed someone else to push the panel inside the slot that the uppermost cross spar of the first panel left, so that the cross spar would press down half and half on both panels. Can't be done without having four hands.

But here's the proof: panel in place and tightened down. Next is some of the interior furniture. The front bed is supposed to act as an additional cross-member to stabilize the bottom of the cab, and it will be joined with the small wardrobe next to it.
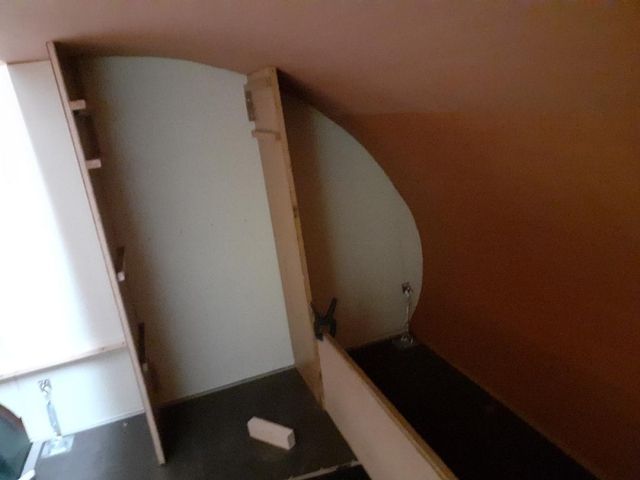
So first thing to go in was the wardrobe side wall, joined with the bed front.
Since there is storage under the mattress, accessible via a hinged panel on top, I thought it a good idea to put in two cross-suports for the weight of the bed and anyone lying on top of it. These had to be manufactured to allow for the curvature of the front end of the cab. The strut on the front end of the cab is joined with one of the roof spars outside by 6 screws of 2" length. More stability!
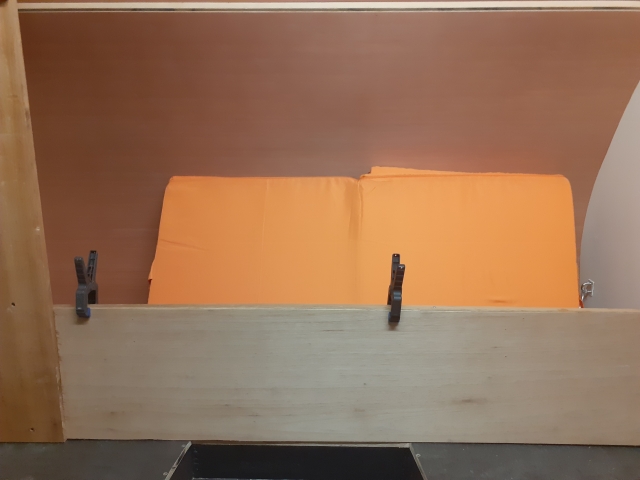
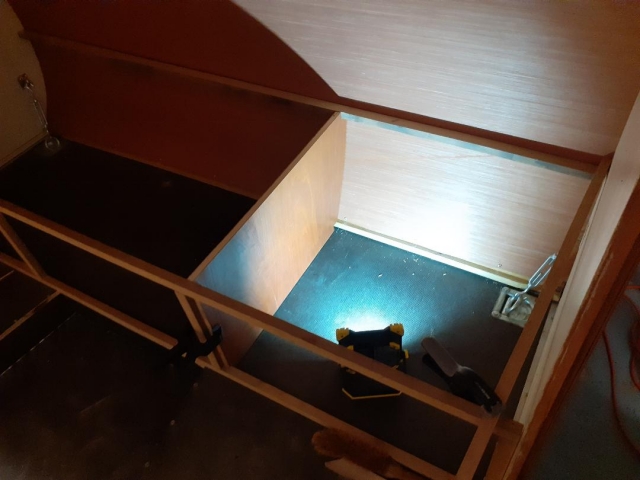
This panel stops things in the storage compartment from sliding out...
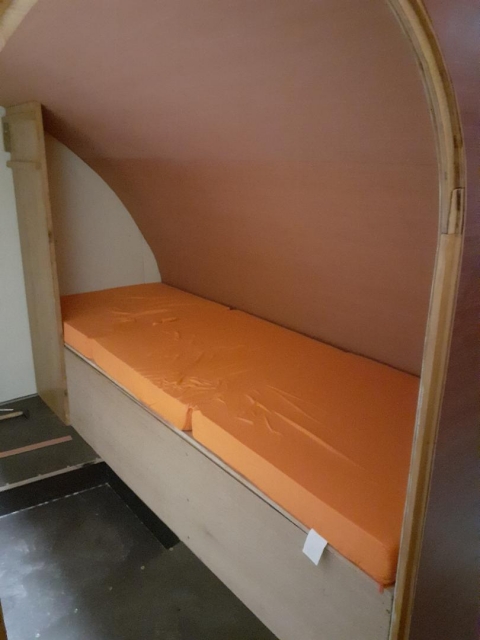
while this mattress stops my back from hurting too much after a night's sleep.

So this is the current status of the interior at the front end. The white shelving unit doubles as the side of the dinette/double bed.
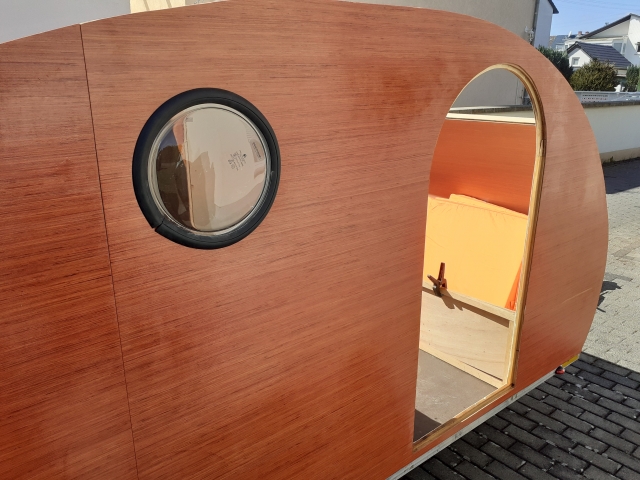
On another level, the first window got put in:
And seen from the inside:
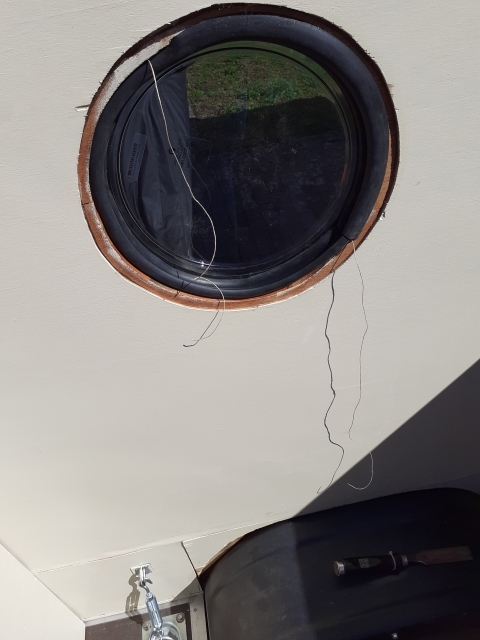
Note to self: next time take a string that actually manages to pull the seal lip out of the opening. This one was just too thin, I took a screwdriver and pulled that one along the rubber.