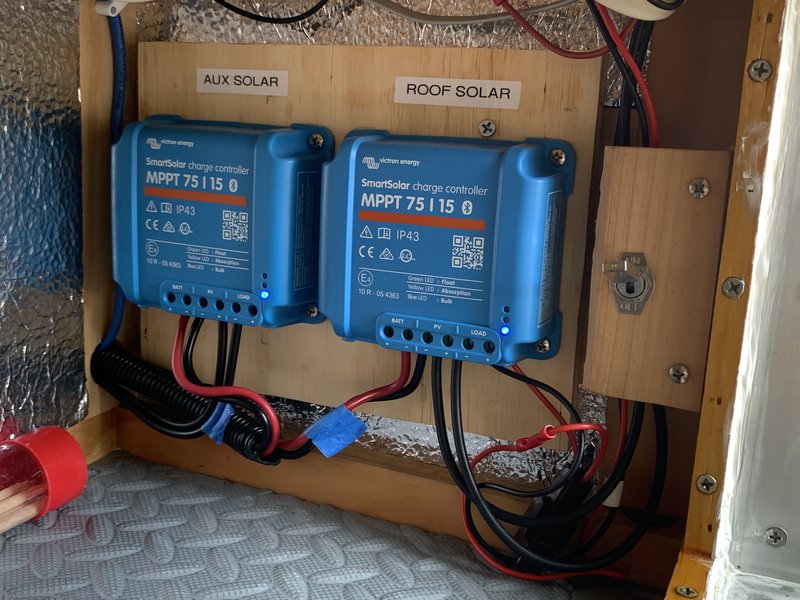
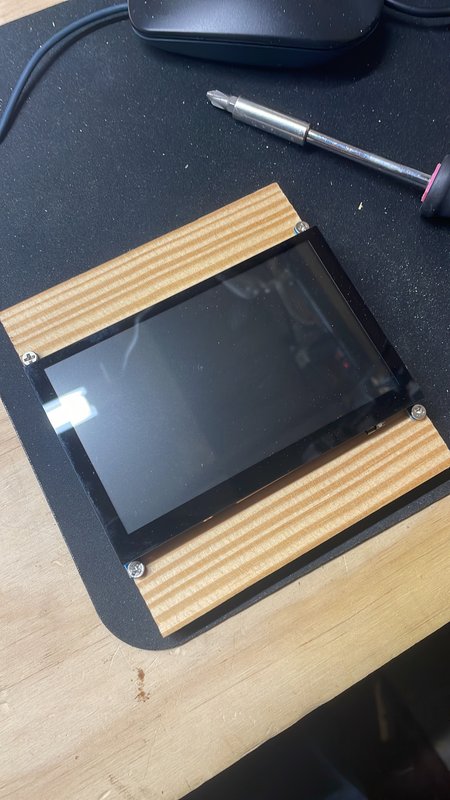
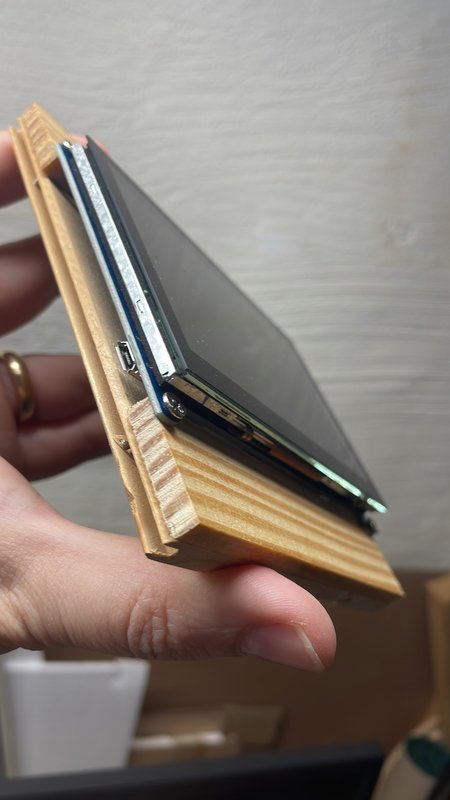
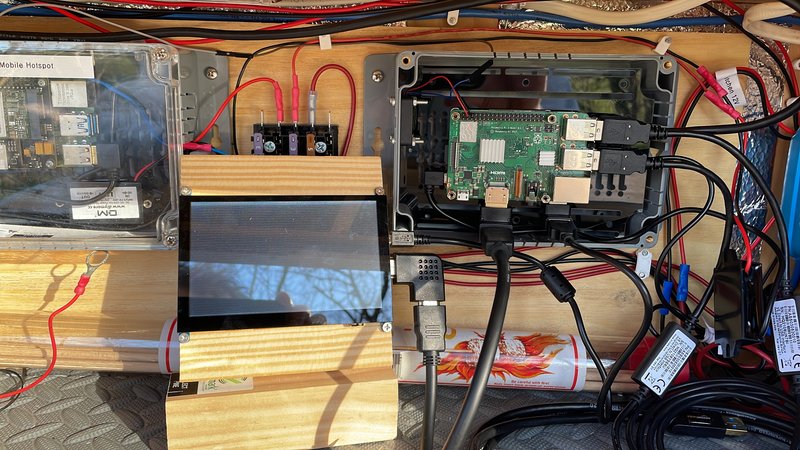
Today I mocked up the new 5 inch Waveshare HDMI touchscreen and got it running. Here is the setup. It currently lives in the kitchen side cubby with the Venus Pi and the Sixfab Pi, and two solar charge controllers. (Please pardon the mess of cables -- I'll neatly organize those.)
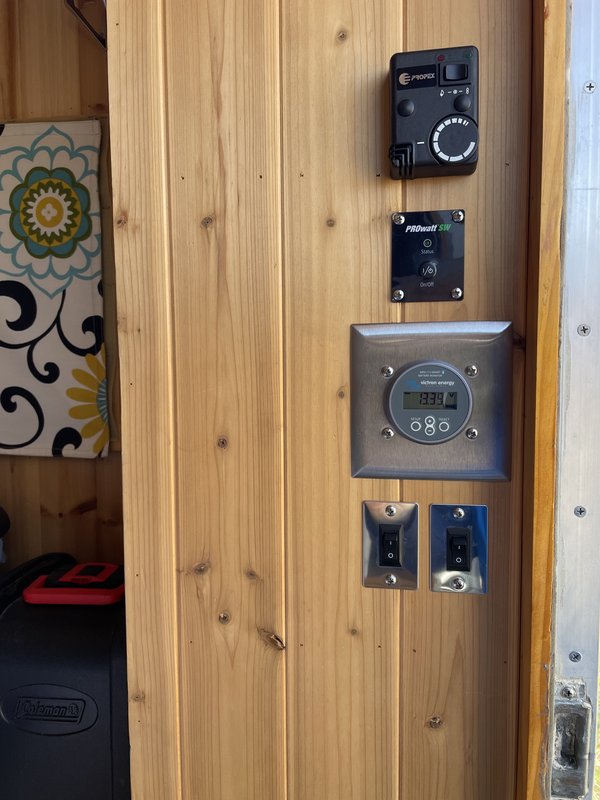
This is temporary, as I'd like to mount it next to the round battery monitor on the closet wall, just inside the door. Only the rectangular screen part will show through the wall.
The 5 inch touchscreen did not work out of the box (note the white screen with horizontal lines in the first pic), so some software had to be installed and then configured. I run kwindrem's GUI Mods for my Venus OS, and in order to install that several months ago, I had to first install his SetupHelper software package. The RpiDisplaySetup program is there on his Package Manager, and you can activate, download, and run it. It will only install part way if using an HDMI screen like I am. If using a Raspberry Pi branded touchscreen, it would have worked immediately. Because I have a HDMI touchscreen, it directed me to finish the install at the command prompt.
I was able to SSH into the pi from a terminal on my iPhone once I connected to the same wifi as the Venus (aShell is the terminal app- it's awesome).
ssh root@your_ip_address*. I entered the password when prompted.
*Note: In order to be able to SSH into your Venus OS, you have to go to the remote console and choose settings/general. Once there, make your default user into a superuser by selecting that menu item and then pressing and holding the right button. Once you are a superuser, enable SSH on LAN and then set your root password. I did this a long time ago, so I didn't have to do these steps again. If it is your first time needing to get root access over SSH, you will have to do them.
Once into the system, I typed the following commands to run the rest of RpiDisplaySetup:
cd /data/RpiDisplaySetup
bash setup
This will run the installer. Select i to install. Select h for HDMI. Select c for custom resolution. Mine was 800 x 480 with a 60 Hz refresh rate. Select 1 for aspect ratio (4:3). I did not have a dark or dimming script (yet) so n. When asked if I wanted to calibrate the touchscreen, I initially said n. (It is important to run the installer first without trying to calibrate, because you won't be able to calibrate if you can't see correct images on the screen.) Venus then rebooted.
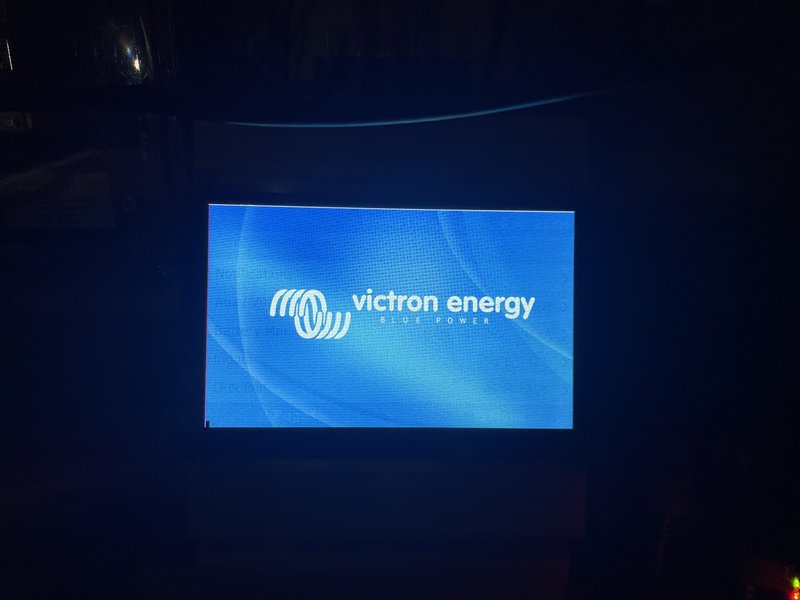
When it booted up, I saw the Victron splash screen! Yay!
It was getting dark out by then as you can tell, but the screen view was perfect! The touchscreen function did not work as expected so I ran the installer again. This time when asked about calibrating the touchscreen, I said y. The first time running the calibration, it needed to automatically download and install the calibration script, so say yes to that. Once the Venus OS booted back up, I had to touch 5 pointers on the screen to calibrate it, and then it automatically rebooted a second time.
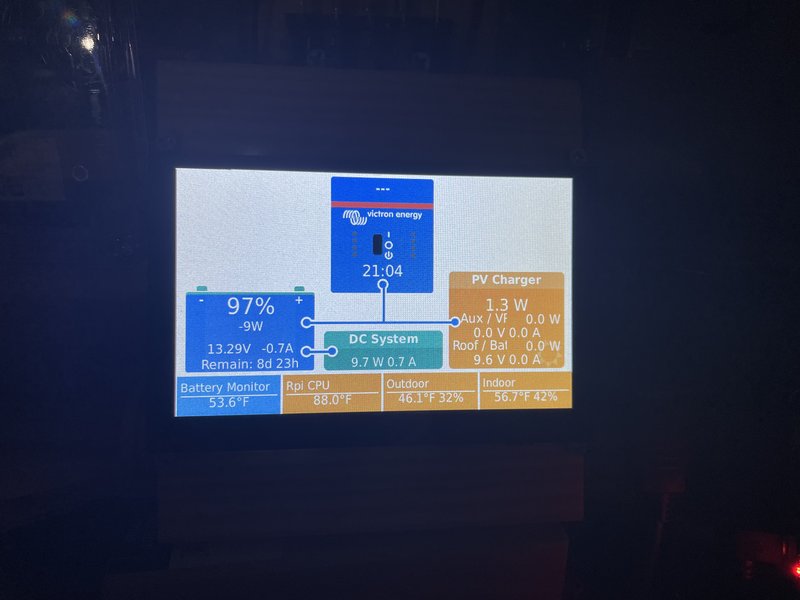
And this time it worked!!! I could see all the icons, and I could accurately scroll through and select the setup menus.
If one of the install settings didn't work for you, you can run the installer as many times as you want and try different settings. That's what I did, with a little help from the Internet. Let me know if you need any help to add an HDMI touchscreen to your Venus OS, because it is not exactly intuitive.
----------
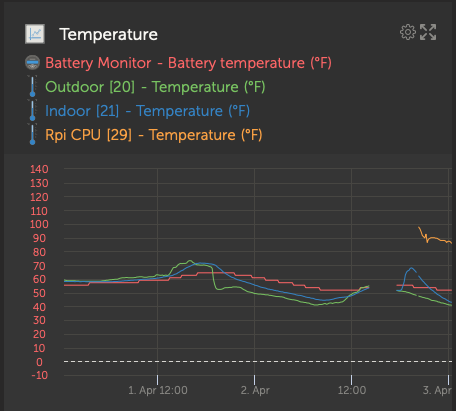
A side note: If you scrolled all the way down to the bottom of inactive items on the Package Manager, you might have noticed an item called RpiTemperature. By installing that, you will see the Rpi's CPU temperature displayed on the monitor along with your other temperature sensors. You can see it in the previous photo at the bottom of the touchscreen, second from the left. I think the sensor defaults to the name Generic, but I went into the menus and changed the name to Rpi CPU. This temperature sensor shows up and can be used to trigger relays on the Venus system the same way as any RuuviTag. I plan to connect its temperature data to Relay 2 to turn on Venus Pi's cooling fan when the CPU temperature gets above 50 degrees C (about 120F). I configured a custom graph on the VRM to show me all the temperatures at once.
----------
Another side note: I also installed the BIG7 USB shield from UUGear today underneath my Pi 3b+. It worked out of the box with no software to install, and connects with 4 pogo pins so there are no usb cords between the Pi and the USB shield. It's an elegant design.
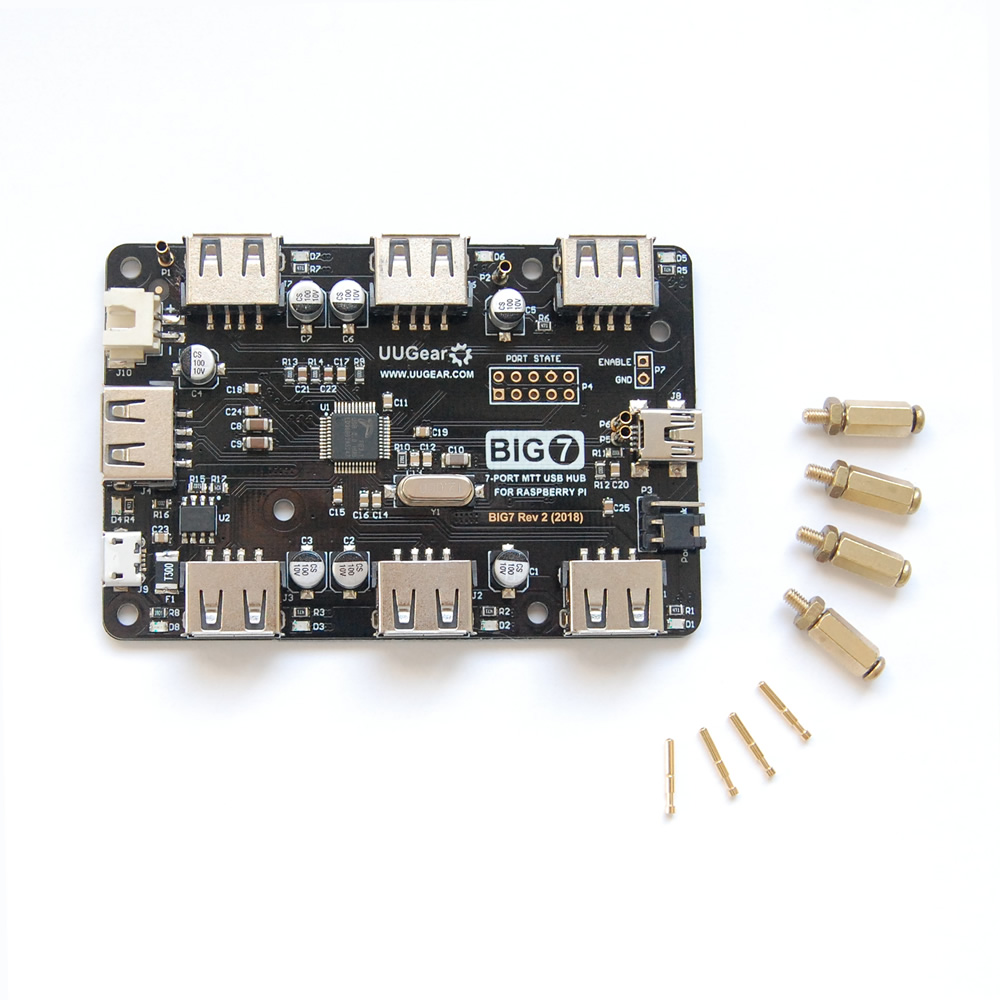
I have 7 USB cords that I need to run to my Venus Pi! These include:
- Overkill BMS (using their adapter)
- Roof solar charge controller
- Aux solar charge controller
- Battery monitor
- Shore charger (SmartShunt)
- 800 VA Inverter
- GPS antenna
The 3b+ has 4 USB ports, so the BIG7 shield is awesome. One USB (central, bottom position) becomes non-functional to feed the shield, but I now have 10 total working USB ports! I even have some room to expand! LOL
----------
About Power Usage:
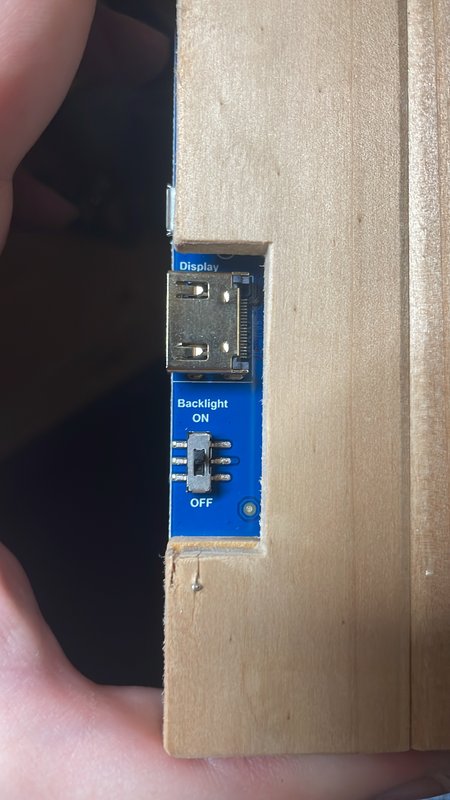
Prior to installing the touchscreen and the USB shield, my system's background consumption has been about 7 watts. With the USB shield installed and the HDMI touchscreen backlight ON, the consumption rose to 9 to 10 watts (+2 to +3). With the backlight OFF, the consumption decreased to about 8 watts (+1). I will probably only turn the backlight on when I want to look at or change the Venus settings, so 1 additional watt should not significantly affect my power consumption or solar charging needs. I have the battery monitor right there on the wall if I want to glance at the charge status while camping, so I can leave the backlight OFF most of the time.
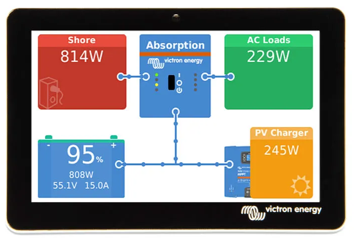
I am looking forward to having the touchscreen though, because it is not quick or convenient to bring up the remote console on a phone while you're camping. Having this touchscreen will give me all that same functionality, instantaneously, without having to burn through the trailer's monthly cellular data plan that is for Venus updating the VRM. The remote console on the phone is data-intensive.