Here's another update ...
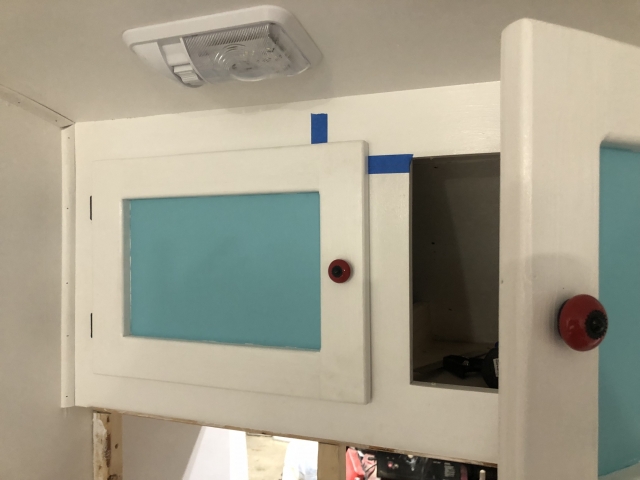
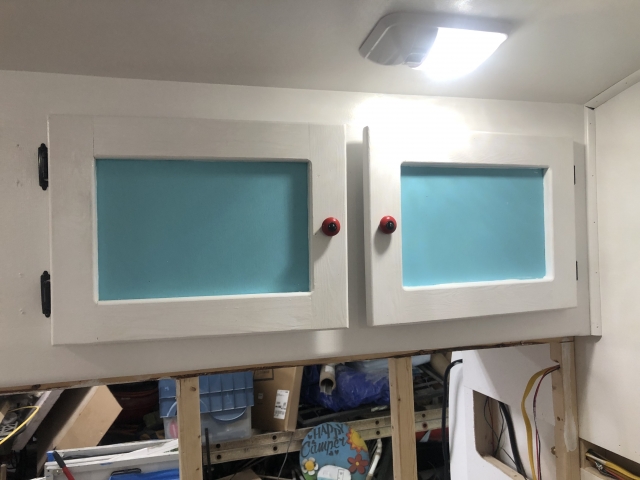
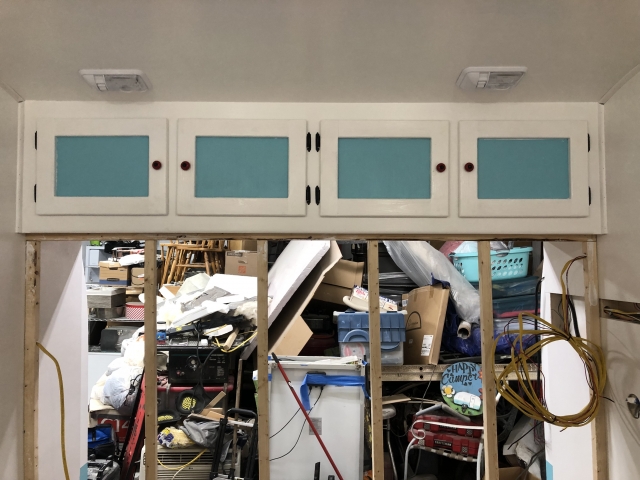
With a cramped workspace, plenty of rain, no decent table saw or workbenches, it took quite a while to make our cabinet doors. I just used 1x3 pine for stiles and rails attached to 1/8 plywood. Once finished, I painted them according to our color scheme and went about installing them once the paint was dry.
I first put the stiles and rails together with glue and wavy fasteners while clamped together and clamped to a flat piece of 1/2" baltic birch, then milled the edges inside & out with a 1/4" round-over bit once the glue was set. Then I attached them to the 1/8" plywood panel and re-clamped to the flat bb panel to let them set up.
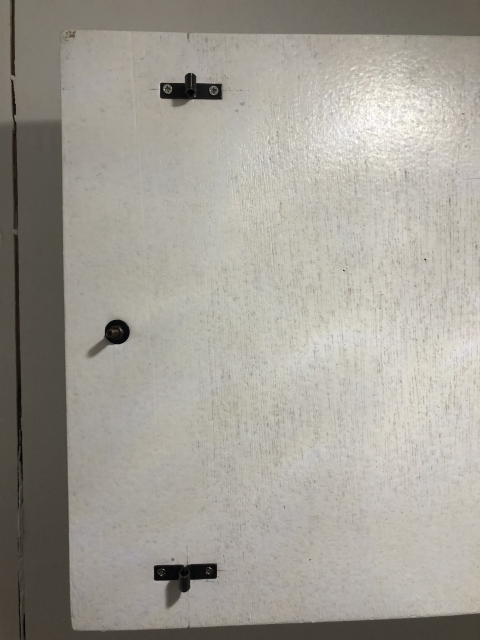
Once ready, I measured and marked for the hinges and door pulls and installed the hardware. Then I clamped a straight 1x4 across the bottom of the cabinet to align the doors in a row while I screwed in the hinges. Satisfied with that, I removed all the hardware and painted.
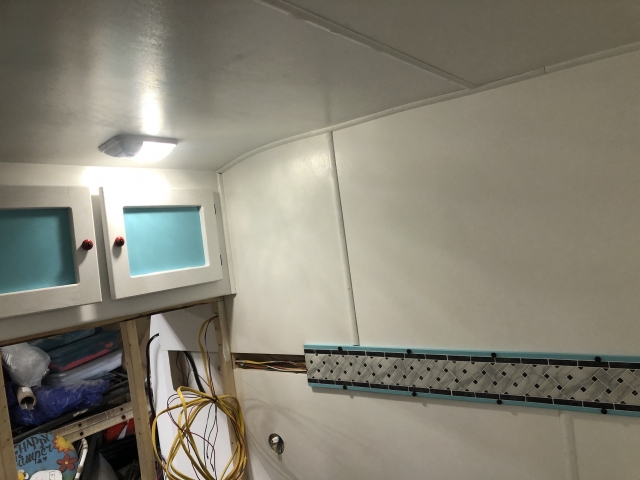
While the doors were drying, I installed more moldings in the cabin and rounded over the bottom edge of the cabinet face with a 3/8" round-over bit and painted the cabinet.
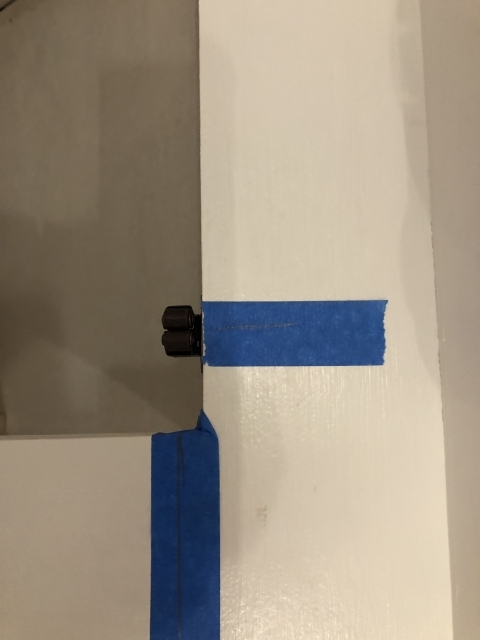
Then came time to install the doors, so back on with the hardware and hung the doors. Next I installed the roller latches, and used tape with a square and pencil to mark their position. I could then close a door, mark and measure the coordinates to install the latch on the door.
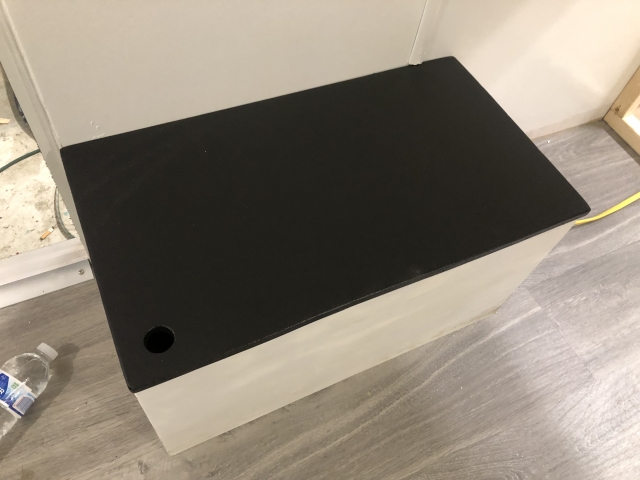
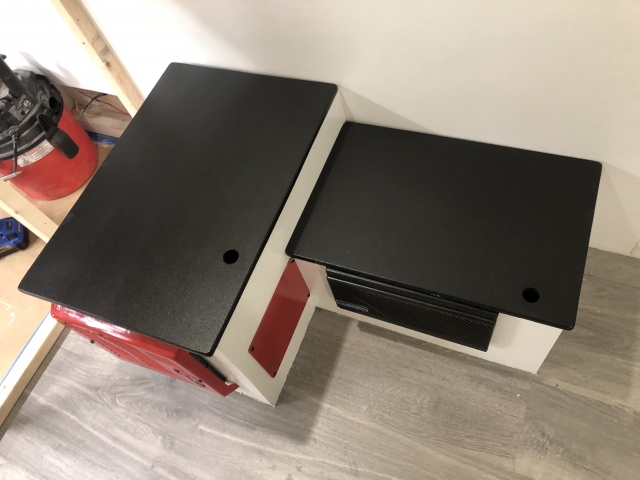
I finished the lid on the starboard side wheel cover cabinet, and took the opportunity to repaint the port side cabinet lids as well.
Bulkhead, with a lot of junk in the background.
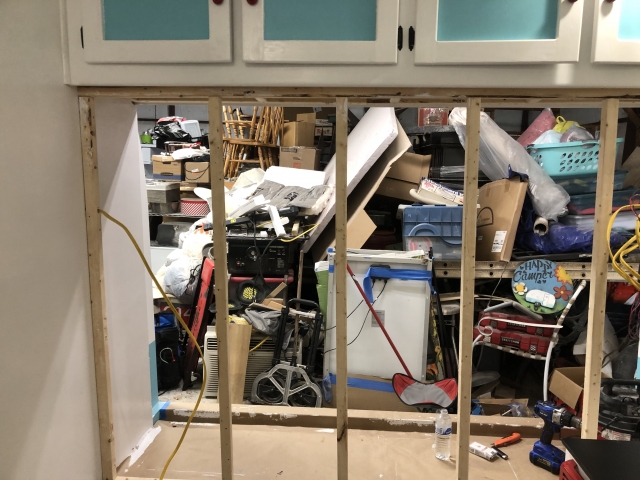
All the junk you see piled in this shop belongs to the pack rat landlord I'm renting my space from, by the way. But a few items in the forefront are mine: solar panels, etc.
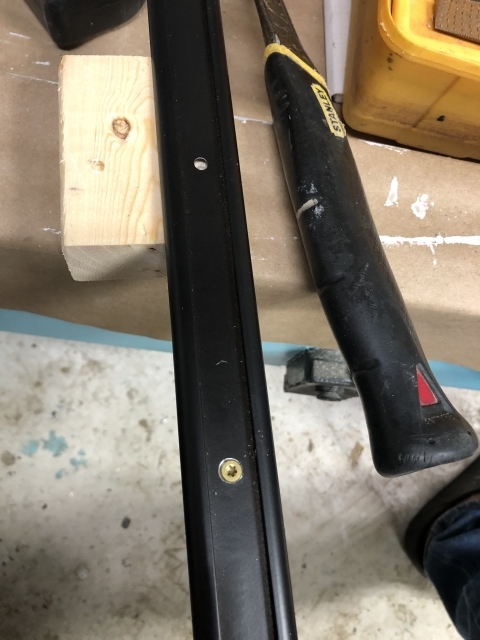
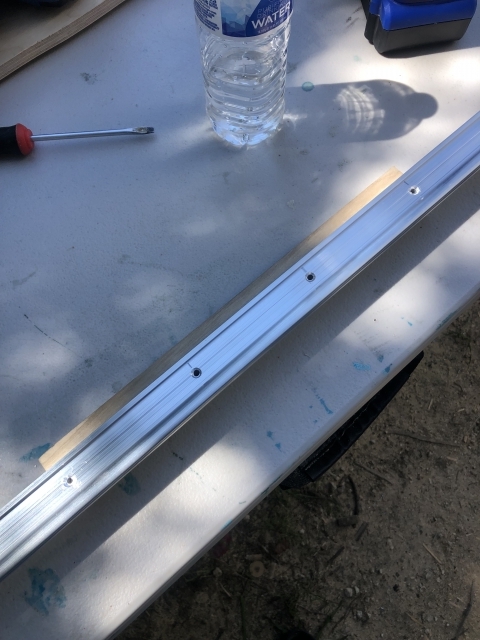
Here's a shot of the aluminum trim that will go on the sidewall of the hatch; this trim will receive my weatherstrip. I am countersinking the existing holes.
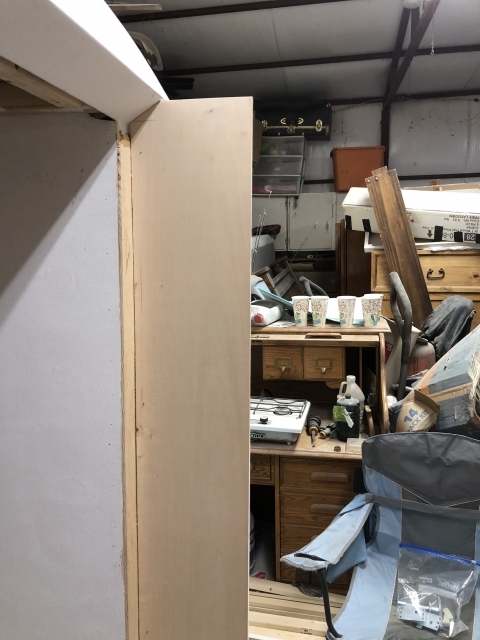
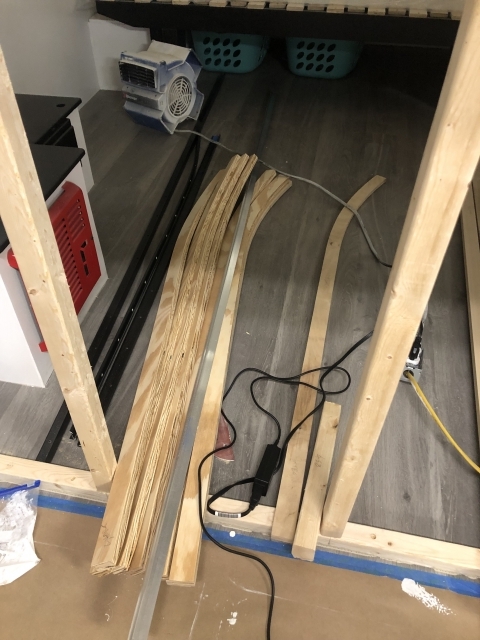
I started with a 1/4" plywood pattern for the shape of my ribs, just getting started in this pic.
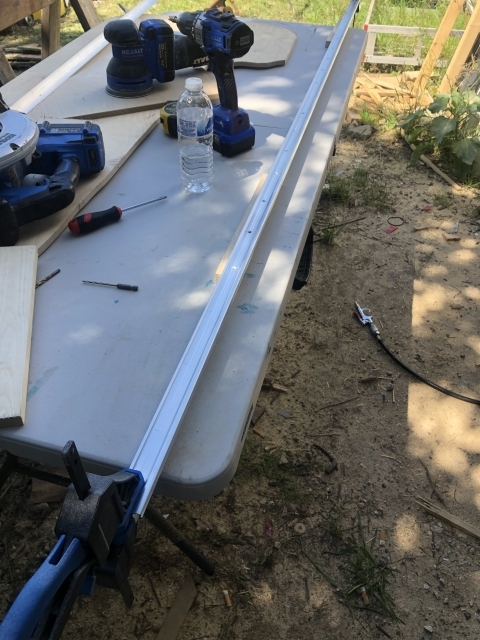
In this next pic I'm machining the top part of hurricane hinge for screws.
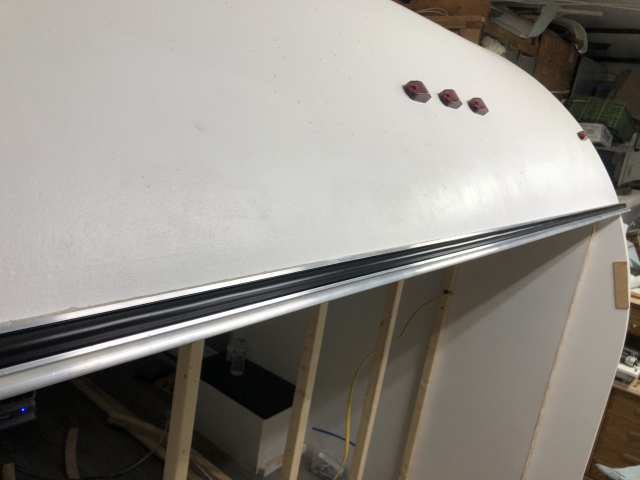
And here it is installed
I've been busy making ribs too, and reading in the forum about hatches, la da di, la da da.
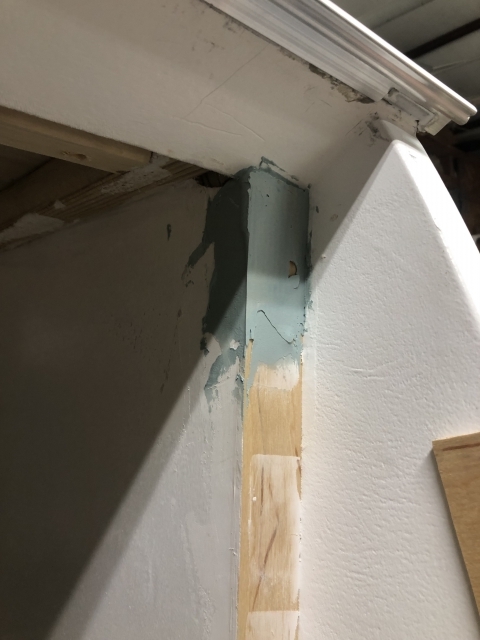
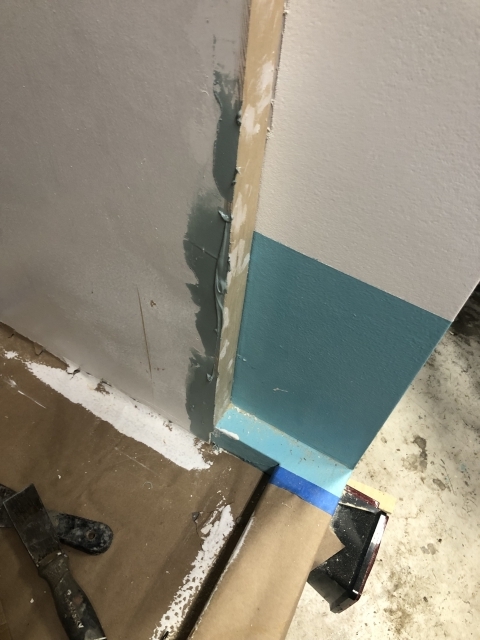
Then I had to halt my hatch door project for a day, yesterday, to do a little bondo work and paint work that needed done before I proceed with the hatch.
And that brings us to today!
Next up: The scariest part! Building a big hatch door! Will it work? Will it fit? Will it seal? Time will tell ...


