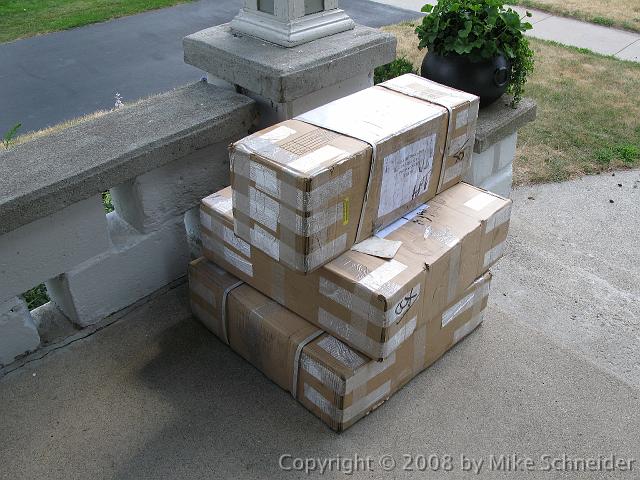
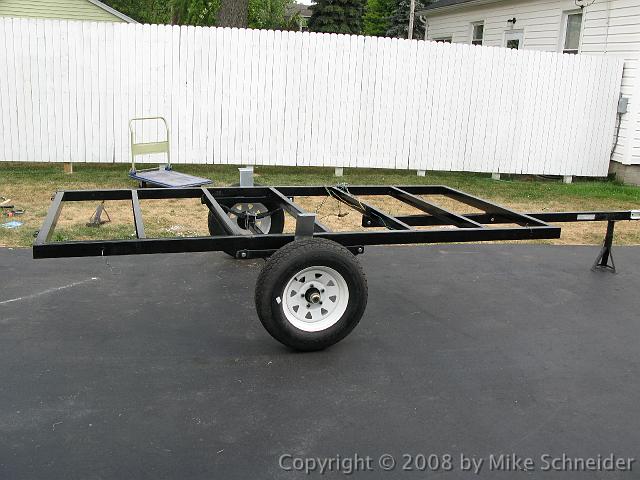
We didn't do any more work until Sept 8th. Meanwhile, I was working on CAD trying to come up with a design that would use the wheel placement, as welded. I finally settled on the design that I did in MOI. Yes, I'll place the CAD model for you here later.
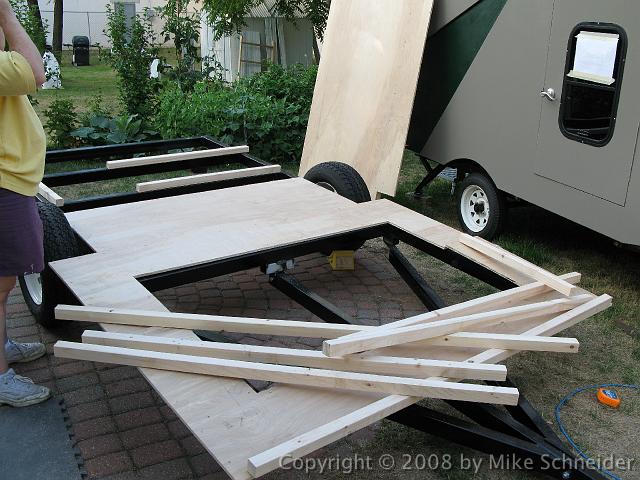
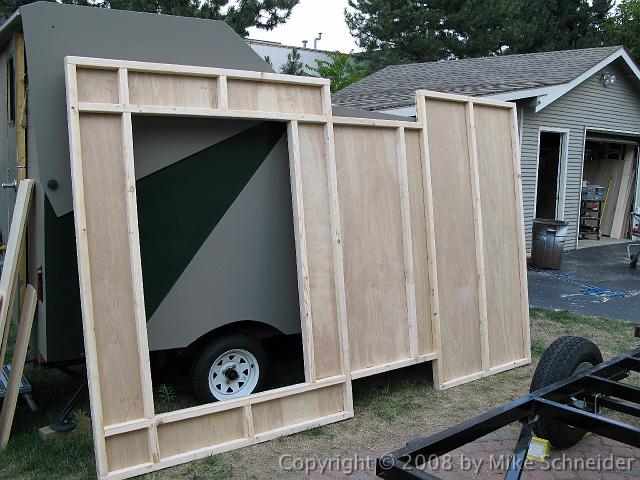
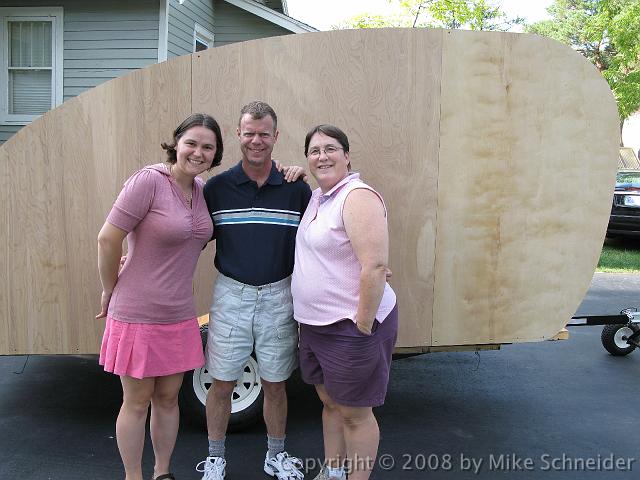
We used 1/2" plywood for the walls too. 6 sheets of 1/2" plywood is 300#. 6 sheets of 3/4" plywood is 450#.
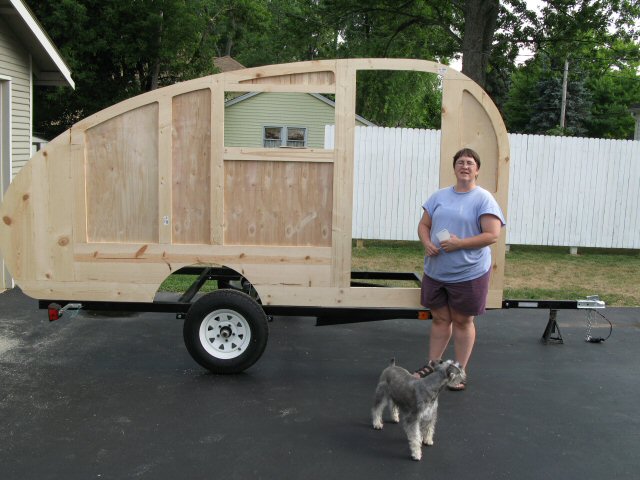
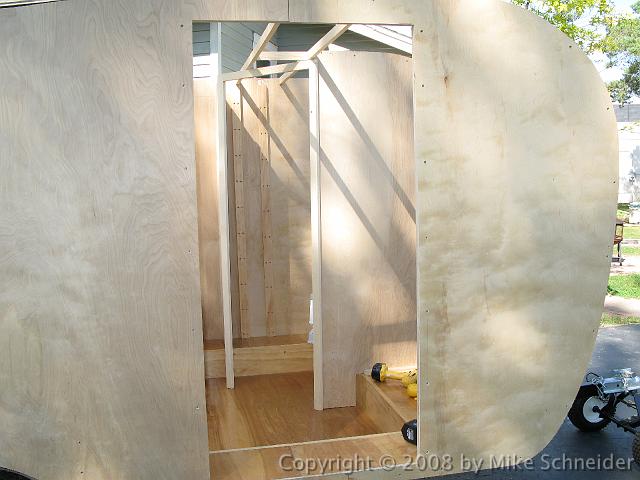
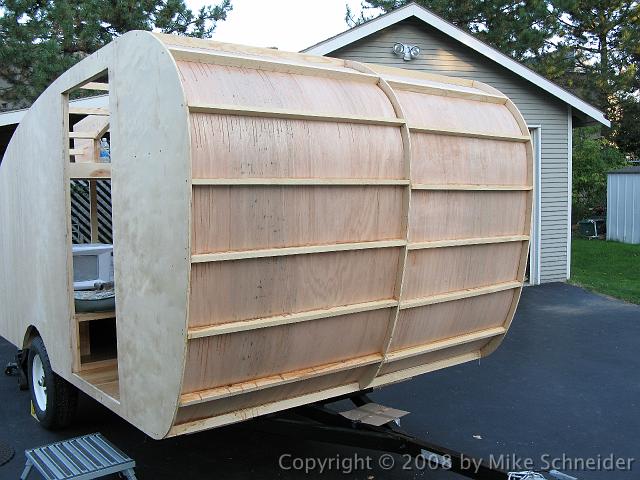
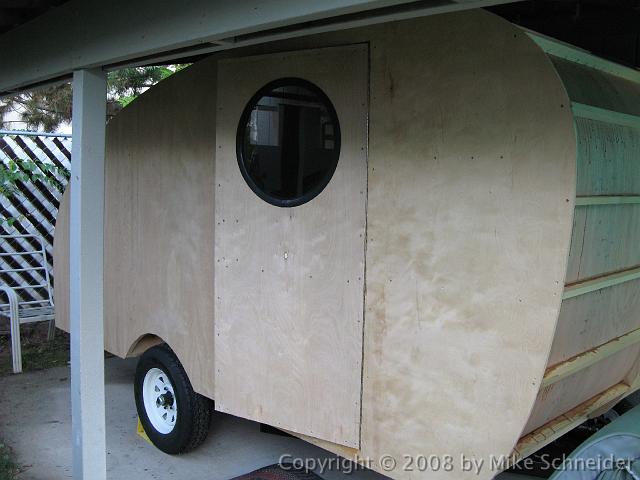
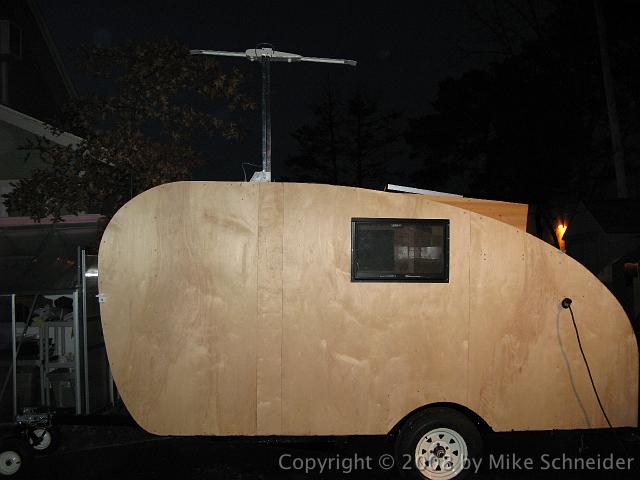
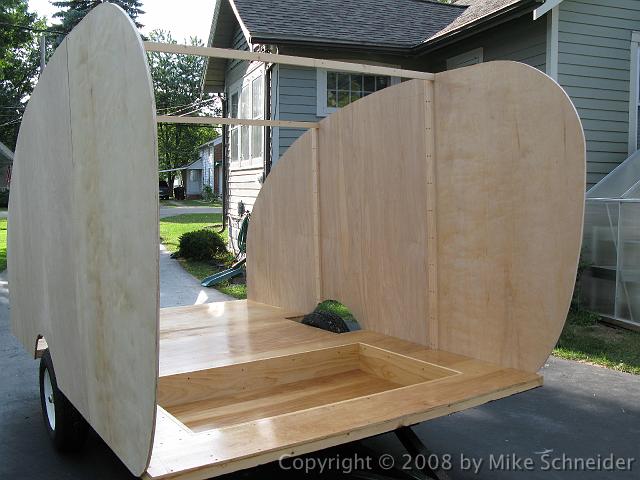
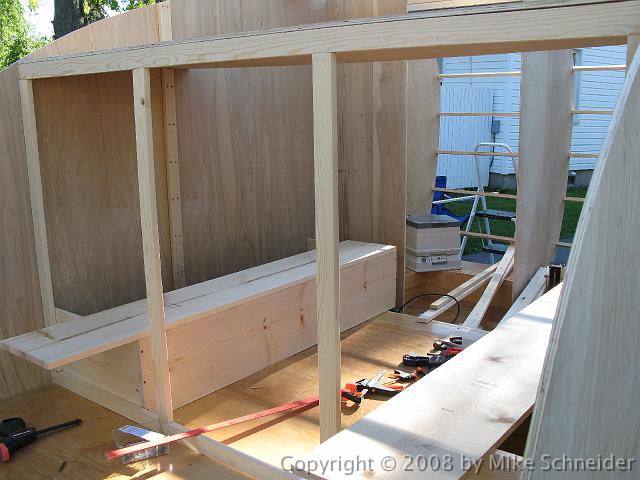
Since we had some help this weekend, we put up the walls (without glue - just in case.) We will glue the walls in place next weekend if everything goes well.
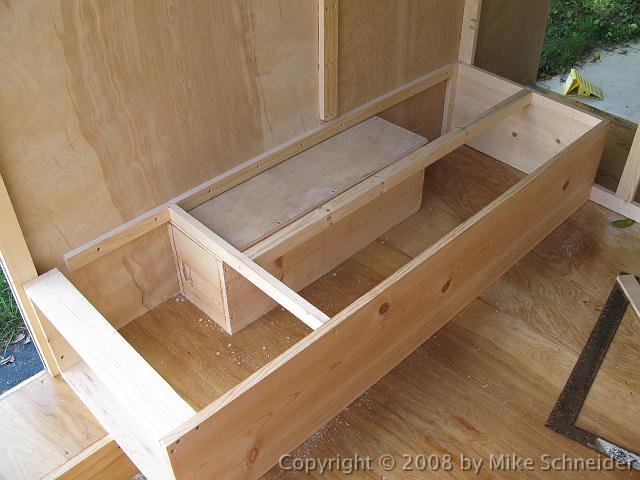
Simple cleats held the walls together...
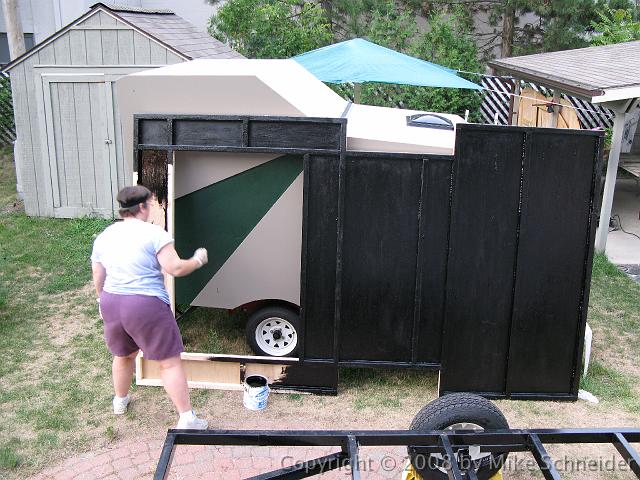
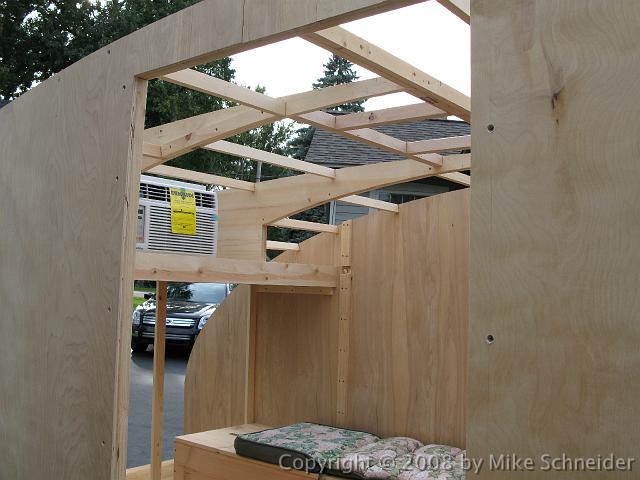
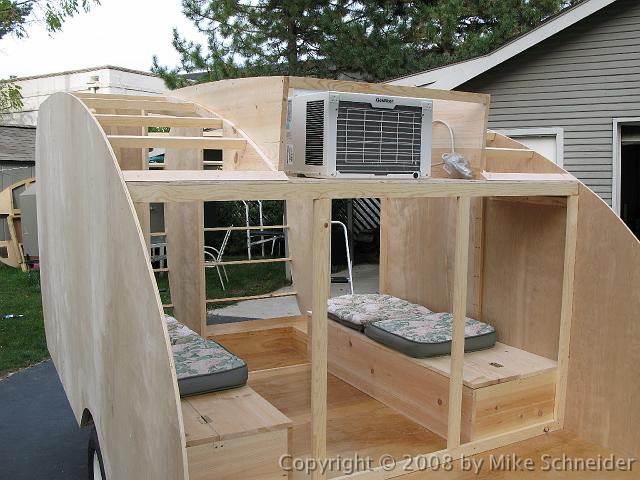
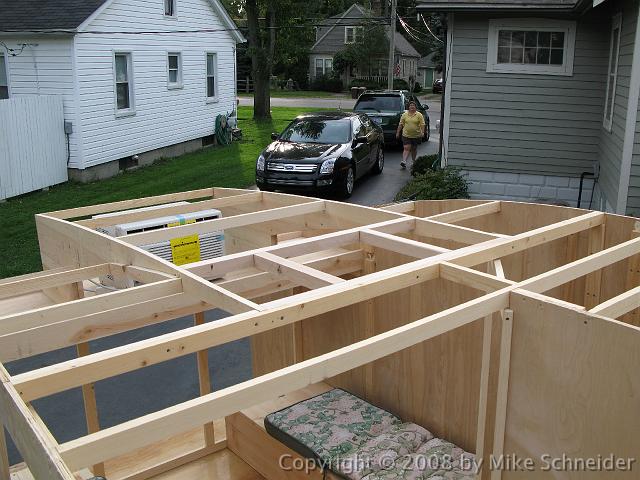
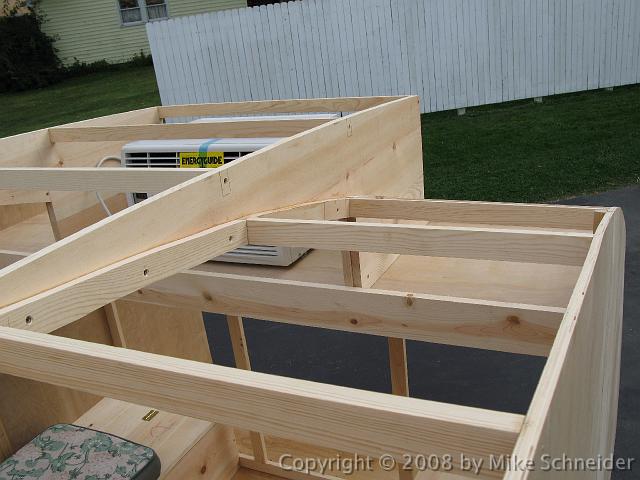
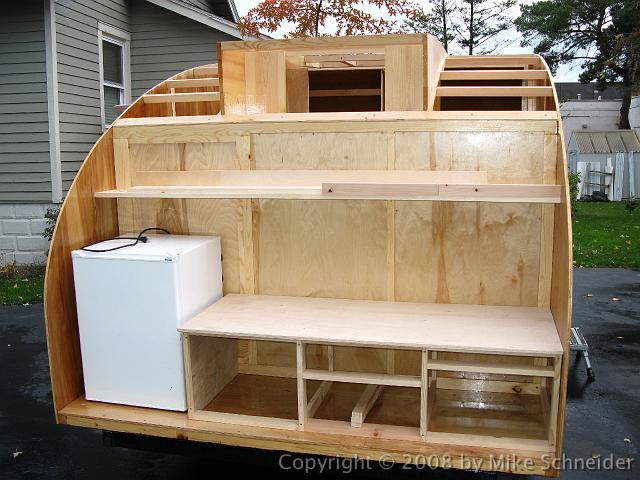
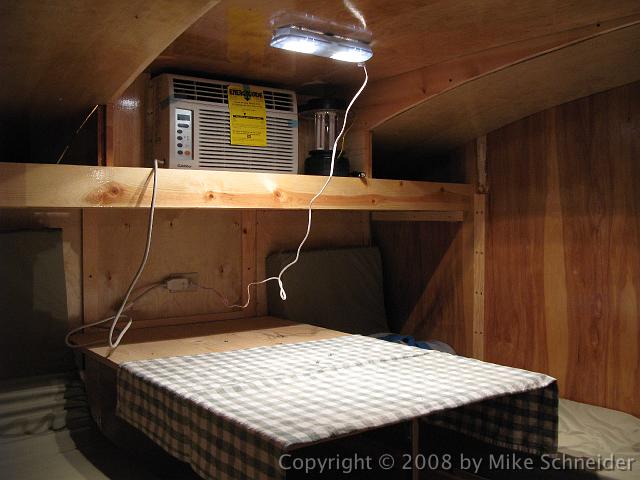
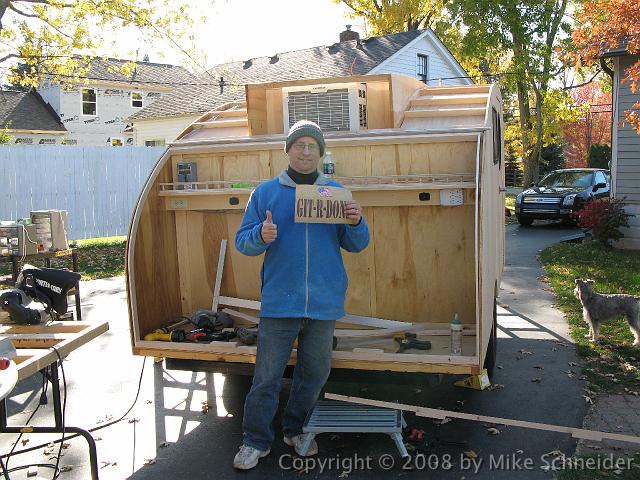
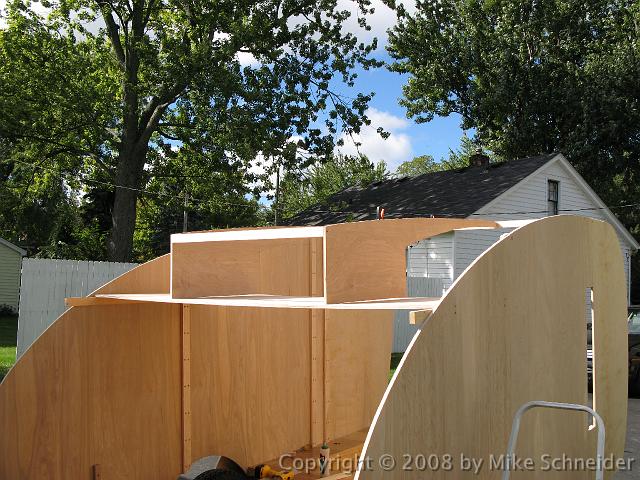
And laying out the AC. In my mind the whole design revolved around the ac. We would later find out that the AC shelf was too low, and it would limit seating in the trailer to 2 people, or 4 in a squeeze. We will have to revisit the placement of the ac someday.
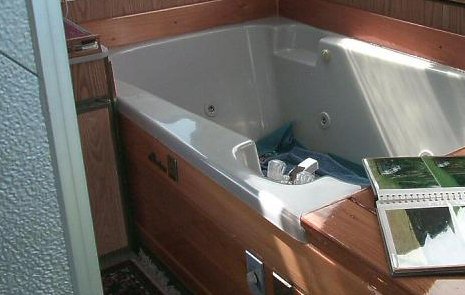
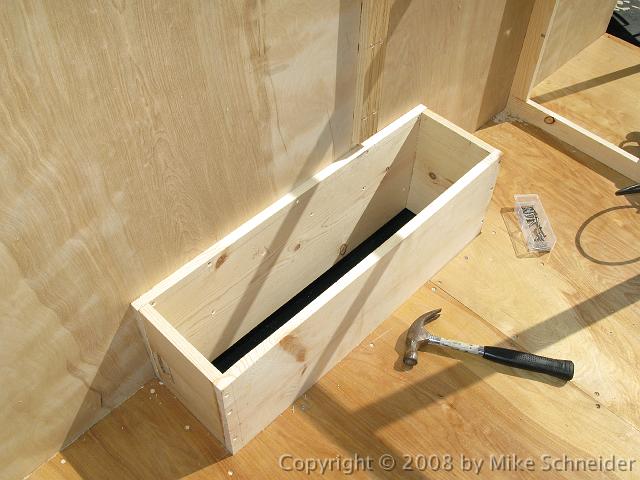
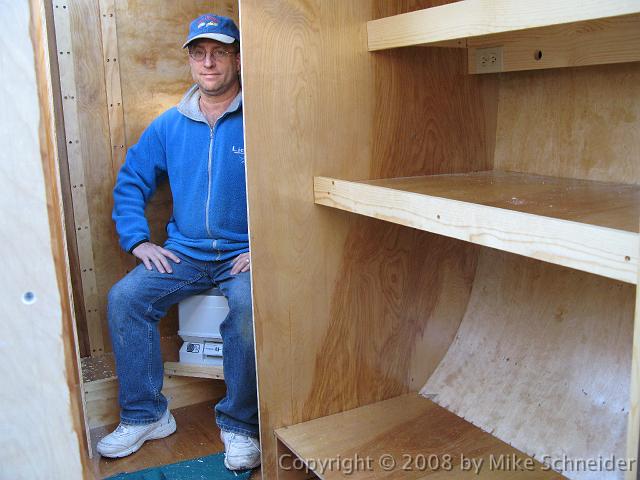
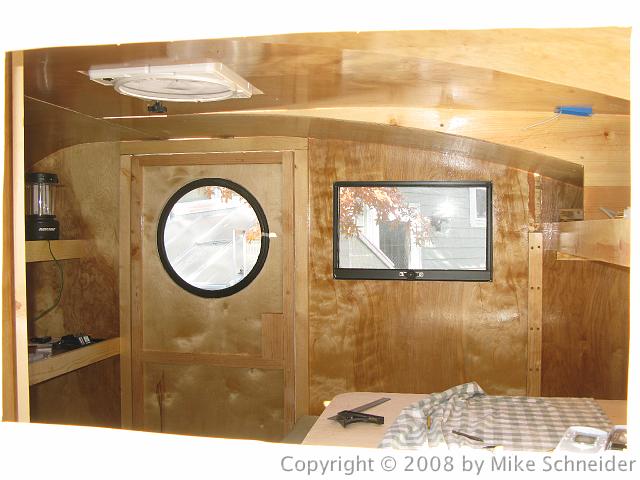
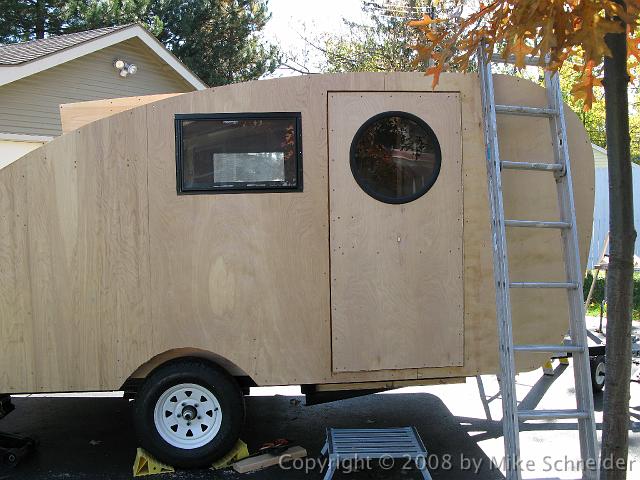
The other important feature is the bathroom, and you can see us working on it here...
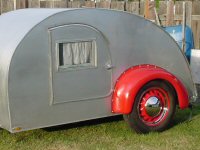
The quality is remembered long after the price is forgotten, so build your teardrop with the best materials...