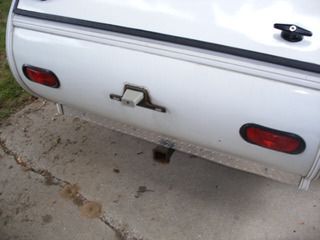
When I removed the bracket/light, the screws came out too easily. Wanting to replace the backing block with something a little more substantial, I opened up the back interior panel and found evidence of prior leakage around the tail lights. The interior was dry at the time, but the leaks had caused some separation of the fiberglass from the tempered hardboard body material around the tail lights. I parked the trailer outside next to the garage that night, of course it rained, and there were fresh leaks in the morning. Into the garage she came for 4 days of drying out with fans, then two scrubbings of the discolored areas with detergent, more drying out, then two spraydowns with a bleach solution and air drying to prevent any mold.

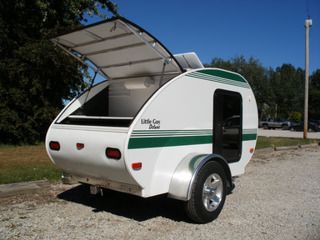
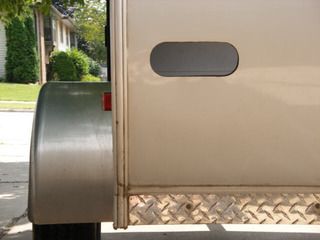
The major culprits IMHO were less than stellar design and poor workmanship. The tail lights used are meant for a flat surface, not a curved surface like on the Little Guys rear. The rubber gaskets can accomodate wall material up to about 5/16" thick. The 1/8" or 5/32" thick wall of the Little Guy was not enough to hold the rubber gaskets securely in place. No caulking of any kind was used under the rubber gaskets, and the holes were sloppily cut in a dogbone shape, pinching the rubber gaskets away from the body, compounding the problem. Water was being channeled down the sides of the hatch directly onto the tops of the lights and running directly into the interior. If this trailer had seen heavy use in the rain, the back end would have dissolved.
My solution was to cut two "gaskets" out of 1/8" tempered hardboard and epoxy them to the inside around the existing holes. The inside hole was cut exactly to the template provided with the new LED tail lights, minus 1/16" in height to account for the curve in the back. The extra thickness would give the gaskets inner lip something to grab on to, holding the rubber gasket securely in place. I moistened the hardboard gaskets slightly and formed them around a coffee can and let them dry, hoping they would retain a slighty curved shape. Epoxy thickened with a small amount of filler and a lot of clamps held them in place. I applied some silicone caulk between the hardboard and fiberglass shell where they had separated around the holes.
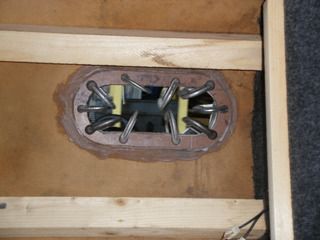
The original holes were then hand rasped out to match the inner holes of the "gaskets". Two coats of epoxy sealed the inner edges.
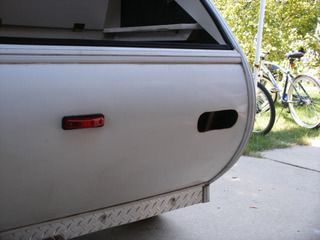
My efforts to retain a curved shape didn't work. The inner hardboard "gasket" oilcanned the body flat in the area around the tail lights, especially the right side. Repeated wet/dry cycles have shrunk the hardboard. I applied some silicone caulk around the inner edge of the holes, in the mounting channel and under the outer lip of the rubber gaskets and slid them in place. A thin film of silicone around the interior rear of the rubber gaskets and the taillights were popped in place.
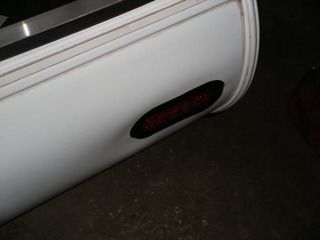
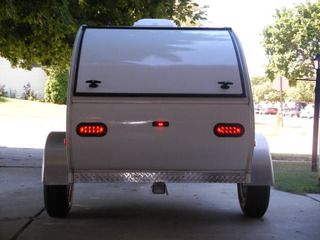
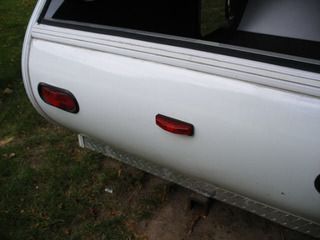
The finished product. After letting the caulk dry overnight, they passed the garden hose test. Two days later they passed the carwash pressure washer test. Not a drop inside. The LEDs are much brighter than the original tail lights and I think can be seen at a greater angle off to the side than the originals.