And another;
Teardrops n Tiny Travel Trailersor t n ttt for short (tnttt.com) |
Clamps
34 posts
• Page 2 of 3 • 1, 2, 3
![]() by Larwyn » Fri Mar 13, 2009 12:48 pm
by Larwyn » Fri Mar 13, 2009 12:48 pm
It is true that there are never enough clamps. Here's a pic showing a variety of clamps in use as well as some "just hanging around", during the construction of my hatch.
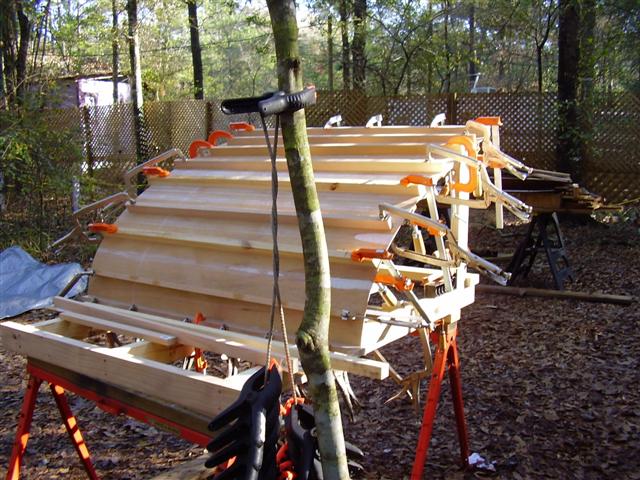
And another;
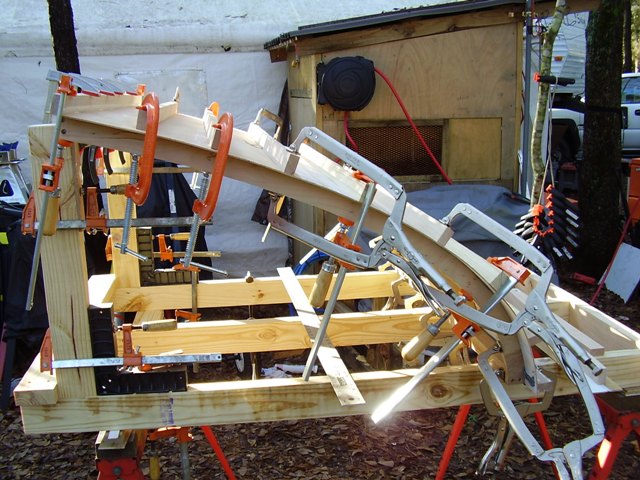
And another;
Larwyn
Keeper of the Most Out Of Control Shop (2005)
I feel bad for the man that cannot spell a word more than one way. Mark Twain
Keeper of the Most Out Of Control Shop (2005)
I feel bad for the man that cannot spell a word more than one way. Mark Twain
-

Larwyn - Mad Kilted Texan
- Posts: 1658
- Images: 210
- Joined: Sun Jun 20, 2004 12:06 pm
- Location: Kerrville, Texas
![]() by Dewi » Fri Mar 13, 2009 1:03 pm
by Dewi » Fri Mar 13, 2009 1:03 pm
Thank you for all the great posts! 
Taken my first step... just been out to the shop and bought...

They didn't have any sash or pipe clamps in there, so I'll have to order those online I think, but I've found an online retailer who does a type of pipe clamp... does this look good enough?

Long way to go... but day by day getting closer.
Cheers, Dewi
Taken my first step... just been out to the shop and bought...
They didn't have any sash or pipe clamps in there, so I'll have to order those online I think, but I've found an online retailer who does a type of pipe clamp... does this look good enough?
Long way to go... but day by day getting closer.
Cheers, Dewi
-

Dewi - Teardrop Master
- Posts: 229
- Images: 3
- Joined: Mon Mar 09, 2009 3:35 pm
- Location: Warrington, UK
 You've hit a point of interest with me. With that in mind, I hope you don't mind my expanding your original thread in a way that might help you, me, and others:


 Seriously, as has been said, you can never have too many clamps, and at 15-20 dollars each for storebought vs about a dollar for the homemade ones, it's good economy.