jkidd6339 Build, Galley/Cargo Area, Finished 08/01/11
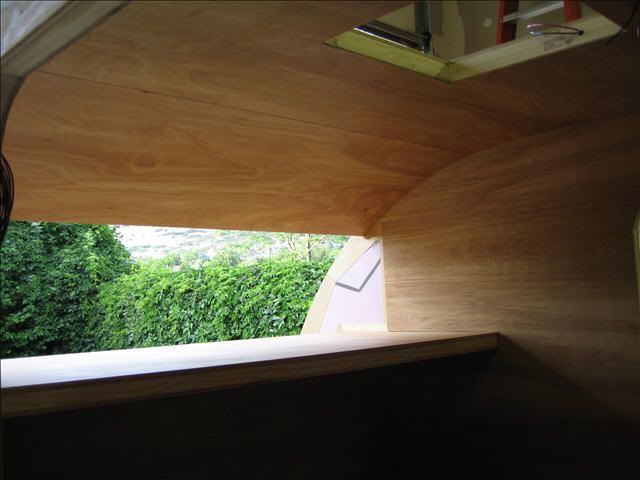
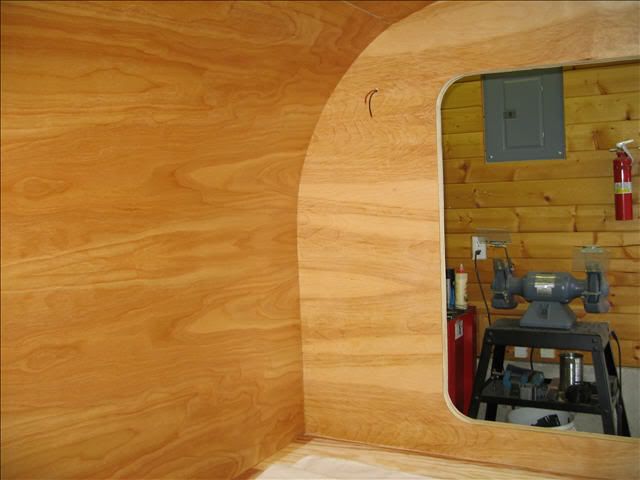
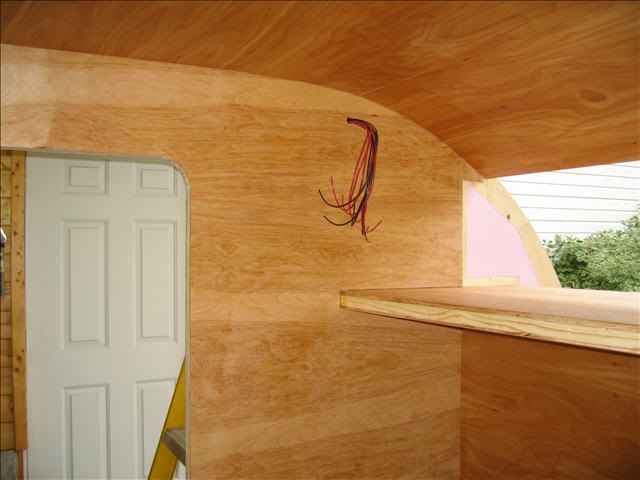
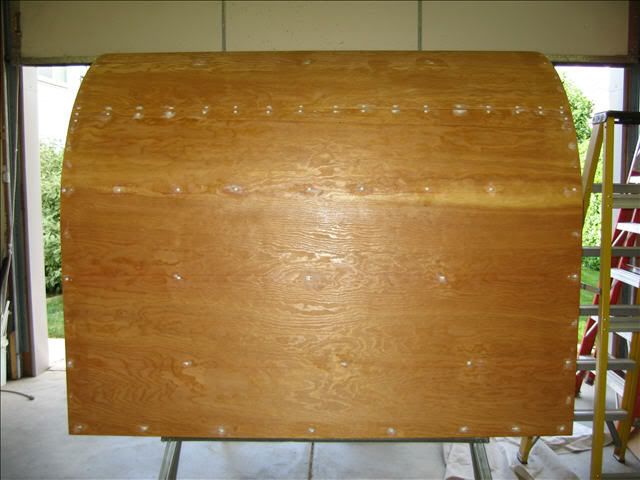
...ask your questions in the appropriate forums BUT document your build here...preferably in a single thread...dates for updates, are appreciated....

Postby jkidd6339 » Sun Jun 07, 2009 8:35 pm

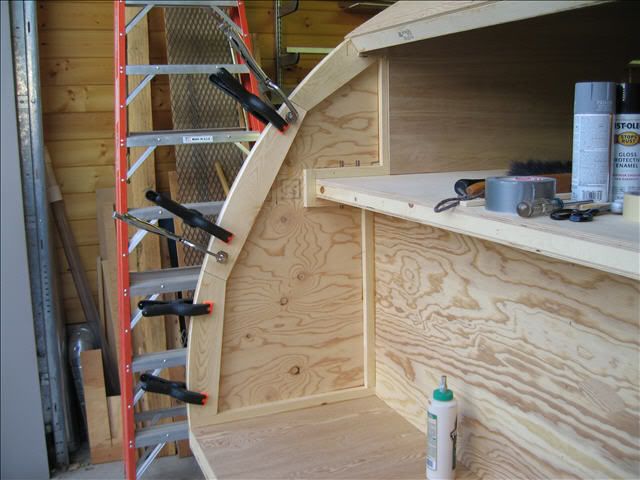
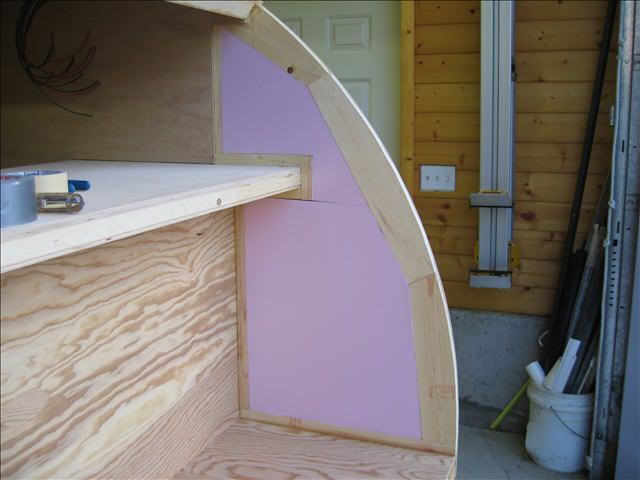
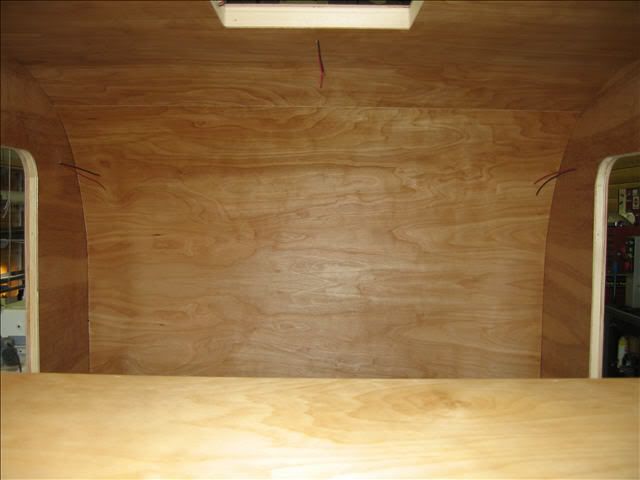
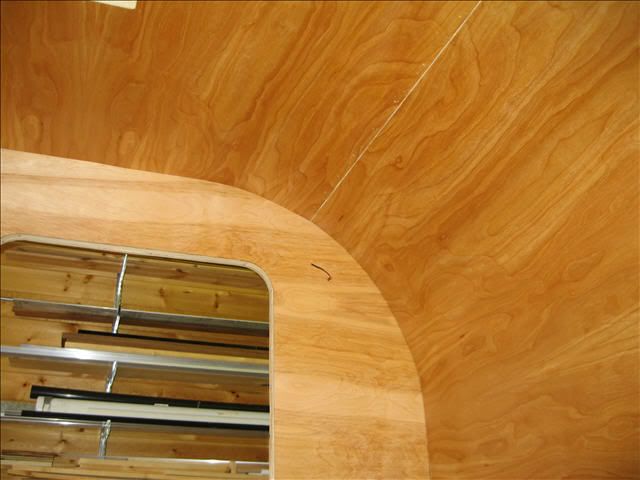
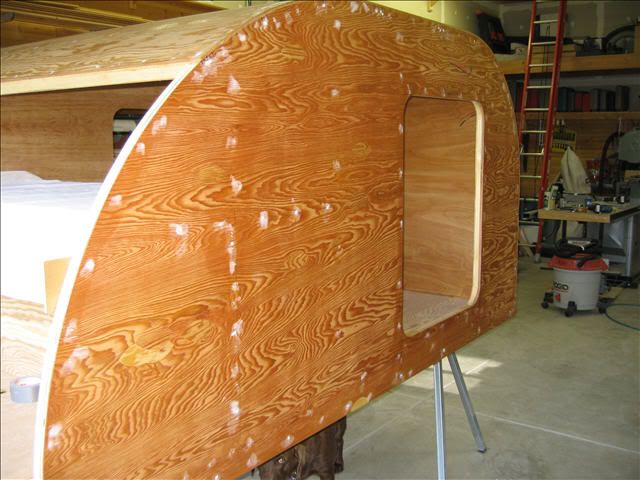
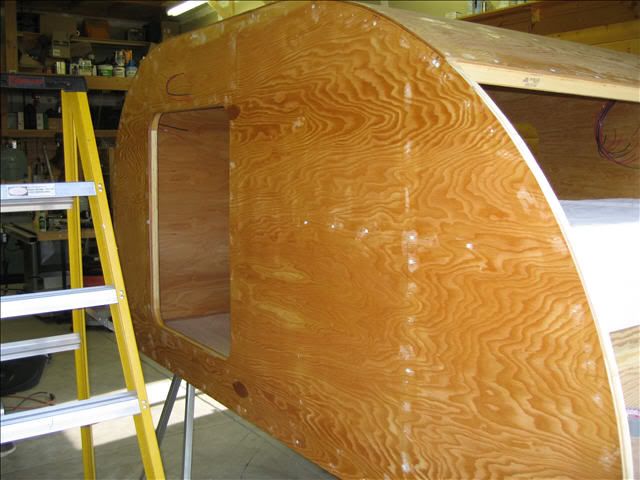
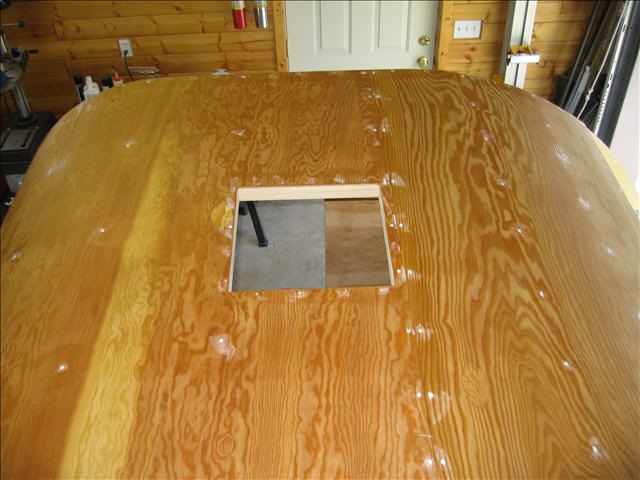
The Trailer is my design. I've built a lot of utility and snowmobile trailers. Everytime I build one I find something I don't like. Will see how I do on this one. Hey but I can always make changes to the next one. Right?
User avatar
jkidd6339
Teardrop Master
 
Posts: 198
Images: 1
Joined: Sat Jan 24, 2009 1:16 am

Postby chgrsteve67 » Sun Jun 07, 2009 8:39 pm
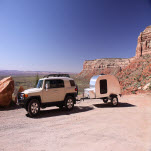
Looks great.

Definately professinally made.

Would be nice to have that kind of knowledge while building my first trailier.
User avatar
chgrsteve67
Teardrop Advisor
 
Posts: 55
Images: 46
Joined: Wed Mar 26, 2008 12:14 pm
Location: Elk Grove, CA

Postby laursand » Sun Jun 07, 2009 10:27 pm

Wow! That is beautiful work! Everything is very neat and tidy - I have glue drips and pencil marks, sawdust and scraps...

I'm stuck on roof skin right now, and you're making it look very easy. Great job!

Laurie
User avatar
laursand
Teardrop Builder
 
Posts: 44
Images: 63
Joined: Tue Apr 28, 2009 2:42 pm
Location: San Antonio, TX
Top

Postby jkidd6339 » Sat Jul 11, 2009 11:00 pm

It's a hard thing to do choose between fishing and working on the Tear. Here are some progess pictures.

Furing the galley
Image

Insulating the galley
Image

First coat of finish to the interior
Image

Image

Image

Image

Image
User avatar
jkidd6339
Teardrop Master
 
Posts: 198
Images: 1
Joined: Sat Jan 24, 2009 1:16 am
Top

Postby green_eyed_diablito » Tue Jul 14, 2009 10:36 am

very nice work! i enjoy seeing the progress pics of your work.
Since this life here and now is all we can know, our most reasonable option is to live it fully.
ImageImage
User avatar
green_eyed_diablito
Teardrop Master
 
Posts: 226
Joined: Tue May 12, 2009 1:17 pm
Location: Los Angeles, CA
Top

Postby jkidd6339 » Tue Jul 14, 2009 10:57 pm

Thanks for your comments. The CPES arrived and it looks like that will be the next job. Then I can start on the aluminum skins. but first there is the next 2 weekends of fishing.
User avatar
jkidd6339
Teardrop Master
 
Posts: 198
Images: 1
Joined: Sat Jan 24, 2009 1:16 am
Top

'Nuther Computer Question

Postby Barefoot » Wed Jul 15, 2009 3:20 am

What promised to be a thorough pphoto record of jkidd6339's build thread turned out to be a series of tiny boxes, each with a little red x in it. This happens sometimes with email but missing out on all this is another matter! Anyone more compter savvy know what program I must add and from where?
User avatar
Barefoot
Teardrop Master
 
Posts: 138
Images: 52
Joined: Mon Feb 16, 2009 8:44 am
Location: east central FL
Top

Postby kennyrayandersen » Wed Jul 15, 2009 4:53 am

definitely a cut above -- pleasae keep the pics coming! :thumbsup:
User avatar
kennyrayandersen
1000 Club
1000 Club
 
Posts: 1750
Images: 38
Joined: Sun Apr 29, 2007 10:27 pm
Location: TX
Top

Postby jkidd6339 » Wed Jul 15, 2009 10:01 am

Barefoot

Things that you can try are update your browser, get the latest flash update, get the latest Java update or try a different browser. There is also a check box in most browsers that turns off the pictures for people with slow connections.
User avatar
jkidd6339
Teardrop Master
 
Posts: 198
Images: 1
Joined: Sat Jan 24, 2009 1:16 am
Top

Postby Paul » Wed Jul 15, 2009 5:12 pm

That is incredibly beautiful work. You made it so clean and neat. Your series of photos makes it look easy. Nice Job! :thumbsup:

Paul Cook
User avatar
Paul
Teardrop Builder
 
Posts: 38
Images: 5
Joined: Mon Mar 14, 2005 10:16 pm
Location: New Mexico
Top

Postby Barefoot » Thu Jul 16, 2009 5:04 am

Amazing, this electronic stuff. I did nothing new and every picture from both this site and your link came through just fine, and I'm so glad.

What an neat design and what neat workmanship in both the build and the documentation. I could (and did) take mental notes as to things like what was board and what was plywood, what got two screws and what got one, how the spars are spaced, and more.

This is a build to follow and to try to emulate.
User avatar
Barefoot
Teardrop Master
 
Posts: 138
Images: 52
Joined: Mon Feb 16, 2009 8:44 am
Location: east central FL
Top

Postby jkidd6339 » Thu Jul 16, 2009 10:11 am

Thanks for the kind words. I'm glad your browser decided to start working again.
User avatar
jkidd6339
Teardrop Master
 
Posts: 198
Images: 1
Joined: Sat Jan 24, 2009 1:16 am
Top

Postby jkidd6339 » Sat Aug 08, 2009 11:11 pm

Here is the latest work. The screw holes and staple holes have been filled with epoxy putty and the first coat of cpes has been applied.

Image

Image

Image

Image
User avatar
jkidd6339
Teardrop Master
 
Posts: 198
Images: 1
Joined: Sat Jan 24, 2009 1:16 am
Top

Postby 2bits » Sun Aug 09, 2009 1:15 pm

Every step you take will be a big steip for a while now, a very satisfying stage! It looks great!
Thomas

Image
User avatar
2bits
2bit Member
 
Posts: 5132
Images: 8
Joined: Thu Dec 27, 2007 6:04 pm
Location: Lake Tawakoni, TX
Top

Postby Senior Ninja » Sun Aug 09, 2009 7:33 pm

:applause: :applause: :applause: :applause: :applause: :applause:
AWESOME!
I can hardly wait to see the finished product.
Steve

8)
Building the TD was the best thing I ever made.
Senior Ninja
Donating Member
 
Posts: 608
Joined: Fri Apr 28, 2006 4:16 pm
Location: Bakersfield, Kahlifornia
Top

PreviousNext

Return to Build Journals

Who is online

Users browsing this forum: No registered users and 12 guests