small TD
46 posts
• Page 2 of 4 • 1, 2, 3, 4
![]() by Aaron Coffee » Sat Jun 27, 2009 9:02 am
by Aaron Coffee » Sat Jun 27, 2009 9:02 am
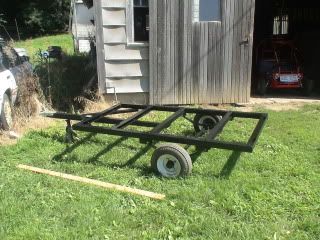
weighed the 4 foot long frame it was right around 120 lbs, the lengthened version weighed around 150lbs.
If I could shut my brain off, I could save myself alot of time, money and effort.
-

Aaron Coffee - 1000 Club

- Posts: 1003
- Images: 26
- Joined: Thu Jun 30, 2005 4:40 pm
- Location: Elk Point, SD
![]() by Aaron Coffee » Sat Jun 27, 2009 10:18 pm
by Aaron Coffee » Sat Jun 27, 2009 10:18 pm
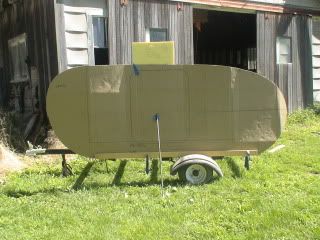
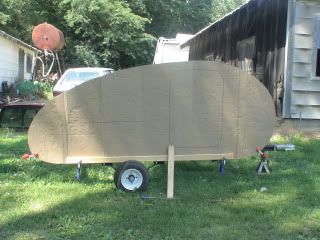
Have a question on axle placement, it should be 35-40% of the trailer length from the rear, correct? My question is, is the trailer length considered the entire length of the trailer(from hitch to back) or just the body length(in my case 74 inchs)or I guess the length the finshed floor will be?
Thanks
Aaron
Thanks
Aaron
If I could shut my brain off, I could save myself alot of time, money and effort.
-
Aaron Coffee - 1000 Club
- Posts: 1003
- Images: 26
- Joined: Thu Jun 30, 2005 4:40 pm
- Location: Elk Point, SD