I hope I can ask this without pictures. If I confuse everyone I'll come back later with a drawing.
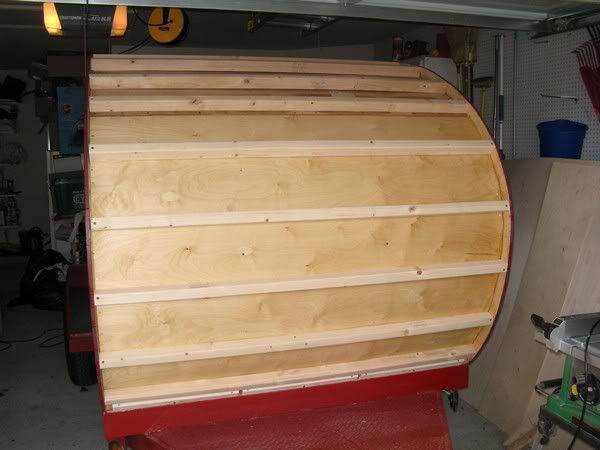
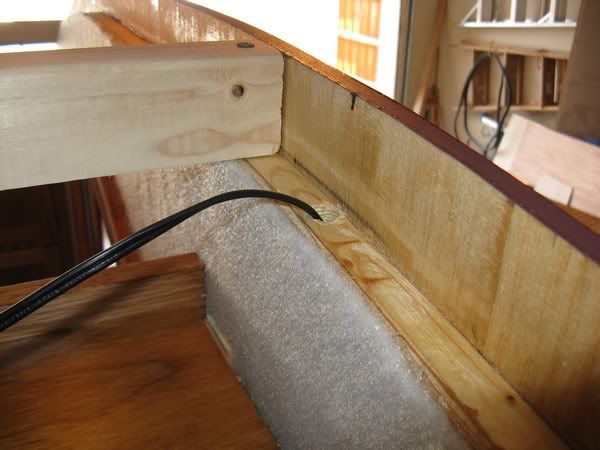
My sides are 1/4" skins on 1x framing with 1/4" or 1/8" interior skins. The exterior will have 1x trim around the perimeter as many woodies do. I want to build the entire wall on the bench (including the trim), apply several coats of CPES, and at least one coat of spar urethane before I set the walls up. However, it would be easier to screw in the end of the spars thru the exterior skin, cover those screw heads up with the exterior trim, and then apply the CPES.
So what does everyone think? Is it that much harder applying the CPES on a vertical surface? If so, how would you attach the spars? Go thru the trim and plug them? Screw in from the interior side with a Kreg jig? (I don't like that one much.)
Teardrops n Tiny Travel Trailersor t n ttt for short (tnttt.com) |
Putting on the epoxy
15 posts
• Page 1 of 1
Putting on the epoxy
![]() by BK One » Sun Sep 13, 2009 1:21 pm
by BK One » Sun Sep 13, 2009 1:21 pm
-

BK One - Teardrop Builder
- Posts: 48
- Images: 14
- Joined: Sat Oct 22, 2005 1:30 pm
- Location: Central Indiana
![]() by Greg M » Sun Sep 13, 2009 1:30 pm
by Greg M » Sun Sep 13, 2009 1:30 pm
I'd suggest that you apply the cpes to everything first, screw the spars to the sides, attach the trim, and then varnish. that way everything is encapsulated in cpes.
-Greg
-Greg
Give a person a fish and you feed them for a day; teach a person to use the Internet and they won't bother you for weeks.
-

Greg M - *Geek Extraordinaire
- Posts: 1167
- Images: 85
- Joined: Mon Sep 12, 2005 12:40 am
- Location: Victoria, BC, Canada

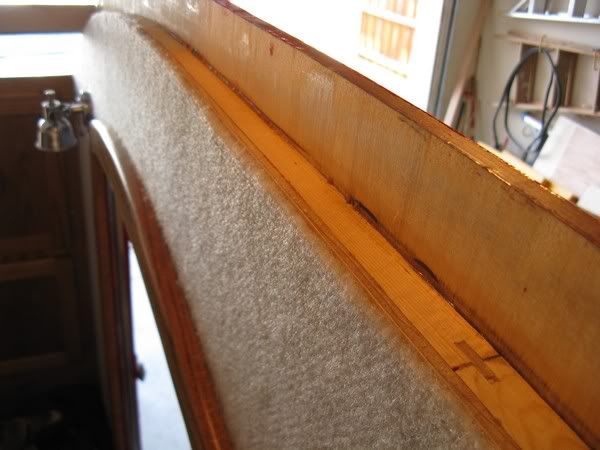
 on the epoxy as a sealant and adhesive. The most important place you need to seal plywood is the end grain. That is almost always where problems occur, even under trim. CPES will leave a very thin coat of epoxy on the surface. One or two coats will make it water resistant, 3 will make it waterproof. I have used both epoxy and CPES. For what it's worth, CPES was developed to restore rotten wood (not plywood). The epoxy will do a better job encapsulating plywood. I have used epoxy as an adhesive and used the pocket hole screws to hold the joint together until the epoxy sets up. My favorite filler for epoxy adhesive is wood dust from my sander. Boat builders call it "wood flour".


 Mark (& Cindi)