Terry and Sue:
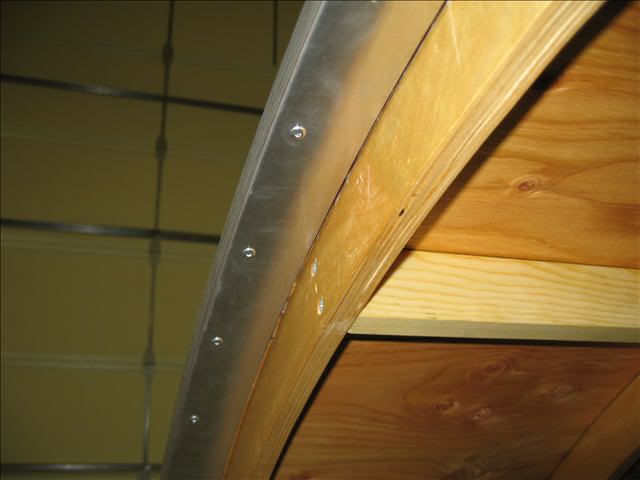
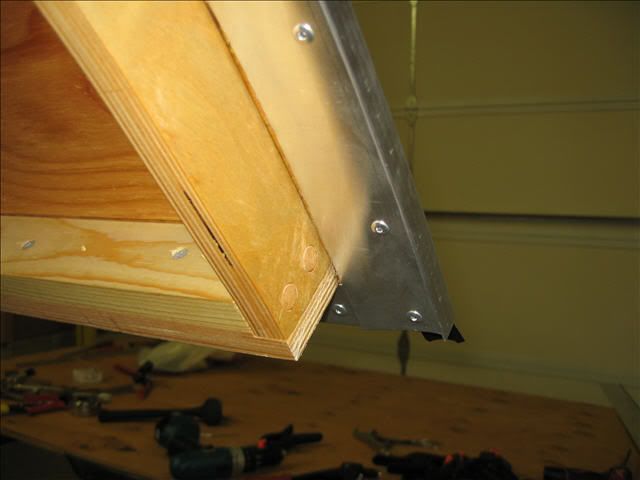
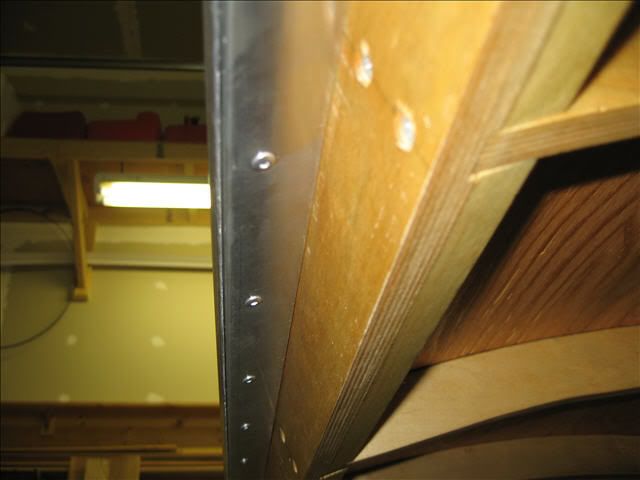
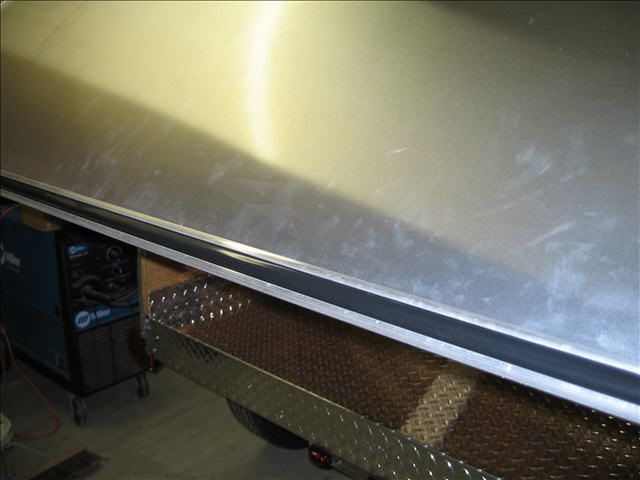
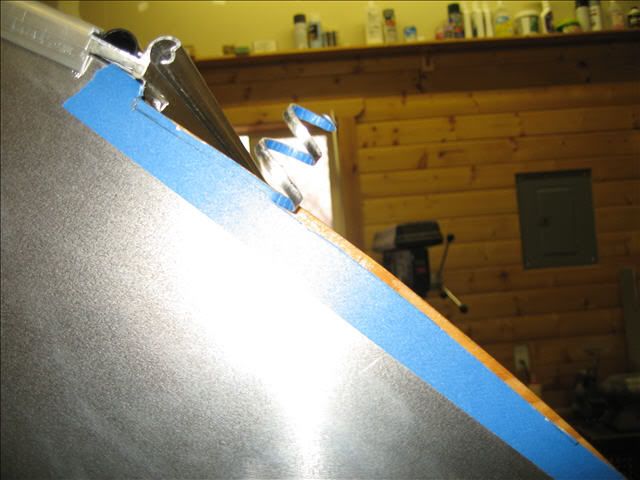
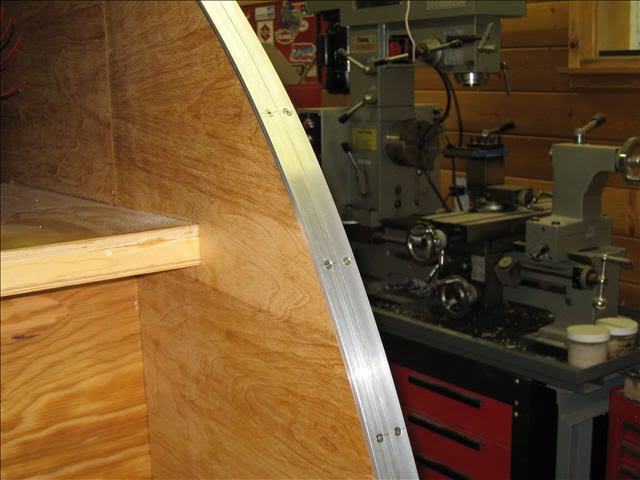
It is just a standard RV roof edge trim. Grant at Little Bear has it but, only to 8 foot lentghs. He suggested checking the RV repair places locally. So I just googled "rv repair salt lake city, ut" and found a local shop that had 16 footers in a mill finish. Grant said it was expensive to ship over 8 feet. The local trailer supply had it but only white. I did think about painting it, but decided to just hunt for the mill finish. I found mine at Bestway Trailer Repair in Salt Lake City.
Jody
Teardrops n Tiny Travel Trailersor t n ttt for short (tnttt.com) |
jkidd6339 Build, Galley/Cargo Area, Finished 08/01/11
![]() by SIXTOTWO » Tue Nov 03, 2009 10:25 am
by SIXTOTWO » Tue Nov 03, 2009 10:25 am
jkidd6339 wrote:Terry and Sue:
It is just a standard RV roof edge trim. Grant at Little Bear has it but, only to 8 foot lentghs. He suggested checking the RV repair places locally. So I just googled "rv repair salt lake city, ut" and found a local shop that had 16 footers in a mill finish. Grant said it was expensive to ship over 8 feet. The local trailer supply had it but only white. I did think about painting it, but decided to just hunt for the mill finish. I found mine at Bestway Trailer Repair in Salt Lake City.
Jody
Thank You Jody, yeah, I think Grant told us the same thing. Just thought I'd ask because no one in our area has it or will order it in just the mill finish. I need an 11' run. I'll keep looking. We have 4 RV stores within a 20 mile radius of us and none will get it for me. arrgghh!!

Suz
_________
___
Terry and Sue Landis
BUILD THREAD


******Embarassing our kids, just another quality service that we offer!******
BUILD THREAD
******Embarassing our kids, just another quality service that we offer!******
-

SIXTOTWO - Donating Member
- Posts: 323
- Images: 216
- Joined: Sat Aug 09, 2008 1:26 pm
- Location: Green Lane, PA