TwilightLane Cubbie Build

...ask your questions in the appropriate forums BUT document your build here...preferably in a single thread...dates for updates, are appreciated....

Postby TwilightLane » Sun May 16, 2010 11:02 pm

Somewhere along the way I insulated each wall. No pics of that for some reason. Totally forgot.

Here is a glimpse:
Image
Last edited by TwilightLane on Sun May 16, 2010 11:58 pm, edited 1 time in total.
Rob & Lori
Aspen & Tundra
My Instructable: http://www.instructables.com/id/Teardro ... l-Trailer/
User avatar
TwilightLane
The 300 Club
 
Posts: 484
Joined: Thu May 14, 2009 4:59 pm

Postby TwilightLane » Sun May 16, 2010 11:19 pm

After reflecting on how I want to assemble the side walls. I decided to build the walls so I can just lay the headliner in the top, on ledges, then installing the spars over it. The previous plan was to assemble the spars, then push the headliner up into it. After reflection and look at some other threads, it is apparent that must be a pain in the a$$.

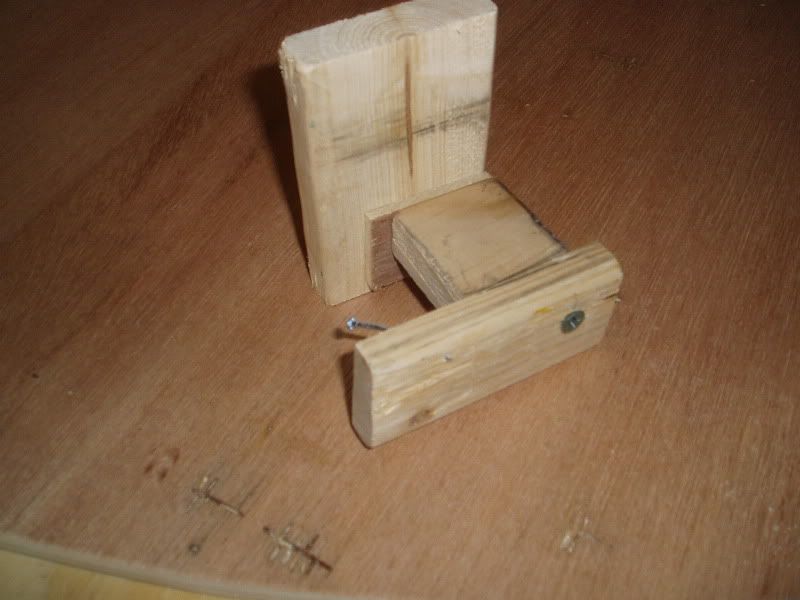
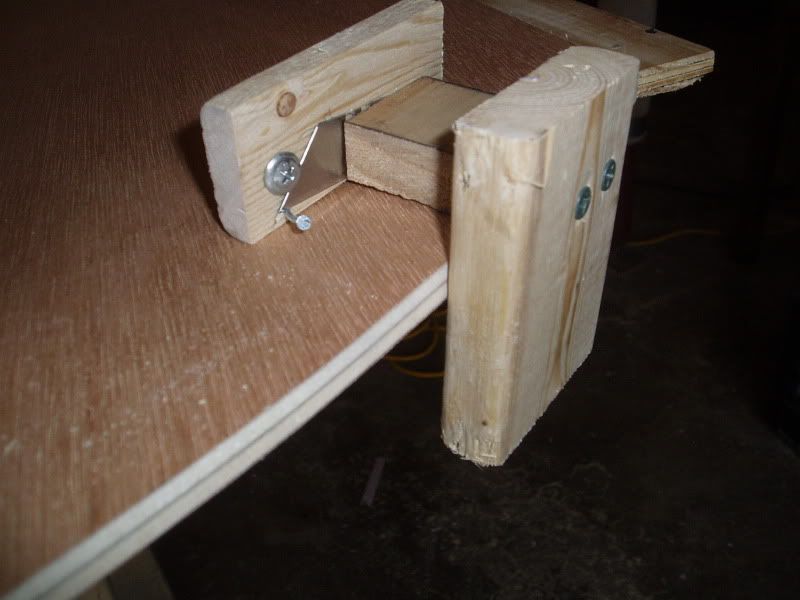
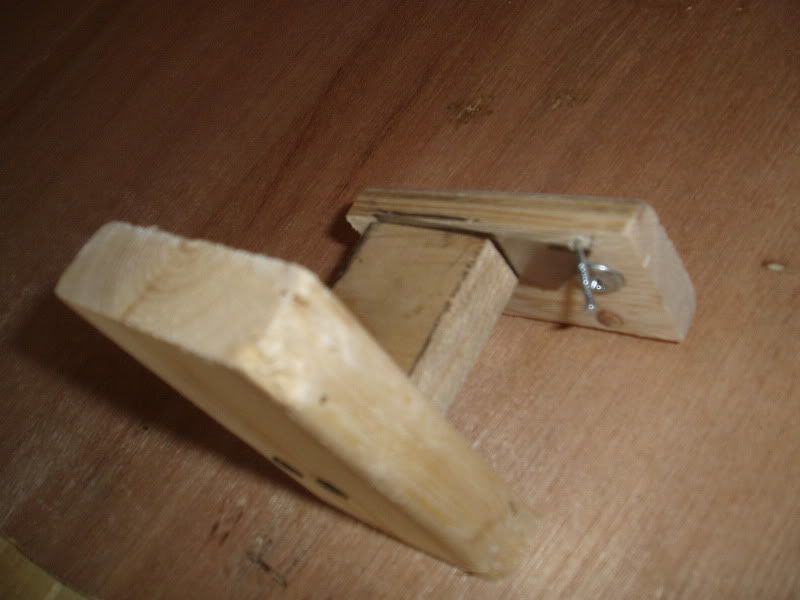
So I need to make some changes. I need to create that ledge all the way around. To measure where the ledge should go, I made a little jig. It sure aint pretty, but it worked really well. I used a scrap of spar plus a little piece of the headliner (1/4 ply). I used a bigger piece of scrap as the rail that will slide along the edge of the piece. Finally a cap to hold the razor blade. I started to use a regular razor blade, but it shattered when I tried to attach it. Finally I used a utility knife blade held in place by an assortment of screws and nails.

Again, not pretty but it worked great.
Image

Image

Here it is in action.
Image
Rob & Lori
Aspen & Tundra
My Instructable: http://www.instructables.com/id/Teardro ... l-Trailer/
User avatar
TwilightLane
The 300 Club
 
Posts: 484
Joined: Thu May 14, 2009 4:59 pm

Postby TwilightLane » Sun May 16, 2010 11:21 pm

So I used the jig to mark where I needed to cut off the tops of the studs.

Image

And after.

Image

Image
Rob & Lori
Aspen & Tundra
My Instructable: http://www.instructables.com/id/Teardro ... l-Trailer/
User avatar
TwilightLane
The 300 Club
 
Posts: 484
Joined: Thu May 14, 2009 4:59 pm
Top

Postby TwilightLane » Sun May 16, 2010 11:25 pm

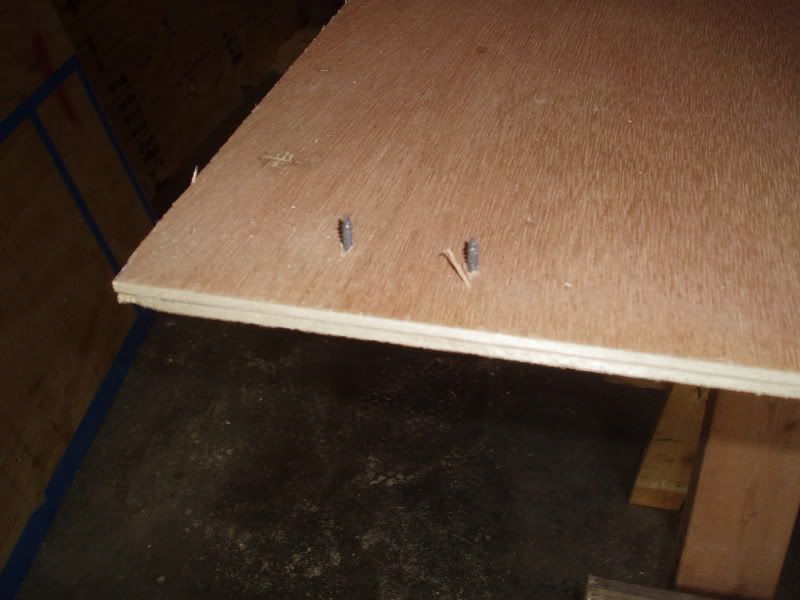
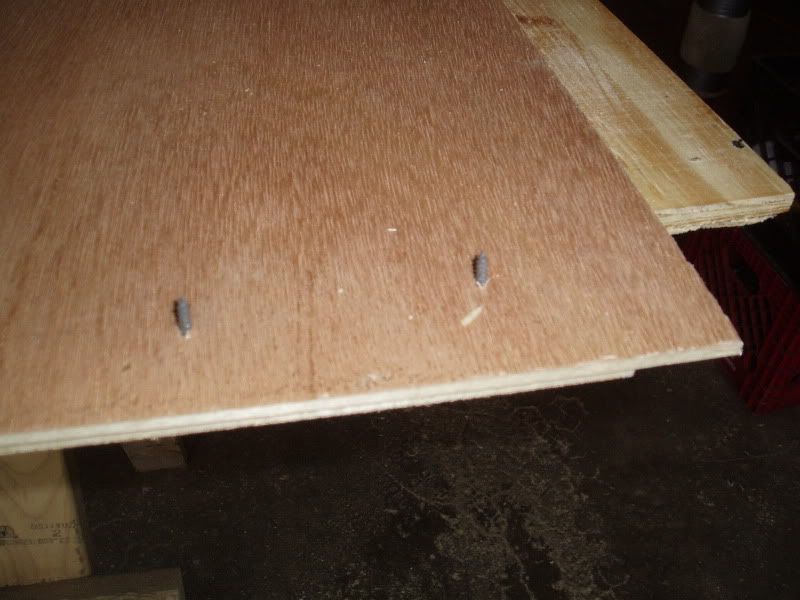
Next step I wanted to work on the inside ply wall. I got two sheets of 1/4 ply. I lined up the two sheets and drilled a couple of screws. That will keep the sheets lined up. I've got the finished edges on the inside.

Image

Image
Last edited by TwilightLane on Sun May 16, 2010 11:35 pm, edited 1 time in total.
Rob & Lori
Aspen & Tundra
My Instructable: http://www.instructables.com/id/Teardro ... l-Trailer/
User avatar
TwilightLane
The 300 Club
 
Posts: 484
Joined: Thu May 14, 2009 4:59 pm
Top

Postby TwilightLane » Sun May 16, 2010 11:27 pm

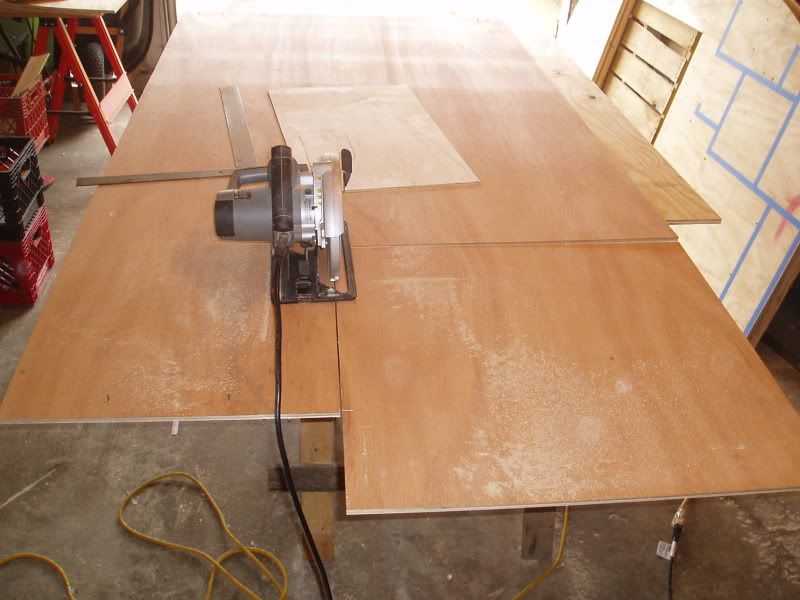
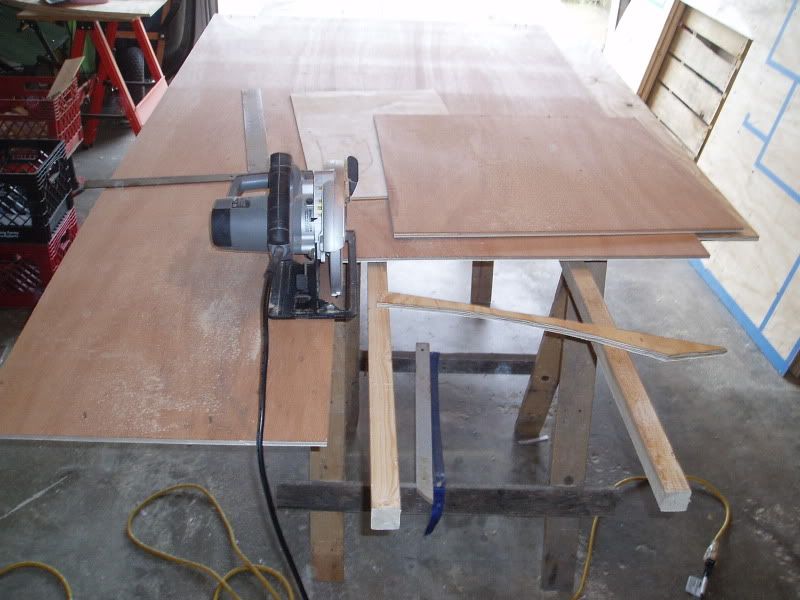
My first cuts were to shape how I wanted the piece to end at the end of the wall, where the bulkheads kick in.

Image

Image
Rob & Lori
Aspen & Tundra
My Instructable: http://www.instructables.com/id/Teardro ... l-Trailer/
User avatar
TwilightLane
The 300 Club
 
Posts: 484
Joined: Thu May 14, 2009 4:59 pm
Top

Postby TwilightLane » Sun May 16, 2010 11:34 pm

I didn't get a pic of the next step. Here I laid one of the side profile pieces on TOP of my sandwiched 1/4 inch ply. I made sure the front of the bulge lined I lined up with the leading edge of the sandwich. And the bottom of the sandwich was two inches up from the bottom edge of the profile. I plan to have an 'upside down' ledge on the bottom of the wall. I then simply traced the profile.

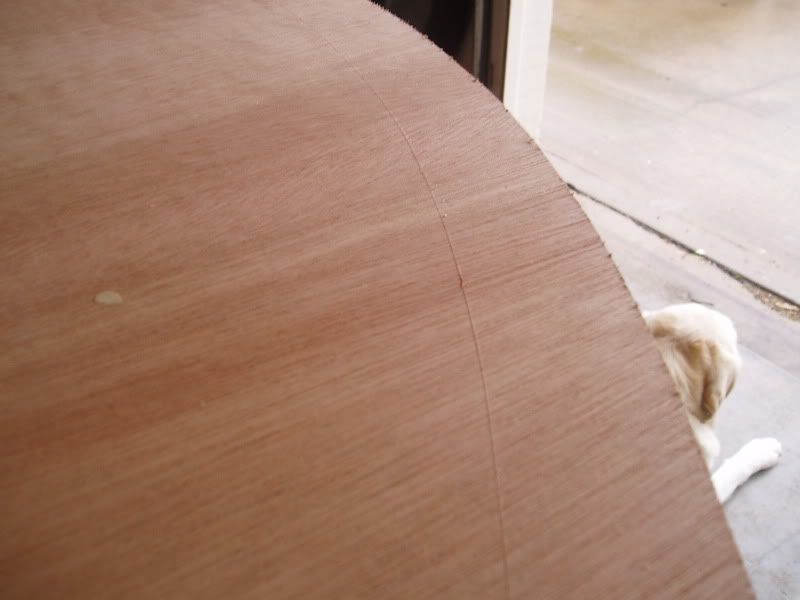
That is only an intermediate step. I now matched the outer profile. But my ledge is smaller then that. Here the jig comes into play again.

Image

Look close and you can see the line cut by the jig. And Aspen keeping an eye on things...
Rob & Lori
Aspen & Tundra
My Instructable: http://www.instructables.com/id/Teardro ... l-Trailer/
User avatar
TwilightLane
The 300 Club
 
Posts: 484
Joined: Thu May 14, 2009 4:59 pm
Top

Postby TwilightLane » Sun May 16, 2010 11:36 pm

Making sawdust.
Image
Rob & Lori
Aspen & Tundra
My Instructable: http://www.instructables.com/id/Teardro ... l-Trailer/
User avatar
TwilightLane
The 300 Club
 
Posts: 484
Joined: Thu May 14, 2009 4:59 pm
Top

Postby TwilightLane » Sun May 16, 2010 11:37 pm

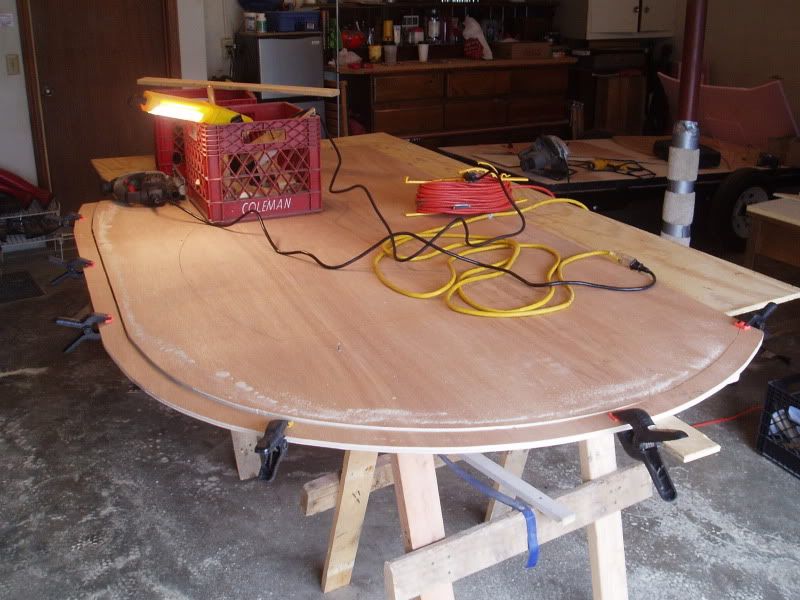
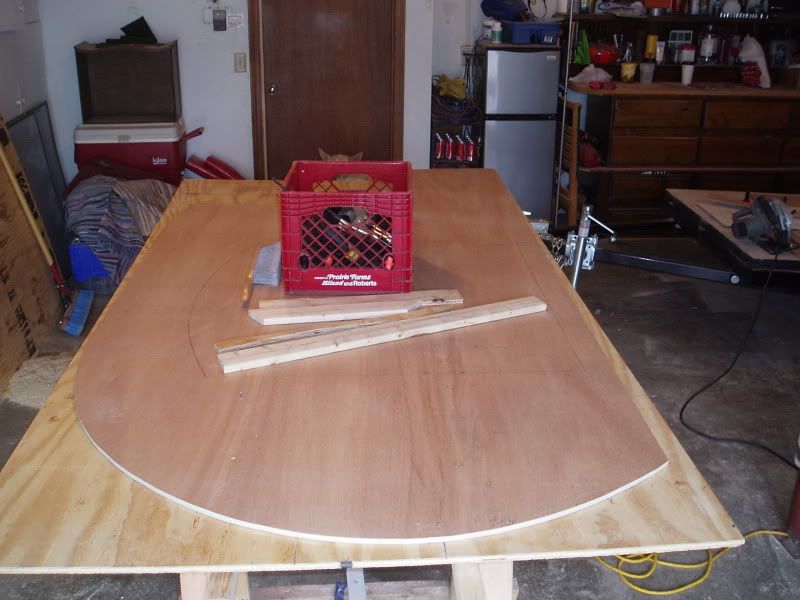
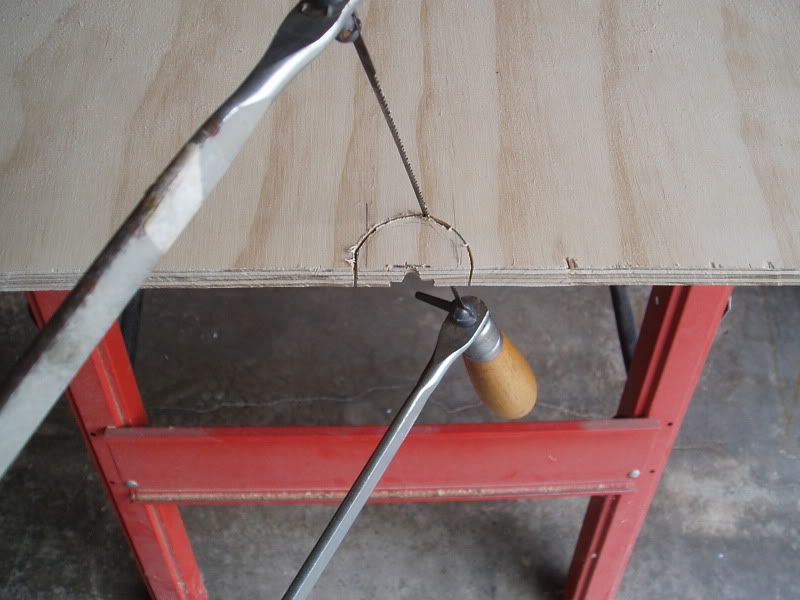
Here we go, the entire piece is cut away. It was so overcast, I had to use a shoplight to help me see the line.

Image
Rob & Lori
Aspen & Tundra
My Instructable: http://www.instructables.com/id/Teardro ... l-Trailer/
User avatar
TwilightLane
The 300 Club
 
Posts: 484
Joined: Thu May 14, 2009 4:59 pm
Top

Postby TwilightLane » Sun May 16, 2010 11:38 pm

Here is the piece so far. I also traced the spot for the doors while I was at it.

Image

You can see Tundra's ears as she is hanging out in front of the door!
Rob & Lori
Aspen & Tundra
My Instructable: http://www.instructables.com/id/Teardro ... l-Trailer/
User avatar
TwilightLane
The 300 Club
 
Posts: 484
Joined: Thu May 14, 2009 4:59 pm
Top

Postby TwilightLane » Sun May 16, 2010 11:44 pm

So here is the ply sandwich standing in front of one of the profiles. Psyched!

Image
Rob & Lori
Aspen & Tundra
My Instructable: http://www.instructables.com/id/Teardro ... l-Trailer/
User avatar
TwilightLane
The 300 Club
 
Posts: 484
Joined: Thu May 14, 2009 4:59 pm
Top

Postby TwilightLane » Sun May 16, 2010 11:48 pm

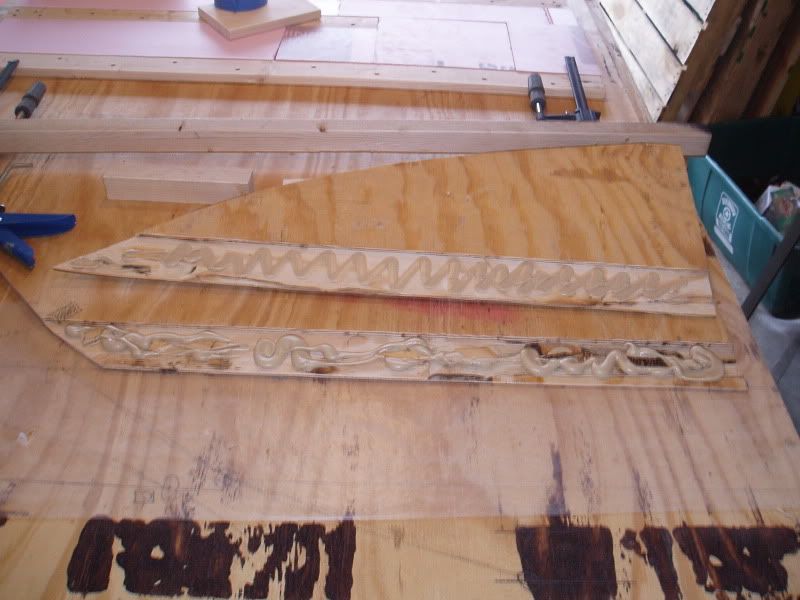
Time for some glue. I bought a couple tubes of PL at Ace Westlake. Got home and BOTH were dried out. Kind of a PITA but Ace 1. exchanged them no questions asked for two new tubes and 2. were incredibly apologetic and even embarassed. Kudos to Ace.

Image

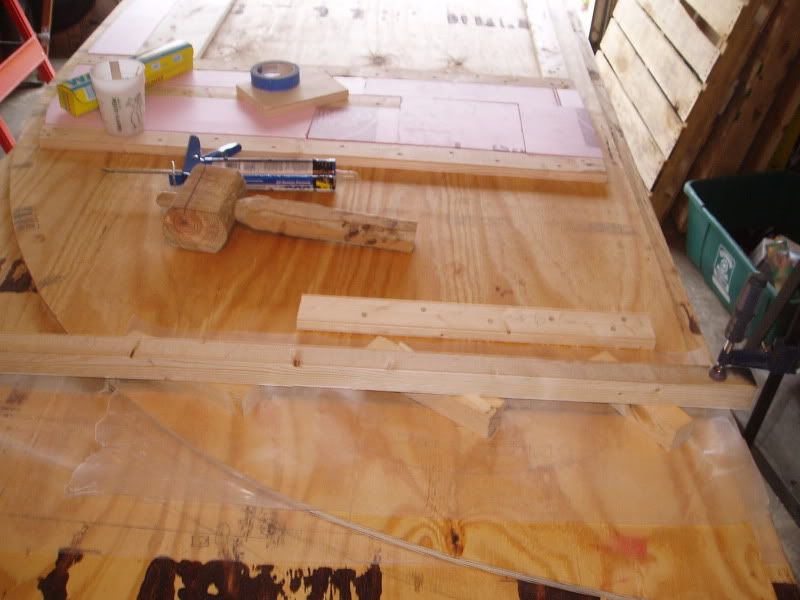
Here it is braced together. I'm not trying to squeeze the hell out of it, just keep it in place as glue dries/cures.

Image

I used plenty of wax paper under and on top of the piece to keep the glue under control.
Rob & Lori
Aspen & Tundra
My Instructable: http://www.instructables.com/id/Teardro ... l-Trailer/
User avatar
TwilightLane
The 300 Club
 
Posts: 484
Joined: Thu May 14, 2009 4:59 pm
Top

Postby TwilightLane » Sun May 16, 2010 11:51 pm

Looking at how I was going to build the bulkhead, I decided to add another bracket to hold the counter top. (That is that little horizontal piece). And finished the insualtion.

Image
Last edited by TwilightLane on Mon May 17, 2010 12:03 am, edited 1 time in total.
Rob & Lori
Aspen & Tundra
My Instructable: http://www.instructables.com/id/Teardro ... l-Trailer/
User avatar
TwilightLane
The 300 Club
 
Posts: 484
Joined: Thu May 14, 2009 4:59 pm
Top

Postby TwilightLane » Sun May 16, 2010 11:51 pm

Hatch cover. I'm not going to use any hardwear or even drill a hole. I think this notch will do the trick.

Image
Rob & Lori
Aspen & Tundra
My Instructable: http://www.instructables.com/id/Teardro ... l-Trailer/
User avatar
TwilightLane
The 300 Club
 
Posts: 484
Joined: Thu May 14, 2009 4:59 pm
Top

Postby TwilightLane » Sun May 16, 2010 11:52 pm

Finally a glimpse of the profile. The tail is glued on. Here is what she will look like.

Image
Rob & Lori
Aspen & Tundra
My Instructable: http://www.instructables.com/id/Teardro ... l-Trailer/
User avatar
TwilightLane
The 300 Club
 
Posts: 484
Joined: Thu May 14, 2009 4:59 pm
Top

Postby Darren » Mon May 17, 2010 1:19 pm

Thanks for the updates. It's coming along great.

When do you think you'll be ready for camping?
Image
User avatar
Darren
the camper formerly known as Victor Star
 
Posts: 1356
Images: 161
Joined: Sat Dec 03, 2005 12:09 am
Location: Shawnee, Kansas (KC)
Top

PreviousNext

Return to Build Journals

Who is online

Users browsing this forum: No registered users and 2 guests