planovet wrote:What stomper said.

I think I went through 2 or 3 bottom bearing bits in my build. I was too hard on them and if I had to do it over I would take it easier and go through only 1 or 2.
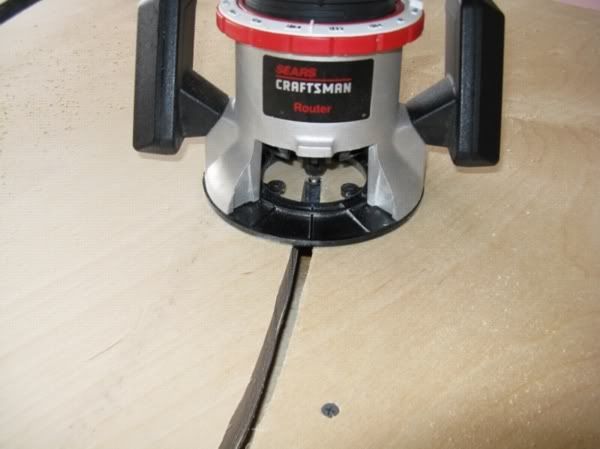
I also started with a Craftsman router that I have had since the 80's. Unfortunately it did not make it through the build and I had to buy another router. Once again, if I was easier on it, it might have lasted.
I would like to add the following about the Craftsman router:
Be really careful with the craftsman routers. I had used mine for a while and it was getting noisy, so I decided to replace the bearings. What I found when I took it apart was that the main shaft was severely cracked. In order to make the routers at a price point, they made the shaft hollow and just cut slots lengthwise to make the collet integral with the shaft. All of the vibration combined with tightening and un-tightening the collet cracked the shaft causing an unsafe condition.
With the Porter Cable (and other quality routers) the shaft is solid and the collet swaged on so that there are no stress concentrations on the shaft for the cracking to start. Furthermore, the Porter Cable has a ½ inch collet so that you can turn bigger bits as well as the smaller ones being mush stiffer and less vibration and chatter prone which will give a smoother, better-looking cut.
Don’t get me wrong – I’ve personally cut a lot of wood with the Sears router, but be careful not to use too big of bits (even ones that you can buy) with the ¼ inch collet. I would NOT use the ¾ pattern bit with a ¼ inch collet as it can catch and doesn’t have the stiffness and will bend causing a REALLY dangerous condition (I have experienced this personally and it wasn’t much fun (really exciting though!)). If you are careful, don’t use to big of bits and don’t push too hard you’ll be OK, but find any excuse you can to upgrade to the Porter Cable (or other ½ inch shank) router.
Woodbutcher wrote:Remember to lubricate the bearing regularly. Nothing messes up a project worse the having a bearing come off and cut into your work, except maybe the bearing seizing and burning your work. A touch of oil goes a long way.
You should be able to get this on-line or at a woodworker supply place – I’ve found they can really extend the life of you router bearings. I’ve never had one come clean off, but it will as a minimum spin with the bit and burn your wood which means a lot of sanding to get it fixed right. The router bearings should be VERY free when you spin them.


 Mark (& Cindi)