Here is what the frame looks like with the cross pieces removed.
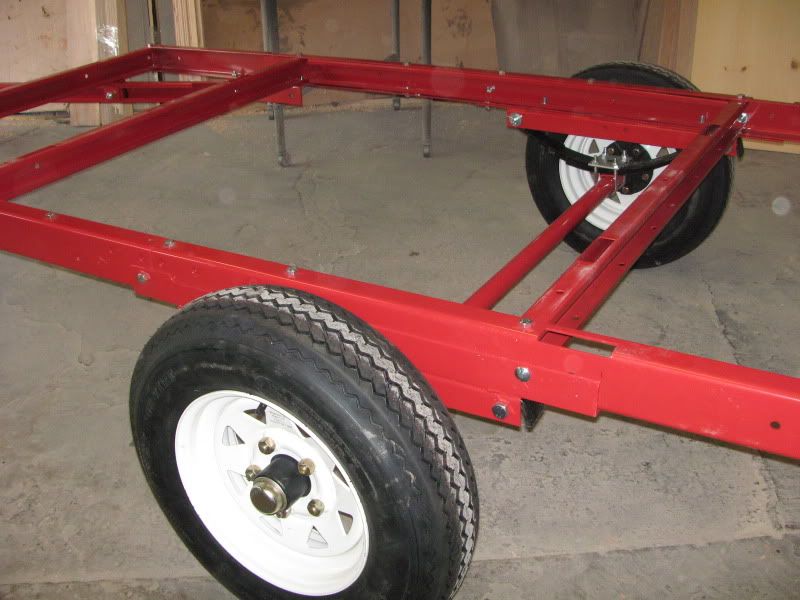
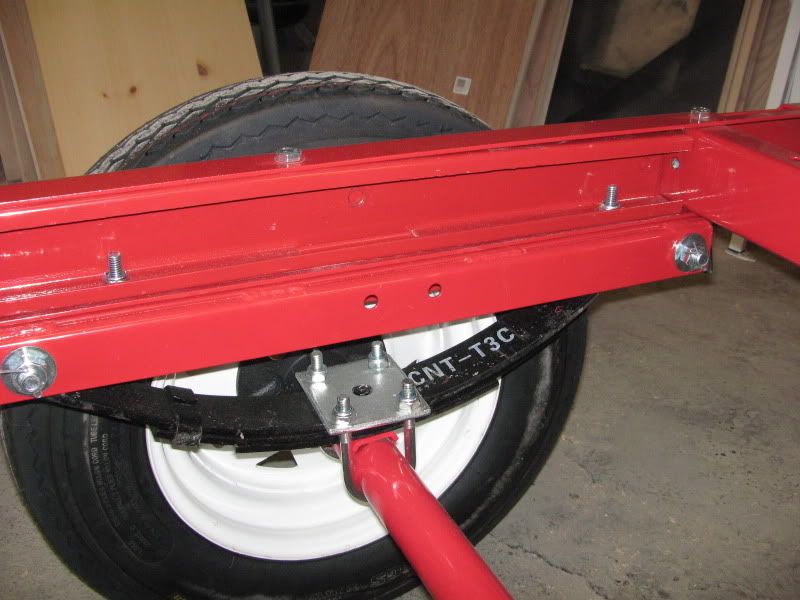
This is what the cross members look like installed in the long frame rails.
Here is what the floor looks like. I used a 3/4" exterior fir plywood for the deck. Because the heads of the bolts that hold the trailer frame together stick up the floor (see pic above) would not sit flat on the frame rails. So I cut 1 1/2" strips the thickness of the bolt heads and stapled them to the floor where the rails are. Now everything sits firmly on the rails.

This is a picture of the floor upside down showing the bottom Notice the strips.
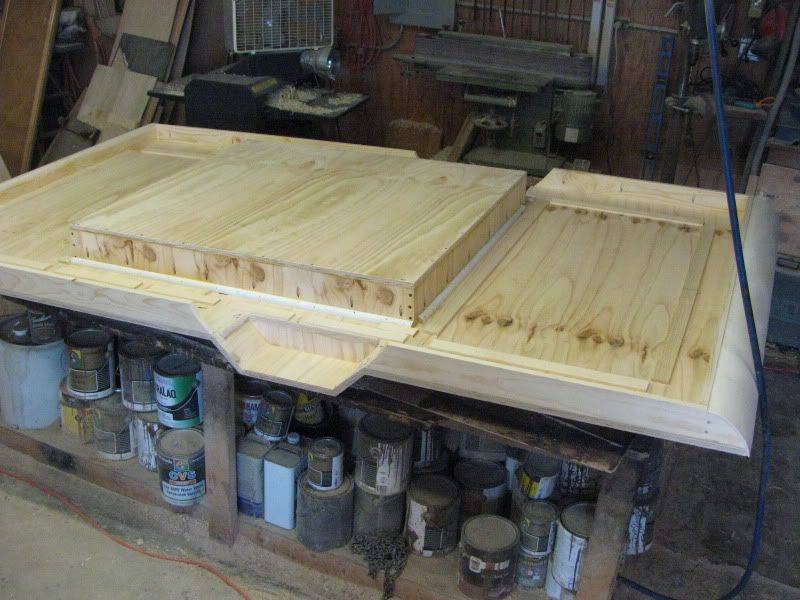
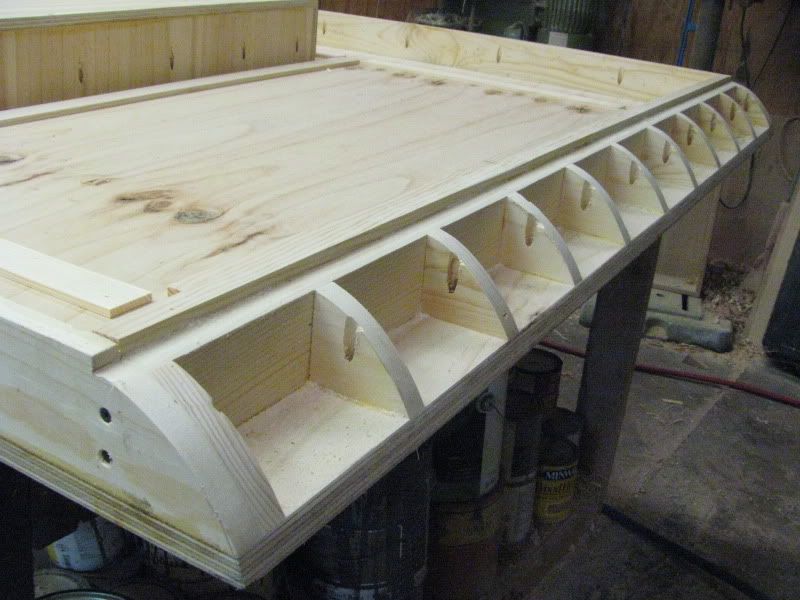
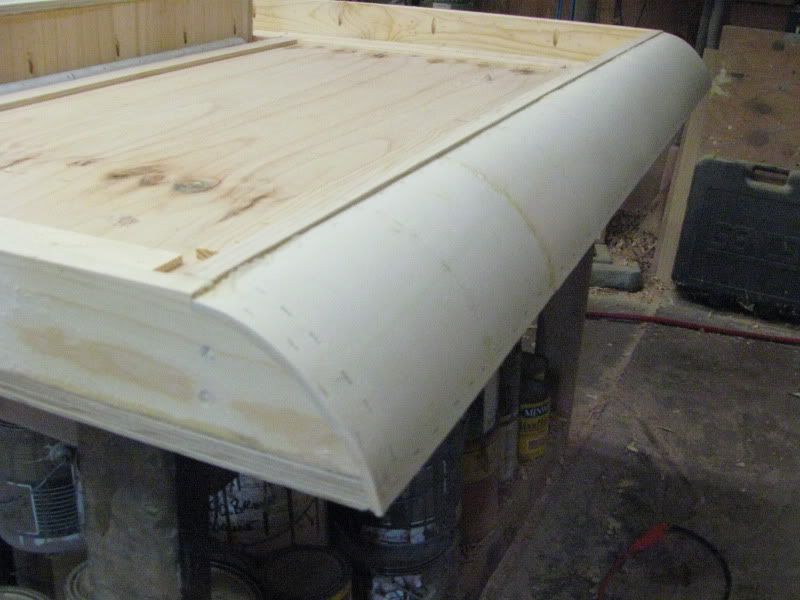
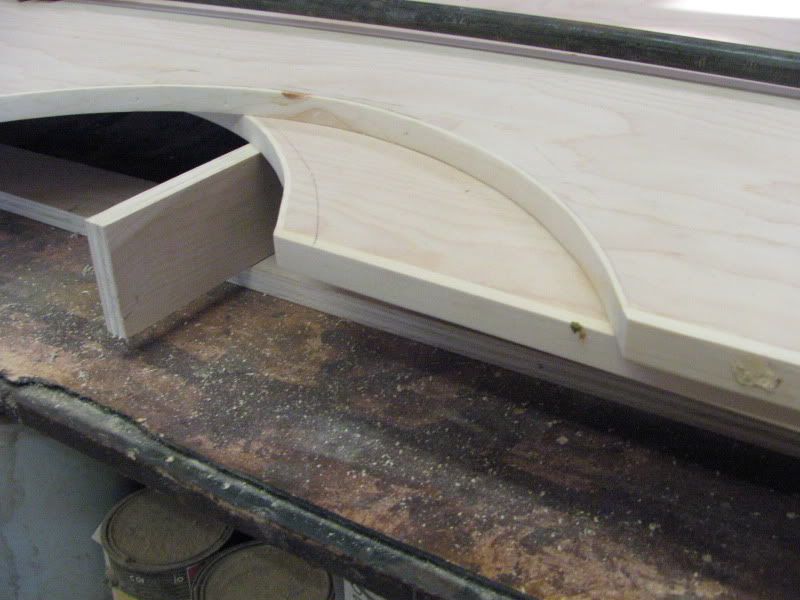
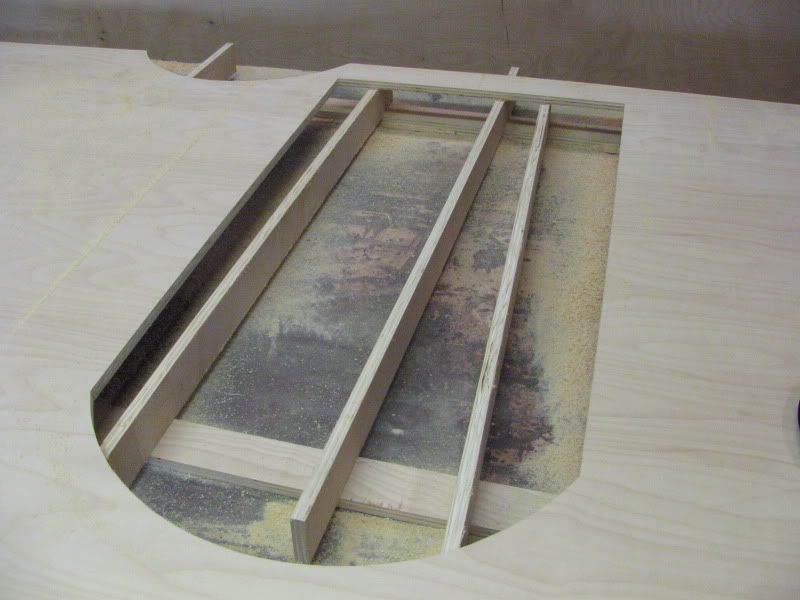
This is how I did the rear, bumper area. I wanted a radius so I framed it out and skinned it with 1/8" Baltic Birch. The whole floor measures 4 " thick with the framing I dropped down. This will cover the from from being seen and give me a mock fender for the tire.
Everything was then covered with the white roofing sealer, sorry I forgot the name, but it's been used here before. At the end I will undercoat everything again. This allowed me to get a good seal everywhere before joining the floor to the trailer.
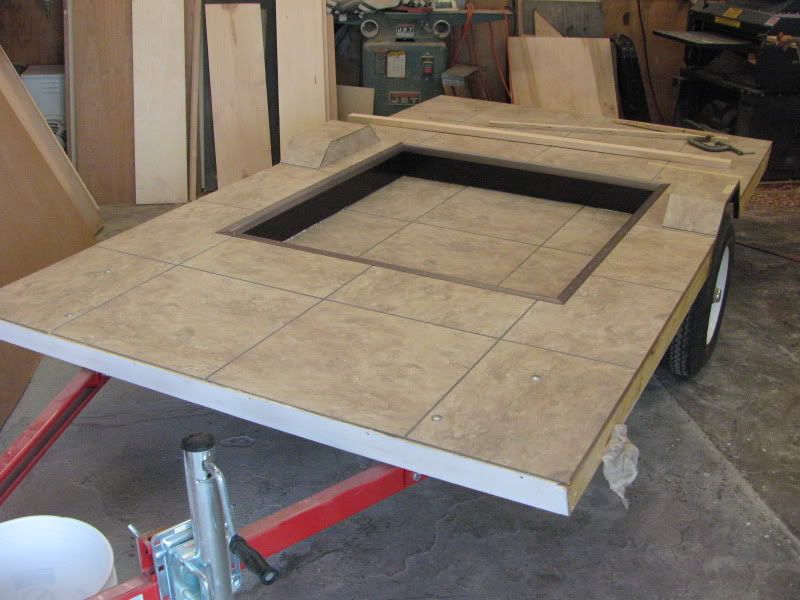
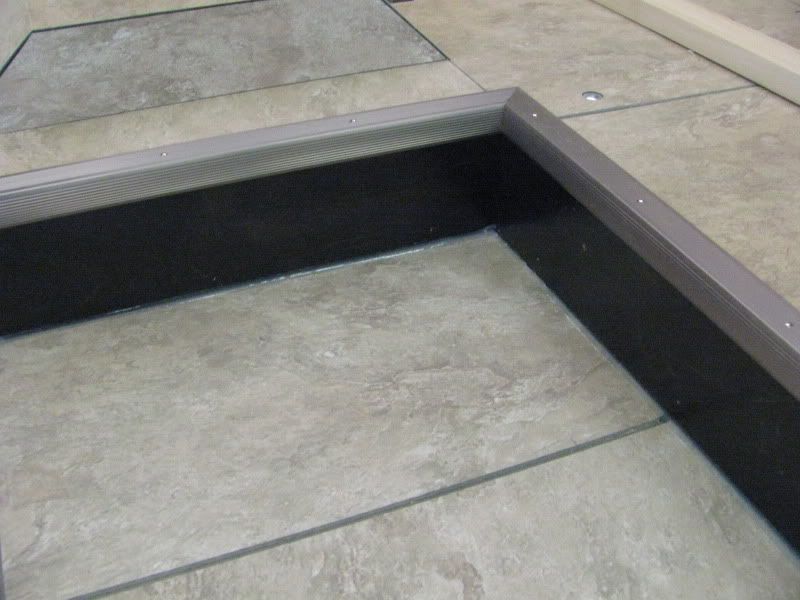
Here is a picture of the floor mounted to the frame. I installed peal and stick 18" square tile as my floor. It was being discontinued at Lowes and was real cheap. So I overlooked the pattern. I lined the inside of the drop floor with 1/4" birch stained black and sealed with Minwax Helsman. The top edge of the drop has an aluminum channel mitered around to protect the edges.
I used 3/4 4X10 Birch for my sides. I needed to add a 12" strip to the bottom to make up my 60" height. The joint was made with a tongue and groove bit. Then I added a small strip of solid pine to the exposed plywood lower edge.
I sealed the pine strip and 4" up on the inside of the sides with Helmsman. The outside 4" part of the floor assembly got Helmsman as well. The thought was to seal real well the seam between the floor and the walls. Hoping to keep water from wicking up. When I attached the walls I used a liberal amount of Liquid nails and screws. I got a nice amount of bleed out of the glue to let me know I had a good seal.
Here is a pic of the side attached to the floor.
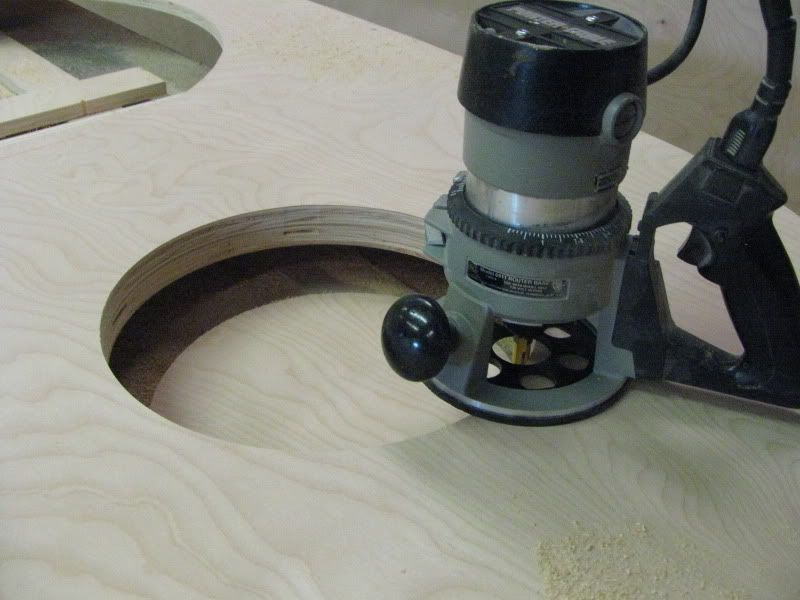
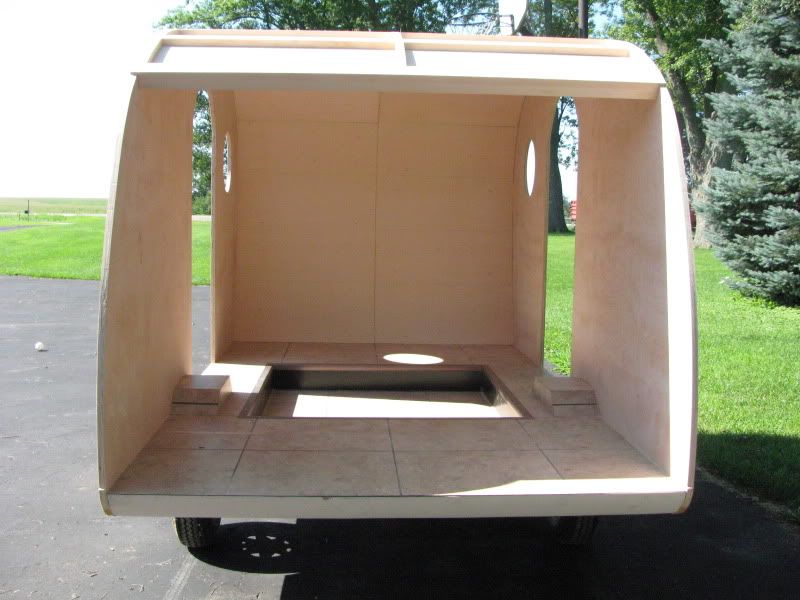
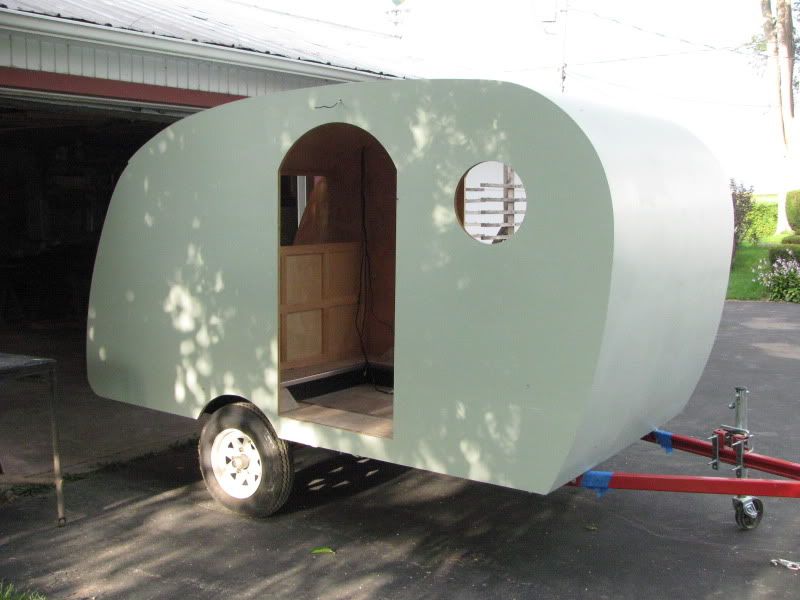
The doors will be about 24 wide and 50" tall. I made a pattern to cut out the doors as I want the blanks to be used as the doors. This keeps all the grain matching on the inside. The router base runs around the inside of the frame with a 1/4" bit doing the cutting. I don't have a plunge router so I just made 2 passes with my trusty Porter Cable router. The strips you see in the cutout area is there to keep the door from falling out when the cut is done.
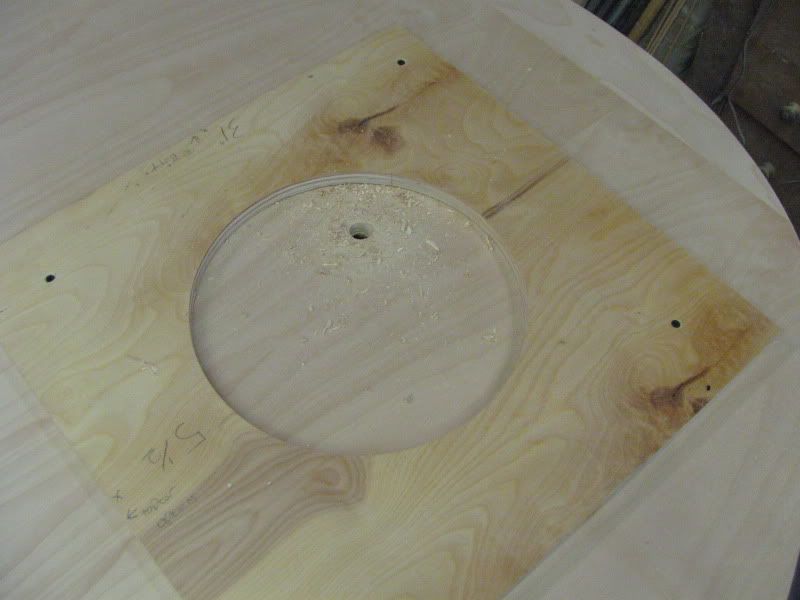
Next came the port hole windows. These are 12" diameter non opening windows. I again made a pattern but this one was only the size of the window hole itself. Because I was not using the drop I cut with a 1/2" straight bit with a bearing on the bottom. The bearing follows the inside edge of my pattern leaving me a perfect circle. PS. I made the perfect circle pattern by adding a piece if 1/4" wood to my router base that was about 12" longer then the router base. Drill a small hole in the longer base and turn the router into a compass of sorts. So for a 12" circle set the pivot screw 6" from the outside edge of the cutting bit.
This pic shows the pattern on the underside (outside) of the wall. Screwed it on as it will be covered with aluminum later.
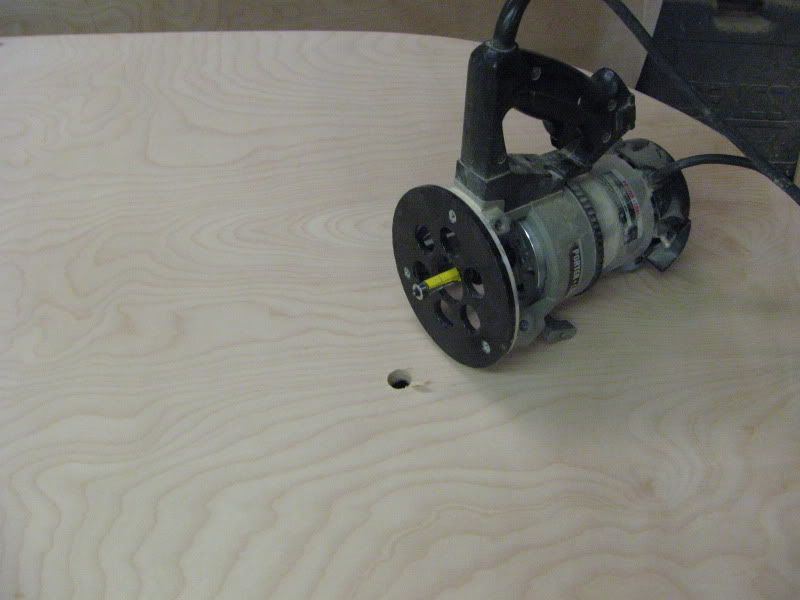
I needed a hole to drop the bit through so I could run it around the pattern below.
Finished hole!
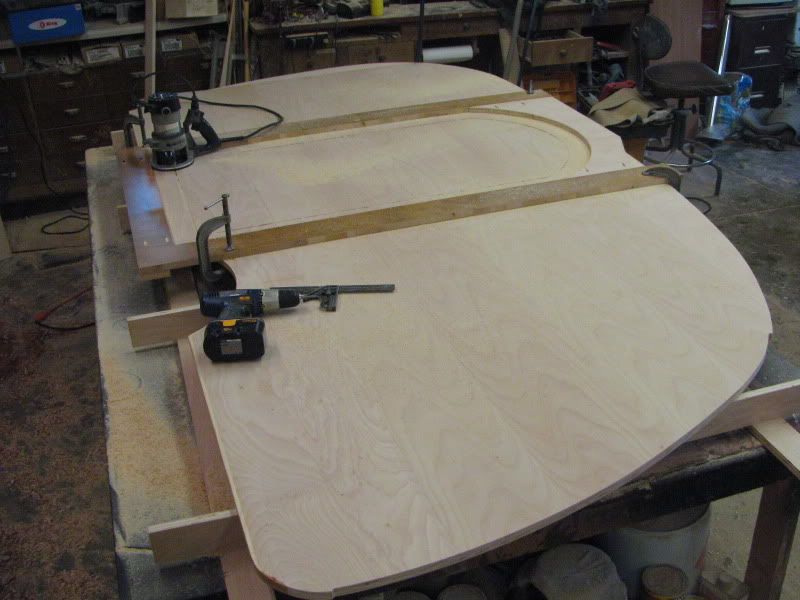
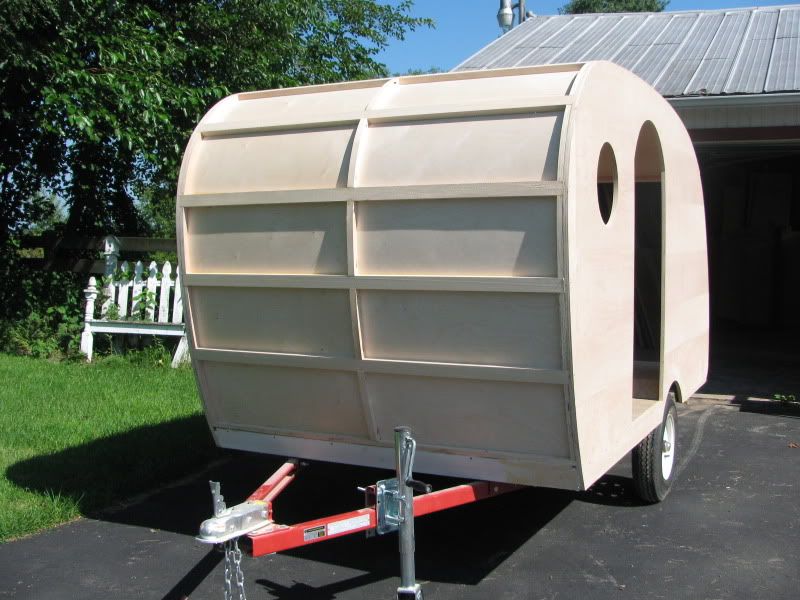
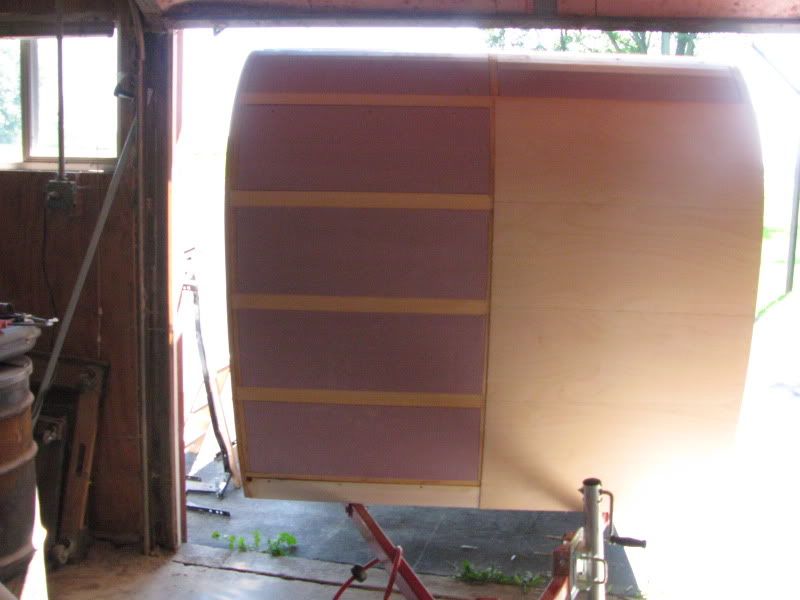
After the walls were up I started putting in the roof Spares. I have a 60 1/2" inside ID between the walls. This meant that I could not use a single piece of 1/8" Baltic Birch. So there was a need for a center rib up the middle.
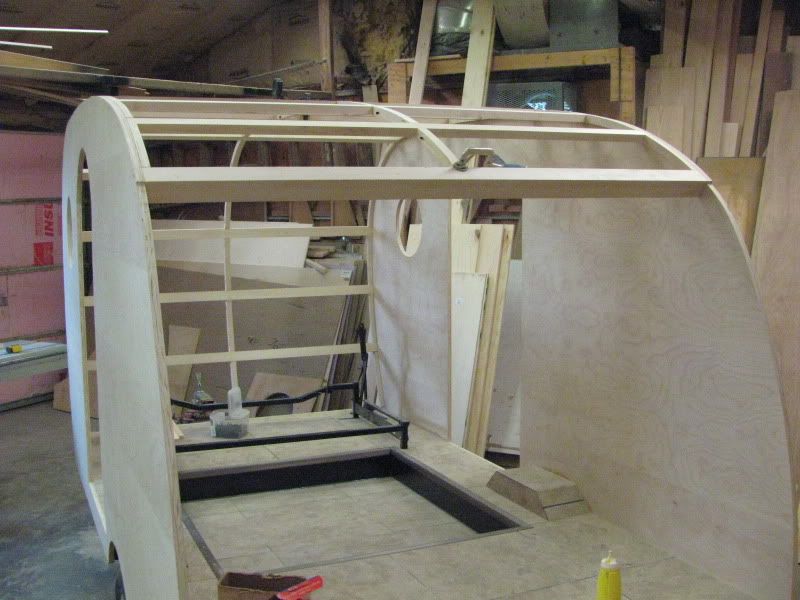
With all the roof spares in I put in the inside ceiling using 1/8" Baltic Birch. It's glued and stapled at all the seams and cross spares. The staples will be covered later with a thin strip of a contrasting wood for design interest.
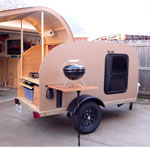
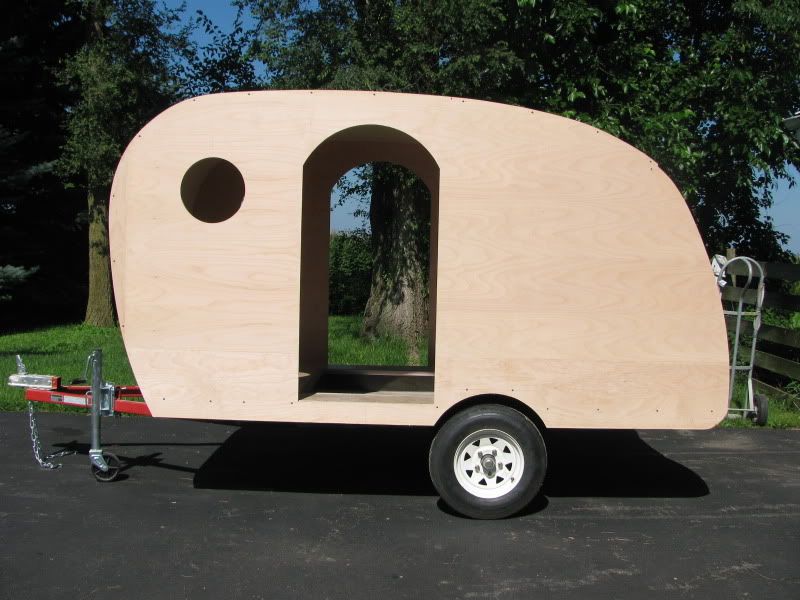
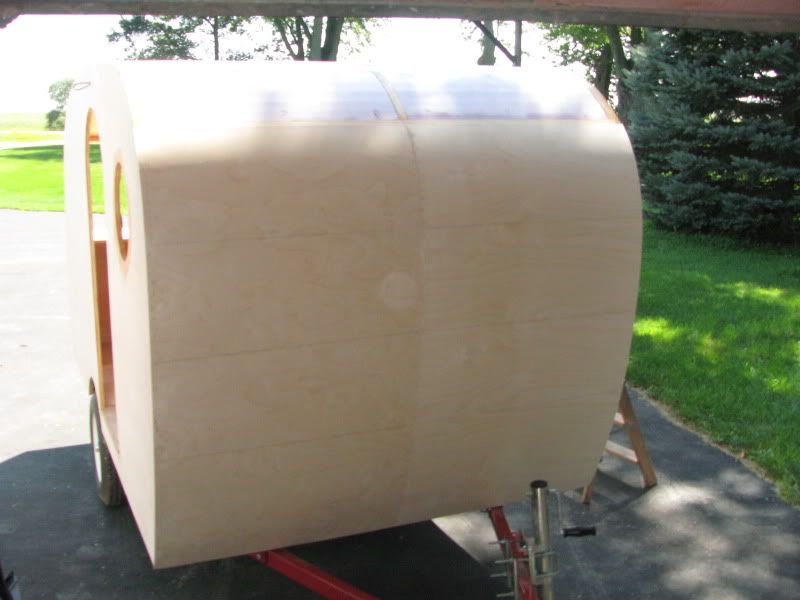
Rolled the whole mess outside to get a better look and clean the shop. Here is a profile of the "Cabin Car".
Front with the inside ceiling showing. I will seal all this with Helmsman before insulating and covering with another 1/8" Baltic Birch layer.
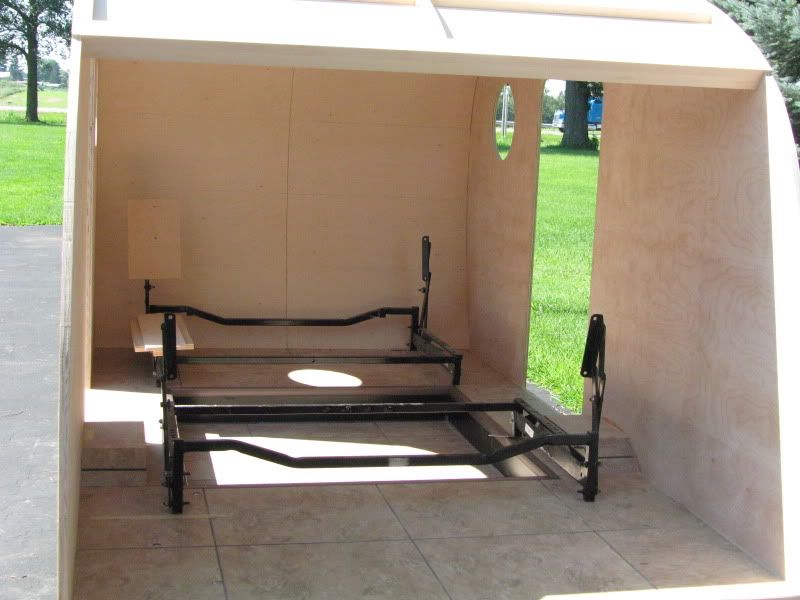
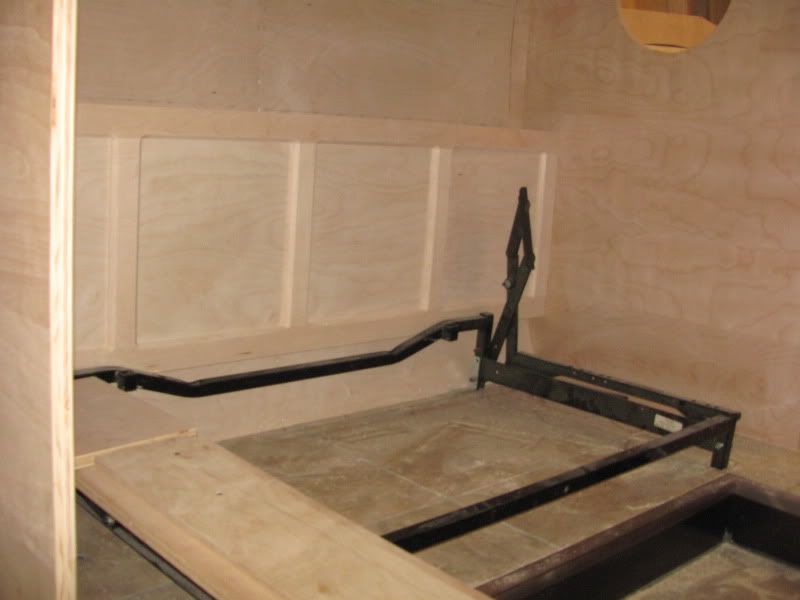
Sitting inside are 2 metal folding bed mechanisms out of a full size leisure van. This will make seating facing each other. A removeable table will be attached to the drop floor. The parts will break down and store under the seats. When you want a bed just fold them open and you have a 60X78" queen size mattress. Now maybe the Cabin Car theme makes sense. Like a train set up I guess.

That is where I am as of July 30th 2010. More to come.
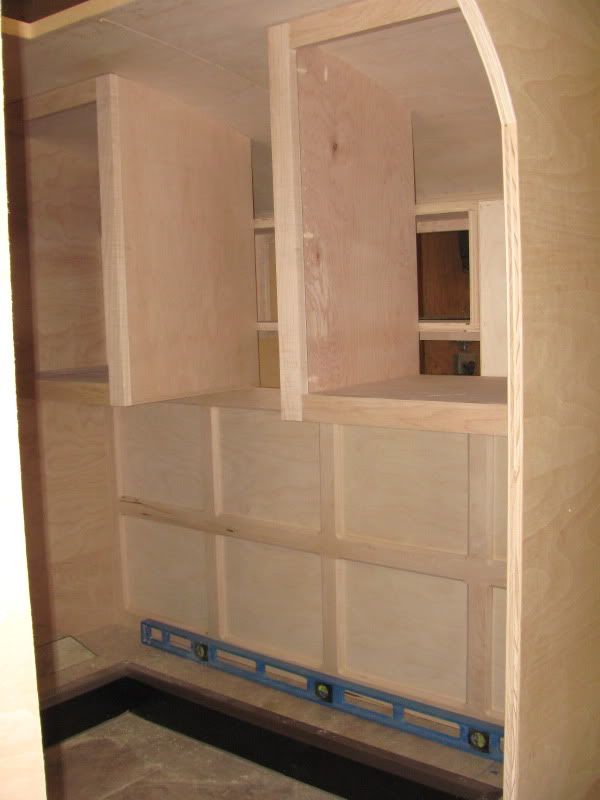
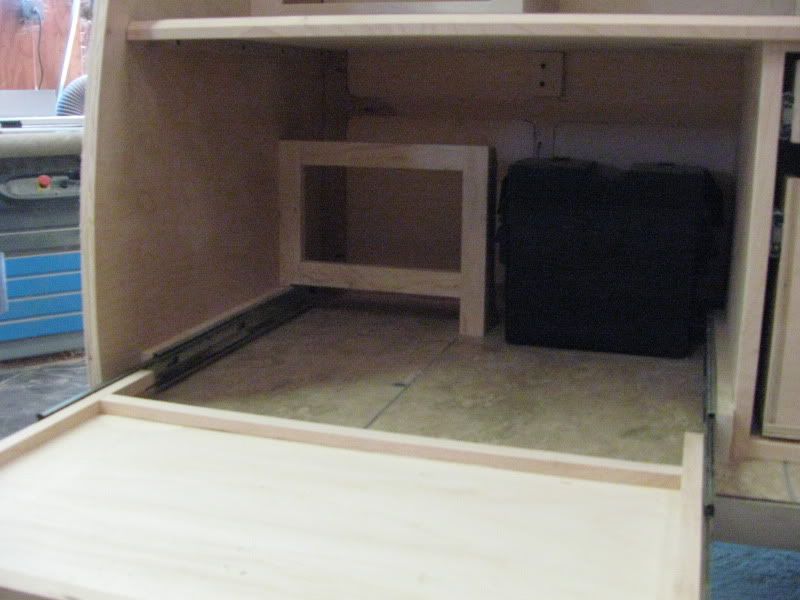
Started the inside storage cabinets. There will be 2 pretty good sizes cabinets with an open section between them for some type of AV equipment. I've got 2 110 outlets, one DC outlet and a coaxial cable outlet installed.
The paneled wall is the divider between the galley and the sleeping area. Did it this way for less weight. Used 3/4 maple with 1/8th" Baltic Birch cut offs in the panels .
The headboard end matches the foot board. Because the trailer angles out in front there is a well created behind the headboard. Great place for pillows and bedding when the seats are up.
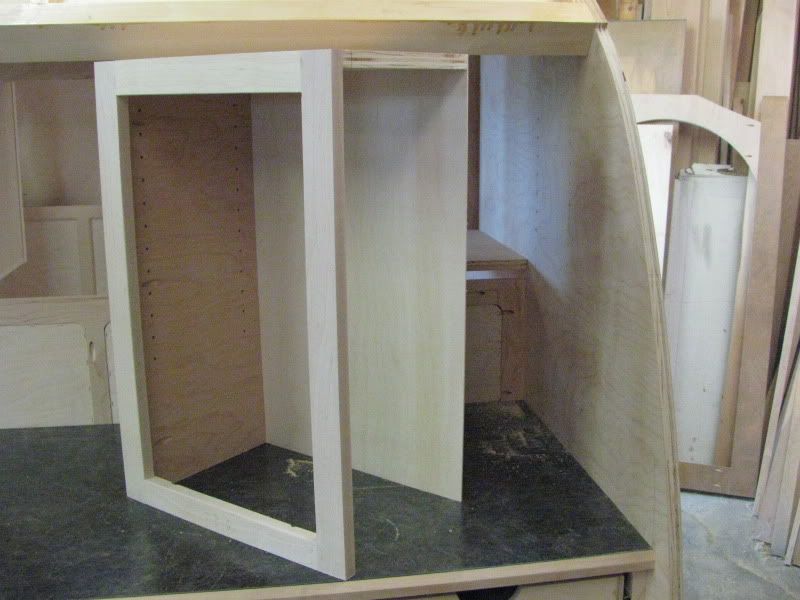
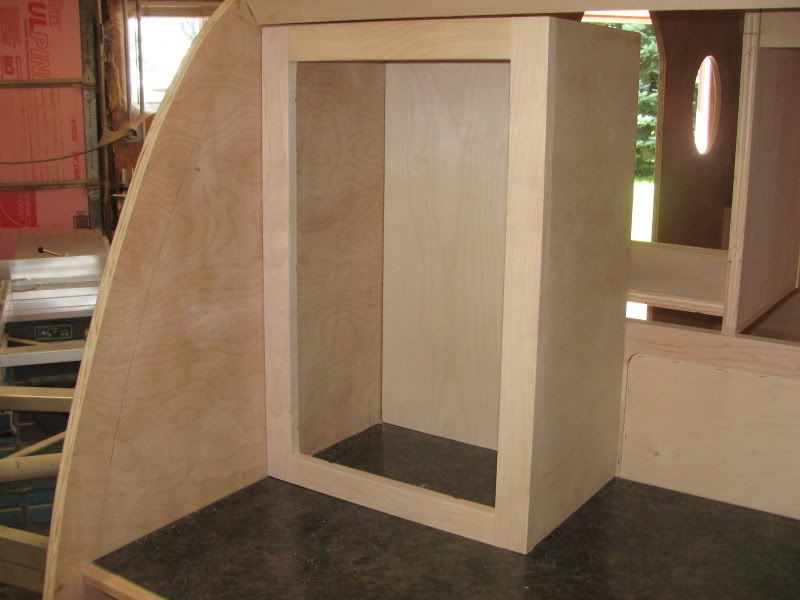
Started the galley cabinets. Used Maple with some Baltic Birch for backs.
I used the side of the trailer and one of the cabinet walls. Saved a few pounds.
Cabinet set in place.
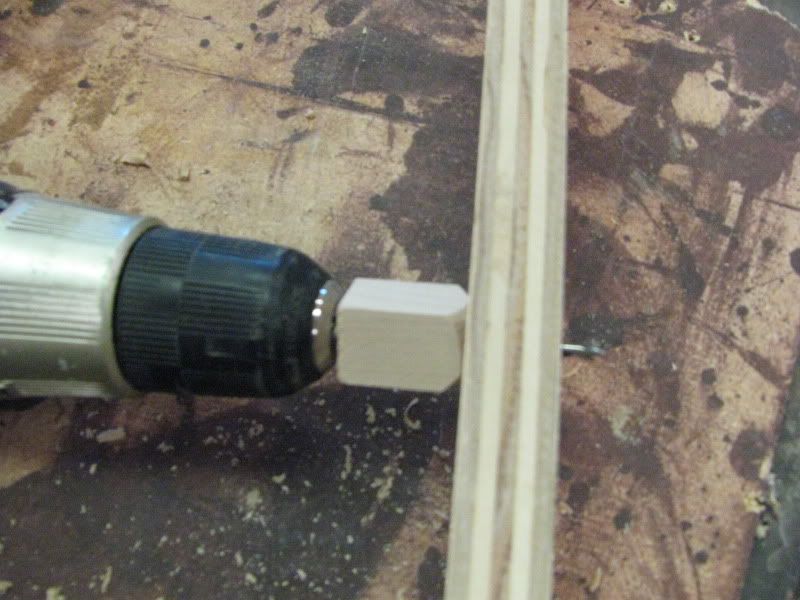
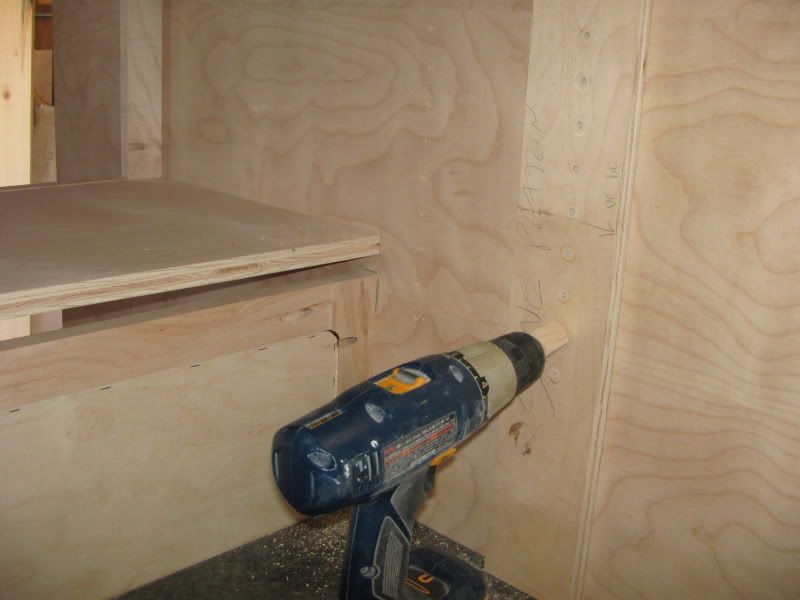
To drill the adjustable shelf holes on the trailer wall, I made a matching hole pattern and cut a small stop block so the drill would only go far enough for the clip to fit and not out the side of the trailer.
Here it is in action.
Between the 2 tall storage cabinets will be a short hanging cabinet with doors. Below will be a real small section that will have a 110 and DC outlet in it, with an open area for whatever. There will be a back that separates the galley from the sleeping area, it's just not sitting there now.

Below will be 2 small drawers and 2 big drawers. Big drawers are heavy duty to hold cast iron! There will be drawer fronts on these when done. Cooler will slide out on the left.
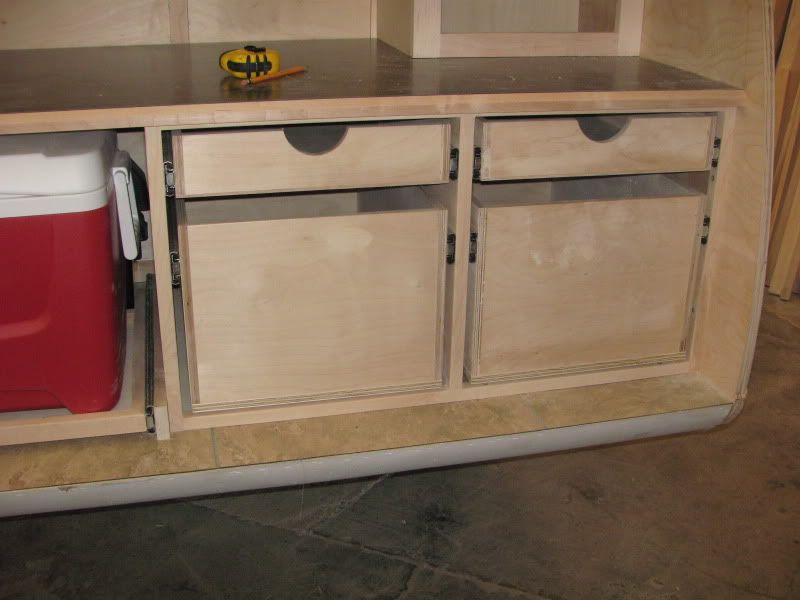
Behind the cooler will be the Inverter and maybe the battery. If I need the weight on the tongue I will move it up front.
Ran the wiring for the sconce lights the Fantastic Fan and the porch lights.

Put in the 1" foam insulation and another layer of 1/8th" Baltic Birch. to close it up.
Here is the roof on.
Put on a third coat inside of Helmsman Spar Ureathane on the inside and a coat of exterior house paint on the outside. Under the insulation is sealed with Helmsman as well. The outside will be skinned with metal so this was just a little extra protection.
Working on the galley now.....more to follow!


 At this rate, you'll be done in no time.