I'm sure enjoying watching your build, Scott!
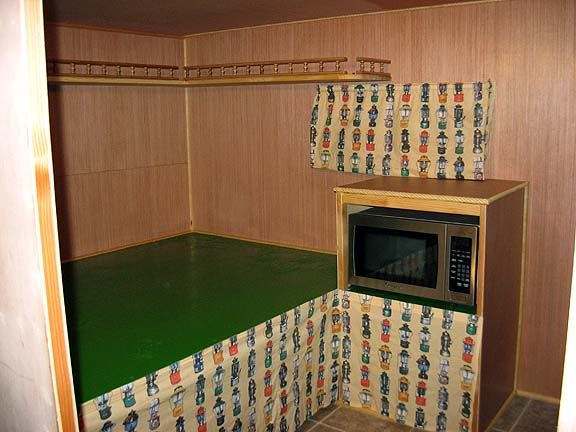
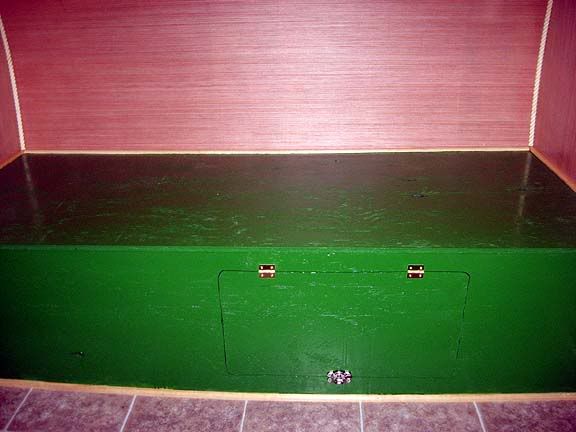
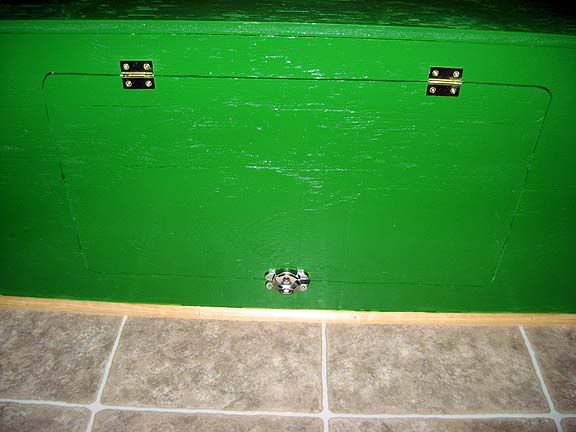
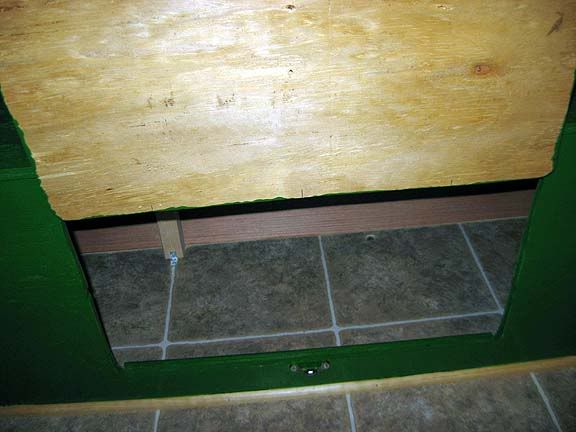
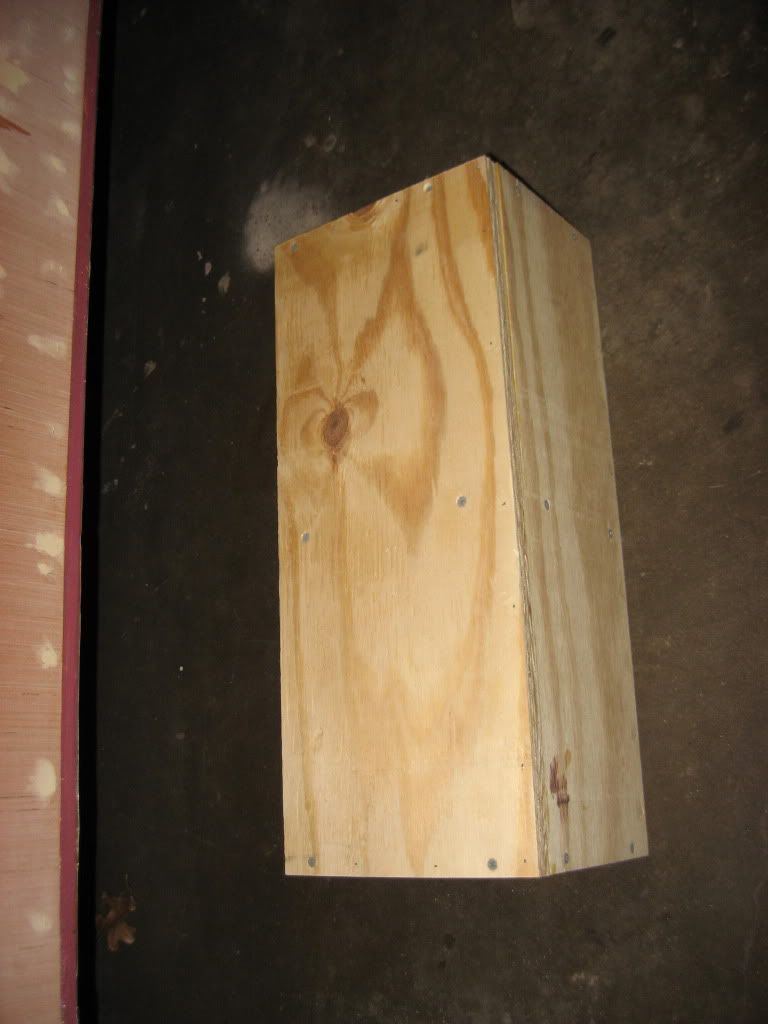
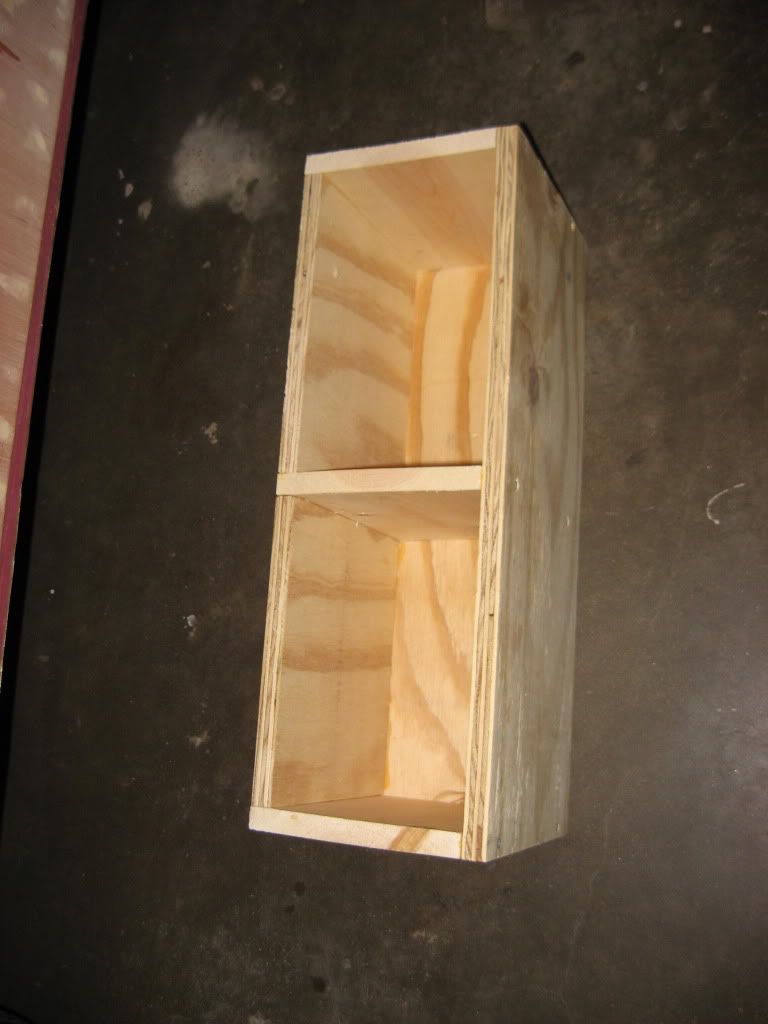
I have a question. On the front bed, what's the purpose of the luan panel across the front? I noticed that later it was either replaced or covered with plywood.
Green Lantern- now with awning!!!

![]() by starleen2 » Thu Dec 09, 2010 5:05 pm
by starleen2 » Thu Dec 09, 2010 5:05 pm
StPatrón wrote:I'm sure enjoying watching your build, Scott!
I have a question. On the front bed, what's the purpose of the luan panel across the front? I noticed that later it was either replaced or covered with plywood.
It was an Idea that just didn't work out very well - so i went another direction with it.
-

starleen2 - 5th Teardrop Club
- Posts: 16272
- Images: 224
- Joined: Sat May 12, 2007 8:26 pm
- Location: Pea Ridge ,AR

 Mark (& Cindi)