Friends, I understand using the edge trim that covers the joint between the sides and roof, but how do you attach the free floating alum siding along the notch for the hatch? I have been looking for pictures to answer my own question, but haven't found one yet.
Thanks!
Glenn
Attaching the alum siding at the edge of the notch
7 posts
• Page 1 of 1
Attaching the alum siding at the edge of the notch
![]() by Glenn Quarles » Fri Jul 08, 2011 9:57 pm
by Glenn Quarles » Fri Jul 08, 2011 9:57 pm
- Glenn Quarles
- Teardrop Advisor
- Posts: 66
- Images: 34
- Joined: Mon Jan 17, 2011 5:49 am
- Location: Clifton, TX
![]() by aggie79 » Fri Jul 08, 2011 10:18 pm
by aggie79 » Fri Jul 08, 2011 10:18 pm
Glenn,
My sidewall aluminum is glued at the edge of the profile and at openings, and is captured by trim.
On the galley portion of the sidewalls, I used wall cap molding. It is mostly a flat with a short return "L". This is the same trim that is used around doors and door openings.
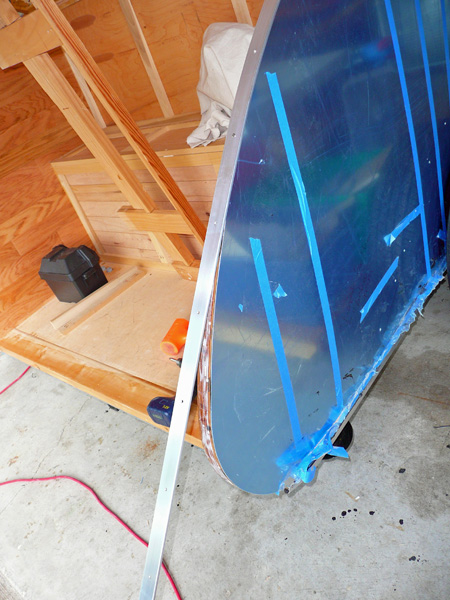

The pictures aren't that good but hopefully you can get an idea of what I did.
Take care,
Tom
My sidewall aluminum is glued at the edge of the profile and at openings, and is captured by trim.
On the galley portion of the sidewalls, I used wall cap molding. It is mostly a flat with a short return "L". This is the same trim that is used around doors and door openings.
The pictures aren't that good but hopefully you can get an idea of what I did.
Take care,
Tom
-

aggie79 - Super Duper Lifetime Member
- Posts: 5405
- Images: 686
- Joined: Tue Aug 07, 2007 5:42 pm
- Location: Watauga, Texas