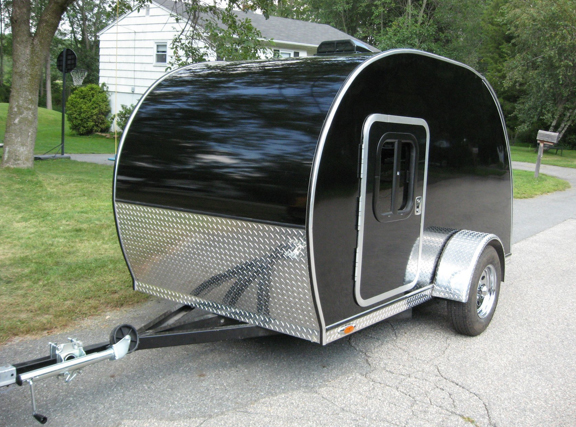
that is one fine looking trailer your skills are working for you.
I'm waiting to see the finished trailer.
thanks for sharing.

Teardrops n Tiny Travel Trailersor t n ttt for short (tnttt.com) |
![]() by terryjones1 » Sun Jul 10, 2011 5:36 pm
by terryjones1 » Sun Jul 10, 2011 5:36 pm

![]() by terryjones1 » Mon Jul 11, 2011 2:01 pm
by terryjones1 » Mon Jul 11, 2011 2:01 pm
![]() by bdosborn » Mon Jul 11, 2011 7:30 pm
by bdosborn » Mon Jul 11, 2011 7:30 pm


![]() by terryjones1 » Fri Jul 15, 2011 3:38 pm
by terryjones1 » Fri Jul 15, 2011 3:38 pm
![]() by TheOtherSean » Sun Jul 17, 2011 10:27 am
by TheOtherSean » Sun Jul 17, 2011 10:27 am

![]() by terryjones1 » Wed Jul 20, 2011 4:27 pm
by terryjones1 » Wed Jul 20, 2011 4:27 pm
![]() by terryjones1 » Sat Jul 23, 2011 4:42 pm
by terryjones1 » Sat Jul 23, 2011 4:42 pm
![]() by terryjones1 » Sat Jul 30, 2011 11:10 am
by terryjones1 » Sat Jul 30, 2011 11:10 am
![]() by terryjones1 » Tue Aug 09, 2011 10:56 am
by terryjones1 » Tue Aug 09, 2011 10:56 am
![]() by GuyllFyre » Tue Aug 09, 2011 11:17 am
by GuyllFyre » Tue Aug 09, 2011 11:17 am


![]() by StandUpGuy » Tue Aug 09, 2011 11:55 am
by StandUpGuy » Tue Aug 09, 2011 11:55 am
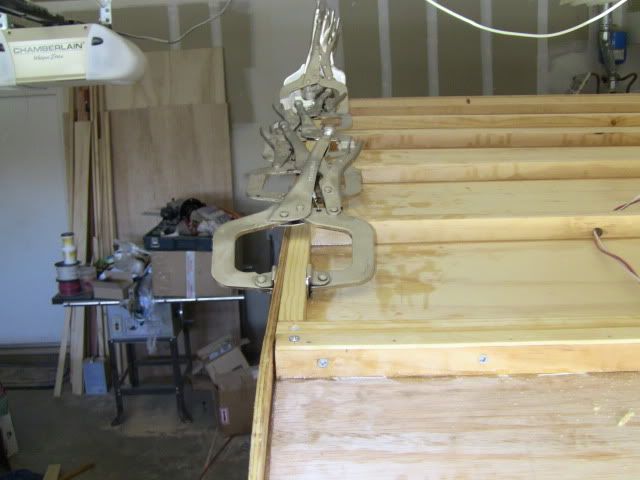
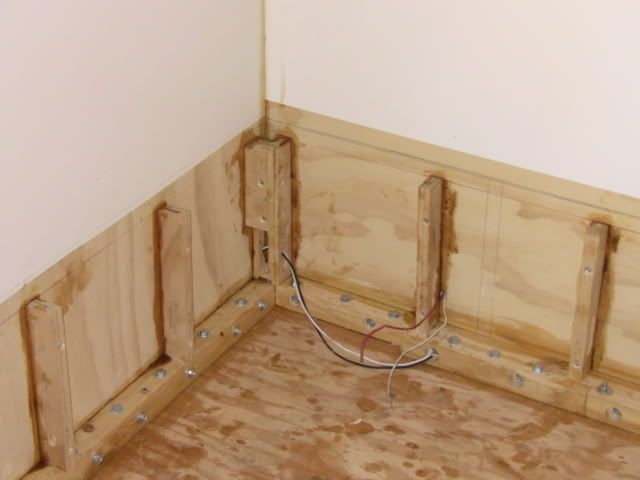
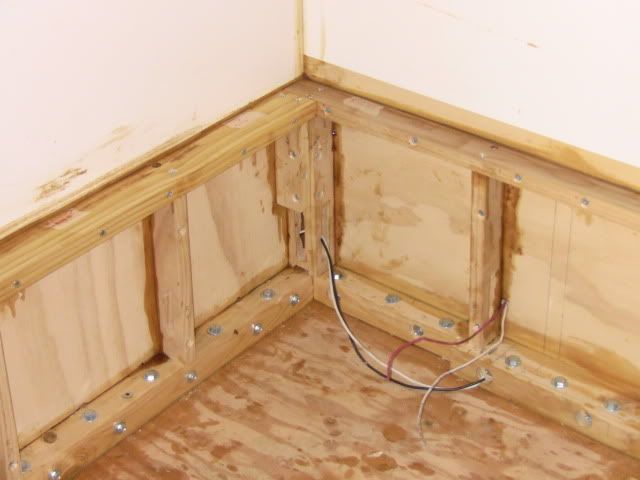
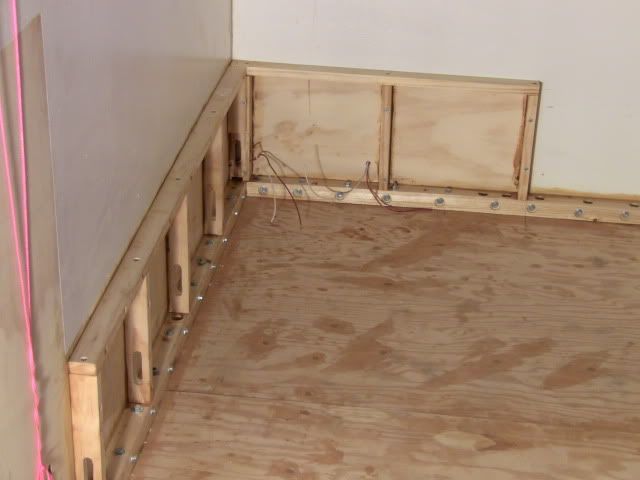
GuyllFyre wrote:Looks like you've got about 400 lbs in bolts and screws alone.
Obviously you don't have a weight limit.
Looking really nice, definitely not coming apart any time soon.


![]() by terryjones1 » Tue Aug 09, 2011 5:43 pm
by terryjones1 » Tue Aug 09, 2011 5:43 pm
StandUpGuy wrote:GuyllFyre wrote:Looks like you've got about 400 lbs in bolts and screws alone.
Obviously you don't have a weight limit.
Looking really nice, definitely not coming apart any time soon.
Right, I was thinking the same thing!
But really it is a beautiful trailer.
![]() by terryjones1 » Fri Aug 12, 2011 10:26 am
by terryjones1 » Fri Aug 12, 2011 10:26 am
![]() by jss06 » Fri Aug 12, 2011 10:43 am
by jss06 » Fri Aug 12, 2011 10:43 am

Users browsing this forum: No registered users and 11 guests
