6' x 9' Teardrop Build

...ask your questions in the appropriate forums BUT document your build here...preferably in a single thread...dates for updates, are appreciated....

6' x 9' Teardrop Build

Postby OCD » Mon Oct 31, 2011 9:47 pm

I've been reading the board for a few months now and have finally started my build. I really wanted to build a 5' wide but couldn't find a decent trailer in my price range.

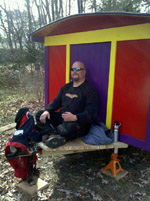
Here's my 'diamond in the rough', "more old junk" says my wife.
Image

Image

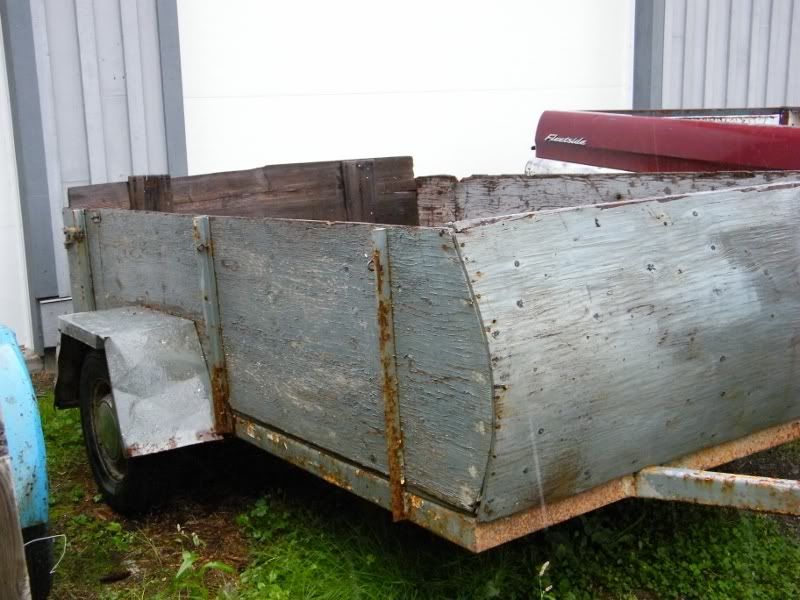
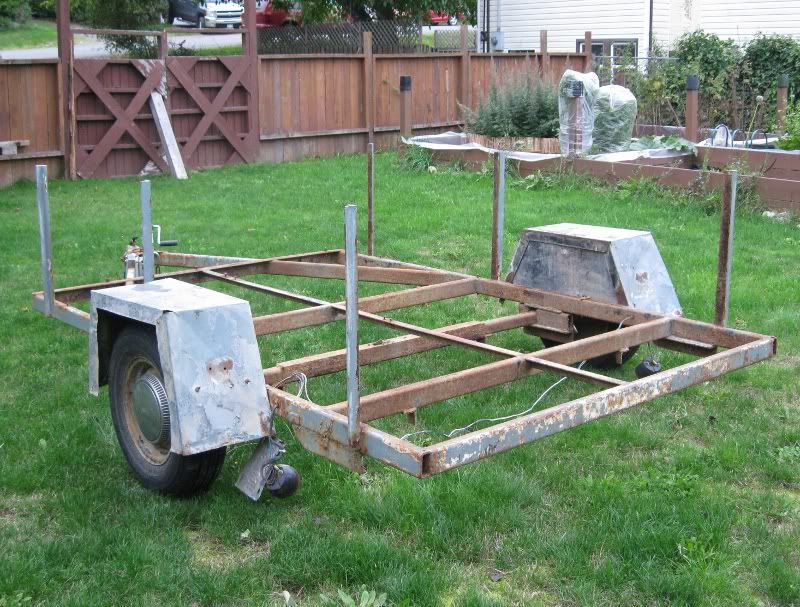
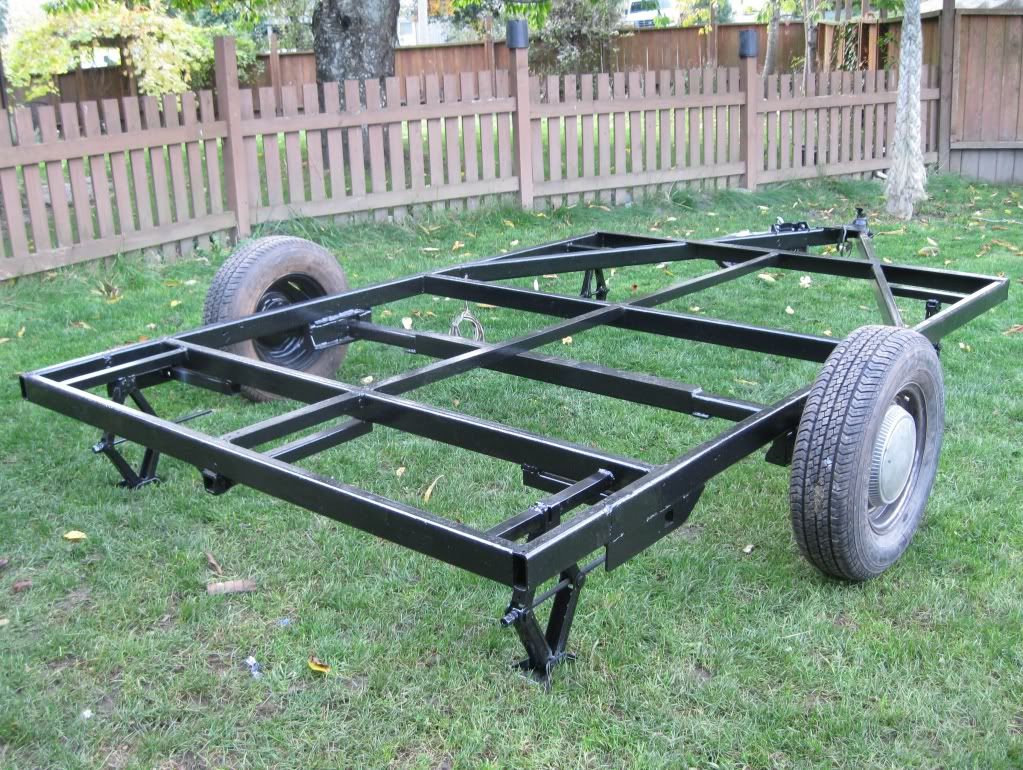
Getting things cleaned up. There was numerous pieces of angle iron hanging down underneath waiting to be trimmed off. Wire wheeled everything and gave it a couple of good coats of rust paint.
Image

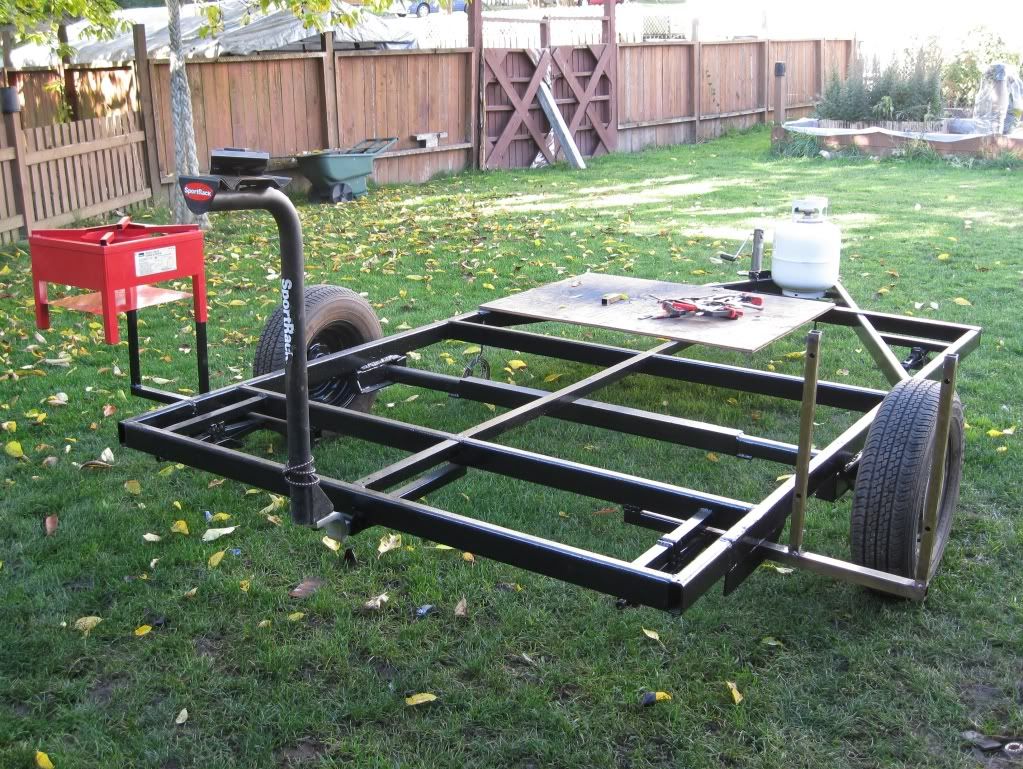
Added three receivers at the rear/sides: left for stove, middle for bike rack and right for a table/umbrella holder.
Image

Today welded on the mount for the front wheel/jack and have 4 levelling jacks for the corners to install next, soon to be followed by fenders.
OCD
Teardrop Advisor
 
Posts: 55
Joined: Mon Oct 31, 2011 9:22 pm

Postby S. Heisley » Mon Oct 31, 2011 10:02 pm

Off with the old wood and on with the new paint! You've officially started!

Best wishes for a successful build! :)
User avatar
S. Heisley
Super Lifetime Member
 
Posts: 8866
Images: 495
Joined: Mon Sep 17, 2007 10:02 am
Location: No. California

Postby jdarkoregon » Mon Oct 31, 2011 10:14 pm

YOU ARE GOING TO LOVE IT!!!!

Keep up the good work, what's your profile going to look like

John :thumbsup:
Innovation is essential
The world can be better
ImageImage
User avatar
jdarkoregon
Donating Member
 
Posts: 1237
Images: 47
Joined: Mon Aug 22, 2005 7:07 pm
Location: Oregon, Sublimity
Top

Postby Deryk the Pirate » Tue Nov 01, 2011 11:32 am

Interesting idea with the 3 recievers.. I like the idea for umbrella holders.
Build Thread lil vardo 1: http://tinyurl.com/baqe6py
Build Thread lil vardo 2: http://tinyurl.com/b3rwffm
User avatar
Deryk the Pirate
500 Club
 
Posts: 809
Images: 158
Joined: Tue Aug 18, 2009 11:03 am
Location: Parlin NJ
Top

Postby OCD » Tue Nov 01, 2011 3:31 pm

Most of the ideas will likely come from the creative solutions that I've seen here, recycled and done my way. I've seen the receiver idea for stoves, bike racks, cooler racks, and tables, I think it will open options for later. The angle iron was already welded in place, it didn't take much to finish the side mounts.
Image

I am planning on using 2 sheets of 5'x5' 1/4" baltic birch butted together to give me a 10' side profile. I'd like a fairly rounded front section with an overall side height around 4' 8" to cover the frame and give a little more head room inside. I think the tail will be less rounded to reduce the rear overhang of the frame. I'll have to draw out some profiles on the floor to get some ideas.

Scaled up a bit in size but I think mine will borrow a lot of influences from these two examples:
Image

Image
OCD
Teardrop Advisor
 
Posts: 55
Joined: Mon Oct 31, 2011 9:22 pm
Top

Postby OCD » Sat Nov 05, 2011 7:15 pm

Installed and painted my leveling jacks. Fenders and propane tank mount to come.

Image
OCD
Teardrop Advisor
 
Posts: 55
Joined: Mon Oct 31, 2011 9:22 pm
Top

Postby OCD » Fri Nov 11, 2011 9:44 pm

Here's where we are now: propane mount done (minus hold downs), slide in/on mount for the stove and bike rack test fit, building the work-surface/table and umbrella holder for the other side but ran out of gas for the mig welder. I cut a couple of sheets of 3/8 ply down to 5' and epoxy/fibre glassed them together to make the pattern for the side profile.

Image
OCD
Teardrop Advisor
 
Posts: 55
Joined: Mon Oct 31, 2011 9:22 pm
Top

6' x 9' Teardrop has a profile

Postby OCD » Sun Nov 13, 2011 9:51 pm

Using epoxy and fibreglass I joined up enough 3/8" plywood to make a template for the side walls. It still needs a bit of touching up and smoothing, but should save time later as a guide for the router when the birch sheets are glued up.

Image

Here it is after I spent some time cleaning it up with a file and sanding block to smooth out the jigsaw cuts.
Image
OCD
Teardrop Advisor
 
Posts: 55
Joined: Mon Oct 31, 2011 9:22 pm
Top

Postby OCD » Sat Nov 19, 2011 10:27 pm

Rolled it outside so I could stand back and see the scale of it, so far so good. Picked up my birch plywood, 1x2" spars and 1/2" ply for the floor today. I'll have to notch it in the rear to clear the hatch.

Image
OCD
Teardrop Advisor
 
Posts: 55
Joined: Mon Oct 31, 2011 9:22 pm
Top

Postby OCD » Sun Dec 04, 2011 10:26 pm

I now have the 1/2" panels for my floor cut out and primed. Planning to epoxy them together and spray the bottom side with rocker guard before screwing them down to the frame.
Image

Using the plywood pattern and a router with a flush trim bit, I cut out the two sides.
Image

First coat of epoxy on one of the outside panels. It's near freezing here now, I'll have to keep the woodstove fired up while working with epoxy from here on...
Image
OCD
Teardrop Advisor
 
Posts: 55
Joined: Mon Oct 31, 2011 9:22 pm
Top

Postby terryf » Mon Dec 05, 2011 1:57 am

Look Great Keep it up
LIVE LAUGH LOVE CAMP
User avatar
terryf
Teardrop Inspector
 
Posts: 12
Joined: Sun Dec 04, 2011 3:32 am
Location: Elizabethton Tn.
Top

Postby Deryk the Pirate » Mon Dec 05, 2011 10:08 am

Looking Great!
Build Thread lil vardo 1: http://tinyurl.com/baqe6py
Build Thread lil vardo 2: http://tinyurl.com/b3rwffm
User avatar
Deryk the Pirate
500 Club
 
Posts: 809
Images: 158
Joined: Tue Aug 18, 2009 11:03 am
Location: Parlin NJ
Top

Postby DMcCam » Mon Dec 05, 2011 10:56 am

You're in the fun zone now! Enjoy the ride. You're doing a great job.

All the best,

Dave
User avatar
DMcCam
Gold Donating Member
 
Posts: 883
Joined: Wed Jan 06, 2010 8:30 pm
Location: Reno, Nevada
Top

Postby OCD » Mon Dec 05, 2011 8:13 pm

Thanks for the encouragement, unfortunately things (like work) keep getting in the way of the fun stuff and I'm on a bit of race against the temperatures out/inside. Even fast cure epoxy isn't that fast this time of year. I'm planning to go with a single 30" door curbside and fabricate my own tilt-out windows for each side. Does anyone have plans/suggestions how to make them hinge out & adjustable, but remain water tight?
:thinking:
OCD
Teardrop Advisor
 
Posts: 55
Joined: Mon Oct 31, 2011 9:22 pm
Top

Postby Woodbutcher » Mon Dec 05, 2011 8:46 pm

Looking good. You seem to have everything well thought out. Keep us posted....
User avatar
Woodbutcher
Platinum Donating Member
 
Posts: 4191
Images: 45
Joined: Fri Mar 10, 2006 10:01 pm
Location: Chicago Suburbs
Top

Next

Return to Build Journals

Who is online

Users browsing this forum: No registered users and 13 guests

cron