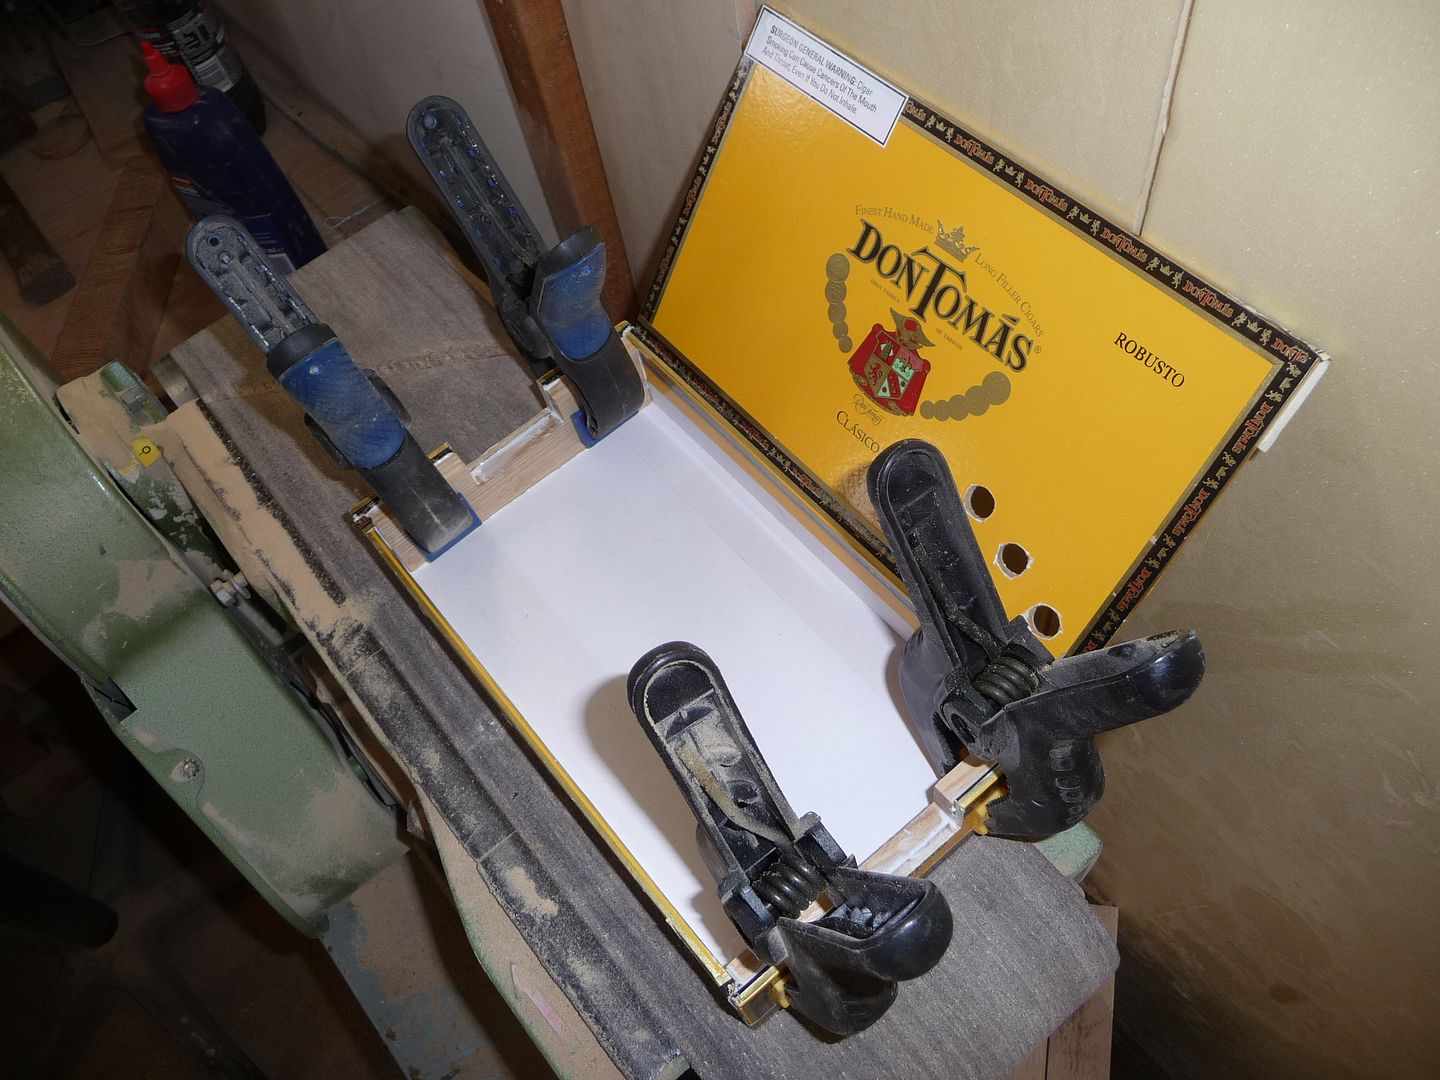
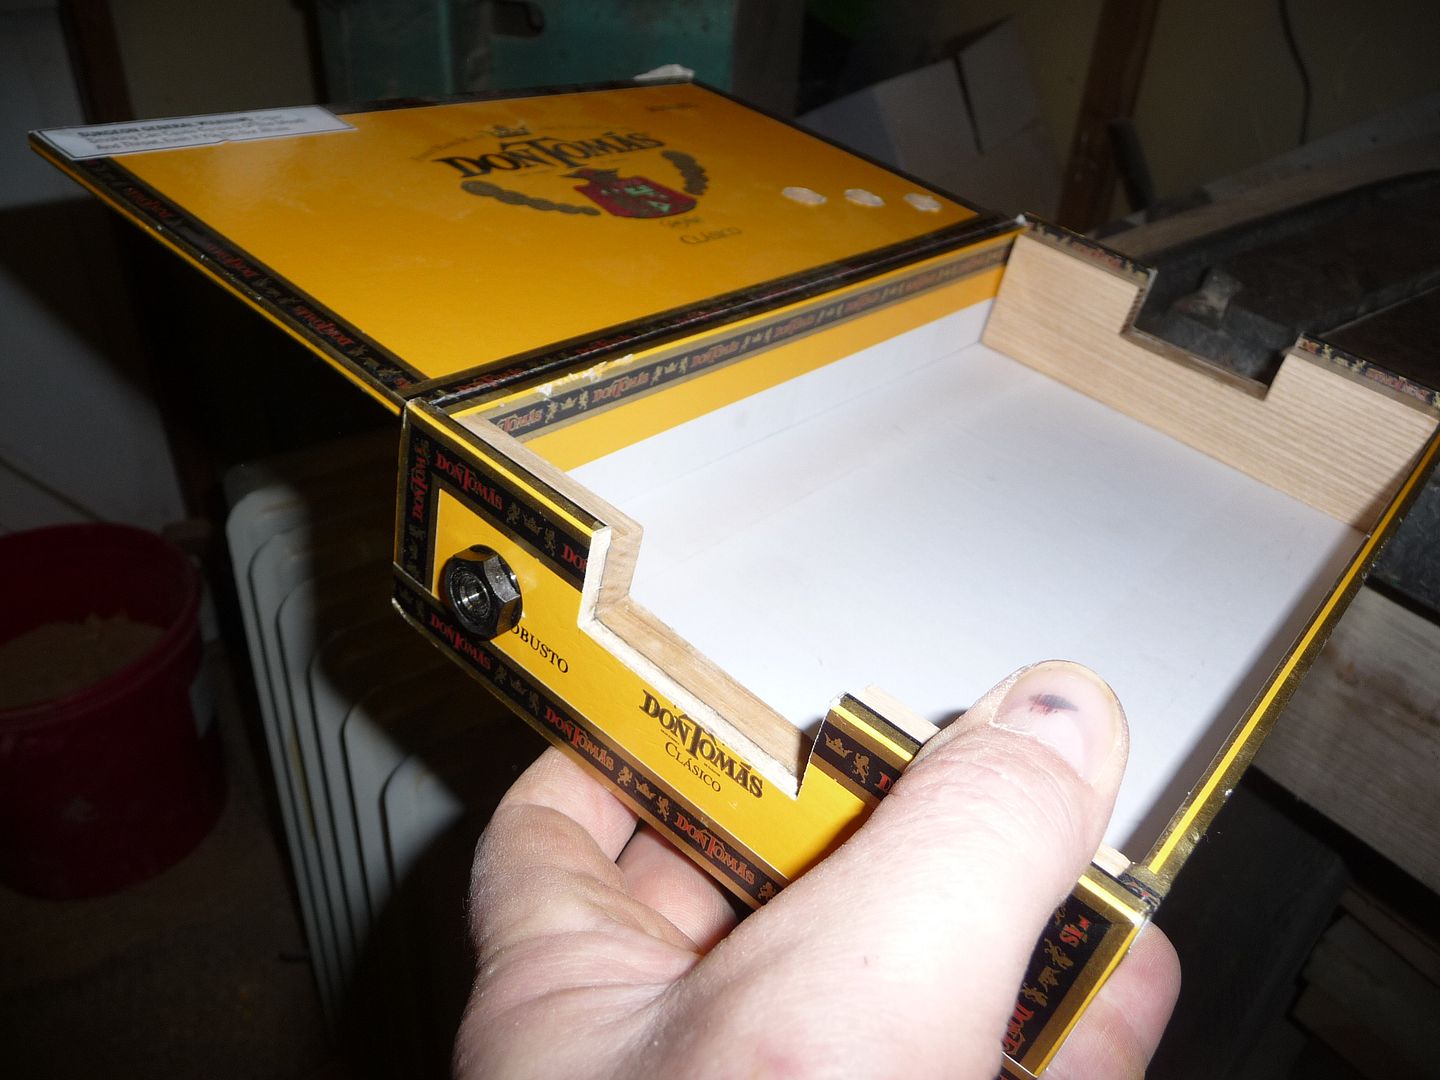
If I had to make one suggestion.... Most CBG builders claim (add me to that camp) that you will obtain more volume if the box top doesn't make full contact with the neck segment that's inside the box. While it's tempting to glue the lid down to that portion of the neck, too much contact will result in a dampening effect on the top "soundboard". GPW's diagram demonstrates that, a deeper cut in that neck segment. You need a secure fit of the neck to the box, however. That can be achieved by gluing some thin buttresses (inside the box) where the neck "enters" and "leaves" the box, supporting the neck beneath and also on each side.
To answer your question, absolutely no problem with electrifying a CBG with sound-holes.
For amplification you have several options.
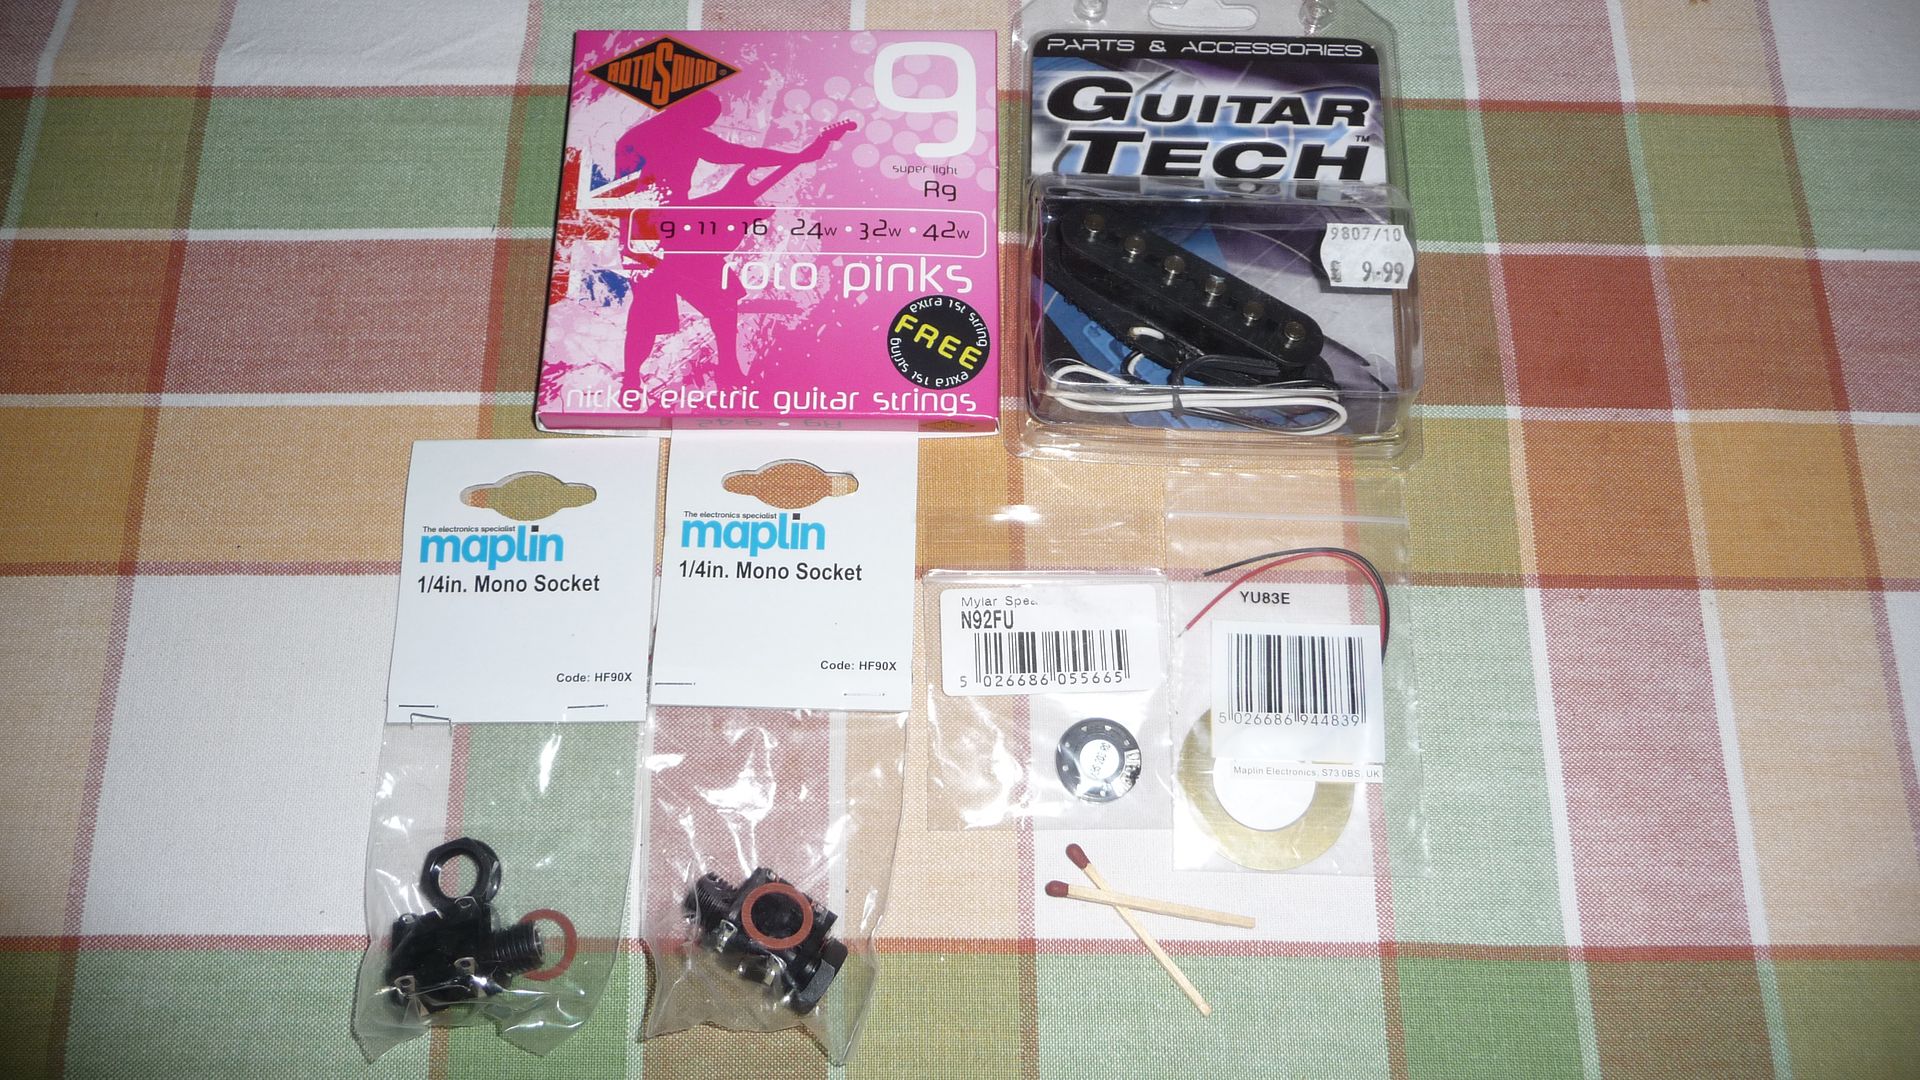
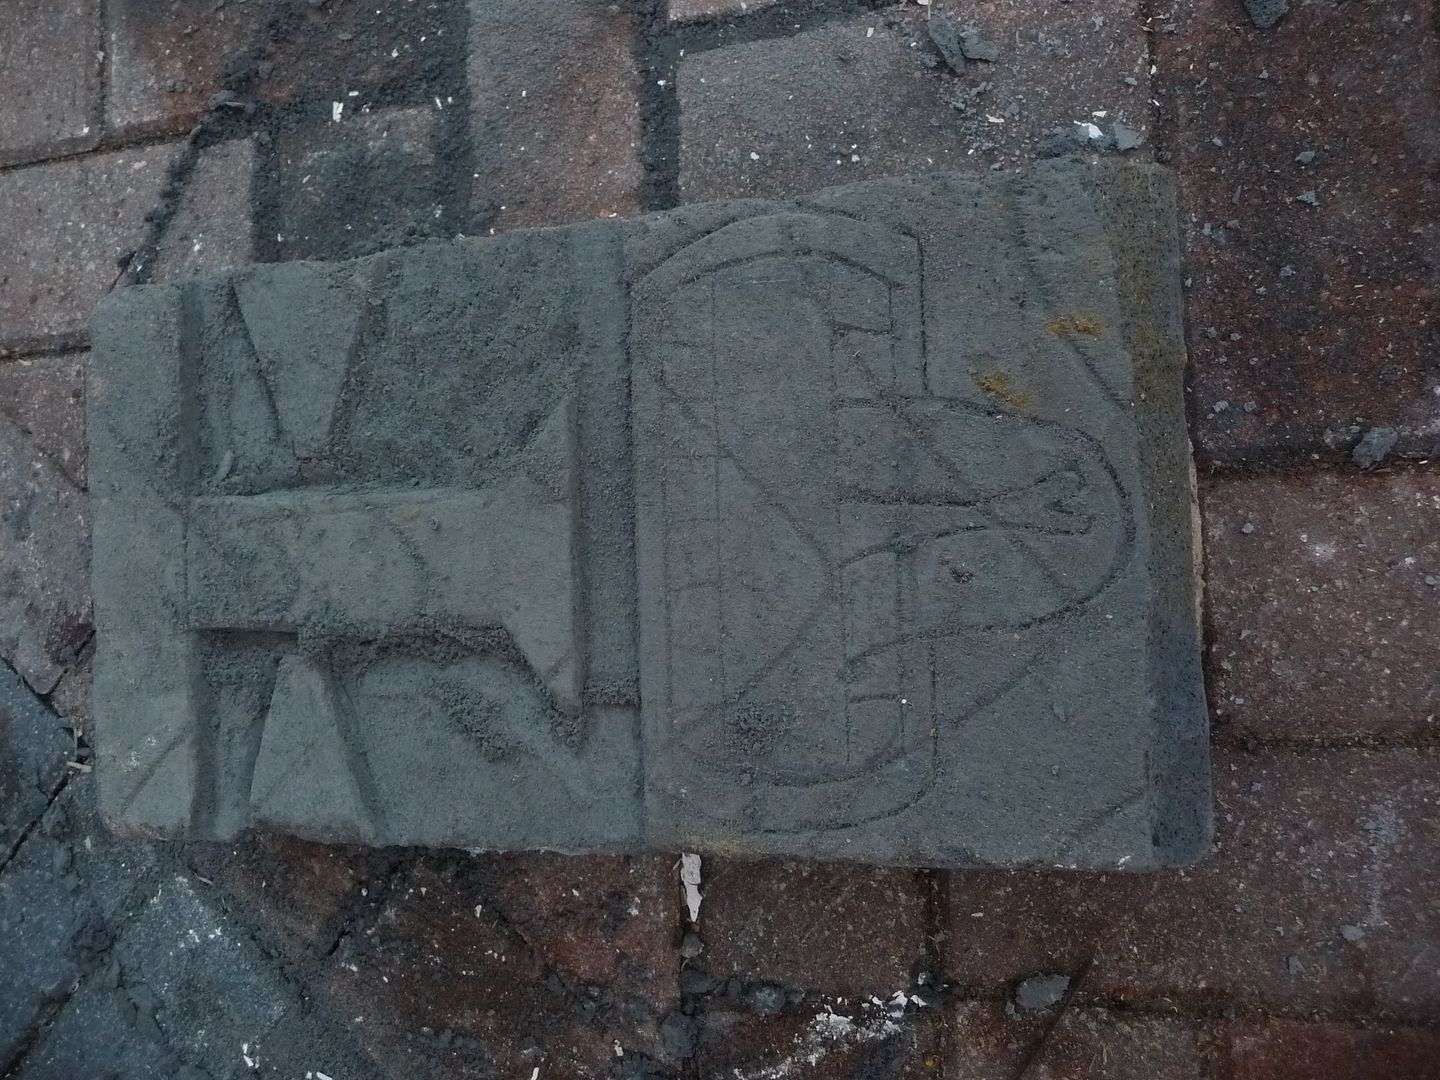
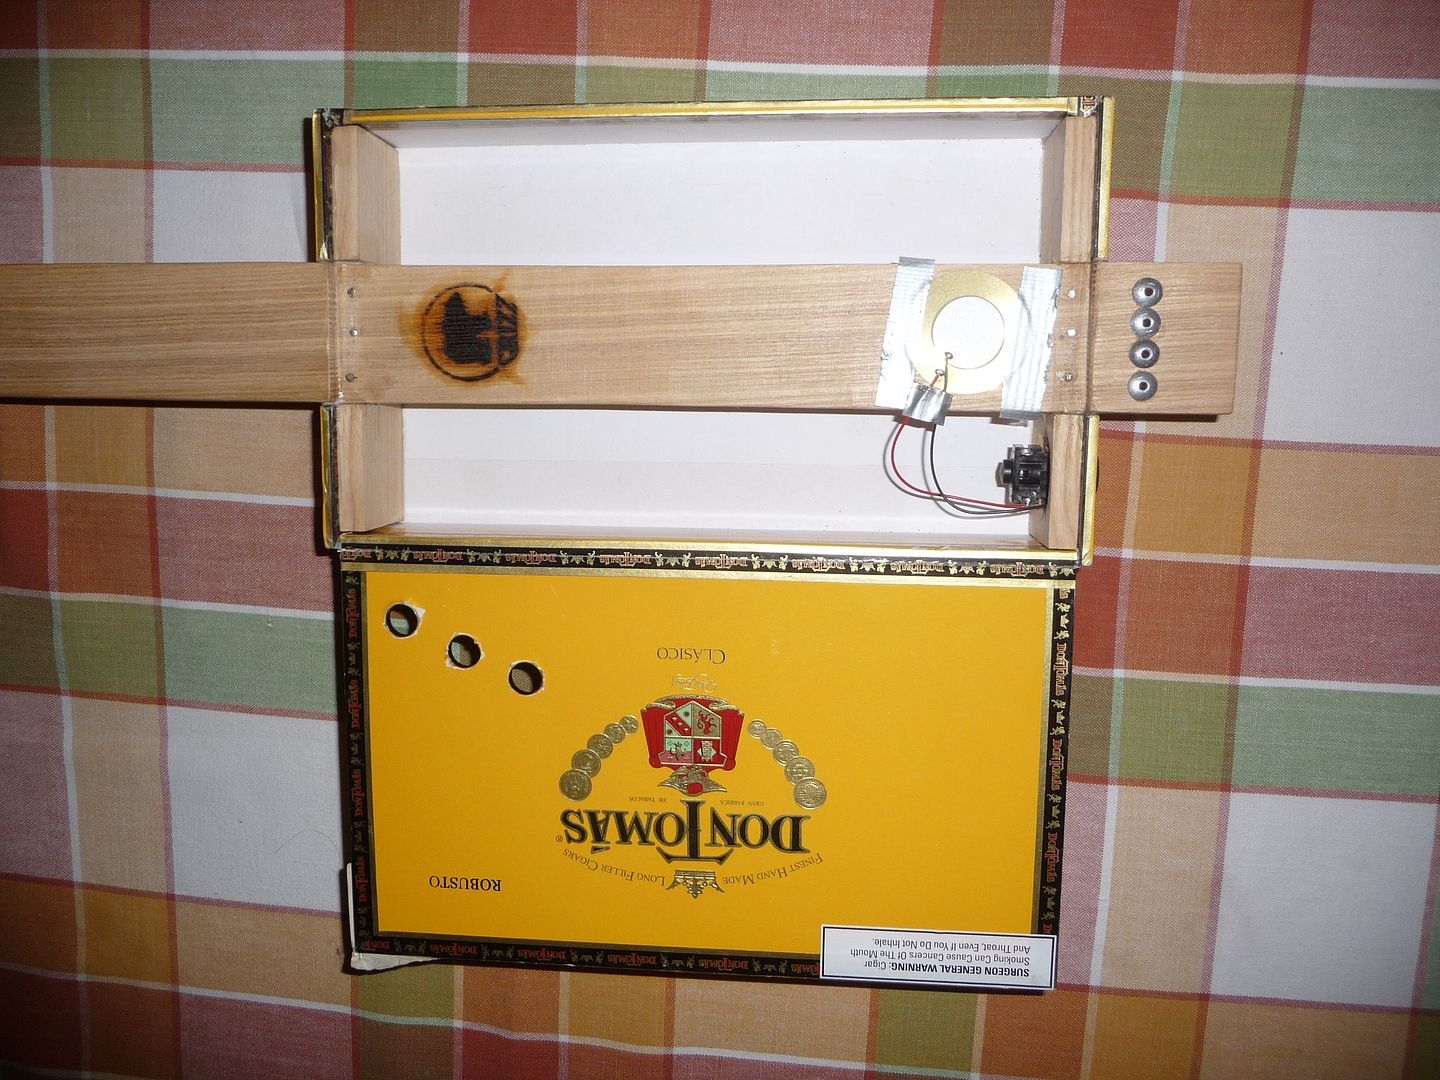
1. A piezo element wired to an input jack. Piezo elements are a thin, round wafer with a brass ring surrounding it, typically used for a buzzer. They are pretty cheap and can also be found in many discarded alarm clocks, motherboards, etc. Some attach the piezo to the underside of the box, using hot glue. I create a recess in the neck (similar to the coin inlay), under the higher resonance bridge area and hot glue the piezo in place with a leather covering. I'm convinced the leather helps to reduce feedback. You'll also need an input jack.
2. Adding an electric guitar pickup, most often a single-coil.
There are other ways, these are the most common. A bridge that incorporates a piezo element is gaining popularity.
For amplification, there are also several options:
1. A standard guitar amplifier.
2. A 386 transistor based home-built.
3. A mini-amplifier such as Danelectro's Honey Tone.
I'm also a fan of Bemuzic's guitars and music, she rocks!
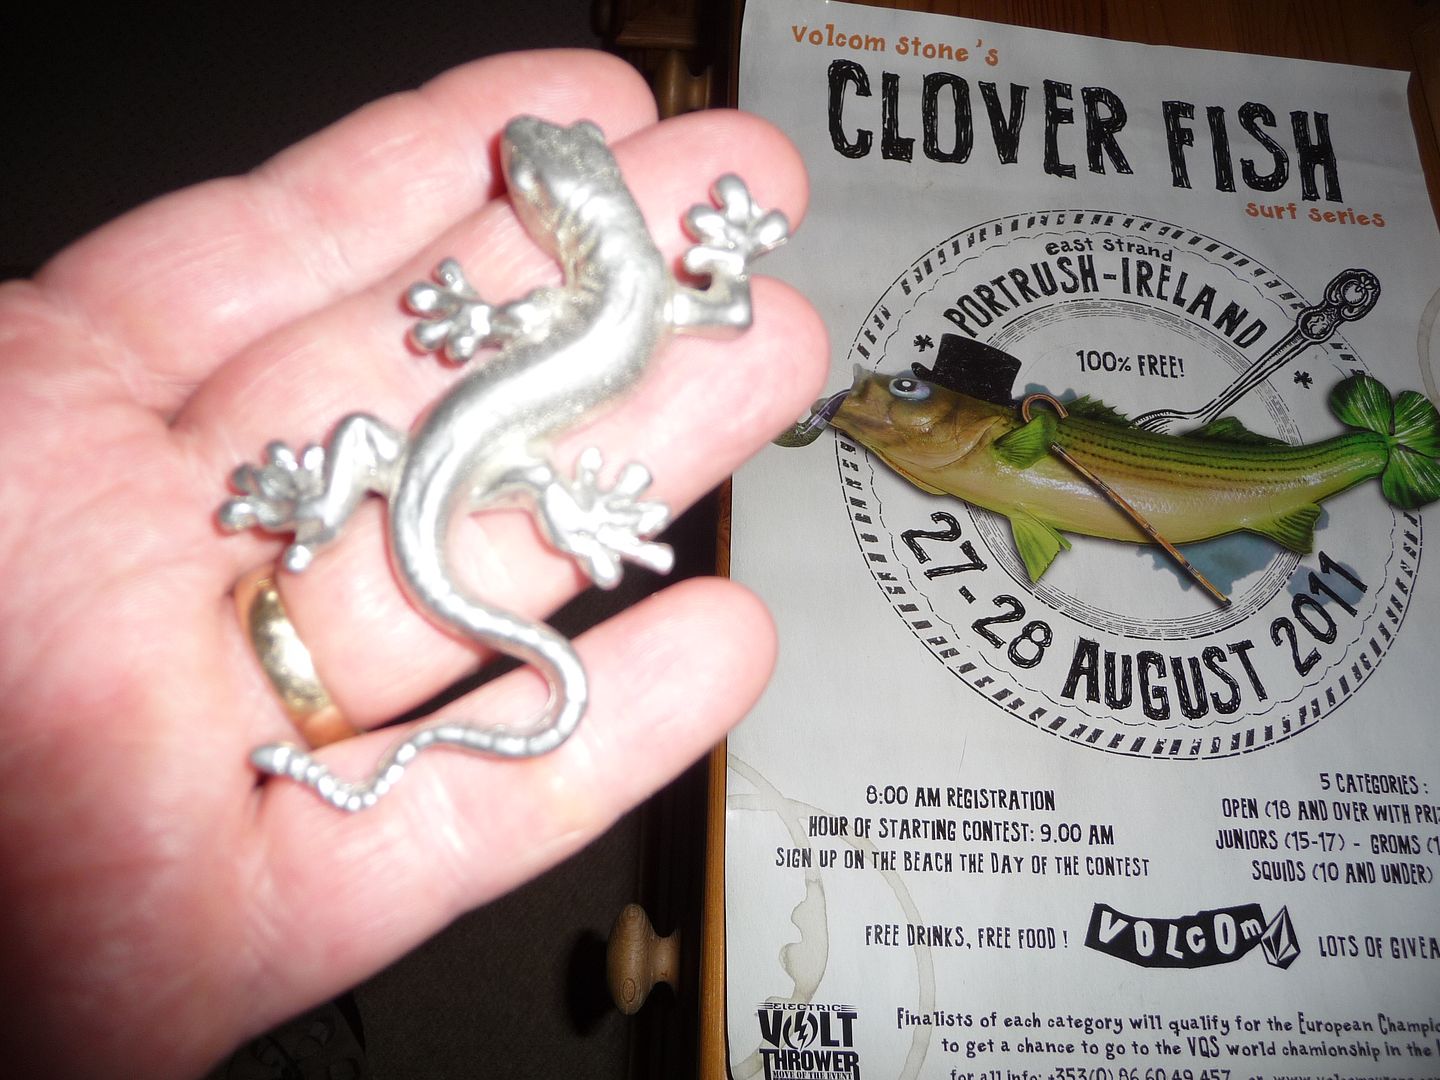
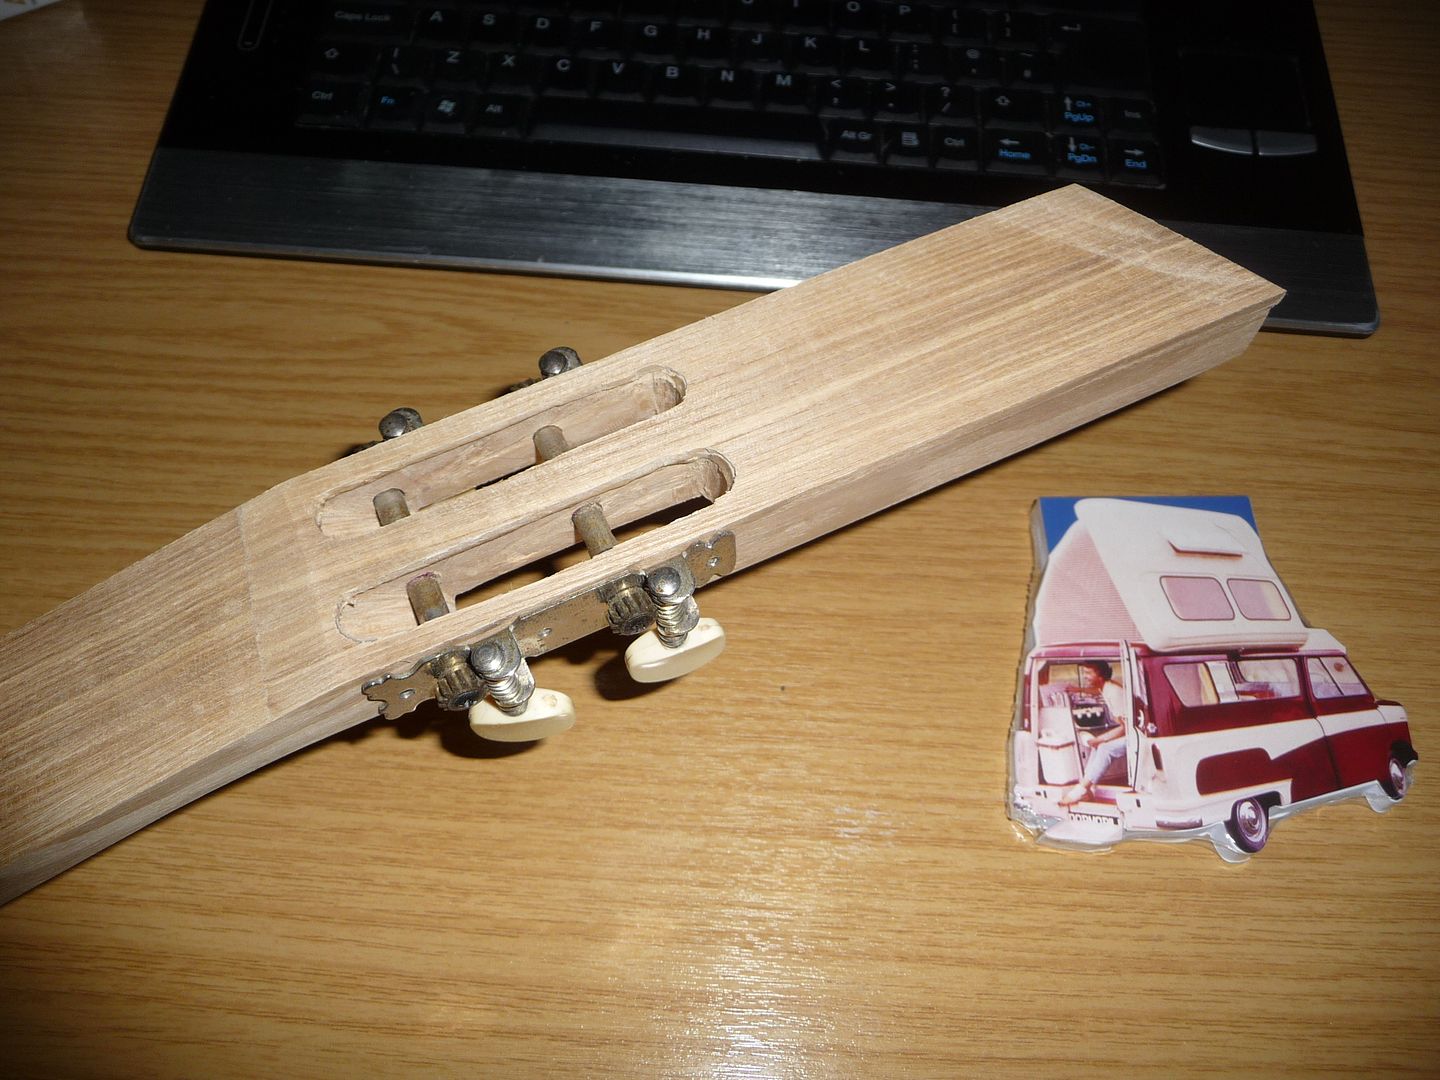
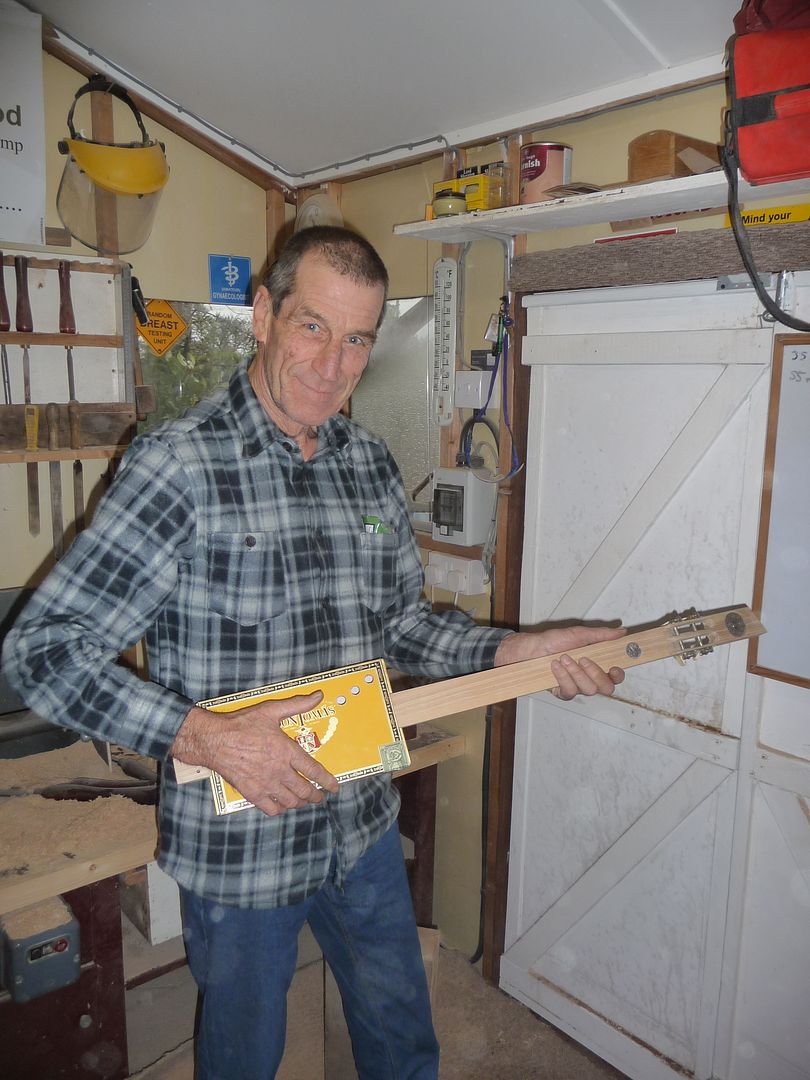
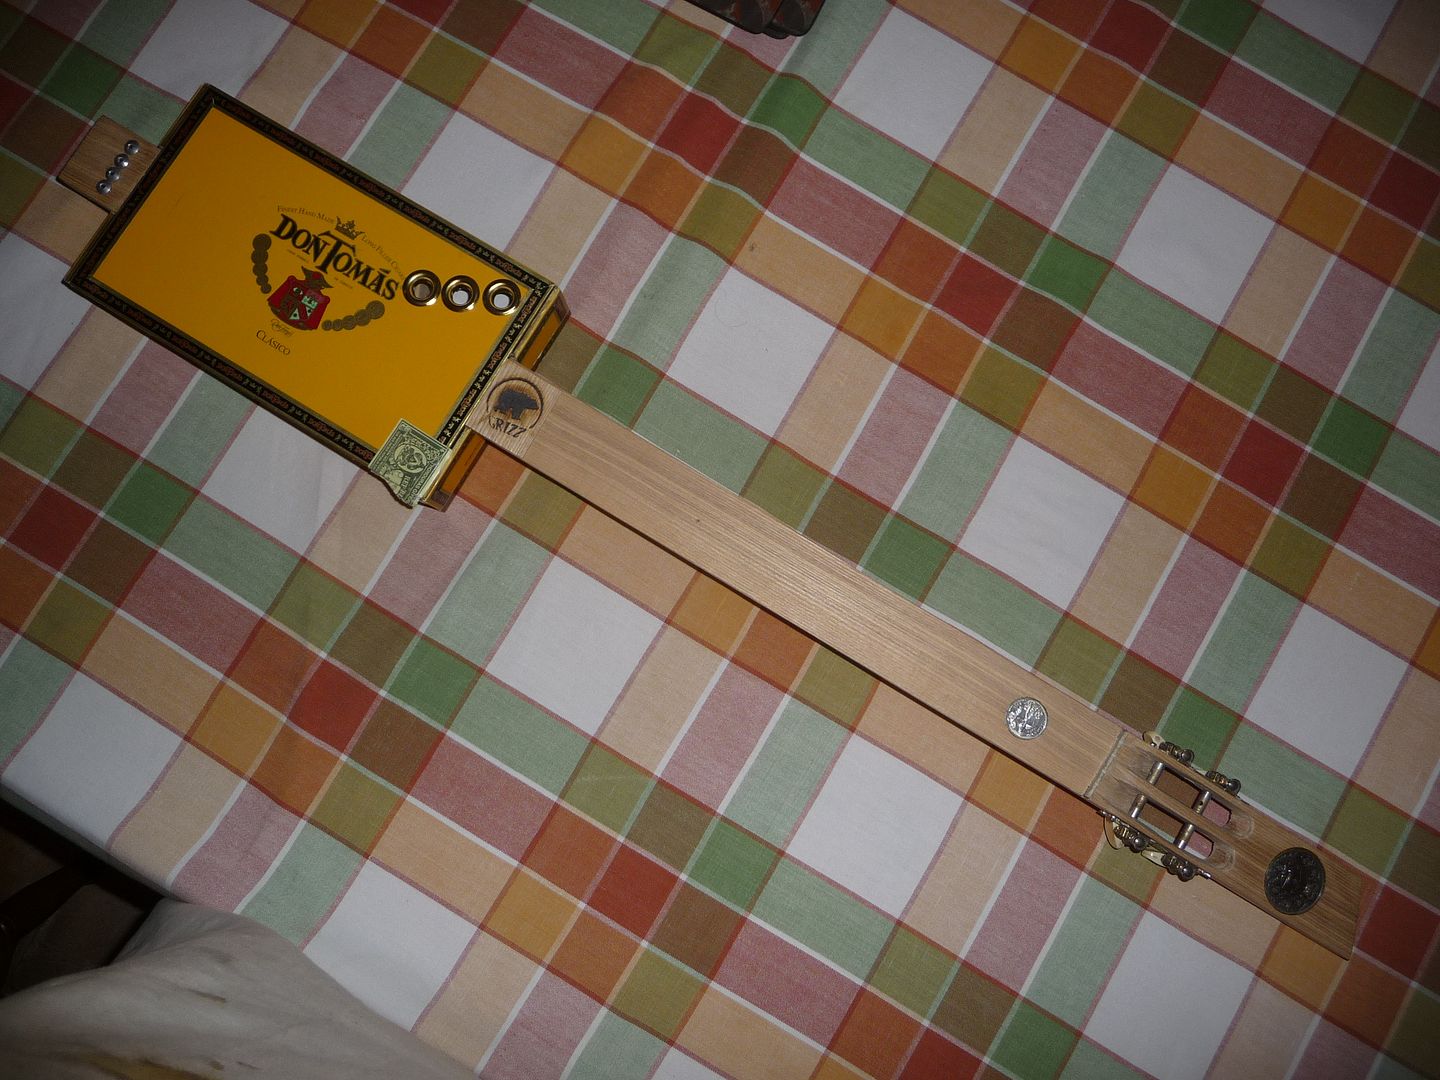
Great progress, my friend, and I admire your approach. Carrying on the tradition of the early builders who used their imagination. That flamed tailpiece is the mark of both a craftsman and an artist! Job well done! Thanks for the report and all the pics.