Robbie's Benroy build- Now For Sale...

...ask your questions in the appropriate forums BUT document your build here...preferably in a single thread...dates for updates, are appreciated....

Postby mike93lx » Fri Nov 18, 2011 5:56 pm

Robbie wrote:Thanks Jon! I actually have some friends that have used that stuff on their jeep axles. I'll definitely look into that because my first quote was much higher than I want to pay to finish this thing.


POR15 is good stuff, but it isn't cheap and you need to be careful working with it as it is nearly impossible to get off of anything.

As you saw, powder coating is expensive, especially when trying to do something large like a trailer. I would personally just use a quality etching primer (asap so you don't get any rust developing) and then multiple coats of a quality, durable paint.
mike93lx
Teardrop Inspector
 
Posts: 18
Joined: Thu Aug 13, 2009 7:51 pm

Postby Cliffmeister2000 » Fri Nov 18, 2011 11:17 pm

I had a rack custom made for a Ford Ranger back in 1987, and had it powder coated. It didn't hold up as well as advertised. I don't know if I got a bad job, or if powder coating isn't all it's cracked up to be.
God Bless

Cliff

♥God. ♥People.
1 John 4:9-11

My Teardrop build pictures
User avatar
Cliffmeister2000
Titanium Donating Member
 
Posts: 3622
Images: 157
Joined: Thu Jul 26, 2007 10:18 pm
Location: Phoenix, AZ

Postby Robbie » Sun Nov 20, 2011 8:25 pm

I think I am just going to go with a good 2 coats of primer and 2 or 3 coats of the Rustoleum Stop-Rust enamel paint. Should do alright and be right in my budget.

Here are some pics of the trailer build for those interested...

Image

Image

Image

Image

Image

Image

Image

Image
My aluminum benroy build:
viewtopic.php?t=45640
User avatar
Robbie
Teardrop Master
 
Posts: 250
Images: 86
Joined: Tue May 10, 2011 11:28 am
Location: West Jordan, UT
Top

Postby mike93lx » Tue Nov 22, 2011 7:19 am

Robbie, the trailer looks fantastic! Can I ask what it cost to put that all together? I'm trying to decide between something custom like yours or a pre-made Northern Tool.

Thanks
mike93lx
Teardrop Inspector
 
Posts: 18
Joined: Thu Aug 13, 2009 7:51 pm
Top

Postby Robbie » Tue Nov 22, 2011 10:07 am

Well my trailer was fairly cheap. I think I am into it just under $350 for the entire thing. I have had some good hookups though with a good friend working at a metal shop and 2 other good friends with welders and one with an account to a trailer parts depot. LOL... If I had to pay retail prices for all of this stuff I probably would have just bought the Northern Tool one.

I'm hoping the weather holds out so I can get some primer on this thing tomorrow afternoon since its a half day at work. Then maybe get the propane heater going this weekend and start rolling on the paint! I can't wait to get the cab mounted to the frame!!!
My aluminum benroy build:
viewtopic.php?t=45640
User avatar
Robbie
Teardrop Master
 
Posts: 250
Images: 86
Joined: Tue May 10, 2011 11:28 am
Location: West Jordan, UT
Top

Postby Robbie » Fri Dec 02, 2011 10:59 am

Well I used the last good day of the year and got the axle, frame and shackles all primed up and I got a final coat on the axle and shackles. That Rustoleum Stop-Rust enamel paint is good stuff! It goes on very smooth and has a very durable feel to it when fully dried.

I was getting worried about how I was going to paint my frame with the cold weather here but I lucked out again. One of the guys in the paint shop of my work is a good friend of mine and he uses this same paint on his trailers for his jeeps and he sprayed his with the airless sprayer right in our paint booth. So probably next Saturday for the low price of a breakfast burrito he is going to help me spray the frame here at work. I have almost 2 weeks off work for Christmas so if all goes to plan I will have this thing rolling before next year!!! :D
My aluminum benroy build:
viewtopic.php?t=45640
User avatar
Robbie
Teardrop Master
 
Posts: 250
Images: 86
Joined: Tue May 10, 2011 11:28 am
Location: West Jordan, UT
Top

Postby campmaster-k » Fri Dec 02, 2011 12:41 pm

:thumbsup:
-Kirk

>TnTTT ORIGINAL 200A LANTERN CLUB

>CEO Coleman Recovery Inc.

>Nor Cal Camping Pinewood Racing Team


Build thread -

viewtopic.php?t=45307&postdays=0&postorder=asc&start=180

Check out my Pictures -

http://s1199.photobucket.com/albums/aa4 ... 0QQtppZZ24
User avatar
campmaster-k
Lifetime member
 
Posts: 3030
Images: 17
Joined: Fri Jun 17, 2011 5:02 pm
Location: Colusa, California
Top

Postby aggie79 » Fri Dec 02, 2011 3:38 pm

campmasterk wrote::thumbsup:


Robbie,

I agree with Kirk. That is one nice trailer. I bet you can't wait to place your teardrop shell on the trailer.

Take care,
Tom
Tom (& Linda)
For build info on our former Silver Beatle teardrop:
Build Thread

93503
User avatar
aggie79
Super Duper Lifetime Member
 
Posts: 5405
Images: 686
Joined: Tue Aug 07, 2007 5:42 pm
Location: Watauga, Texas
Top

Postby Robbie » Fri Dec 02, 2011 3:56 pm

This has been the most anxious I've been since I started this project! I think joining these 2 big assemblies will make it seem like it will someday be completed. Once all my stupid house work is done and Christmas is over its full focus on the trailer.

My wife and I were looking at pictures of teardrops online the other night and she was all bummed out that we didn't have a kitchen galley in ours. So we started talking about all the things we would do differently and basically planned out our next teardrop build. I'm hoping we go ahead and use this one for next year and then sell it and build a 5' x 10' with a full galley, better electronics, stereo, and possibly an A/C unit. We'll see next year though.
My aluminum benroy build:
viewtopic.php?t=45640
User avatar
Robbie
Teardrop Master
 
Posts: 250
Images: 86
Joined: Tue May 10, 2011 11:28 am
Location: West Jordan, UT
Top

Postby kinto » Wed Dec 07, 2011 2:59 pm

Robbie wrote:My wife and I were looking at pictures of teardrops online the other night and she was all bummed out that we didn't have a kitchen galley in ours.


Yep, yep... that's one of the things my girl is excited about... that she gets to design the kitchen.
(although since i'll be the one actually building it i have some say as well :lol: )


anyway, looking great man... you'll be taking it out before you know it! :thumbsup:


kent
:)
Is a hippopotamus just a really cool opotamus?

imay ildbay urnaljay

Image
User avatar
kinto
Gold Donating Member
 
Posts: 228
Images: 465
Joined: Tue Jul 19, 2011 10:20 am
Location: STL
Top

Postby Robbie » Thu Dec 15, 2011 12:08 am

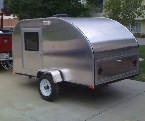
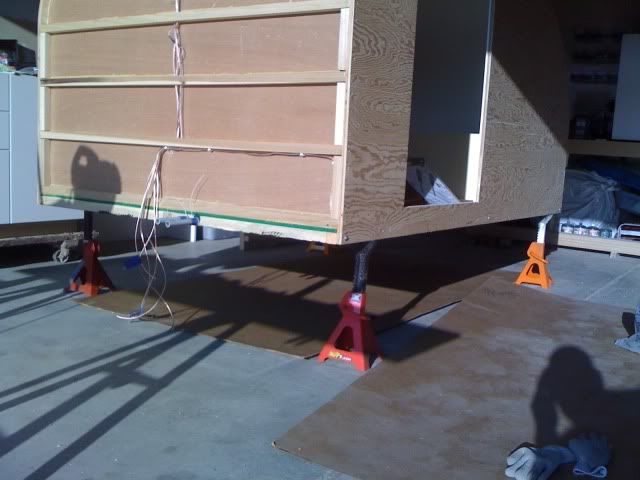
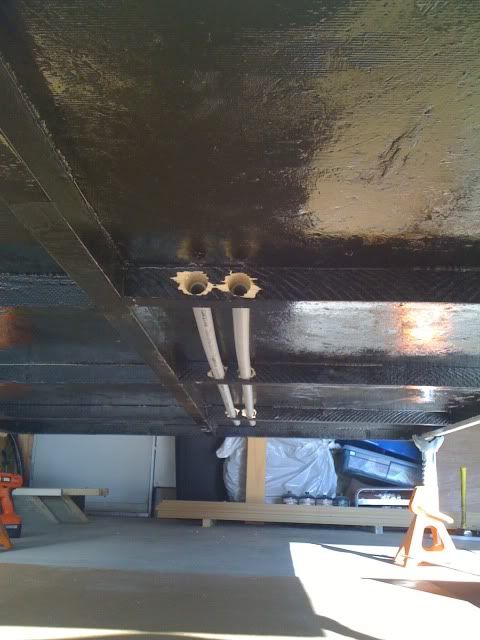
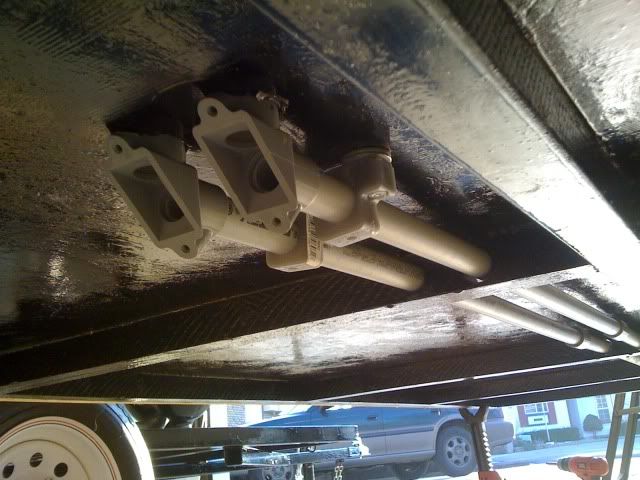
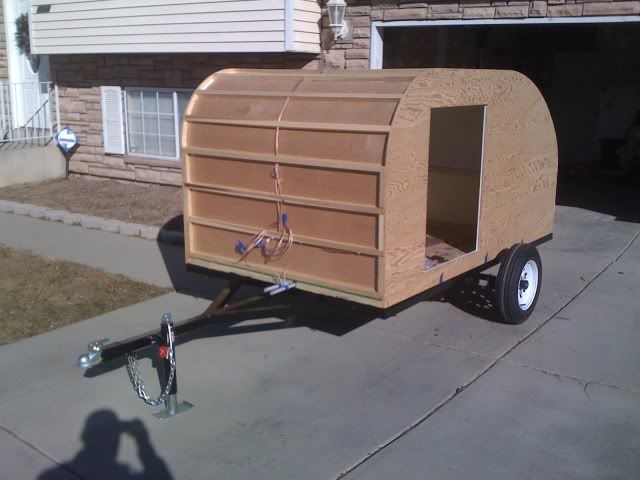
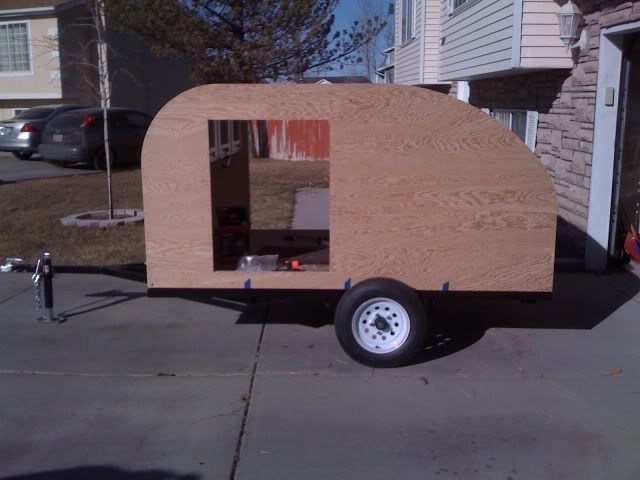
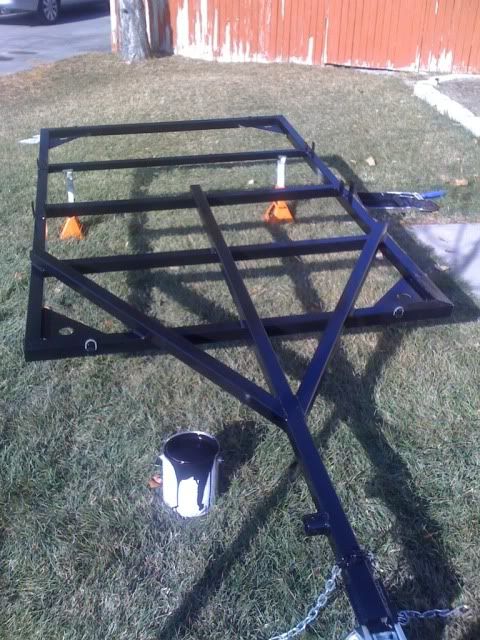
I've almost got the trailer completed and ready for the shell! I used a self-etching primer on the entire thing and have done 2 coats of Rustoleum oil-based Professional enamel on the bottom side of the frame and am going to do the last 2 coats top side this weekend so I can get the shell bolted down over christmas break.

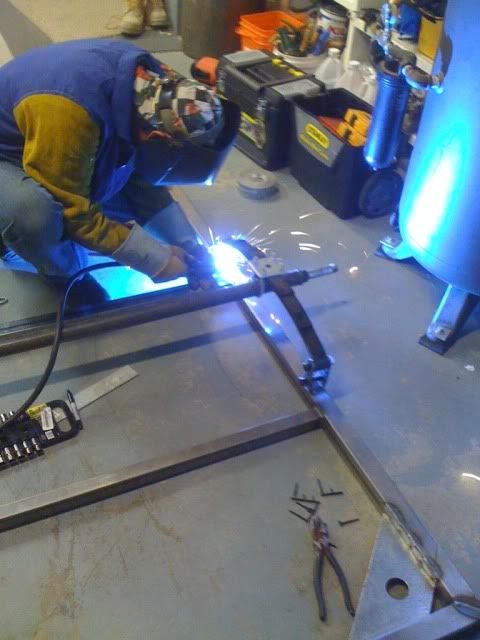
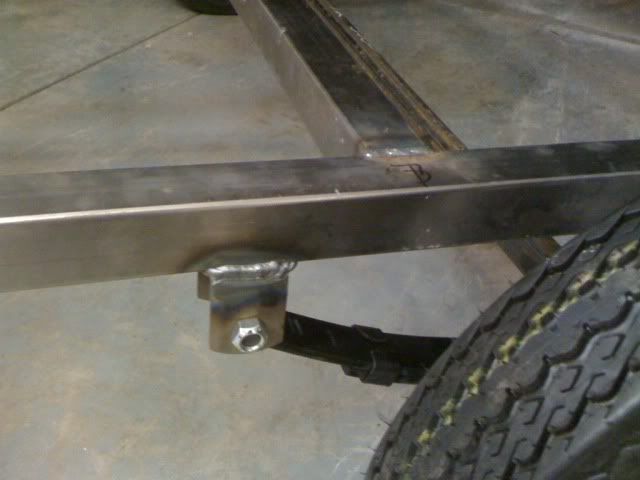
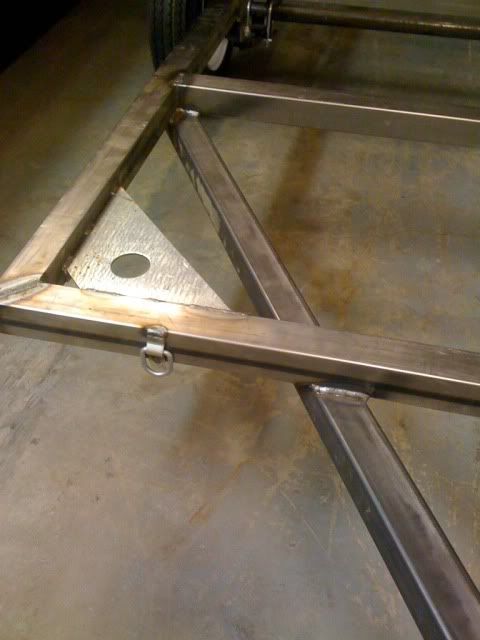
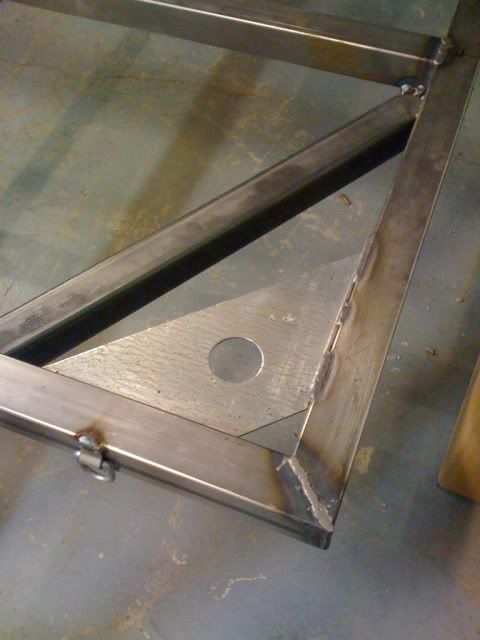
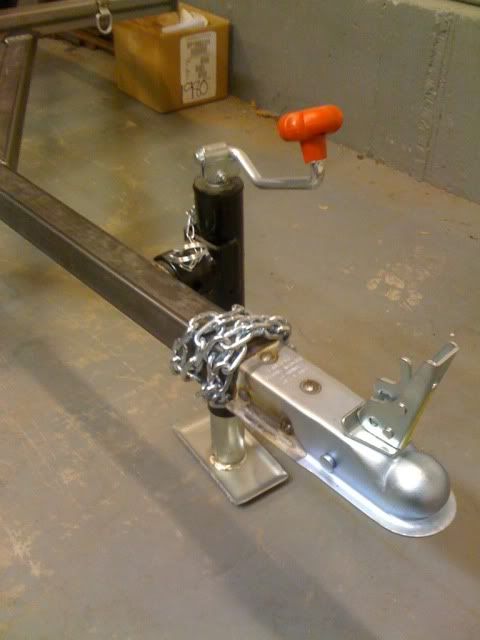
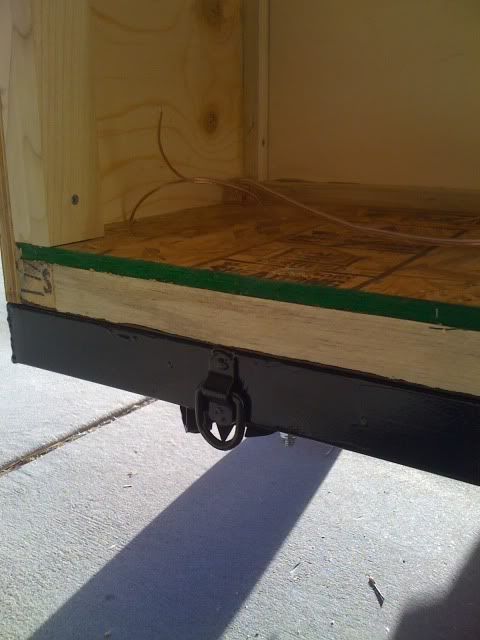
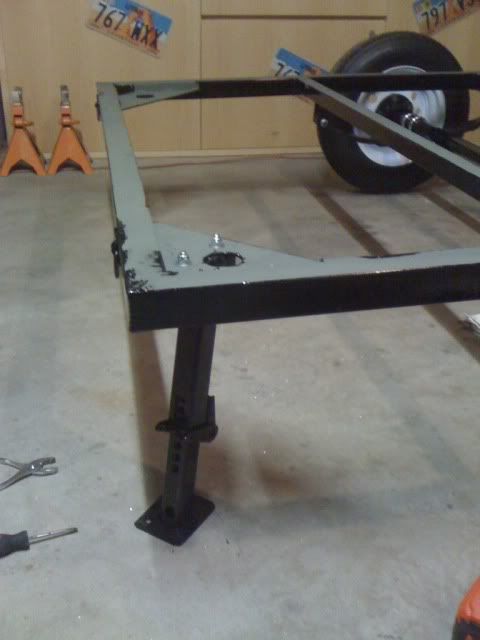
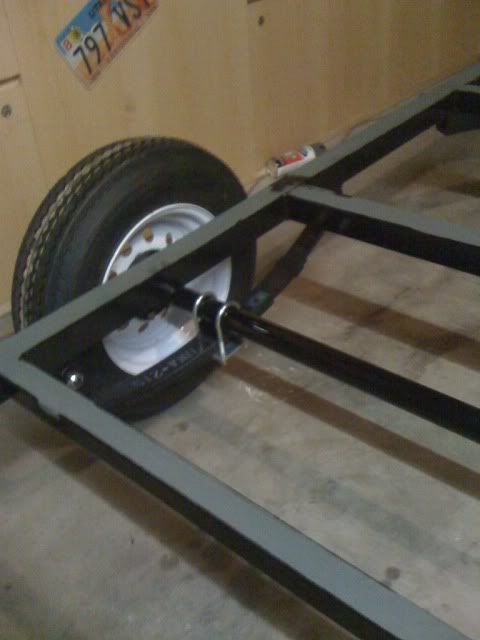
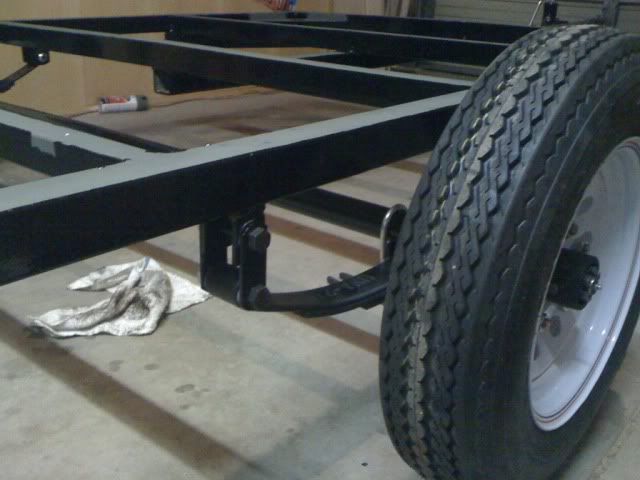
Tonight I got the springs, axle and wheels mounted and got one of the rear stabilizers bolted on. The dang cold weather drained my drill batteries so the other stabilizer will have to wait until this weekend. I added some 1/16" nylon washers between the springs and hangers and shackles to keep the metal on metal friction down. Here are some pics of the painting and assembly...

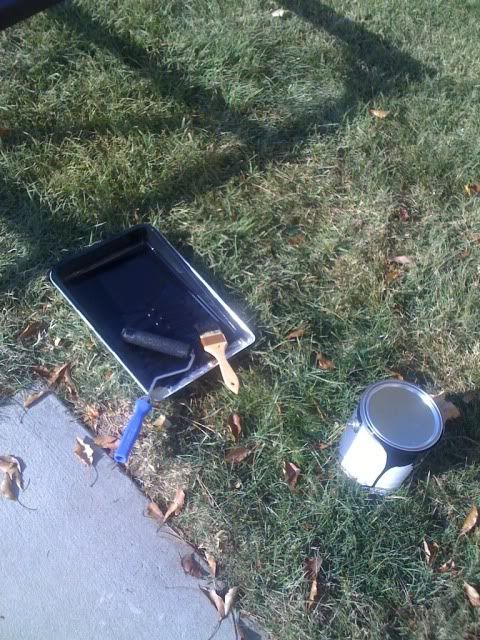
Here are the painting supplies: foam roller (kinda bunk but they were free) and crappy brush!
Image

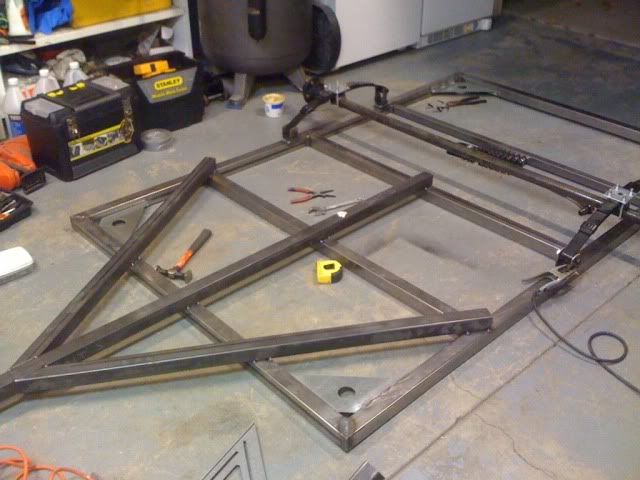
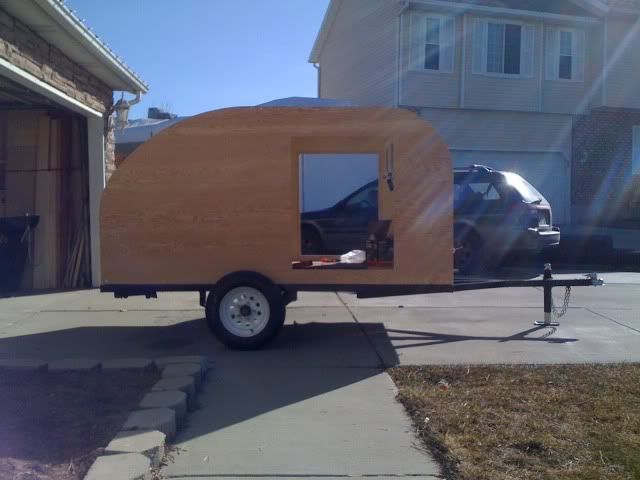
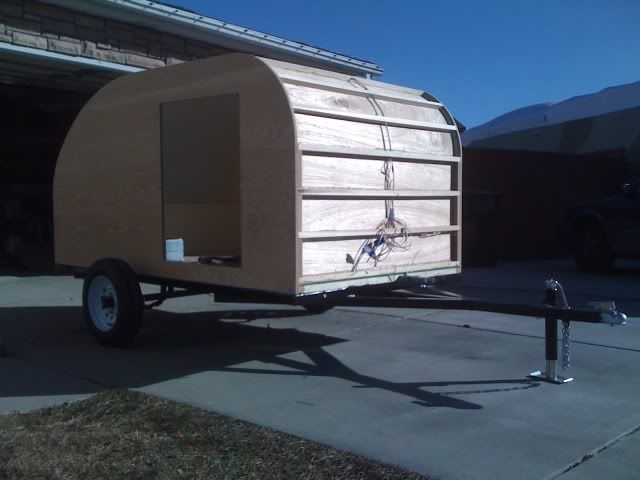
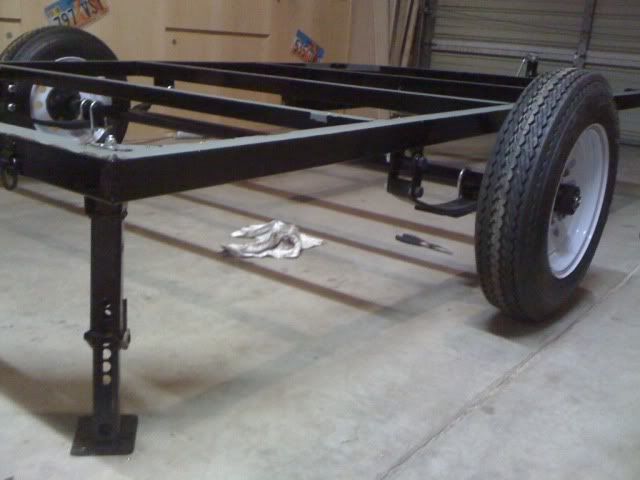
Just about finished!
Image

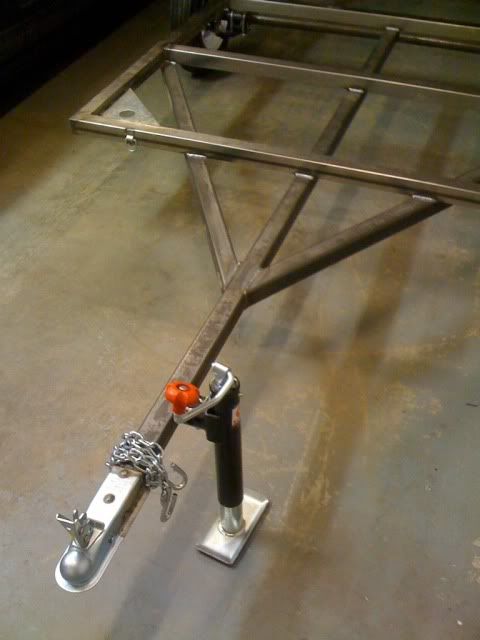
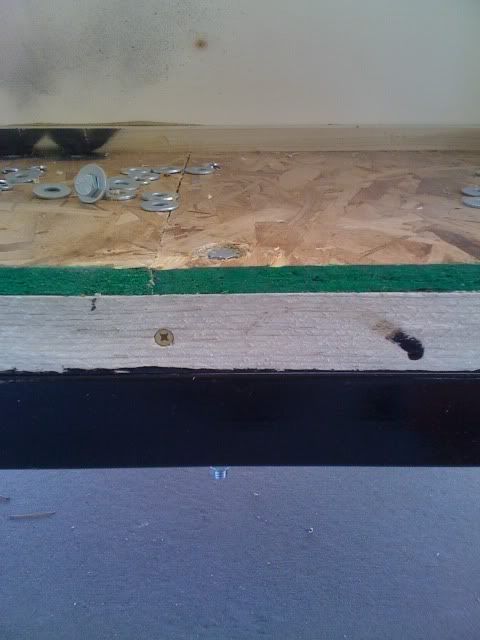
Rear stabilizer bolted to corner gusset...
Image

Image

Image

Image

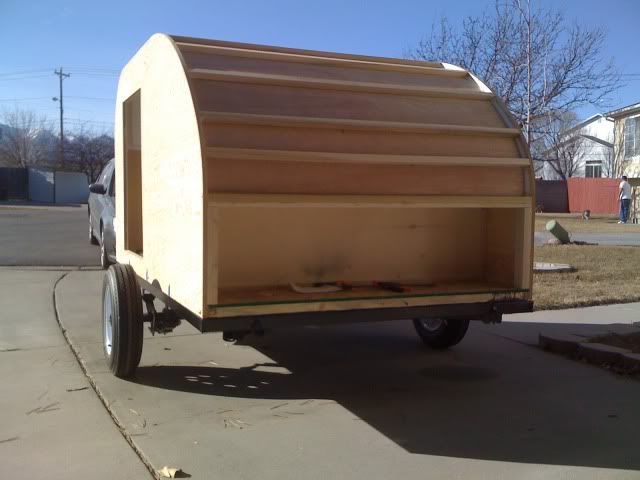
I was searching around the interwebz today at work and found a 1 gal. propane tank that will fit perfectly in my storage area, along with a 2.5 gal. water jug. Hopefully I can order some fun stuff with my x-mas bonus! If the wife doesn't take it first! :lol: :cry:

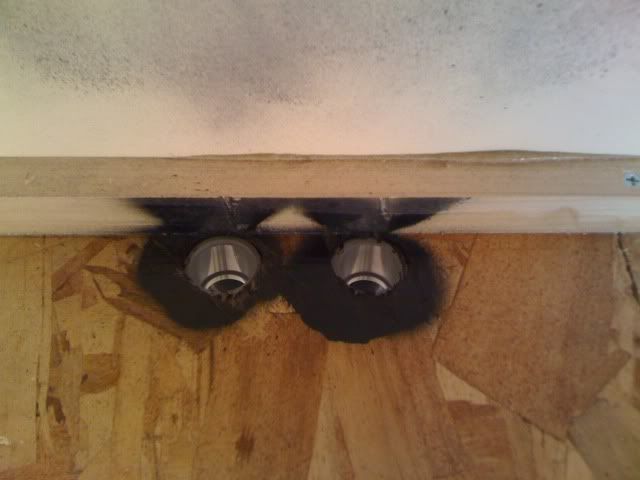
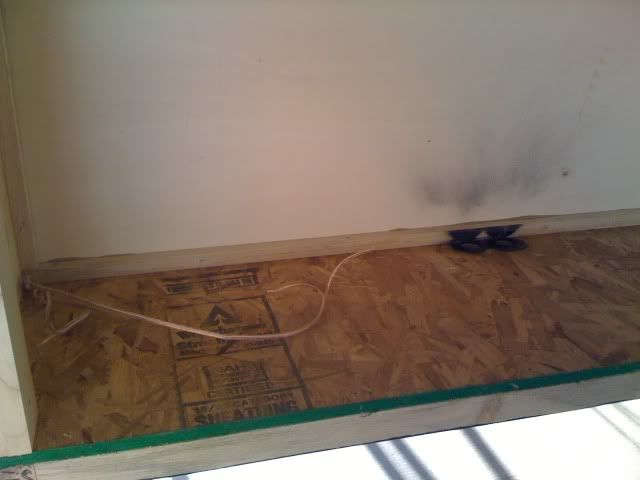
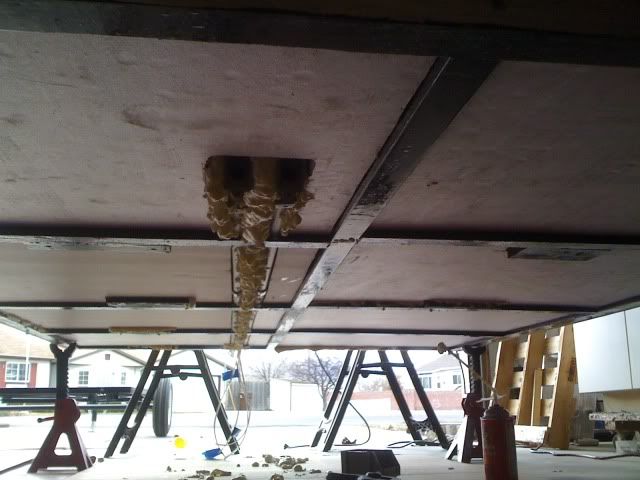
I'm going to pick up some 1" foam board for the floor insulation this weekend along with the 1/2" conduit for my AC power lines. I will have a 110v outlet in the interior and a surge strip in the storage area for the radio or cell phone charger or whatever.

I need to find a cheap 12v battery somewhere or borrow my buddies extra to test my lights and outlets to make sure the wiring connections are good to go so I can start insulating the roof and lay down the outer 1/8" luan skin and then on to the CPES and aluminum!
My aluminum benroy build:
viewtopic.php?t=45640
User avatar
Robbie
Teardrop Master
 
Posts: 250
Images: 86
Joined: Tue May 10, 2011 11:28 am
Location: West Jordan, UT
Top

Postby Robbie » Sat Dec 31, 2011 6:37 pm

Well its about time for an update! The weather in Utah has been unusually warm and sunny so I took advantage of it. I got the rest of the trailer painted up on Christmas afternoon and a couple days later I got to work on the underside.

I got the cab on jack stands to give me some more room underneath to work with the insulation and conduit.

Image

Image

The 2 110v lines come up into the storage area via some access 90* elbows. One line will be for a surge strip in the storage area and the other for the interior outlet.

Image

Image

Image

Once the conduit was ran I got to work on the insulation. 1" foam board from HD. I was weary about fastening them to the bottom of the trailer but I cut them so they fit snug and used a TON of polyurethane construction adhesive to keep them on.

Image

Image

Image

I used the expand-a-foam to fill in all the gaps around the conduit lines. Once that was hard and dry I trimmed off the excess and used some roofing/flashing sealant to hit all the edges and holes to make sure no water would get up in there. What a mess that stuff makes! It all turned out really good and I think it will help with insulating quite a bit.

A couple of my buddies came over today and helped me get the cab onto the frame! This was exciting because it is really looking like a trailer now AND I get half my garage back! Woohoo! Its only bolted on at the rear with 3 bolts right now but I will have 11 total and get the rest on through out the week. There will need to be some shimming but nothing more than a 1/8"-1/4" at one corner. I'm super excited to get it this far after starting out with a pile of scrap wood.

Image

Image

Image

Image

Image

Image

Image

Image

I think my axle placement will be perfect also as it's quite light and easy to move around right now but once the tongue box is on and the battery is in I think it will be just about perfect. IIRC the axle is 40" from the rear of the trailer frame.
My aluminum benroy build:
viewtopic.php?t=45640
User avatar
Robbie
Teardrop Master
 
Posts: 250
Images: 86
Joined: Tue May 10, 2011 11:28 am
Location: West Jordan, UT
Top

Postby PSBreen » Sat Dec 31, 2011 7:09 pm

Looking great. At this rate you'll be ready to camp well before spring.
Steve & Cynthia
User avatar
PSBreen
Donating Member
 
Posts: 185
Images: 93
Joined: Tue May 24, 2011 12:36 pm
Location: Layton, UT
Top

Postby absolutsnwbrdr » Sat Dec 31, 2011 9:46 pm

Looks like we've both been busy! Awesome progress! I'm still debating on insulating the underside on mine. It'll probably happen one day when I get bored and run out of other trailer related things to do. :lol:
Zach
Coming Soon...
Image Image
User avatar
absolutsnwbrdr
Donating Member
 
Posts: 2657
Images: 412
Joined: Mon Jan 25, 2010 6:10 pm
Location: Hanover, PA
Top

Postby Robbie » Mon Jan 09, 2012 9:48 am

So the rear shelf is assembled and ready to be installed, along with the front electronics box that will house a 12v outlet and the porch light switch and hang from the bottom of the front cabinets. And I also got the rear electrical outlets installed, just need to wire them up!

Over the weekend I got all the holes drilled and got the cab bolted down and then I realized that since the frame is out of plane slightly, and I forgot to seal between the cab and the frame, the bottom of the plywood walls are completely exposed in the front couple feet and are unsealed. So tonight I am going to pull the cab back off the frame and get a few coats of primer/sealer along that bottom edge and then a few coats of the Rustoleum enamel and hit a heavy bead of roofing sealer all along the perimeter before I set it back down. That should help protect that bottom edge of the walls.

2 steps foward, 1 step backward. :lol: :cry:
My aluminum benroy build:
viewtopic.php?t=45640
User avatar
Robbie
Teardrop Master
 
Posts: 250
Images: 86
Joined: Tue May 10, 2011 11:28 am
Location: West Jordan, UT
Top

PreviousNext

Return to Build Journals

Who is online

Users browsing this forum: No registered users and 9 guests