Had some productive time in the shop tonight. Karl had cleared out the big expansion joint jobs and now has several bundles of 2 inch pipe to run thru the saw for a Zamboni thawing heat exchanger that he will be building for local Conn College. That freed up the main bay and welder for me to use (yeah!!!).
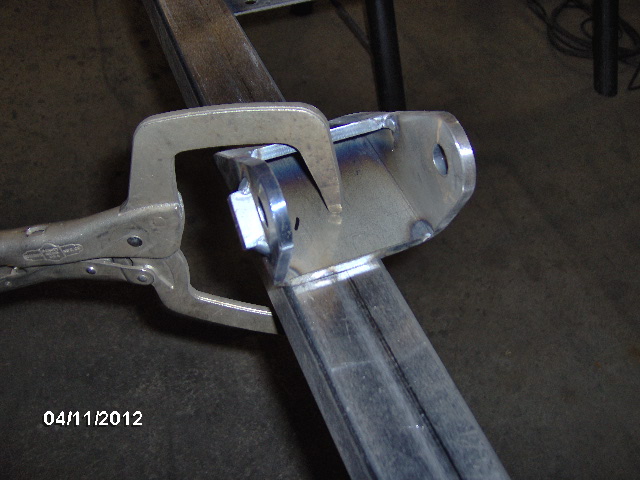
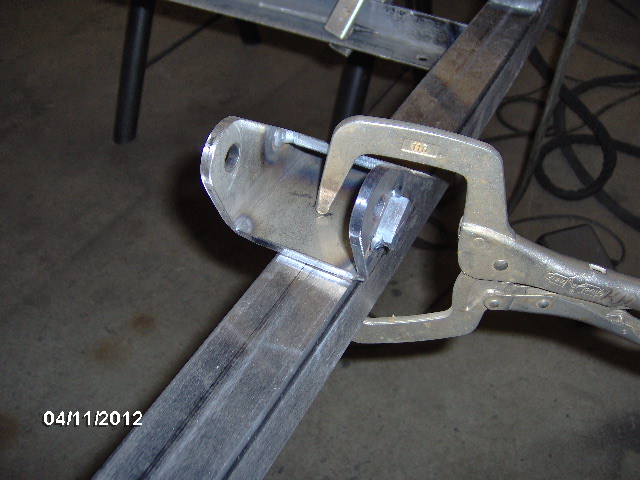
After helping me get the trailer frame down from it's resting place against the wall and up on to the saw horse I started laying out the suspension hangers. Karl nipped off a couple of pieces from some 3/8 thick bar stock on the band saw and I set to welding them to the sides of the front spring hangers. Note the old shackle bolt being used for fit up. New grade 8 hardware will be used at final assembly.
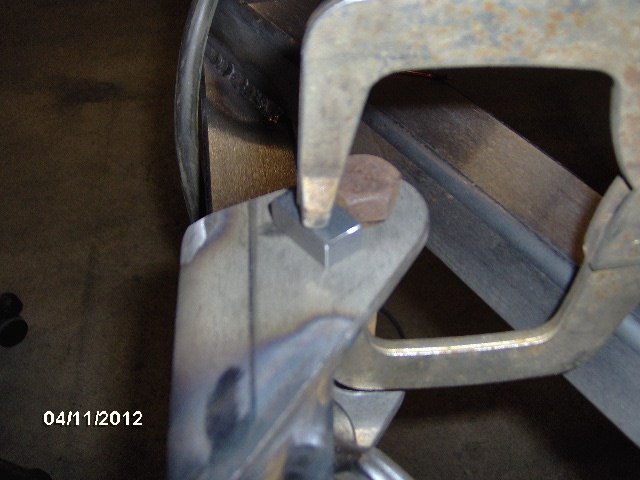
Note the offset to the rear shackle hanger. This is to avoid having the spring hangers sticking out from the side of the wall/frame rail like a big wart. My walls are flush to the outside of the frame rails and hangers are an inch wider than the frame rails. So everything is offset 1/2 inch inboard.
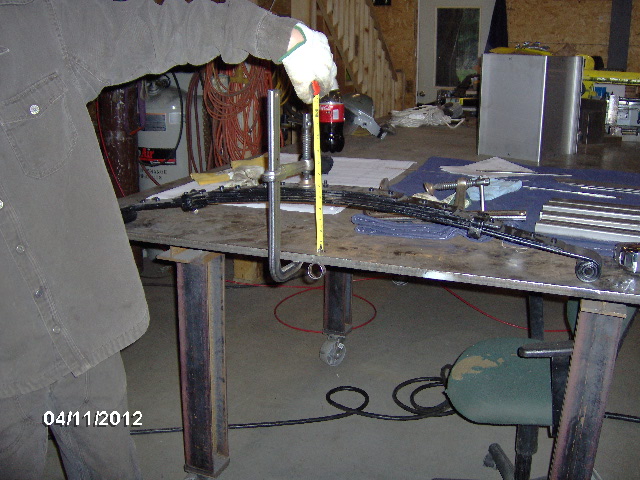
Now, in the computer model I made the springs to the specs for arc and eye to eye specified on the website (sdtrucksprings.com), and based the hanger locations off of my desired axle centerline and these spring dimensions. Once I had clamped the hangers to the frame and spent a great deal of time tapping them into position with a small ball peen hammer, checking square, offset, side to side distance from rear, over and over, I did a dumb idiot check by holding a leaf spring over the mounts and checking them. The shackle mount seemed like it was too far behind the rear spring eye, and I knew that I wanted the shackle to always be trailing the shackle hanger. Now this was with no load on the spring. We had previously measured the spring to have a rate of about 160 lbs/inch of deflection. So I did a little math and we squeezed the leaf spring down to something close to 90/ct of my anticipated dry weight and double checked the eye to eye dimensions.
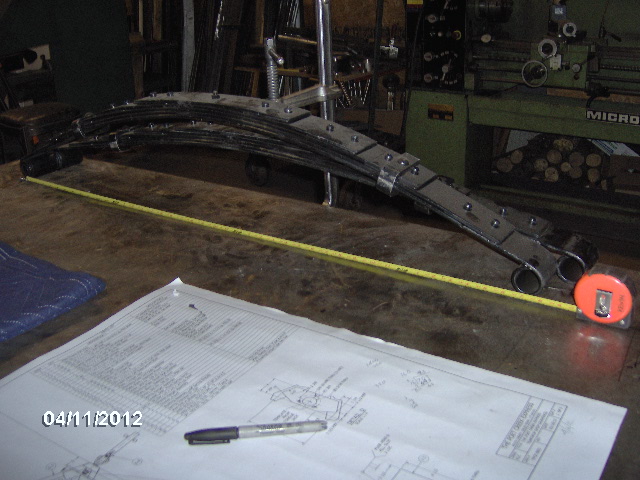
Here's the free spring next to the compressed spring for comparison.
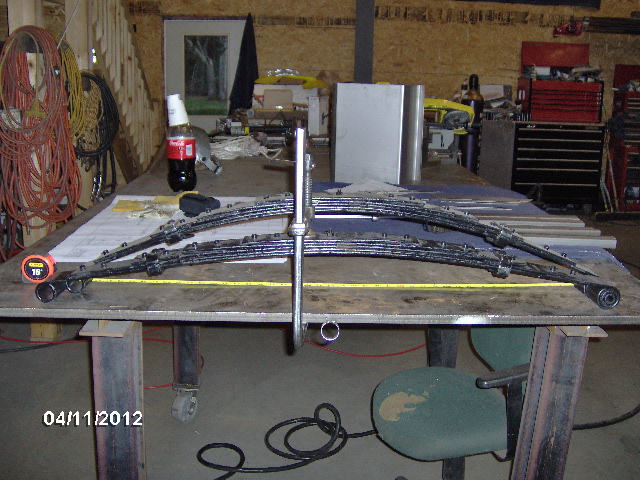

Based on this I made a minor adjustment to the front hanger location, moving them back 3/8 inch before tack welding the hangers down.
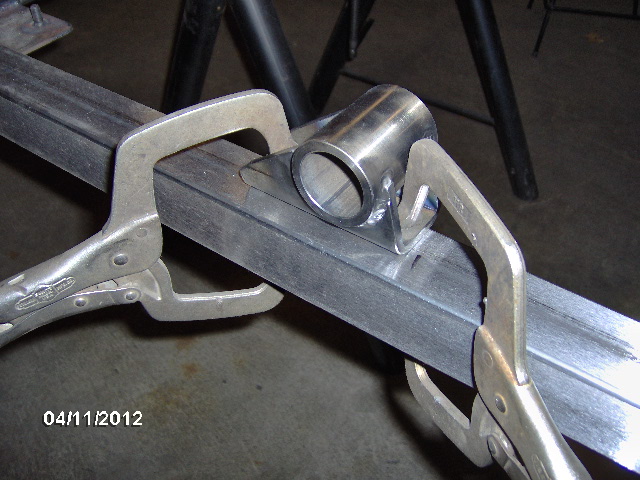
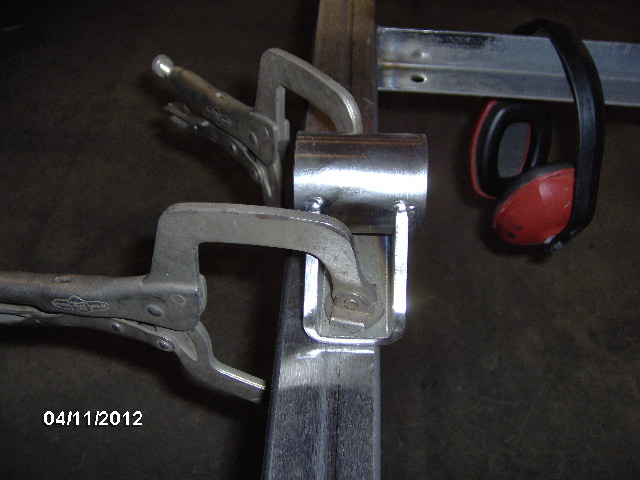
Here they are all located and clamped into position after lots of careful measurement, checking three or four times in many different aspects.

Here you can see the offset with the inside of the hanger flush to the outside of the frame.
Once I flip the frame over again I will add a couple of small gusset tabs to support the inboard portion of each front hanger.
The foot print of the shackle hangers is much smaller so no additional gussets will be required here.
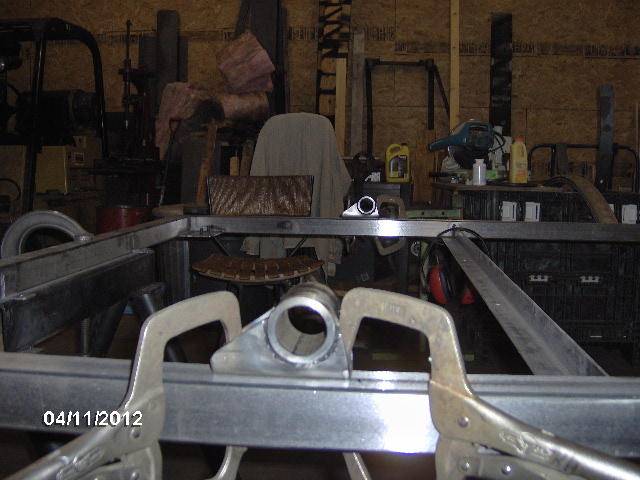
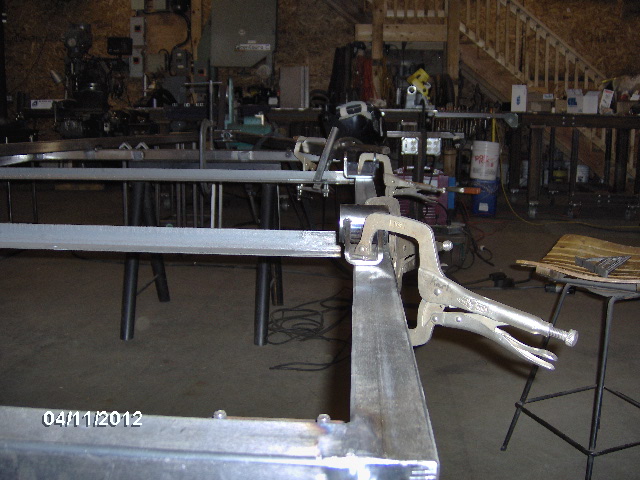
Here's a long shot showing both hangers in a line.
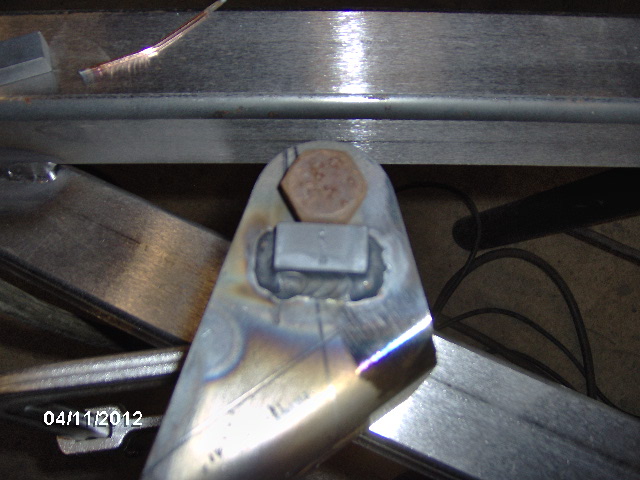
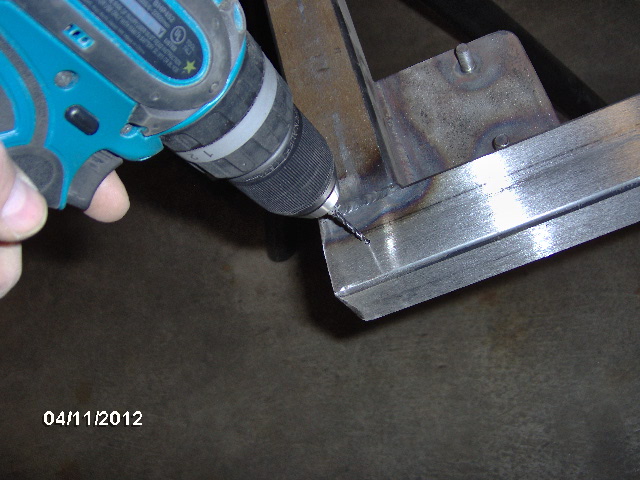
After going around and tack welding all four corners of each hanger I welded one of the front hangers up on the front and rear edges then moved back to the shackle hanger on that same side. I had been wondering if I needed to add a vent hole to the frame rails (since they are fully capped) and when I started to weld this hanger I got my answer.
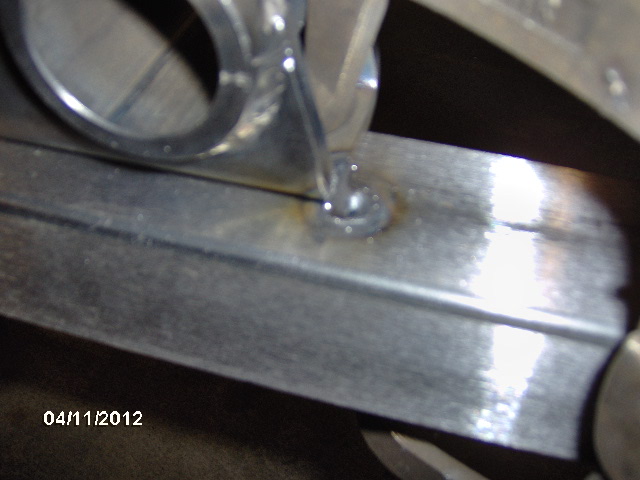
The air inside the frame was heating up and pressurizing the tube, so when I softened the tube with the weld it allowed it to blow out leaving a little crater and splattering metal onto the tungsten electrode. Had to drill a couple of vent holes to give the pressure an escape path.

These will be welded up once all welding is complete and the rails have had a chance to cool.
That took care of it and here are all of the bottom side welds.


The bottle of shield gas was on it's last legs and I did get a little porosity on the back weld of the street side shackle hanger, so that weld was ground out completely and redone; the final weld is shown above.
Karl will be on the saw for the rest of the week and away this weekend, and though I will miss having him here for advice and support, I am looking forward to getting a lot done over the next several days.

And we didn't even have to put the frame away for the night.


 The True cost !!!
  Custom Fab is sooo NICE, but Pricy !!!
  And we can all see why !!!
 put a phone and computer inside one and turn it into a home office? travel expenses?