Robbie's Benroy build- Now For Sale...

...ask your questions in the appropriate forums BUT document your build here...preferably in a single thread...dates for updates, are appreciated....

Re: Robbie's Benroy build- Skinned and ready for trim!

Postby aggie79 » Mon Jul 02, 2012 7:53 am

Wow! :applause: :beer: :applause:

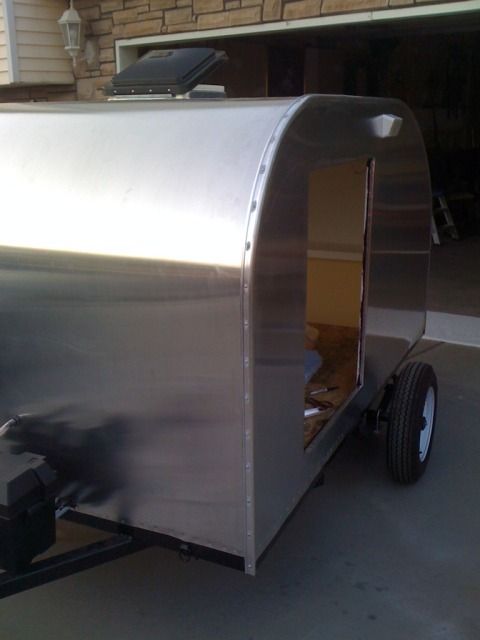
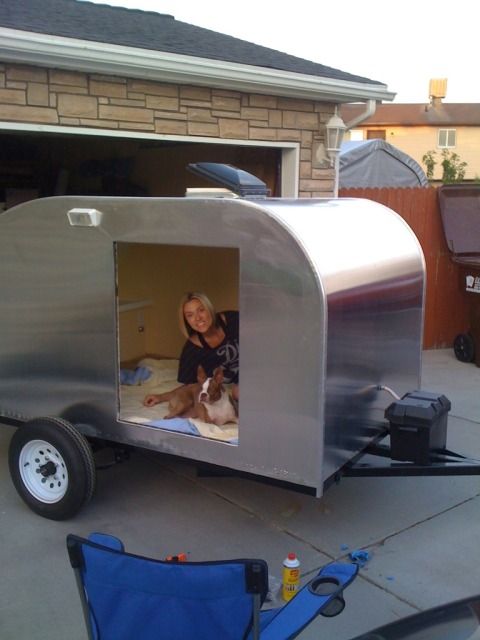
She turned out beautiful Robbie. Very nice job on the aluminum.
Tom (& Linda)
For build info on our former Silver Beatle teardrop:
Build Thread

93503
User avatar
aggie79
Super Duper Lifetime Member
 
Posts: 5405
Images: 686
Joined: Tue Aug 07, 2007 5:42 pm
Location: Watauga, Texas

Re: Robbie's Benroy build- Skinned and ready for trim!

Postby absolutsnwbrdr » Mon Jul 02, 2012 8:23 am

Looks great! Nice work with the aluminum... you're braver than I am! :beer:
Zach
Coming Soon...
Image Image
User avatar
absolutsnwbrdr
Donating Member
 
Posts: 2657
Images: 412
Joined: Mon Jan 25, 2010 6:10 pm
Location: Hanover, PA

Re: Robbie's Benroy build- Skinned and ready for trim!

Postby Robbie » Mon Jul 02, 2012 8:51 am

Thanks guys! The aluminum wasn't really that bad. Using the router was probably the worst part as the bit kept clogging towards the end but it ended up lasting until we got it all trimmed. I still need to cut out the vent hole and tailgate opening which I really wish I did right after I got the skin on but was just too burned out to keep going. Working outside in 100 degree weather gets the best of ya. :lol: :shock: But I plan on forging ahead today after work and pretty much everyday until I get this thing ready for our camp trip on the 13th!
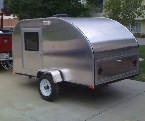
I have my windows and my door handles came in over the weekend so now I just need a bunch of screws, sealant, and my exterior lights which should be here this week!

Hey Tom, did you use butyl tape on your corner trim or just the black 3M sealant? My neighbor gave me some sealant that is aluminum colored called Sikaflex. He uses it on the roofing jobs he does and he says its garanteed for 30 year roofs so I figure it would be good enough for my teardrop. But I'll probably use the butyl tape and this sealant at the roof vent and then just the sealant on the corner trim and door trims.
My aluminum benroy build:
viewtopic.php?t=45640
User avatar
Robbie
Teardrop Master
 
Posts: 250
Images: 86
Joined: Tue May 10, 2011 11:28 am
Location: West Jordan, UT
Top

Re: Robbie's Benroy build- Skinned and ready for trim!

Postby aggie79 » Mon Jul 02, 2012 11:30 am

Robbie wrote:Hey Tom, did you use butyl tape on your corner trim or just the black 3M sealant? My neighbor gave me some sealant that is aluminum colored called Sikaflex. He uses it on the roofing jobs he does and he says its garanteed for 30 year roofs so I figure it would be good enough for my teardrop. But I'll probably use the butyl tape and this sealant at the roof vent and then just the sealant on the corner trim and door trims.


Robbie - I used sealant (3M 4200) under the trim and in the trim screw holes. I did use butyl tape around my windows in case I have to replace one. I think either way will work. I do, however, like the idea of filling the screw holes with some type of sealant. Sikaflex makes great products. I wouldn't hesitate using it either.
Tom (& Linda)
For build info on our former Silver Beatle teardrop:
Build Thread

93503
User avatar
aggie79
Super Duper Lifetime Member
 
Posts: 5405
Images: 686
Joined: Tue Aug 07, 2007 5:42 pm
Location: Watauga, Texas
Top

Re: Robbie's Benroy build- Skinned and ready for trim!

Postby Robbie » Tue Jul 03, 2012 8:04 am

I got a little more work done last night. I got the roof vent opening and tailgate opening all cut open and stapled. Not sure if anyone else on here does it like I did but I ended up leaving about .5" to .75" overhang at all openings and ended up bending the aluminum over and stapling from the inside. The front doors and roof vent weren't very hard and actually turned out pretty good but the rear storage area was a PITA! :x 
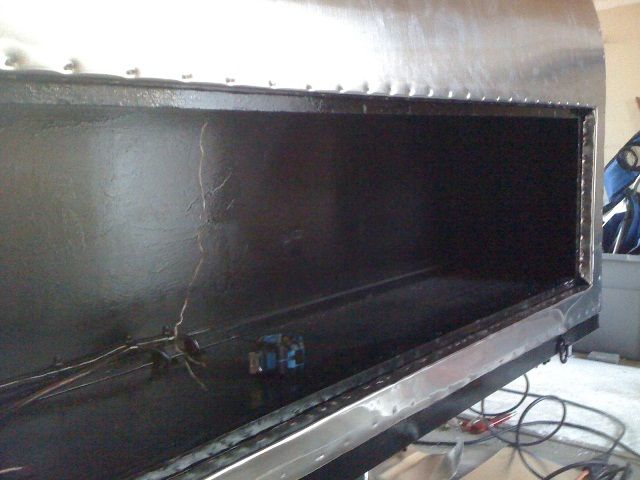
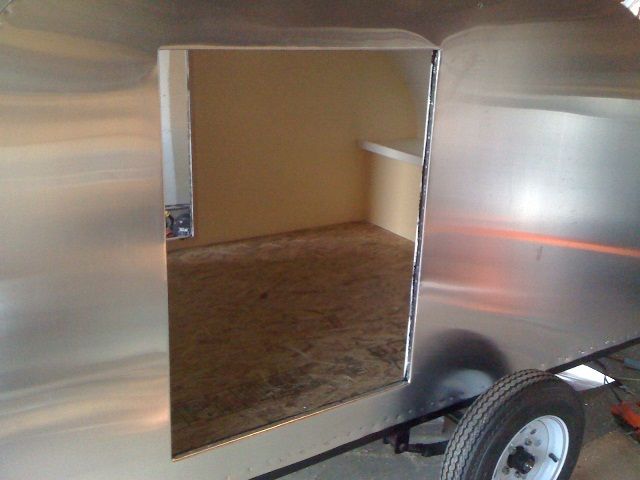
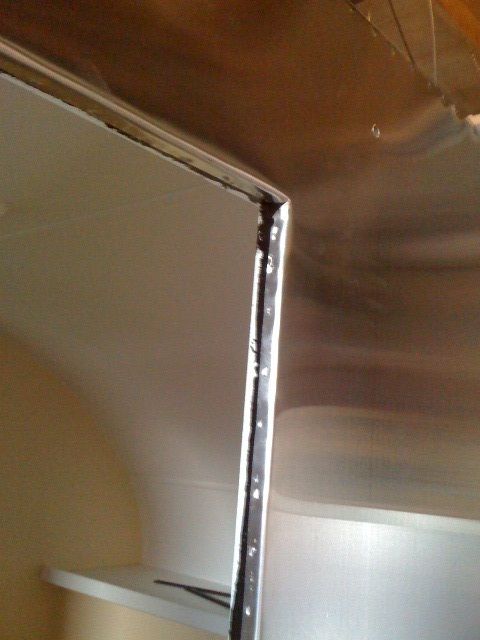
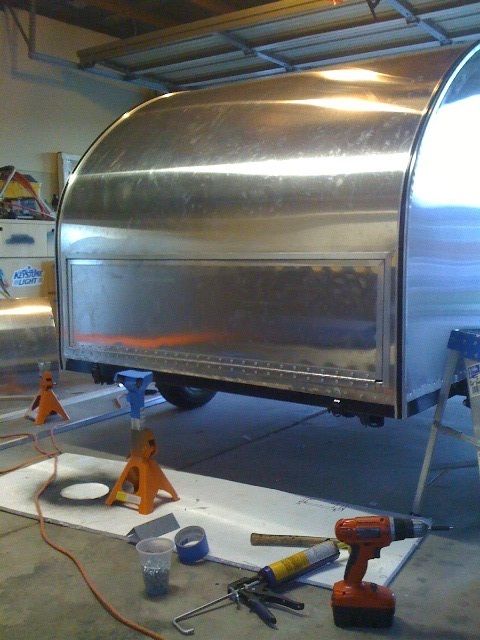
I knew I should have cut the opening and stapled it when the sealant was soft because it ended up hardening up and the aluminum wasn't pressed tight to the body so now at the top of the storage opening the skin sits about 1/16-1/8" off the ply skin. So upset with myself that I didn't just do it on Saturday. Oh well now I guess. I think it will still turn out ok. But the next step is to install the roof vent with the caulk tape and Sikaflex and then start trimming out the door and tailgate openings with 3/4" x 3/4" aluminum angle.

Rear storage area....

Image

Image

Image

Image

Roof vent opening....

Image

Image

Front door openings....

Image

Image

Image

Has anyone on here ever finished their openings like this or did I take a wrong turn when I decided to do this?
My aluminum benroy build:
viewtopic.php?t=45640
User avatar
Robbie
Teardrop Master
 
Posts: 250
Images: 86
Joined: Tue May 10, 2011 11:28 am
Location: West Jordan, UT
Top

Re: Robbie's Benroy build- Skinned and ready for trim!

Postby Robbie » Thu Jul 05, 2012 12:51 pm

Well Tuesday night I got the porch lights mounted and sealed and the roof vent mounted and sealed. It's starting to look like a finished tear! I used some sikaflex on the backside of the porch lights and found a syringe in the house so I got some in the screw holes as well. It sealed up real nice! On the roof vent I used both the caulk tape and sikaflex. I put the caulk tape just inside of the screw holes with a slight overlap of the hole and a bead of sikaflex around the entire outside. There was good push out so I know it will seal well. I also used the syringe in those holes as well. I even went a step further and put a nice bead of sealant along the inside where the vent meets the roof just as a safety precaucion! :lol: 
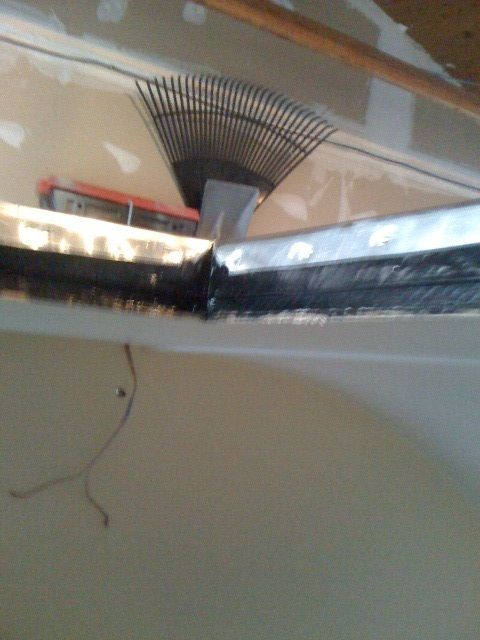
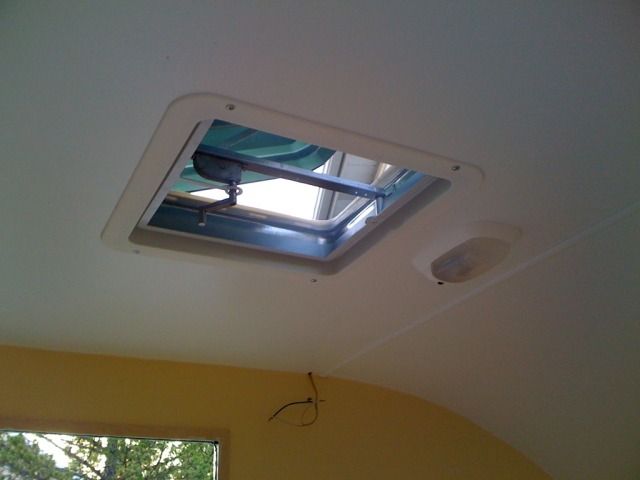
(I guess that's my OCD!) I am going to put a little paint around the inside of the vent opening to seal and then finish it with the trim ring! I had the dome and porch lights all on while I was working and it was awesome to see it come along this far and everything working as planned. I don't think I'll ever be able to part with this thing now! :FNP

I'll get some updated pics up this weekend after I get the corner trim and some diamond plate on!
My aluminum benroy build:
viewtopic.php?t=45640
User avatar
Robbie
Teardrop Master
 
Posts: 250
Images: 86
Joined: Tue May 10, 2011 11:28 am
Location: West Jordan, UT
Top

Re: Robbie's Benroy build- Skinned and ready for trim!

Postby Robbie » Sat Jul 07, 2012 8:09 am

Well no diamond plate but here are some pics of it with the corner trim on, my temporary power station, and the roof vent all completed...

Image

Image

Image

Image

Image

Image

And here is one of my little boston Paisley and my wife test fitting the trailer!

Image

It's crunch time now as our first trip is scheduled for next weekend!!! All that is left are the doors and tailgate now. I hope we can make it!
My aluminum benroy build:
viewtopic.php?t=45640
User avatar
Robbie
Teardrop Master
 
Posts: 250
Images: 86
Joined: Tue May 10, 2011 11:28 am
Location: West Jordan, UT
Top

Re: Robbie's Benroy build- Skinned and ready for trim!

Postby Cliffmeister2000 » Sat Jul 07, 2012 9:15 am

It looks Professional Grade! :thumbsup:
God Bless

Cliff

♥God. ♥People.
1 John 4:9-11

My Teardrop build pictures
User avatar
Cliffmeister2000
Titanium Donating Member
 
Posts: 3622
Images: 157
Joined: Thu Jul 26, 2007 10:18 pm
Location: Phoenix, AZ
Top

Re: Robbie's Benroy build- Skinned and ready for trim!

Postby Robbie » Sat Jul 07, 2012 9:19 am

Thanks Cliff! It's turned out way better then I ever thought it would! I'm just hoping the doors turn out to match the rest of the trailer as far as fit and looks. They are the only part about this build that I am truly worried and nervous about. :roll: :thinking: If I ever do another teardrop I will be using the Lil' Guy doors for simplicity and ease of use.
My aluminum benroy build:
viewtopic.php?t=45640
User avatar
Robbie
Teardrop Master
 
Posts: 250
Images: 86
Joined: Tue May 10, 2011 11:28 am
Location: West Jordan, UT
Top

Re: Robbie's Benroy build- Skinned and ready for trim!

Postby PSBreen » Sat Jul 07, 2012 9:24 am

Robbie ,

Your trailer is looking mighty spiffy. I know it's just temporary but I had to laugh when I saw those little 6 vdc batteries in that big box. :D
Steve & Cynthia
User avatar
PSBreen
Donating Member
 
Posts: 185
Images: 93
Joined: Tue May 24, 2011 12:36 pm
Location: Layton, UT
Top

Re: Robbie's Benroy build- Skinned and ready for trim!

Postby Robbie » Sat Jul 07, 2012 9:28 am

:lol: 
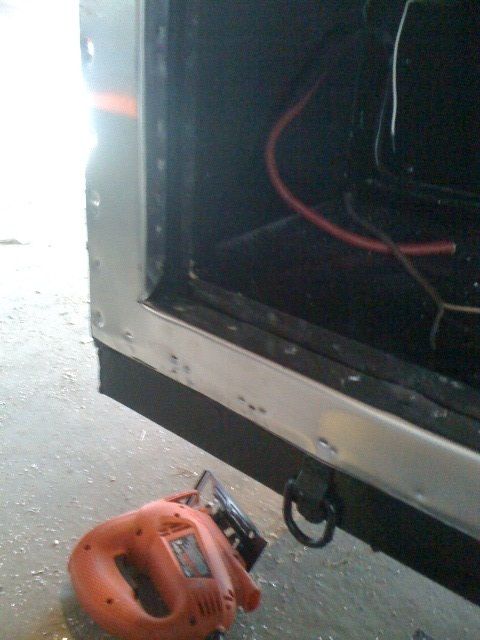
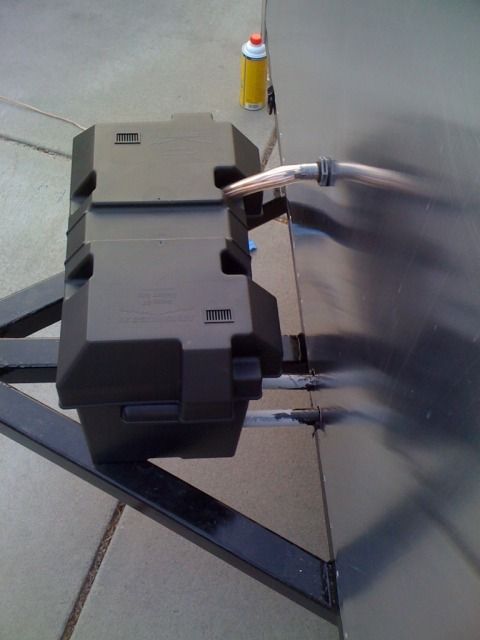
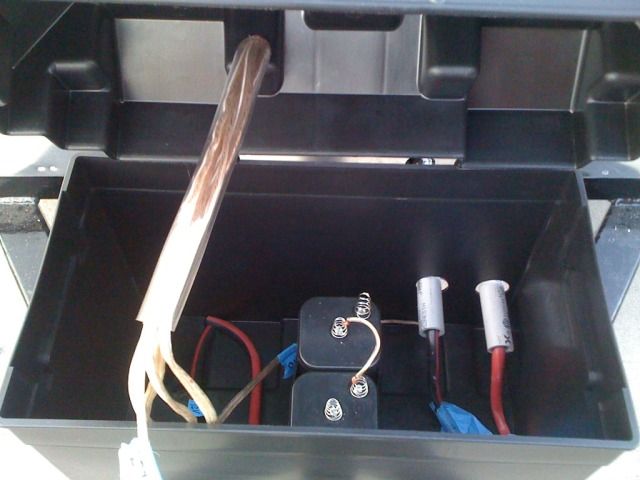
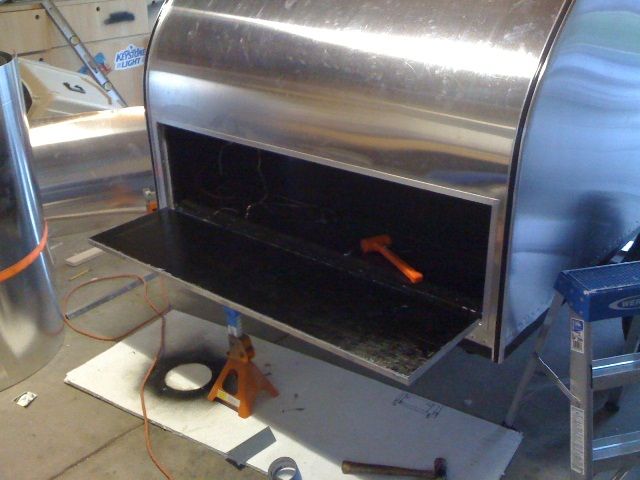
Ya the batteries are a little out of place in there! That box was on sale for $8 which is why I went with that one over the smaller, more normal looking box. But hey now I have plenty of room for my temporary electrical setup! I just need to bolt it to the frame and seal the lower holes where the AC lines enter.

I may not have the diamond plate on before our trip but if not I plan on running some Sikaflex over each staple and a good bead along the bottom of the aluminum to keep it all sealed up until I can get the diamond plate trim pieces on.
My aluminum benroy build:
viewtopic.php?t=45640
User avatar
Robbie
Teardrop Master
 
Posts: 250
Images: 86
Joined: Tue May 10, 2011 11:28 am
Location: West Jordan, UT
Top

Re: Robbie's Benroy build- Almost there!!!

Postby Robbie » Tue Jul 10, 2012 8:31 am

Well last night I finished up the tailgate and got it hung. The fit couldn't be more perfect! :shock: 
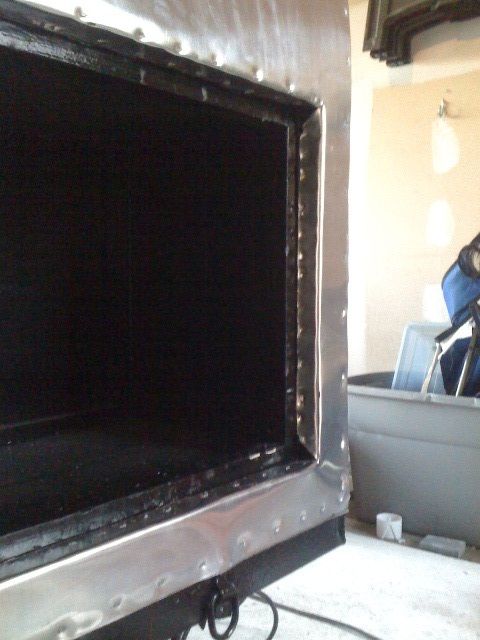
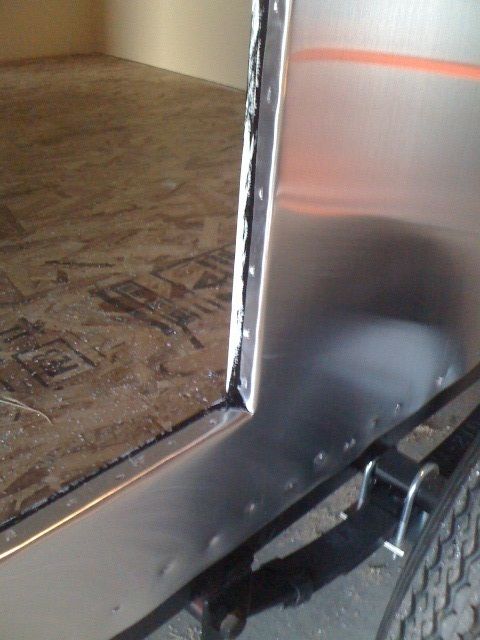
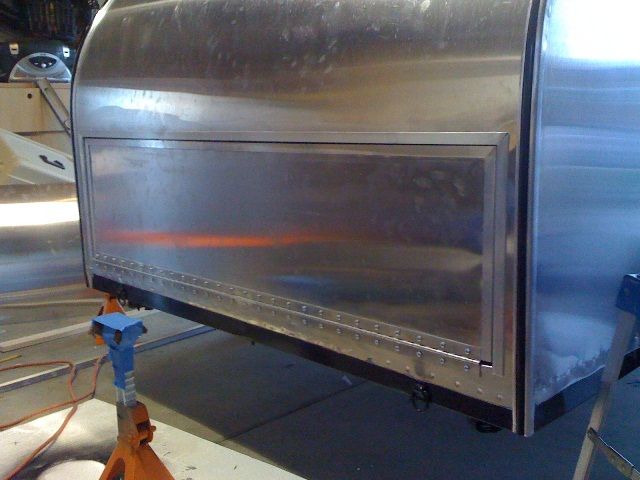
There is an even ~1/8" gap all the way around the gate panel and the trim looks great. I just need to drill the holes for the latches and tail lights and get those mounted in there and then it will be ready back there! The doors are on the schedule books for tonight and tomorrow night.

I'll post some update pics in a few, I forgot my phone at home this morning. :thumbdown:
My aluminum benroy build:
viewtopic.php?t=45640
User avatar
Robbie
Teardrop Master
 
Posts: 250
Images: 86
Joined: Tue May 10, 2011 11:28 am
Location: West Jordan, UT
Top

Re: Robbie's Benroy build- Skinned and ready for trim!

Postby Robbie » Wed Jul 11, 2012 9:30 am

Pics of the tailgate...

Image

Image

Image

I decided to use a different latch than originally planned so I'm going to pick that up today and try and get it mounted tonight.
My aluminum benroy build:
viewtopic.php?t=45640
User avatar
Robbie
Teardrop Master
 
Posts: 250
Images: 86
Joined: Tue May 10, 2011 11:28 am
Location: West Jordan, UT
Top

Re: Robbie's Benroy build- All down to the doors...

Postby absolutsnwbrdr » Wed Jul 11, 2012 11:11 am

Damn that looks nice! You werent kidding when you said it fit PERFECT! :thumbsup:
Zach
Coming Soon...
Image Image
User avatar
absolutsnwbrdr
Donating Member
 
Posts: 2657
Images: 412
Joined: Mon Jan 25, 2010 6:10 pm
Location: Hanover, PA
Top

Re: Robbie's Benroy build- All down to the doors...

Postby Forrest747 » Wed Jul 11, 2012 11:17 am

Totally agree with you there Zach I am so jealous on how well that fit. Looking great and cant wait to see it in person good luck on the doors.
"All the success on the trail can not compensate for having square headlights"

"I've got a fever and the only prescription is more cowbell!"
http://www.tnttt.com/viewtopic.php?f=50&t=37701 Build Journal
User avatar
Forrest747
Cowbell Donating Member
 
Posts: 1327
Images: 447
Joined: Mon Apr 06, 2009 3:40 am
Location: West Valley Utah, Utah
Top

PreviousNext

Return to Build Journals

Who is online

Users browsing this forum: No registered users and 15 guests