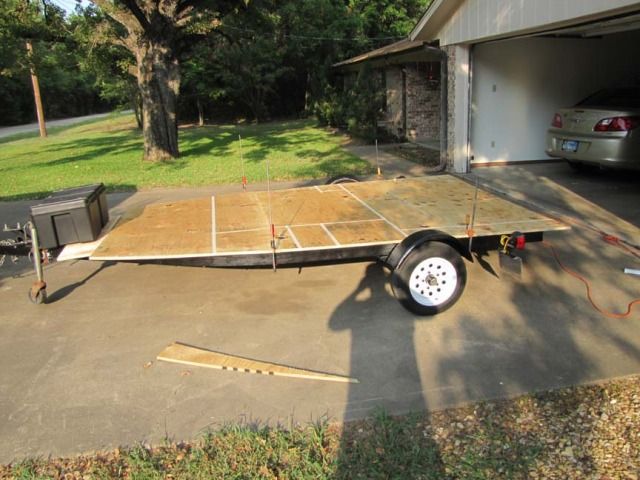
*After searching for possible donor trailer (and even considering building one from scratch), I finally settled on this:
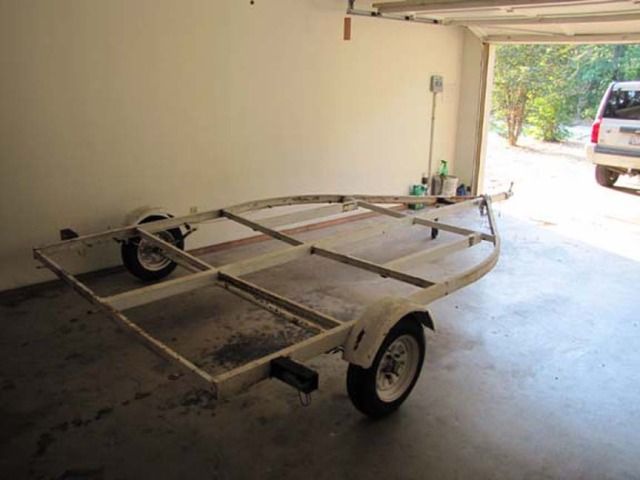
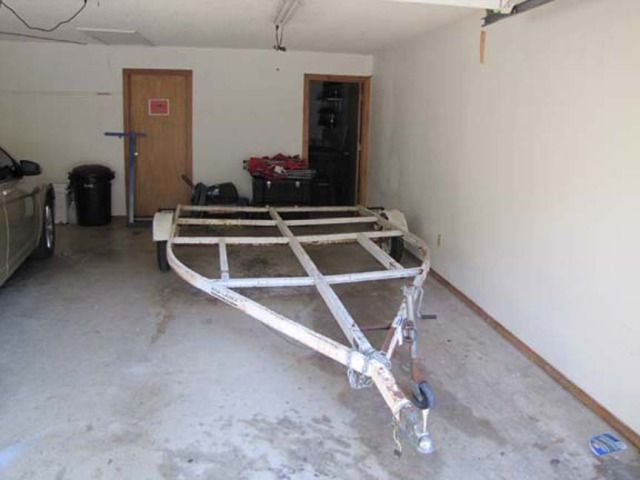

It’s a dual jet ski trailer – but it will do just fine. It is wider that what I wanted, but it means that the camper will be about 8 inches wider. I can live with that. This time I will not be building over the wheels meaning extra space in the interior and no wheel wells to build. Gotta do something about the wiring and the color
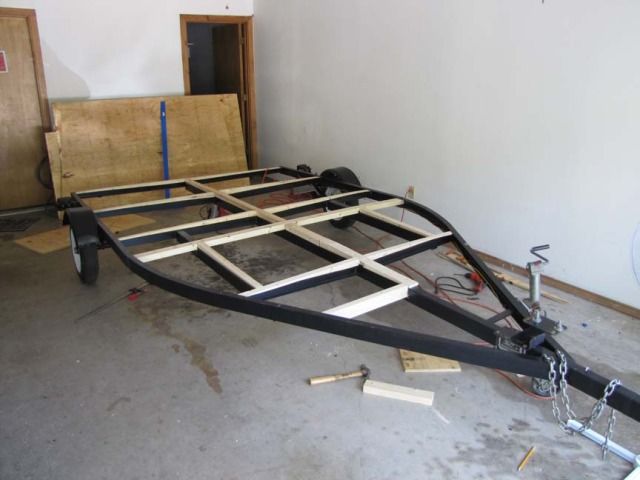
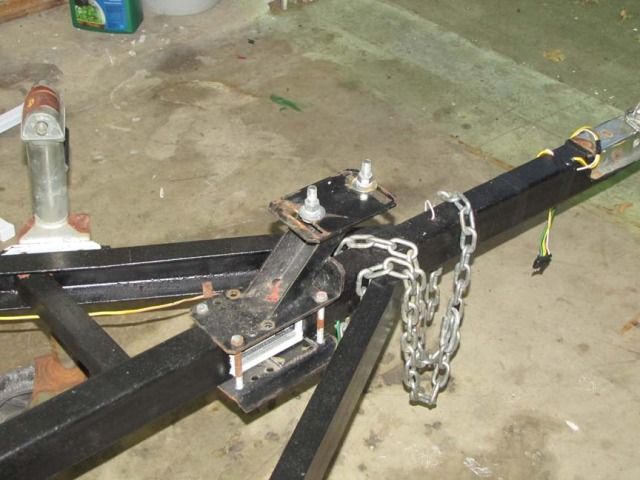
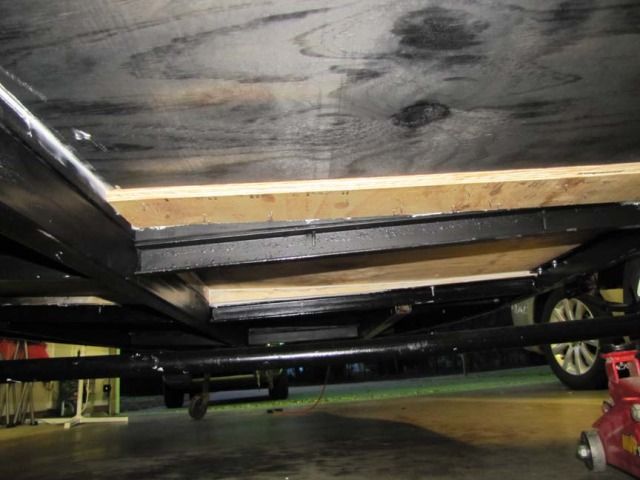
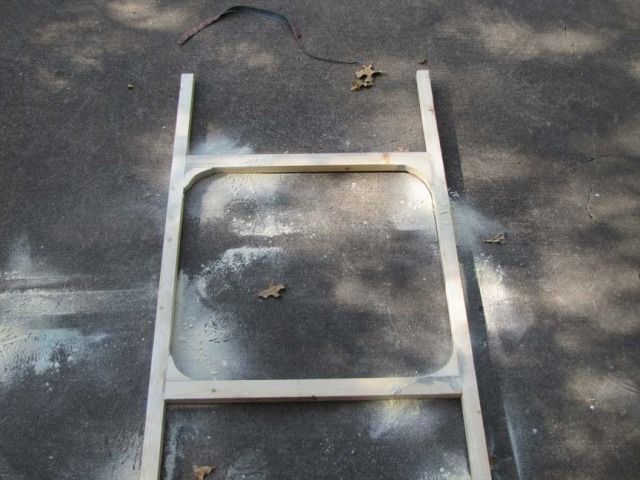
*Frame was stripped down and wire brushed and cleaned up a bit. I took the tires off and cleaned and inspected the axels. Repacked the bearing with some fresh grease. Replaced the wiring with a new harness along with some temporary tail lights. I also gave it a good paint job – gloss black! Add to that some shimming of the frame to bring everything level. Installed the spare tire holder. I had this laying around since I built my first camper. I couldn’t use it due to the short tongue lengths of the other campers – so I kept it in storage. Finally I can use it!
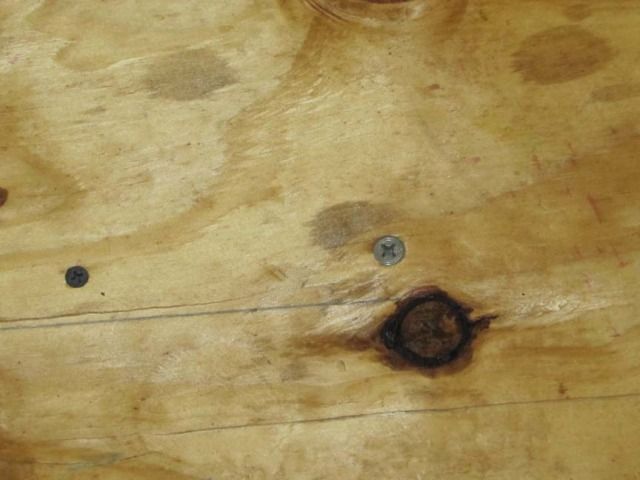
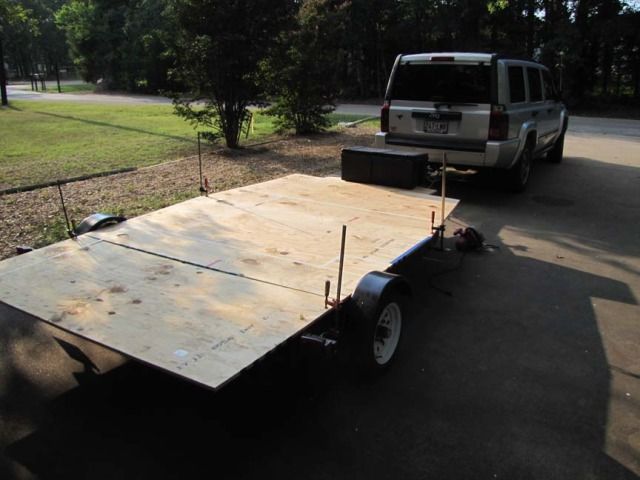
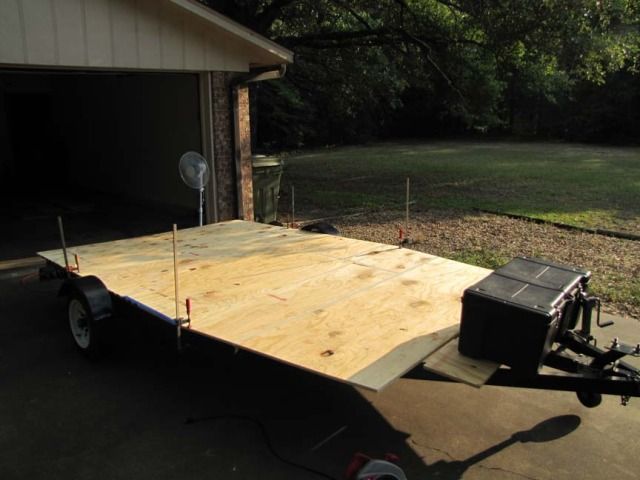
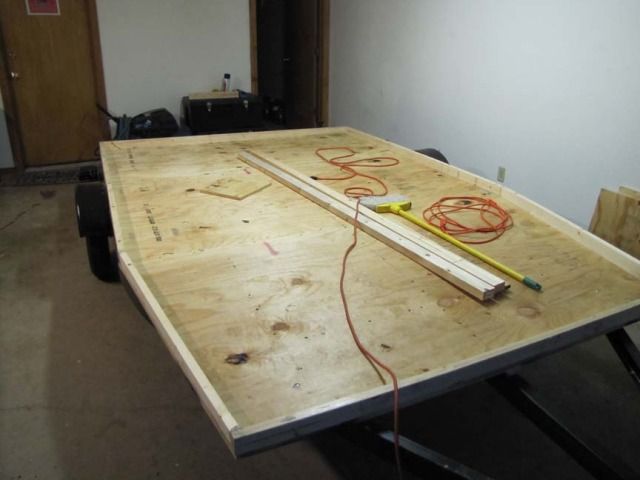
*Time to start putting down the flooring. Bolted around the perimeter of the frame, then used self tapping screws along the spine and joists. Everything is pretty solid – no “bounce” in the floor. We did a tape outline to make sure everything fits. There is about 9 Inches of overhang in the rear to add to the balance of camper.
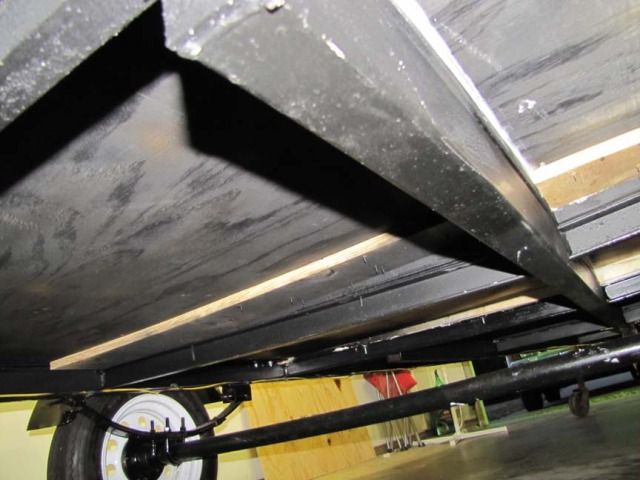
*Trying something new this time – instead of using paint and aluminum to seal the underside – or the Black goo emulsion – I’m using spray bedliner. I used this on the hood and bed of my truck and it worked as advertised. I also did a test piece to on plywood and wood to see how it would hold up in the Texas seasons. I must admit that they held up pretty good, so here goes. Since it’s in a rattle can – I can do touch ups easily if needed. I chose to wait until everything was glued, screwed down, caulked all the seams before giving a good coating.
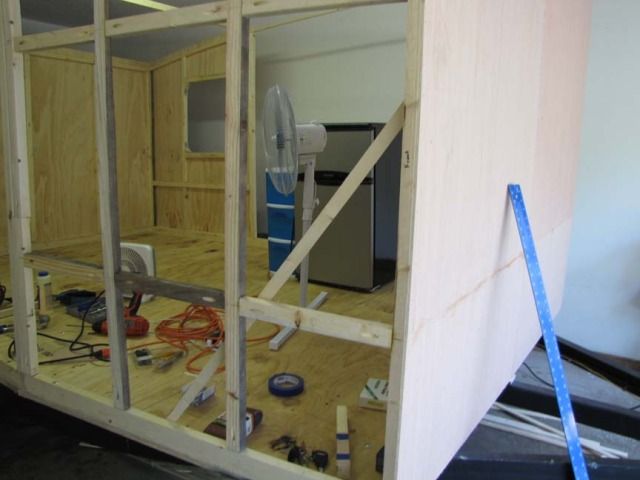
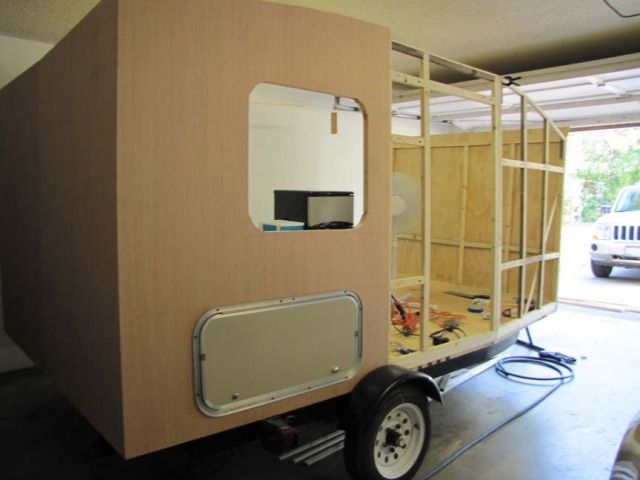
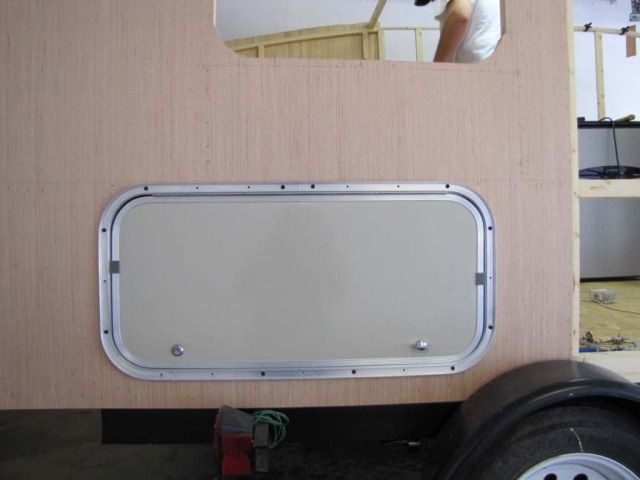
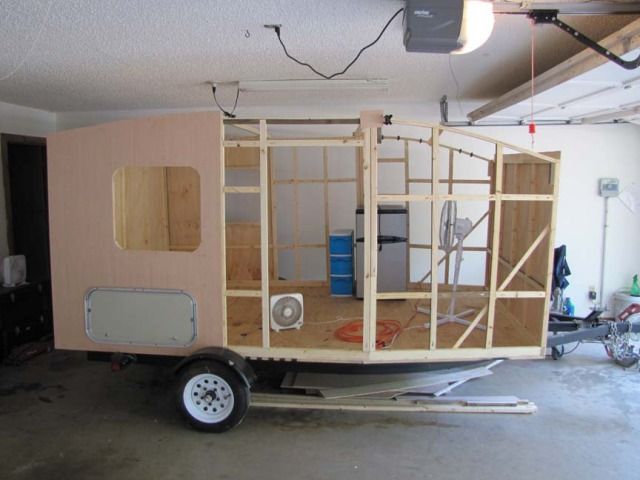
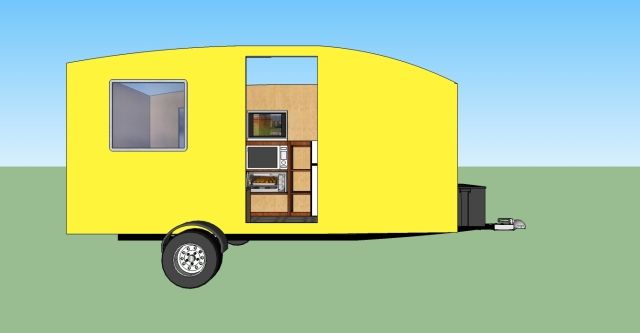
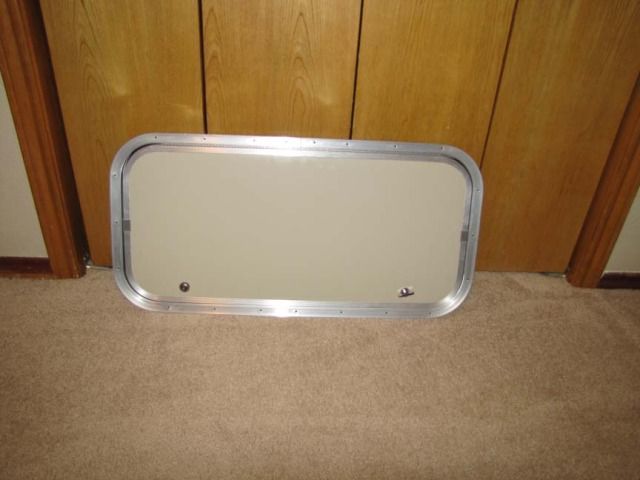
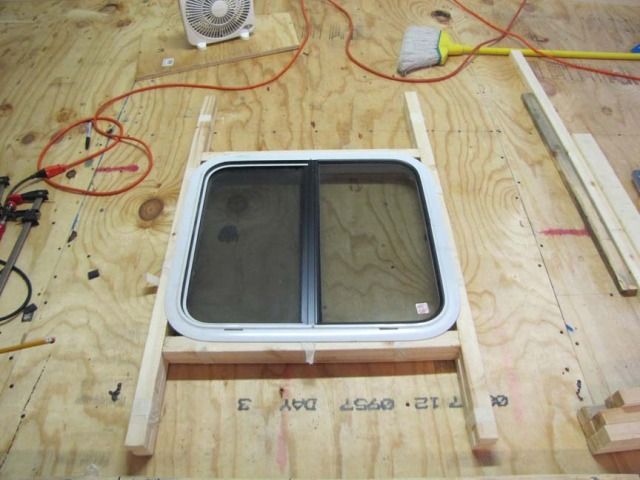
*Package arrived from ebay today – this is something new . We’re going to install an access panel on the passenger’s side to allow access to under the bed storage from the outside. Usually we just put all of the big set up stuff under the bed and then unload it from the inside when we get to a campsite. No longer – we can unload it to the outside without having to bend over and unload it from inside.
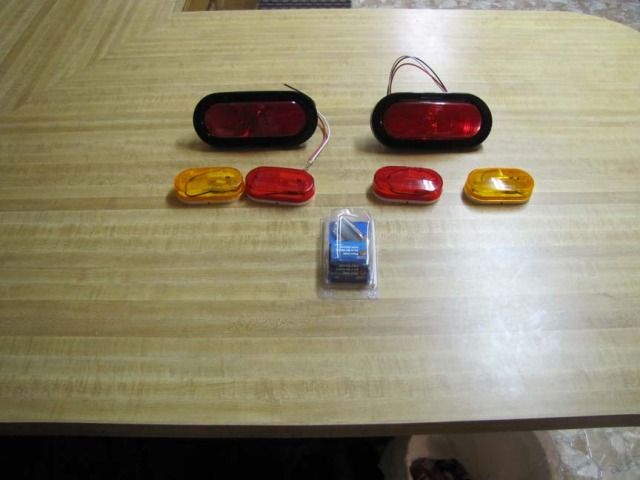
* Mrs Starleen wanted something different for the exterior lights instead of the usual round one that we’ve used on other builds. This is what she came home with
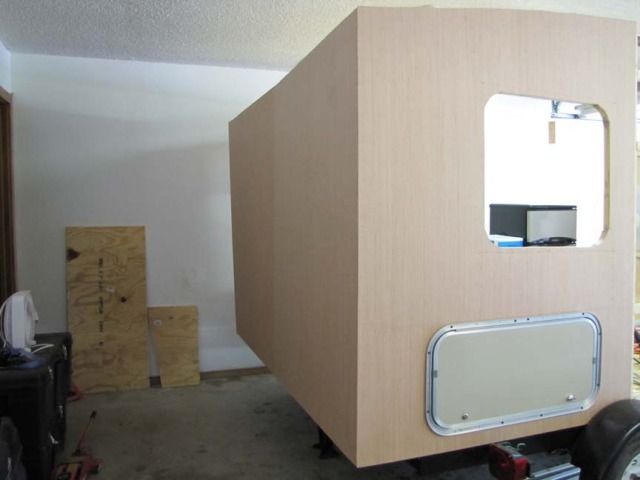
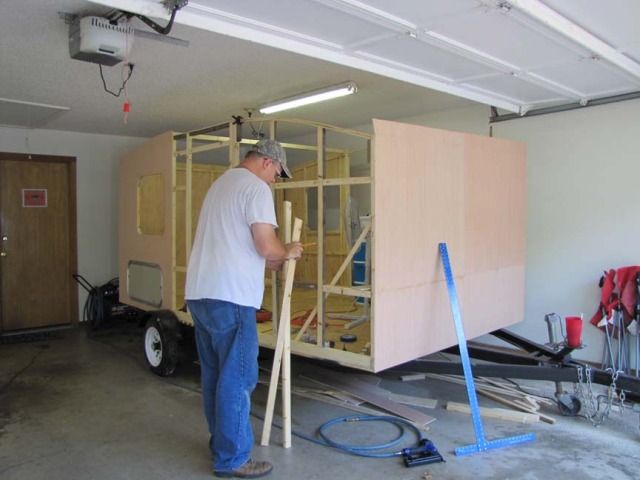
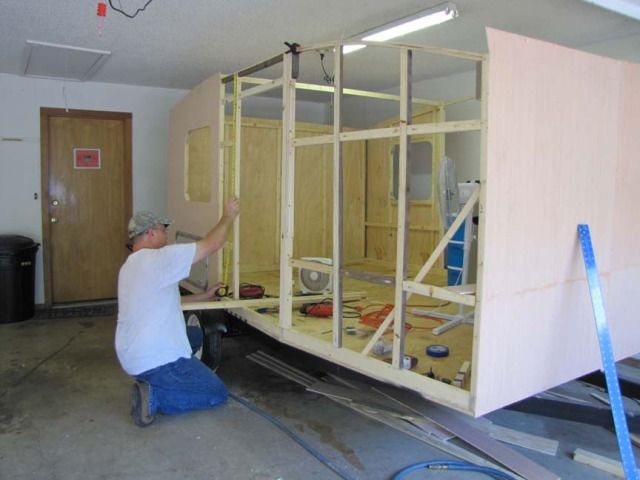
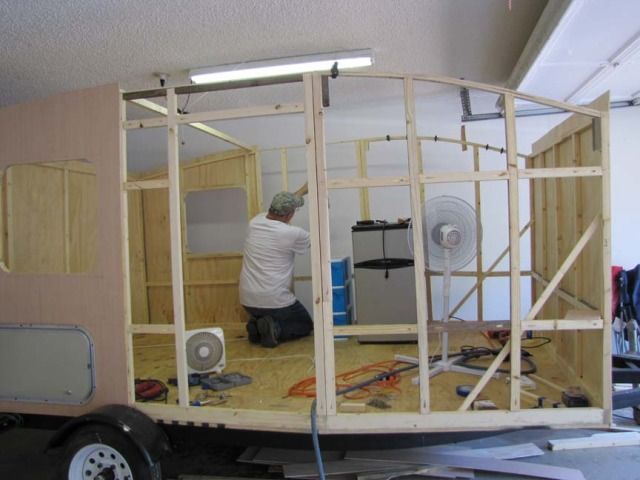
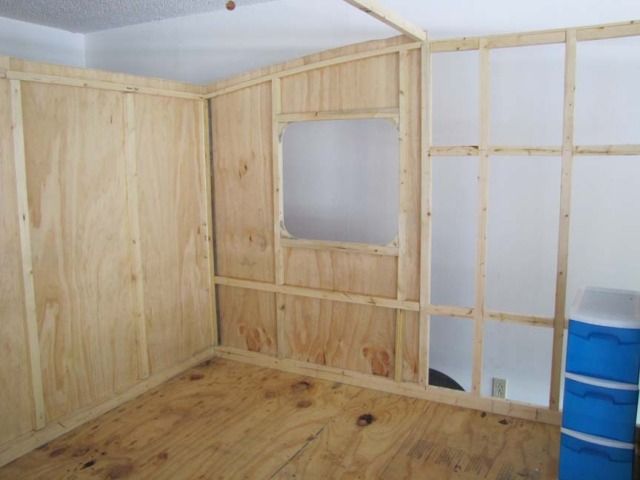
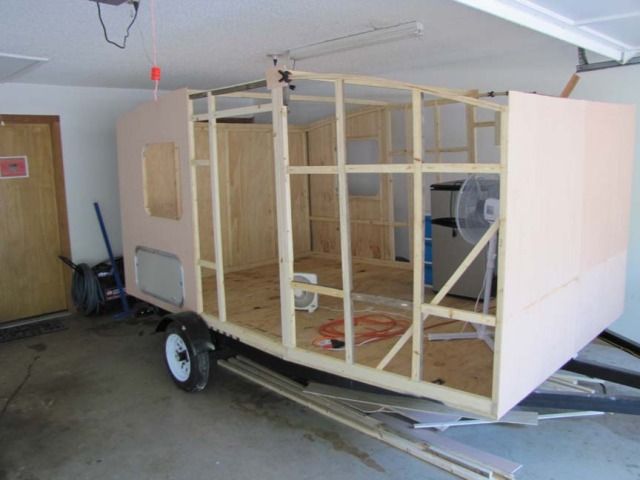
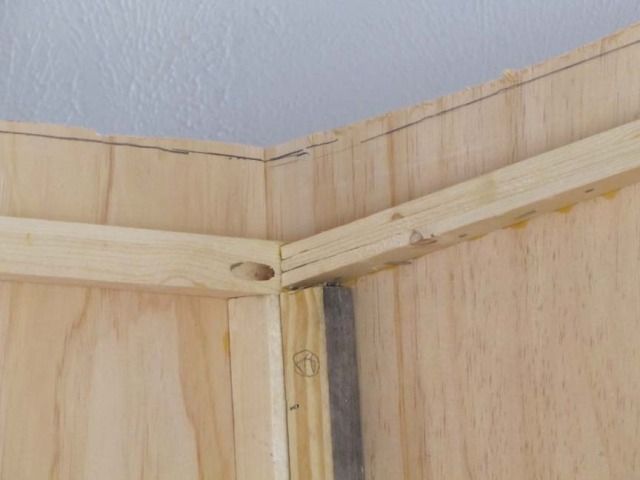
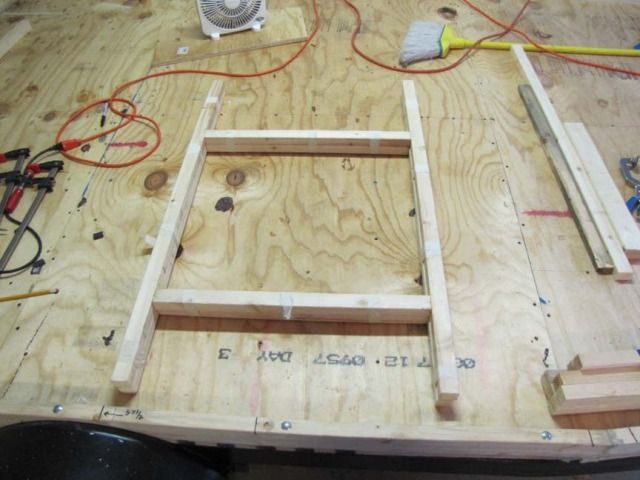
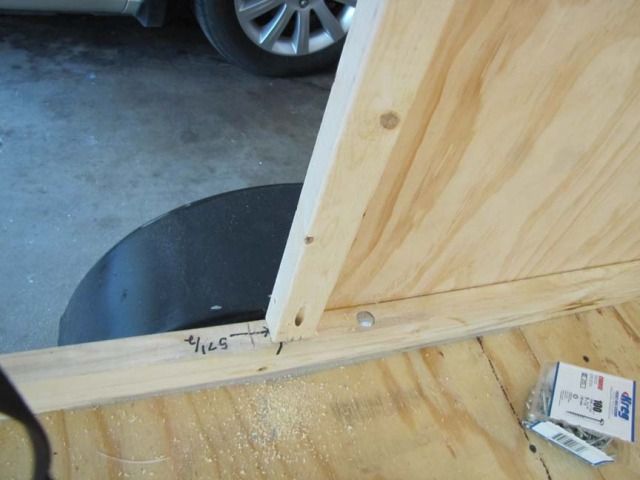
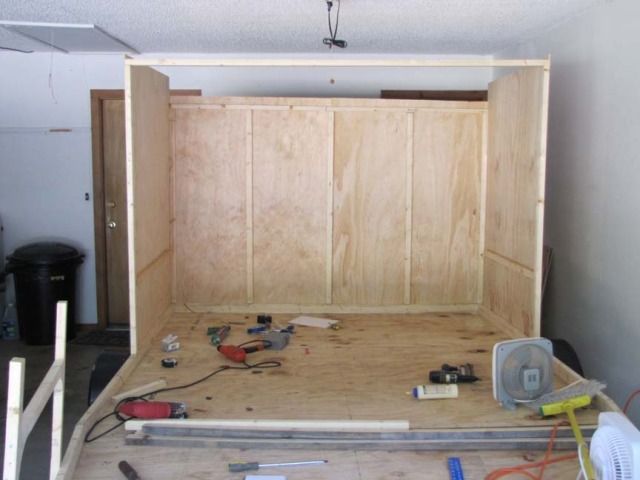
*On this build, the floor and the wall are flush with two sides of the frame. I drilled anchor bolts down through the bottom plate, the floor, and frame using adhesive along the joint. When the frame curves away from the sides, I am then able to screw from underneath to finish the wall sections. Added nylock nuts to prevent loosing of bolts. A bit of sanding on the floor to level out the seams and turn attention to framing of the walls.
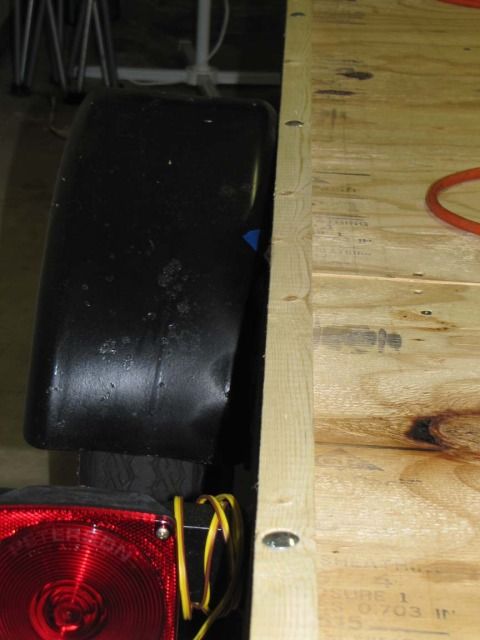
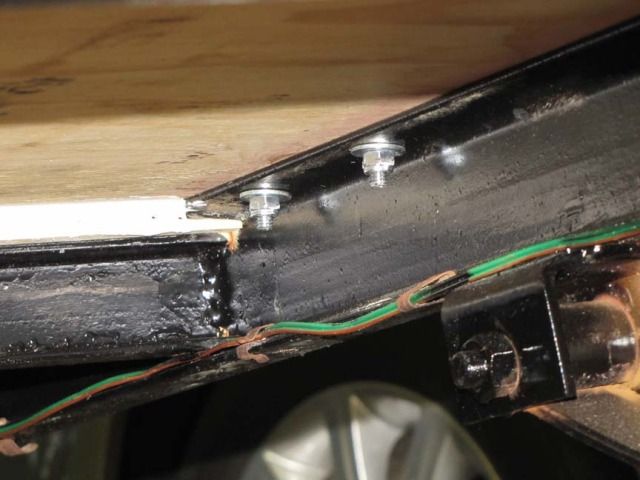
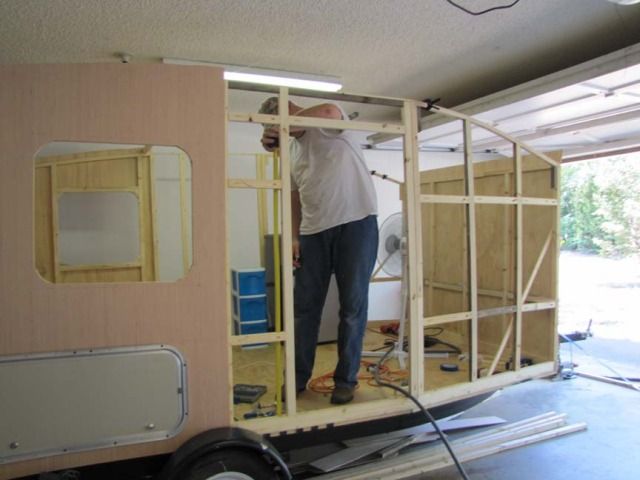
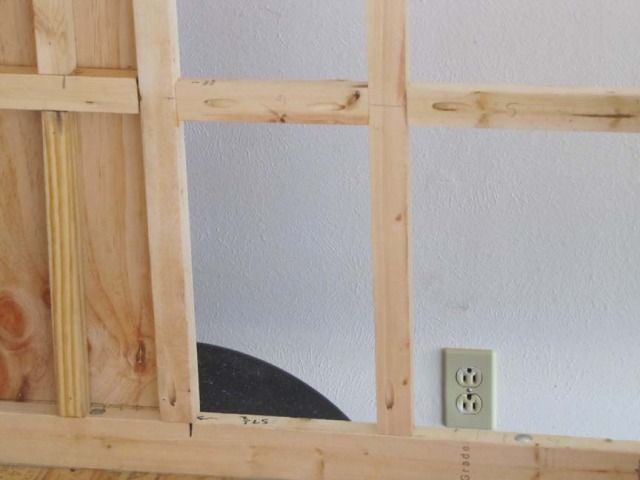
Much easier to drill holes and install the wiring for the trailer lights BEFORE building the wall. Time to get out the scales and give it a preliminary weigh in to see how things are going weight wise. Left tire = 220 Right tire= 170 tongue = 160 total = 550 lbs so far
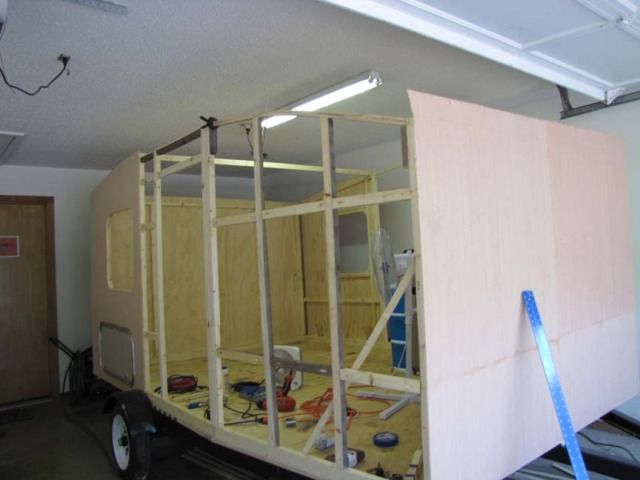
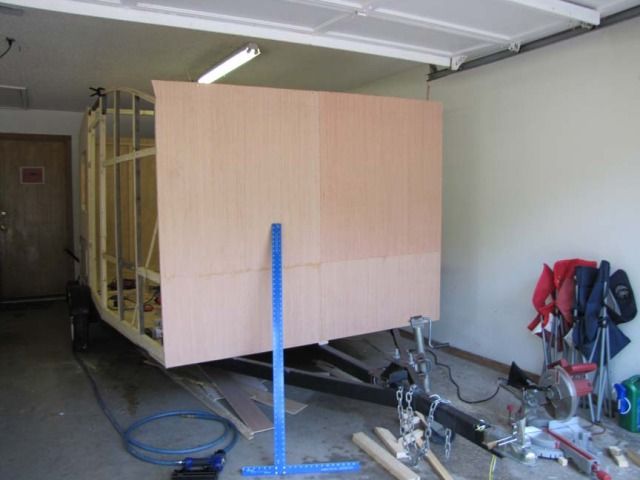
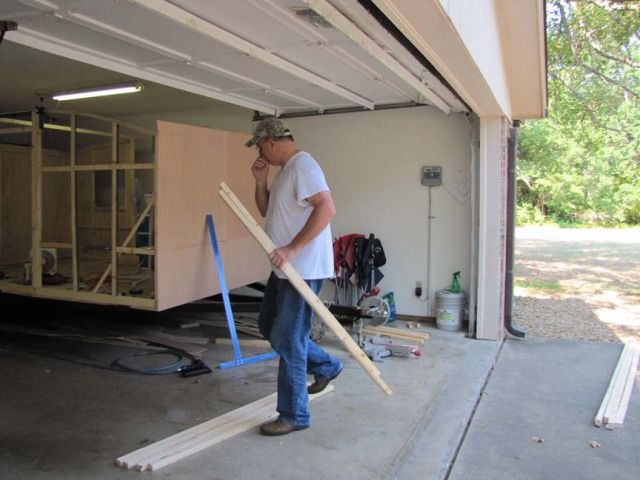
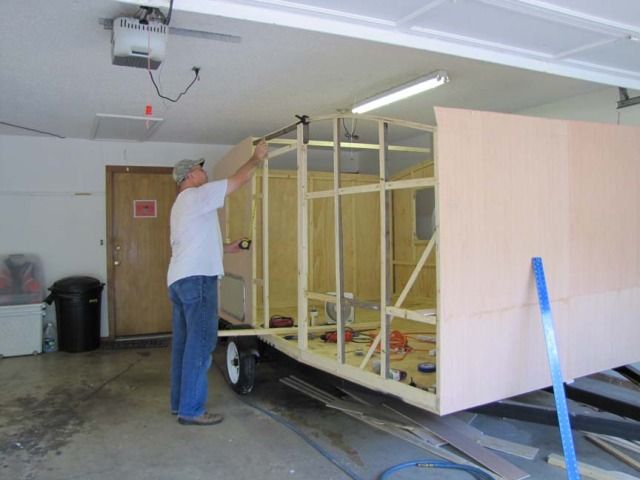
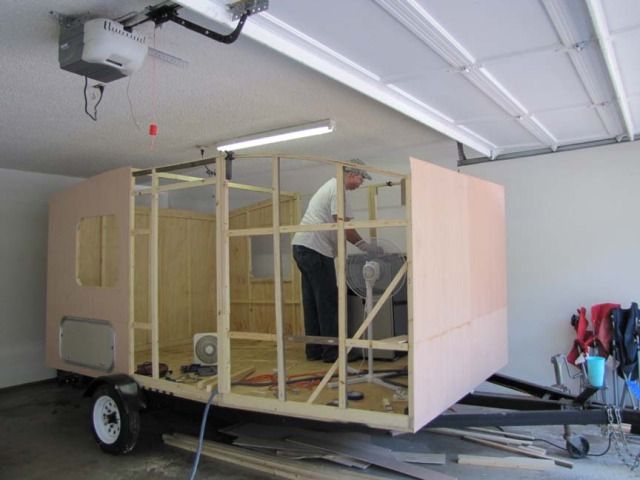
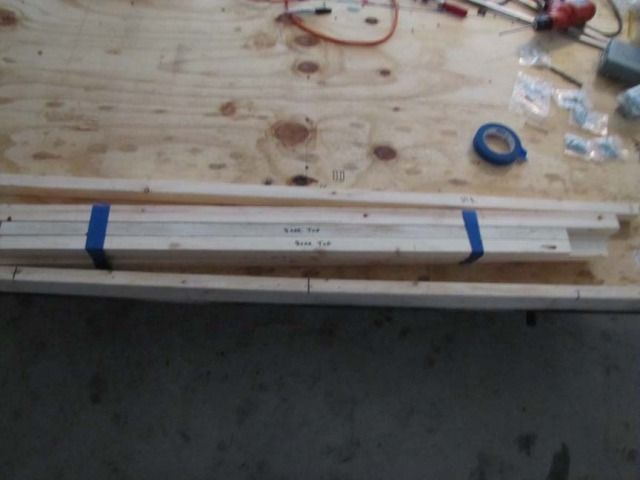
Time to start on the walls. I picked up a Kreg Jr. Pocket Hole Jig System to help attach the framing. This time I’m going a bit thicker with the walls – a full I inch so I can take advantage of 1 inch foam insulation. Texas heat is brutal


 - Beelieve me she's sweet as honey.
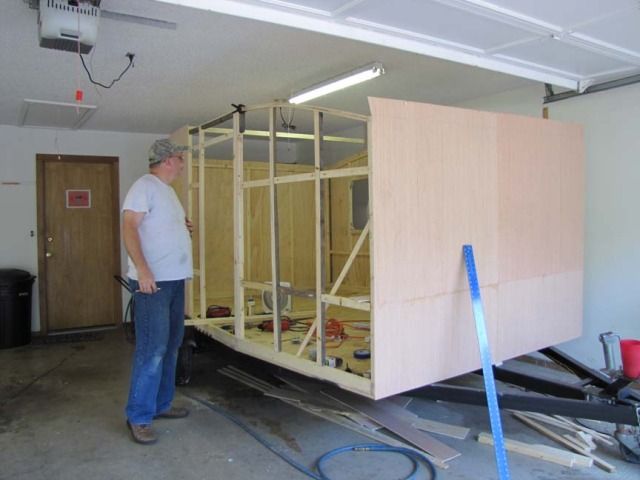
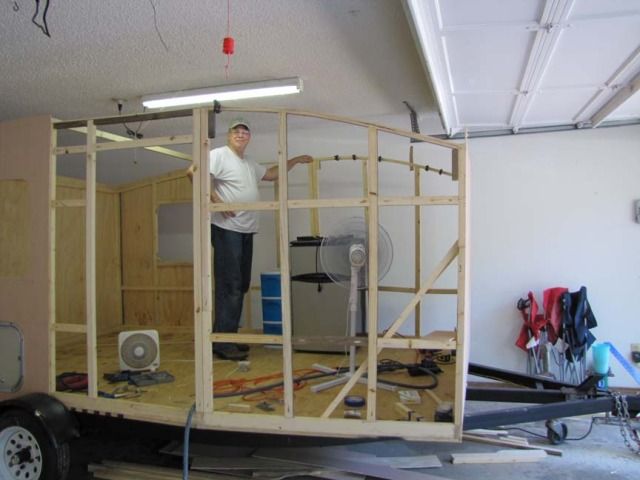
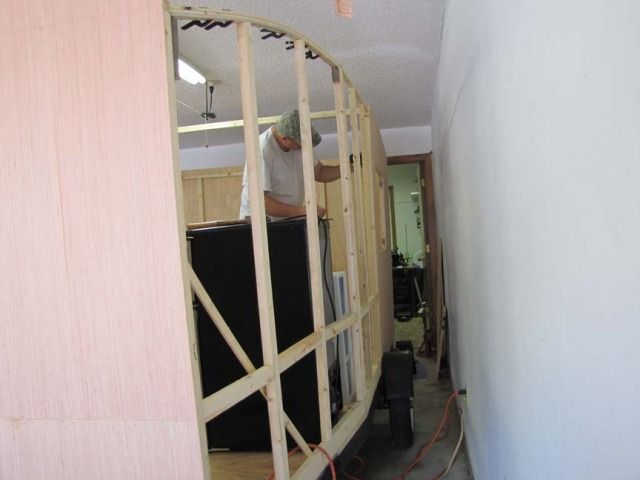
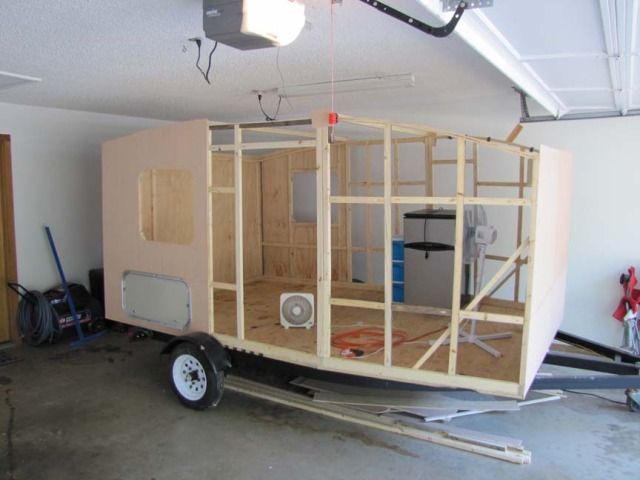
  Once the basic framing is done - I'm sure the Mrs. will have a firm idea on a theme.
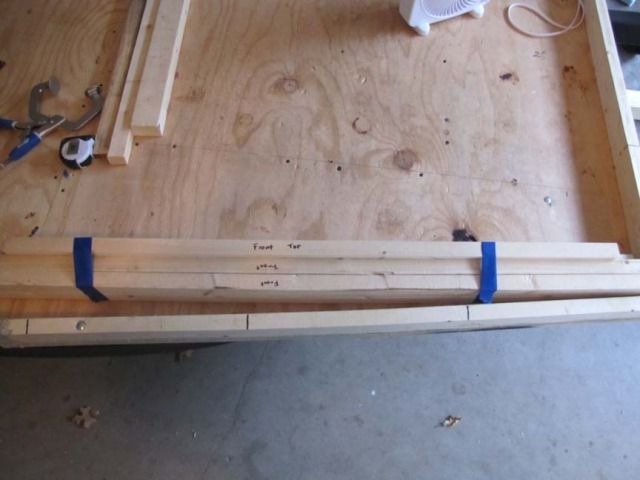


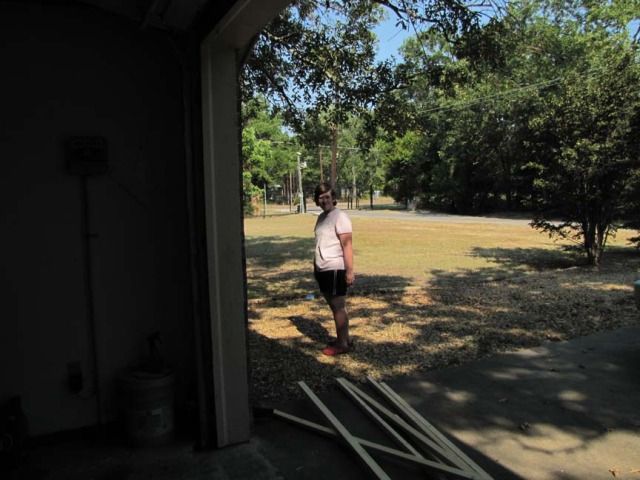
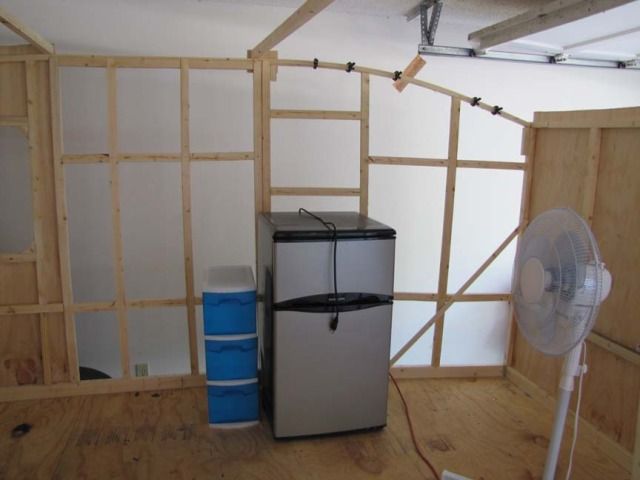
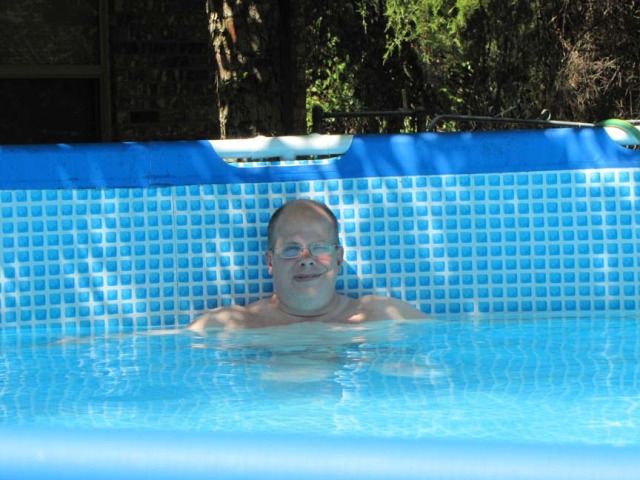
 After a day out in the garage it’s good to finally cool off!


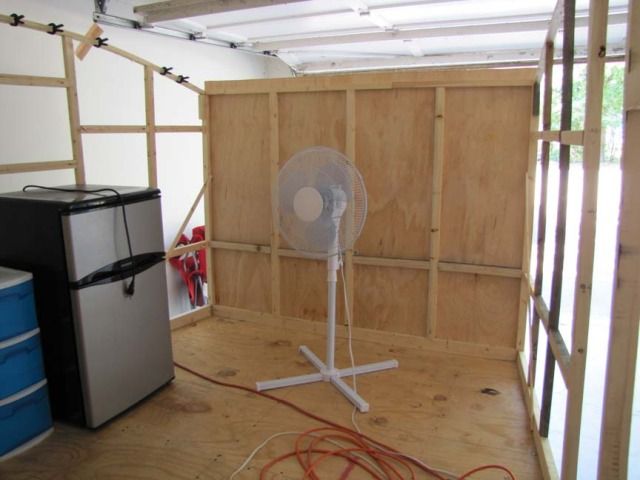
 However, little girls grow up, thin dads get larger around the waist, and mom, well she stayed just about the same - so I guess you say we just squeezed her!
  Everything will have it's own place instead of being packed away
 Mark (& Cindi)