Okay, let’s get caught up. I must admit that I have not done much since returning, but I still have some progress and a bunch of pic’s!
I pretty much just dumped the pic’s indiscriminately from both before and after vacation, so I may be a little fuzzy (both in focus and recollection) on some of them.
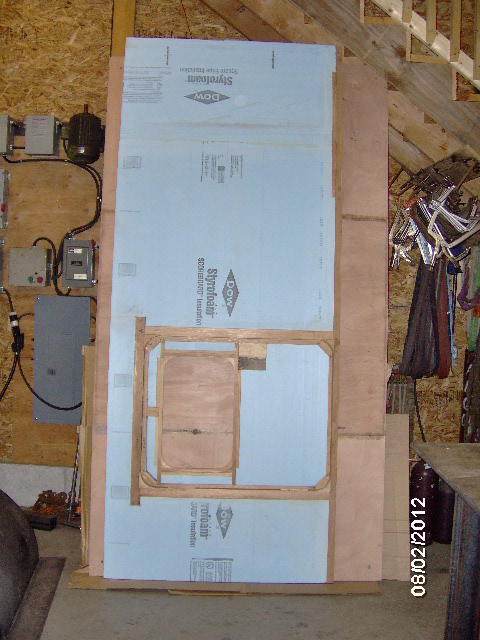
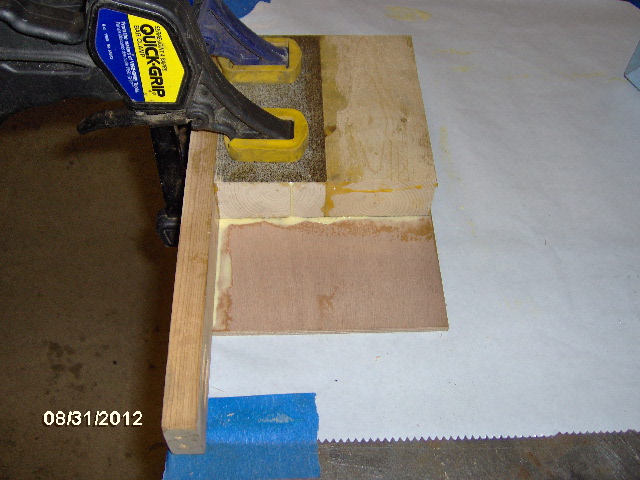
So as best I can tell, this is the curbside wall with foam glued in, showing the dry fit of the foam in the curbside door resting in the doorway.
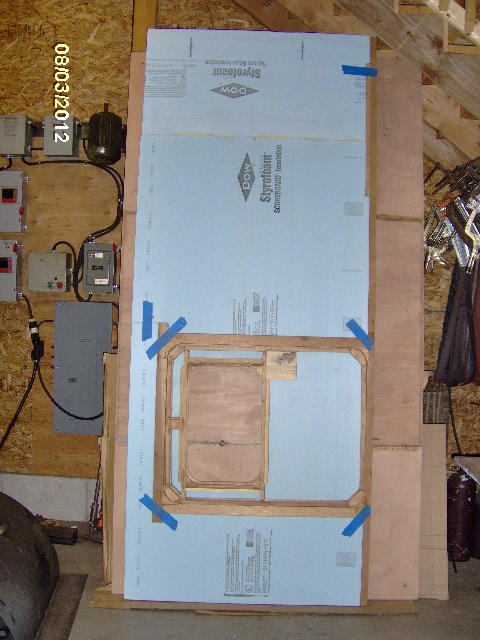
And here is the street side wall with the foam dry fit and held in place with tape, with the street side door and foam dry fit, stacked in front of the curbside parts.
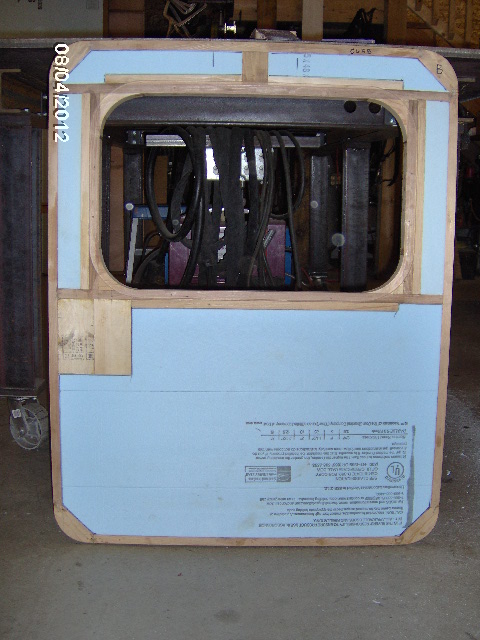
Here is a close up of the curbside door with foam dry fit.
Bonus pic.
Here is the Schaefer bottle opener I got for the camper while browsing through a thrift store in Kingston.
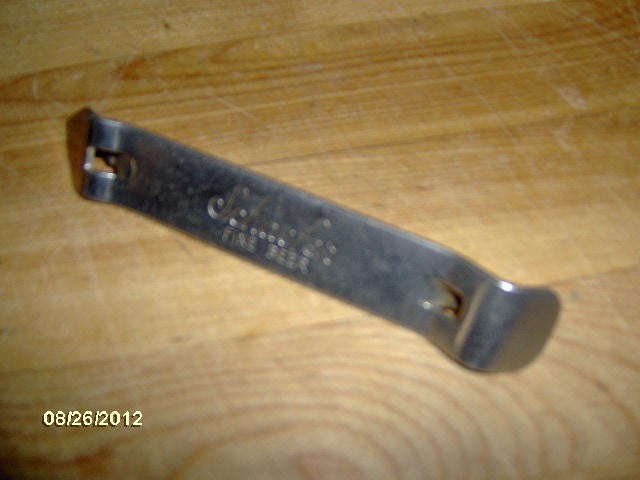
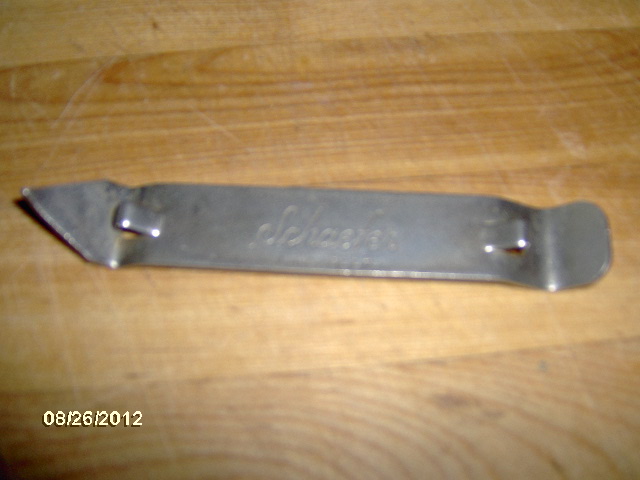
Sturdy!
Here is a nice ornamental gate that Karl built while I was away.
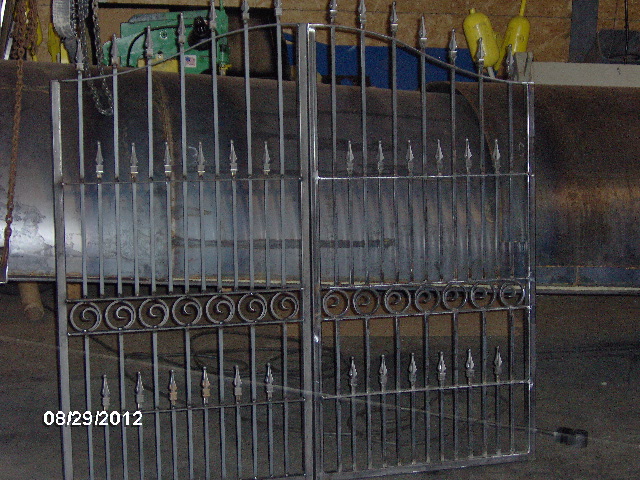
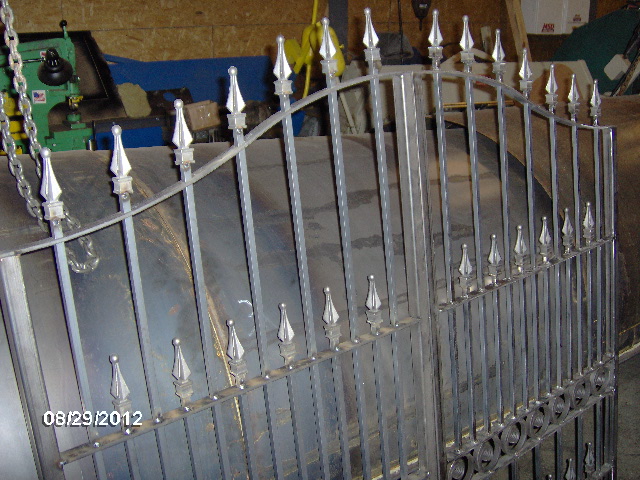
The shapes are catalog items, but it is still well designed and finely crafted.
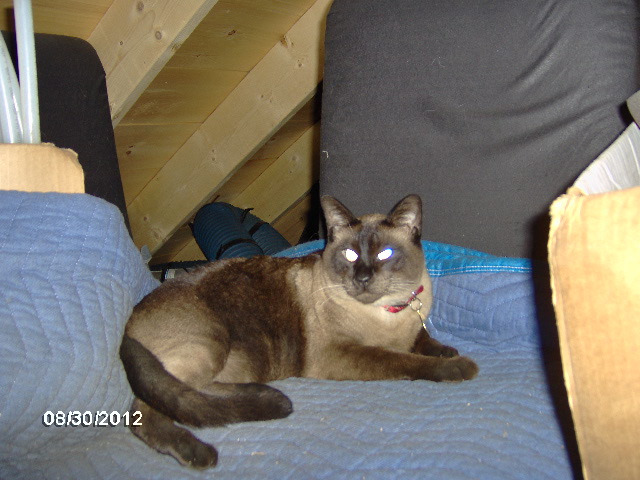
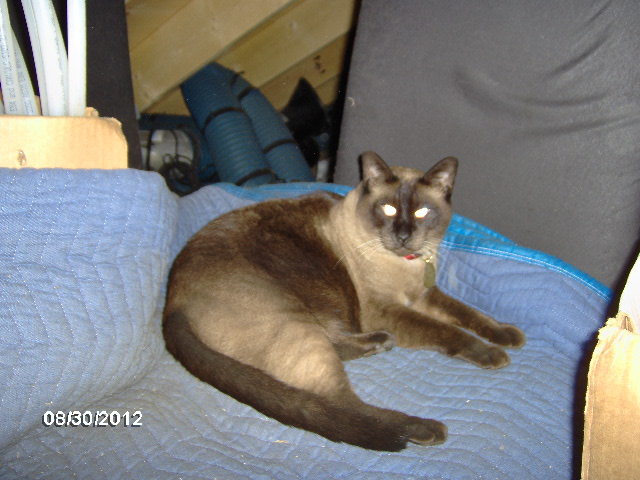
Upon returning to Mecca I was greeted by the newly adopted shop cat, Simon.
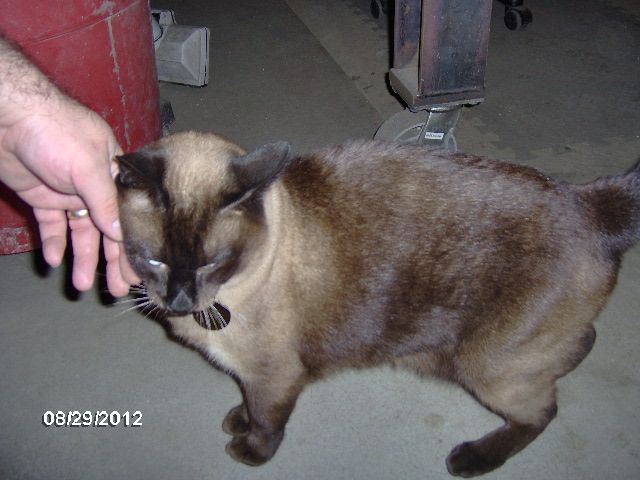
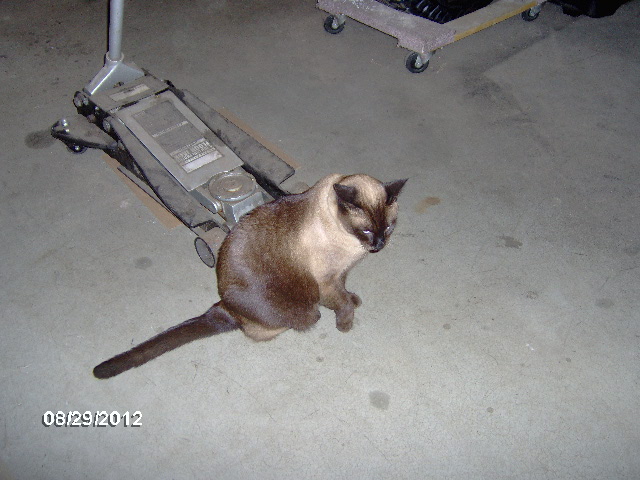
We can’t figure out why anyone would abandon such a well behaved, docile and loving cat. He’s so laid back he doesn't flinch when power tools are being used nearby (safe range).
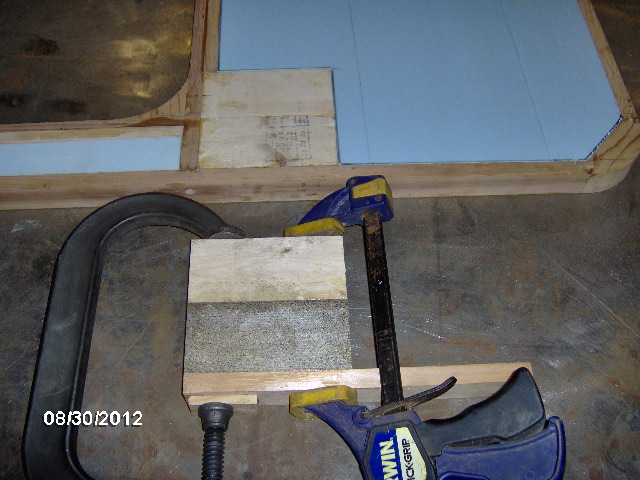
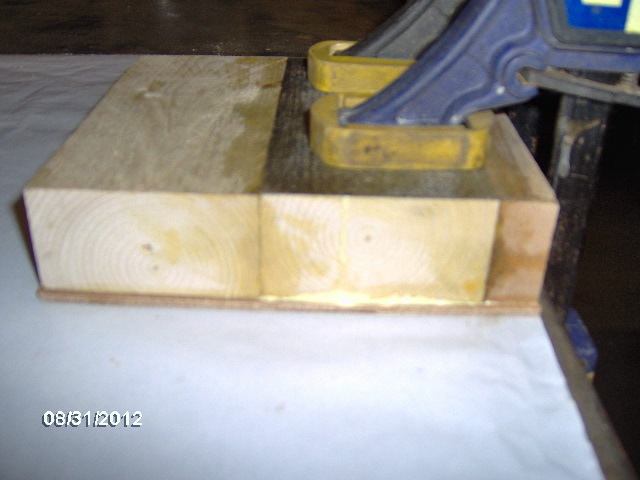
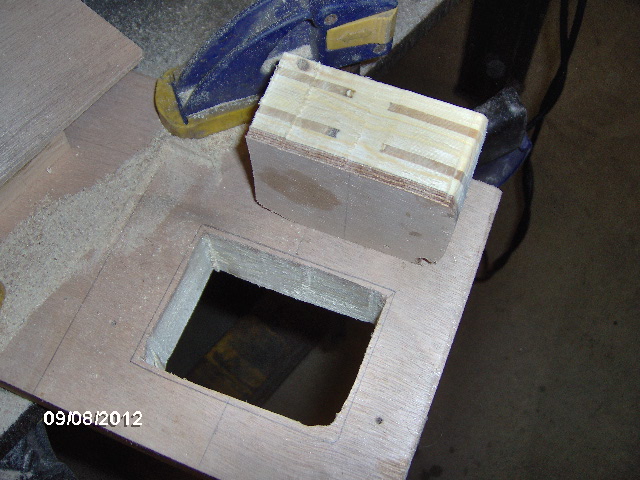
Here I am biscuit gluing up the test coupon to do a dry run on routing out the door latch and bolt recesses.
Karl has been busy cleaning out and organizing the upstairs loft.
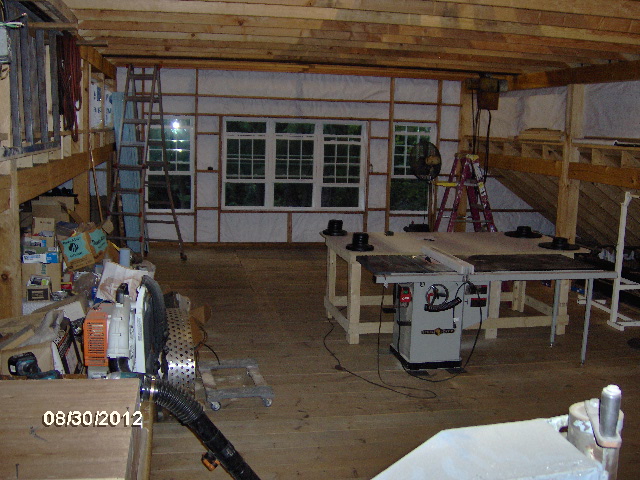

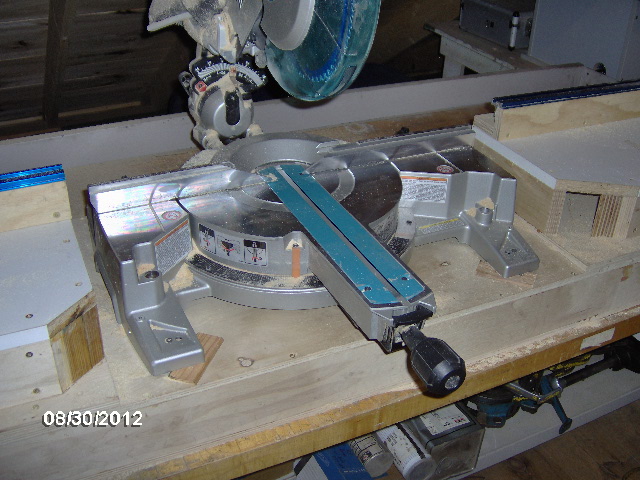
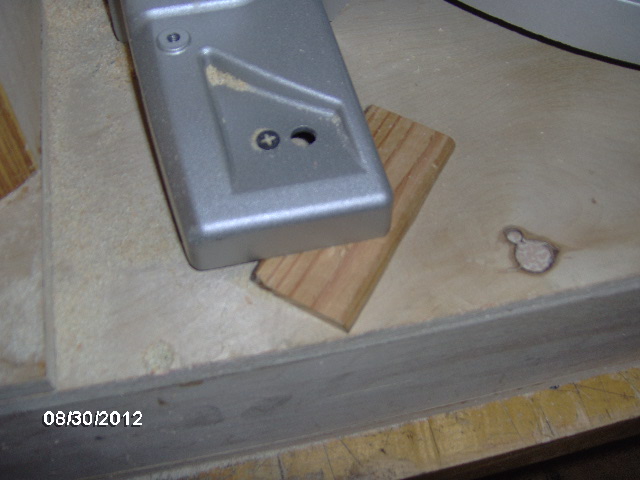
Ben built a really solid feed table and fence for his miter saw. However, the saw was not attached to the table, perhaps due to having been moved to Karl's for storage. We had been using it but I had noticed that it tended to move around a little in use and was not always flush to the fence. At first I just aligned it fence to fence and sank a couple of screws through the holes in the base, but this compressed the rubber feet under the base and made the tables ever so slightly uneven. The solution was to shim under the base, realign the fences, and then screw it down.
Simon has a moving blanket bed up in the loft, as well.
Glued a scrap of ply to the door latch test piece.
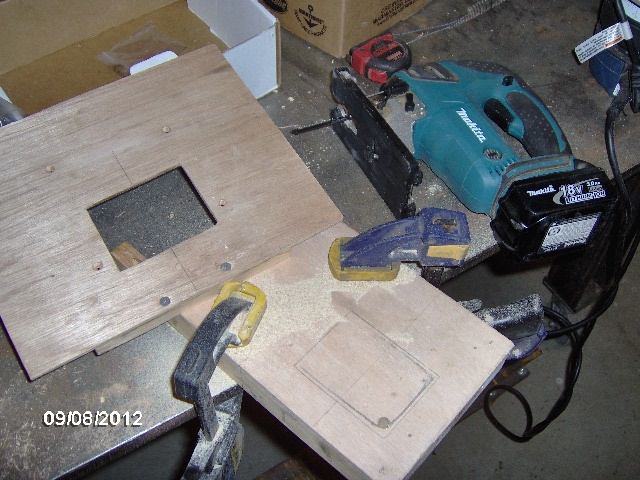
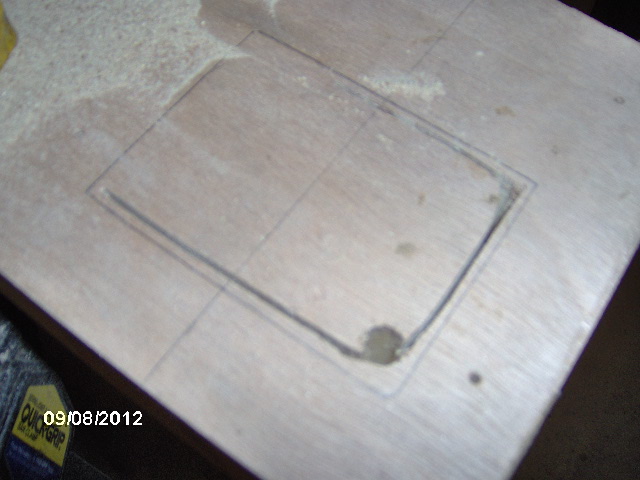
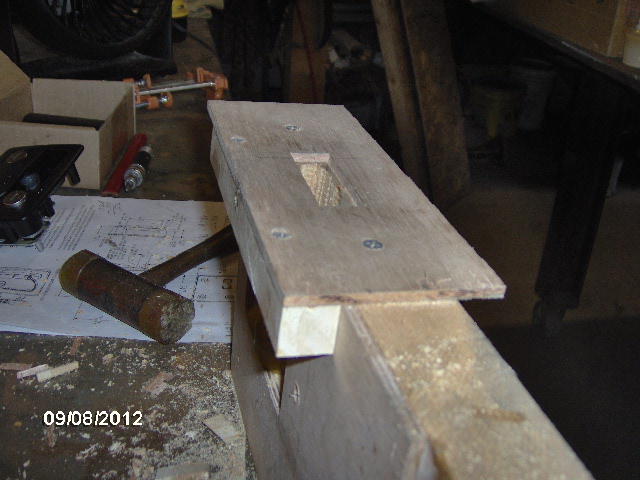
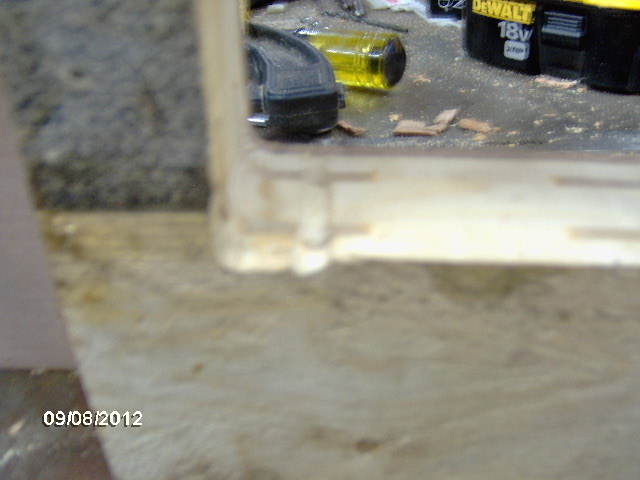
Here is the latch router template; and the test piece where you can see that I have traced the template opening, drilled a starter hole, and begun jigsawing out the rough opening.
Notice the contrasting biscuits in the drop piece.
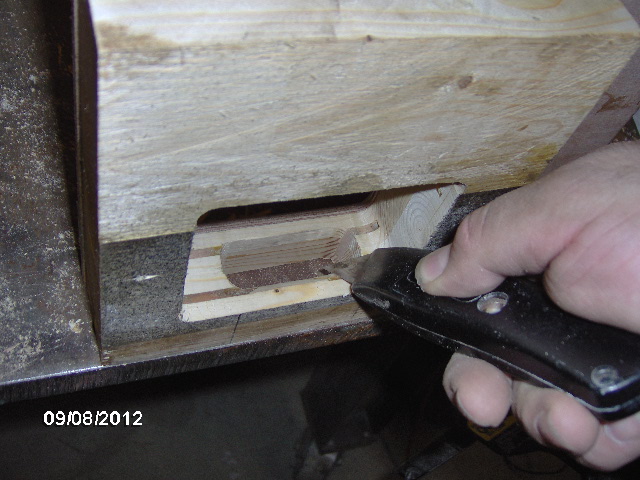
Next I reattached the latch template and made the first pass with the top bearing flush bit. Thought I felt a little hiccup, but didn't see anything wrong at first. Then when I went to adjust the bit down I found that the router was already fully down and I had set the bit shank deep in the collet. When I loosened the collet to extend the bit down some I discovered that the set screw from the bearing retaining shaft collar had spit out. Fortunately the collar had been held down by the collet so no harm, no foul. Switched to the bottom bearing bit and finished the cut from the other side. In all of the excitement (er, disappointment?) I forgot to take a picture.
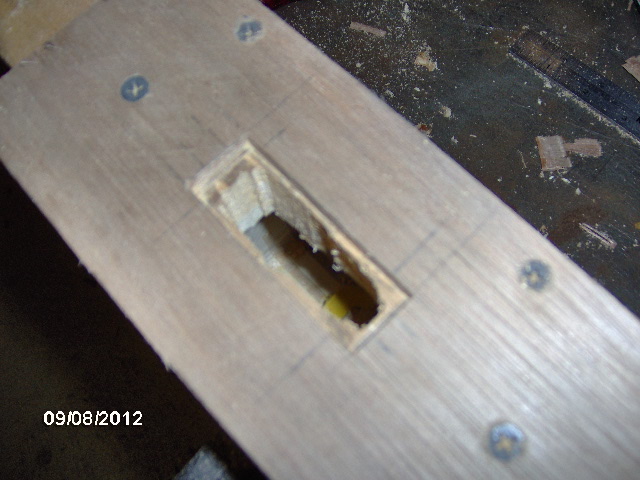
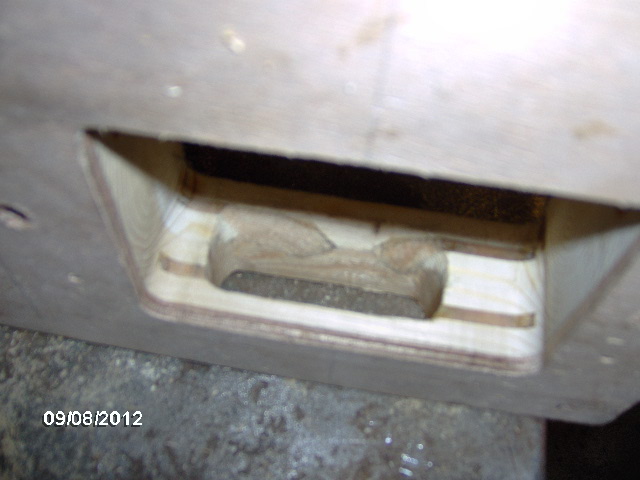
Here is the latch bolt hole template and rough cut.
And after routing.
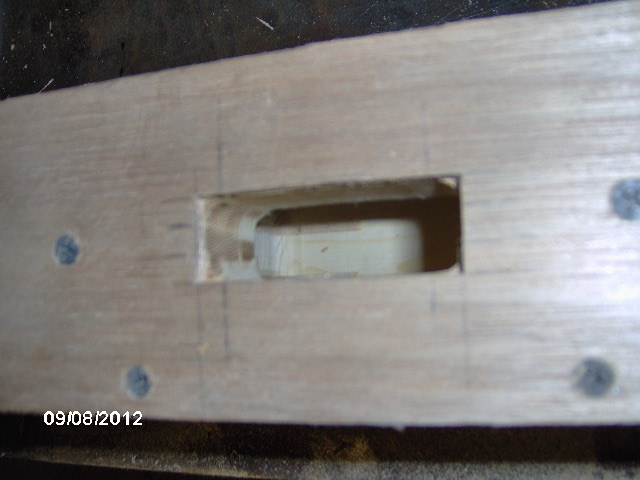
Had the same problem many others have had; even though the holes were cut very accurately to the makers spec's, there was no way that the latch set would fit in the hole. Best I can figure the std RV door has outer skins and little filler or blocking, thus leaving enough void space for the bolt portion of the latch to snake in to place. I had to trim a relief so that the bolt portion that is closest to the fixed trim flange of the latch could make the turn. Also, the extended shaft for the dead bolt actuator needed a little clearance to let the back edge drop into the hole. A combination of utility knife, wood rasps and a rat tail file did the trick. None of this will show as it is all under the trim.
And the latch fits.
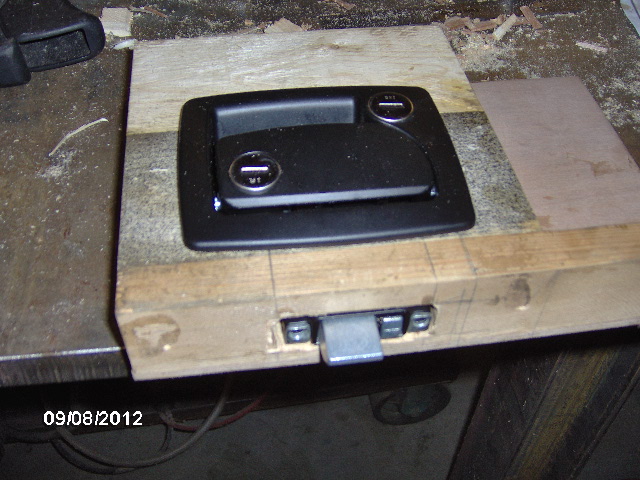
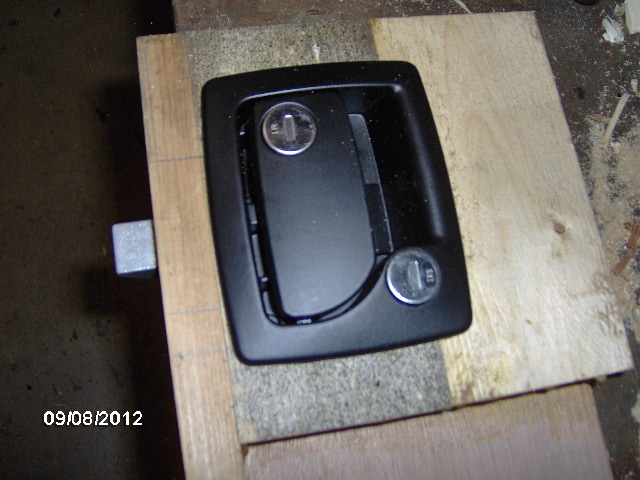
The screw bosses in the latch casting do not come threaded; the screws are self tapping, ... but the screws were too short, even though these were supposed to be the thick door optional latches, they must have been packaged with the std bolt kits. I intend to call and see if they will send the correct length screws. Also, I highly recommend running the screws into the bosses to set the treads before attempting to assemble.
And I will definitely be making my own, thicker bolt trim plates out of SS.
All for now.


 ).
).


 Many of those paintings now hanging on museum walls ... http://en.wikipedia.org/wiki/Hudson_River_School
