Progress is progress.
Here is a pic from before where I glued the curbside wall blocking in for the bulkhead to attach to. It’s under the welding wire spools (weights), the long 1x4 spreader, the bins of screws (weights), the 1x4 blocks (focusing the weight into the blocking), and pieces of plastic coated freezer paper.
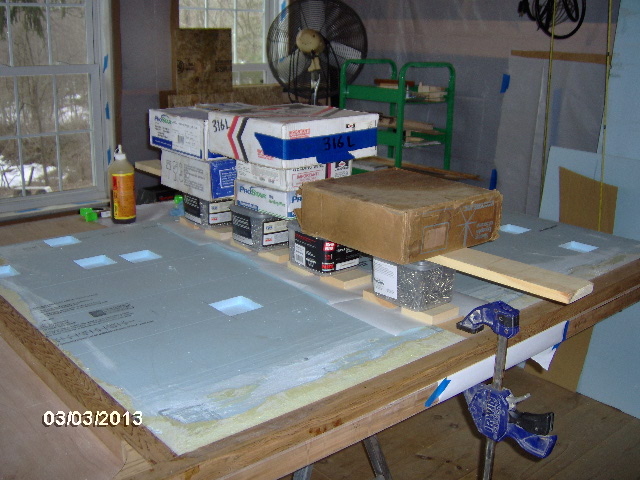

Also note the freezer paper underneath between the wall and floor assembly/worktable to keep the two from accidentally becoming glued together.
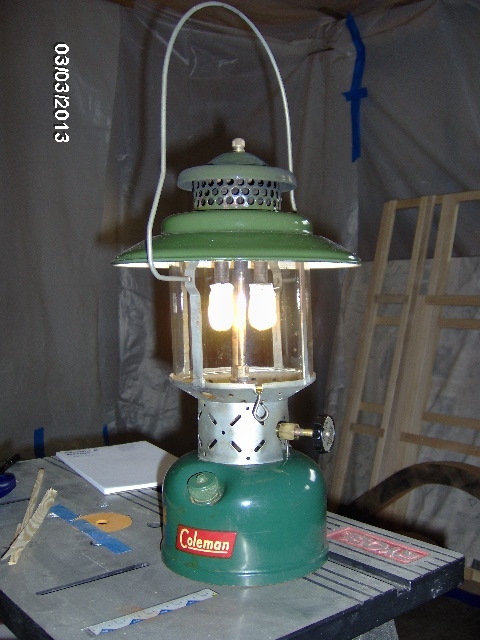
The 228E big hat ran pretty well, but is still leaking down. Just need to do a leak test to figure out what needs some attention.
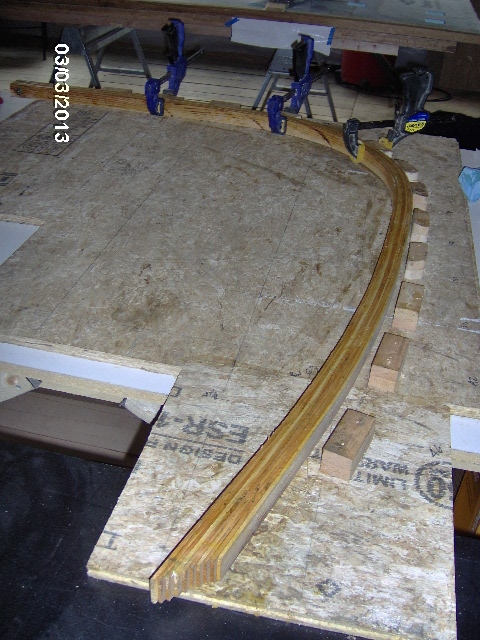
I suppose I could have found some more weights and continued gluing in the blocking, but instead I set up a tourniquet to pull the ends of the wall edge laminations together (no pic). When I checked progress against the hatch rib template I realized I was going the wrong way (Doh!).
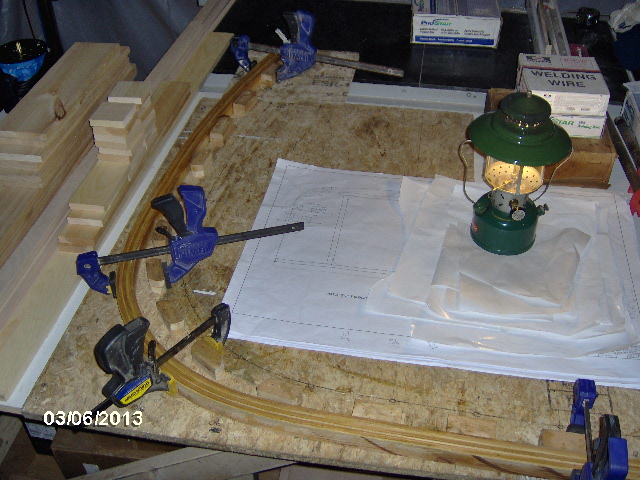
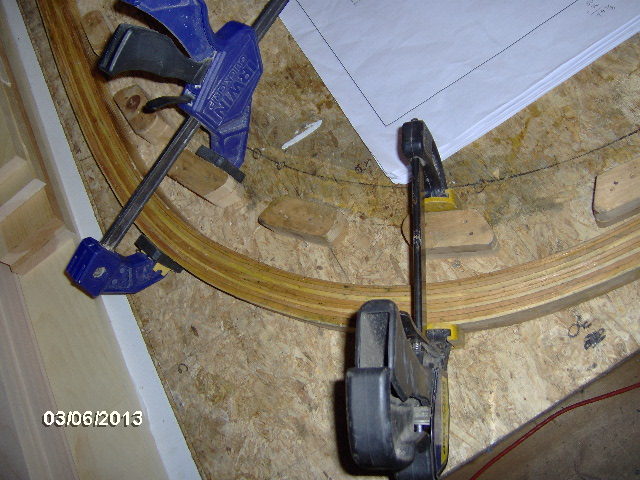
Backpedaling, I threw the laminating jig up on the workbench and clamped one of the laminations back into the jig. Here it is with the top clamped in and the bottom run out shown.
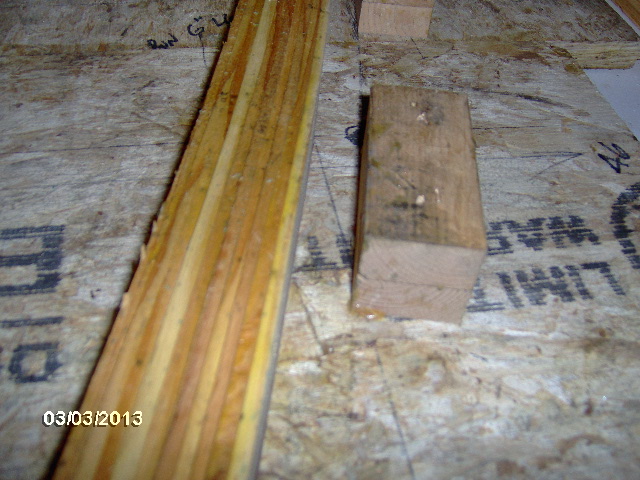
And clamped in.
That was Sunday. Tonight I got all the way out to Mecca before I realized that I had forgotten my glues at home. (Doh! … again.)
Still, progress is progress.
Pulled the weights and papers off of the bulkhead block.
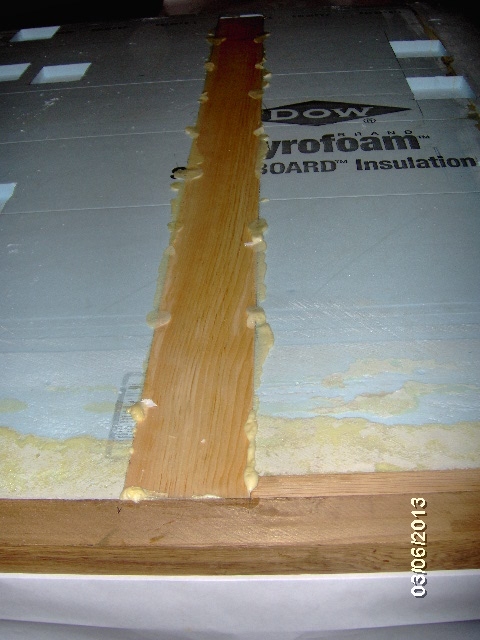
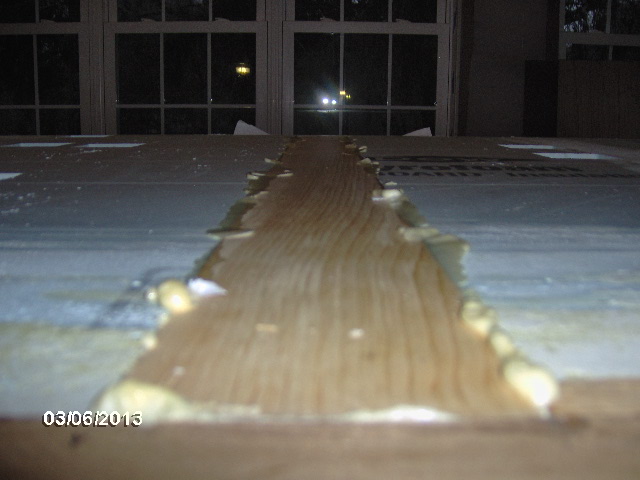
Note the GG squeeze out; not too bad.
Then I used the cheap steak knife to rough trim the excess. Note how I used the wood as a guide and flexed the blade so that the handle would clear.

It doesn’t get super close because the edge is double beveled; need to look at Goodwill for an even cheaper one (though this one was free).
Here it is after knocking the “high” stuff down with the small Surform planer. I found if I put my index finger down in the chip well of the planer and pressed on the back of the grater blade, flexing it outward slightly, I had better control knocking down the GG w/o gouging into the blue foam.
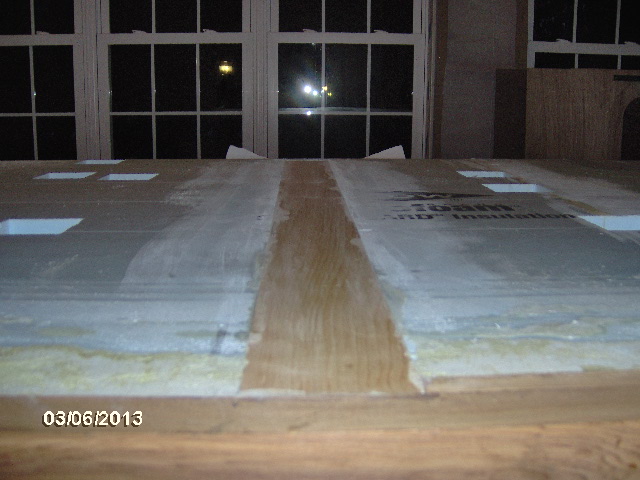
I guess I got the glue, water and weight application ratio down pretty good because the board didn’t rise up at all. May also have been temperature/humidity related. The result was that the board is sitting down a touch from the surface of the foam.
This was after stroking the surrounding areas of foam a few times with the small 100 grit block.
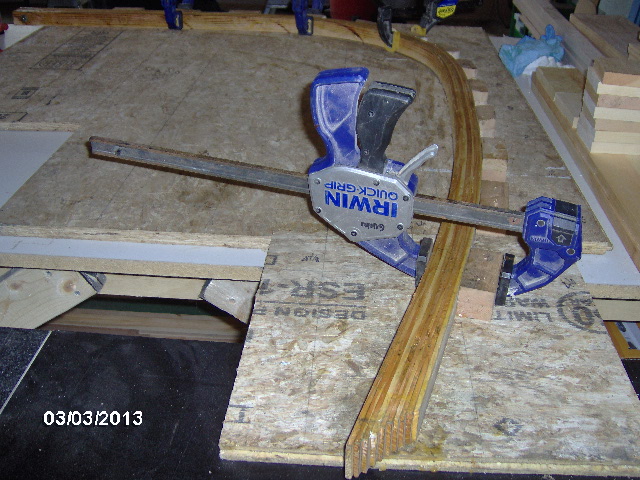
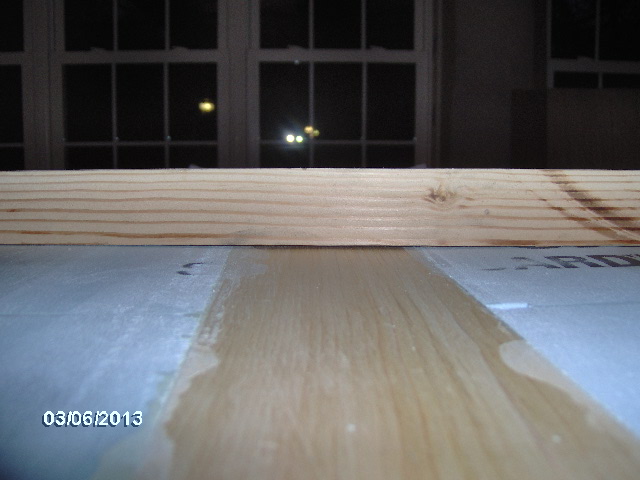
Without glue on hand I turned to other things. The wall edging had sat in the jig for a few days but didn’t show any improvement (not that I really expected it to, just hoping… ), so I unclamped it and moved it to the outside of the jig where I could clamp some overextension into it.
This probably won’t work either, but it doesn’t hurt any to try. Thought about dumping boiling water or towels over it, but I don’t know what that might do to the TB2 glue.
Looking ahead to wire routing, and light fixture positioning, I pulled all of the lighting components out to consider the screw hole placement vs. wire recess cuts, and switch mounting. I drilled a couple of holes in a scrap of 5 mm ply using Karl’s 3/4 and 7/8 Forstner bits, but neither was right for the switches. I will probably have to make some stainless steel sheet metal wall plates. To keep them clean and streamlined, I am considering using the double backed carpet tape to attach them to the walls w/o screws.
And that about did it.
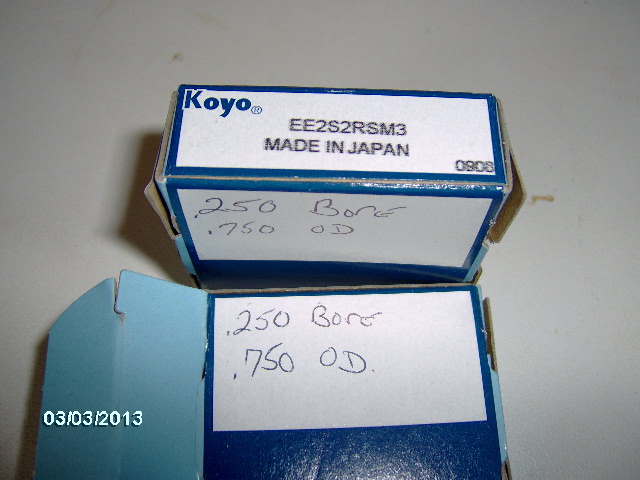
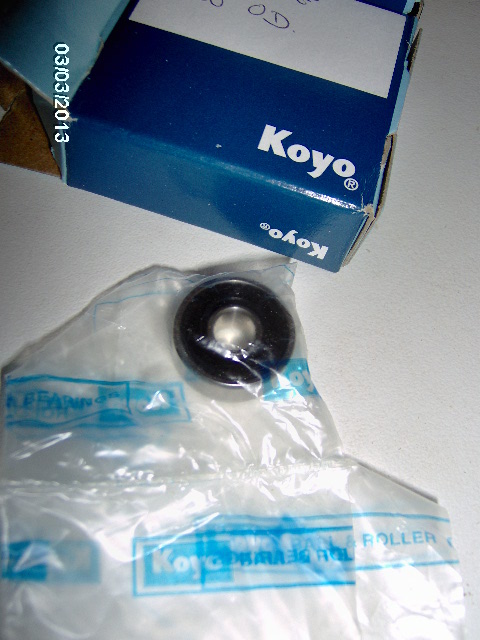
Oh yeah, I picked up a couple of small roller bearings for the throwing arm axle on the mini Mad Hatra (MMH? Chunker stuff).