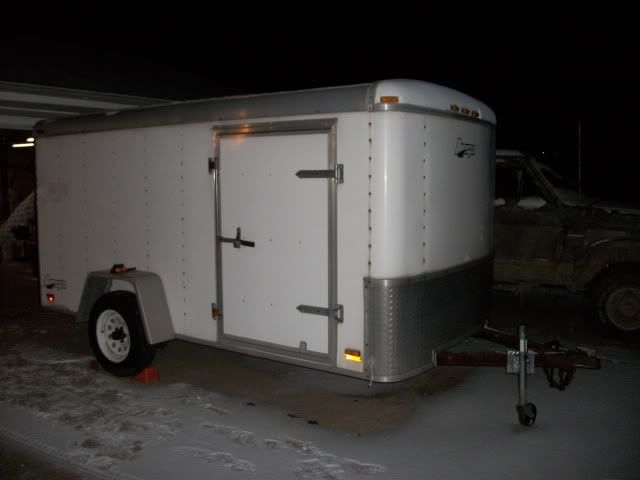
The Previous owner had purchased this trailer new in 1999, and had only used it to haul arts/crafts stuff to shows. She did however, drag it into her mailbox leaving the driveway. AND had a tire blowout that took off one fenders. SO..I got it for a good price.
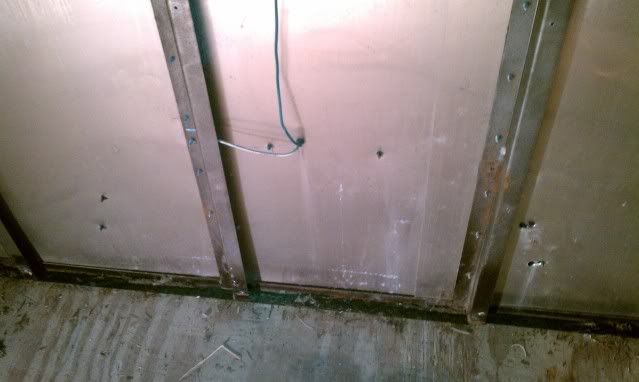
Their way of installing fenders
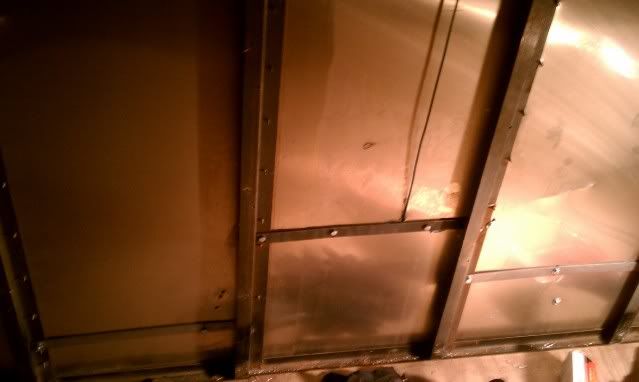
MY Way of installing fenders (1" wide 1/8" strap tied into studs, one for top, left, and right) MUUCH better
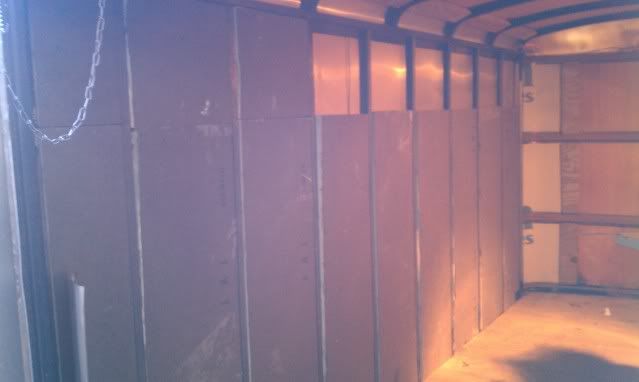
Insulation going in
My assistant helping to hold down the foam pile.

Too Busy for pics until today.
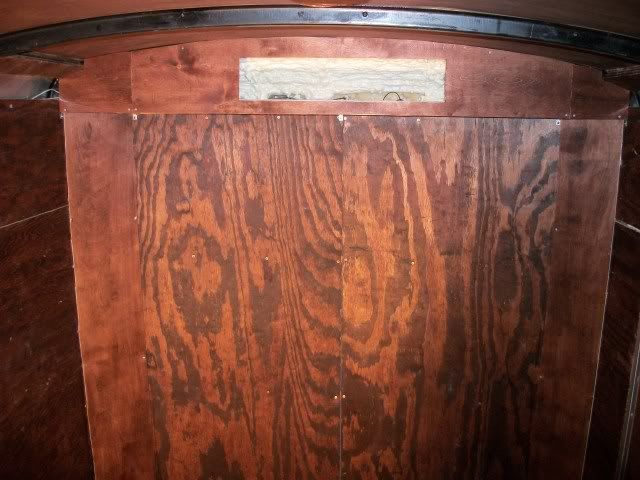
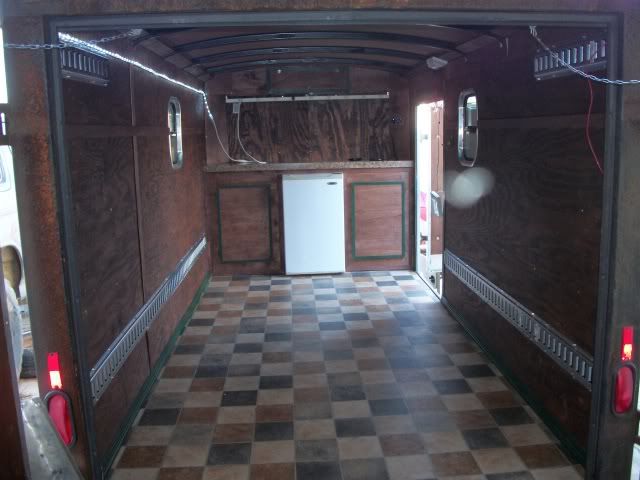
-Walls insulated
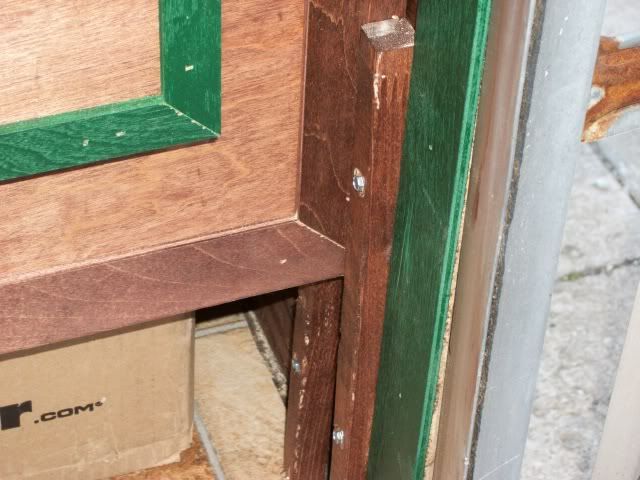
-Luan re-installed, lightly sanded, and stained red oak (didnt want to buy new panels, I'll be marring them up more bringing 4 wheelers in and out)
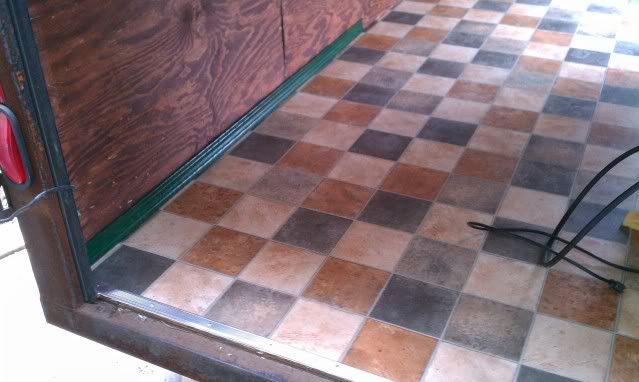
-Flooring in, and silver trim piece to keep from catching a toe/peeling up
-One of my (hunter green) base panels just layed it in to see how it looked, not tacked in yet.
Next I'll be ordering 2 porch lights (1 amber 1 white) and 2 windows from Frank Bear. When I have them installed I will finish putting the base panels in. and will have additional green trim on the luan seams. Pics to follow[/img]
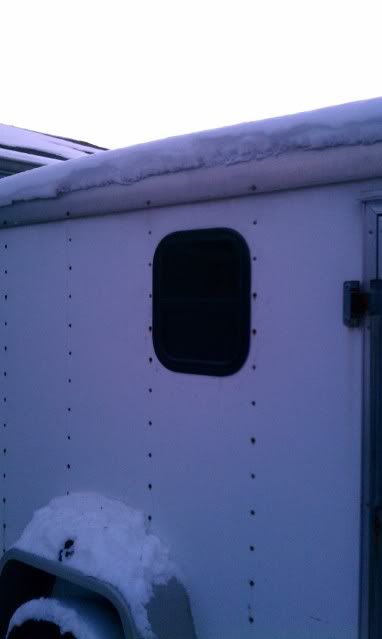
2 New Windows From Frank Bear. Screws were a little short but other than that they went in pretty easily
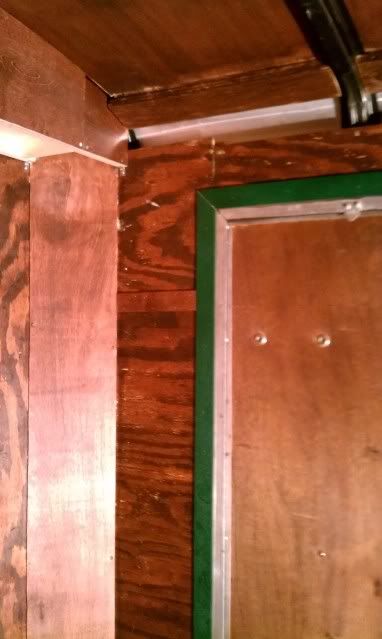
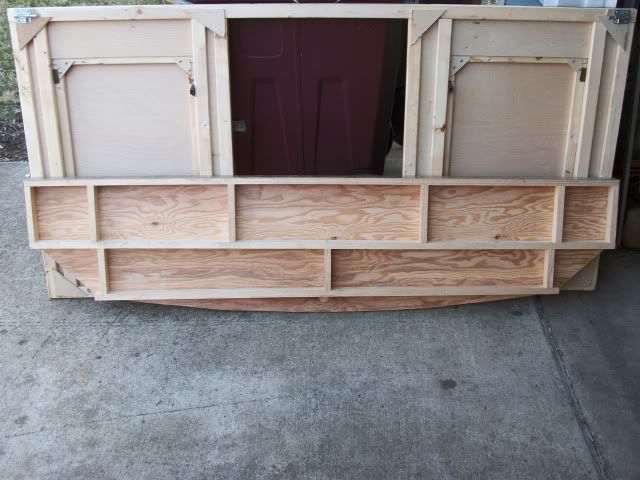
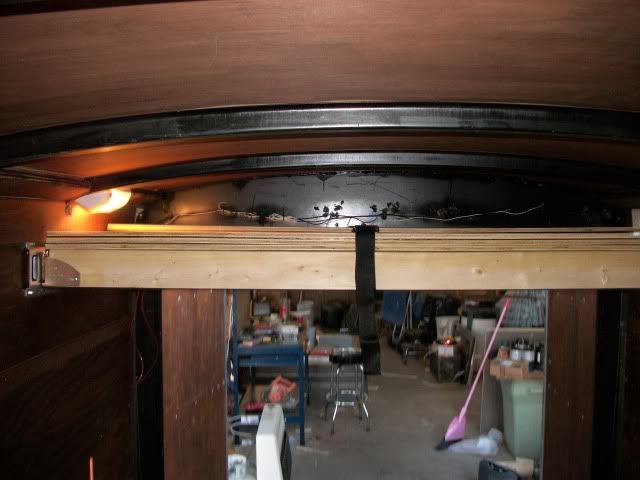
Closed in the front corners and started my overhead cabinet.
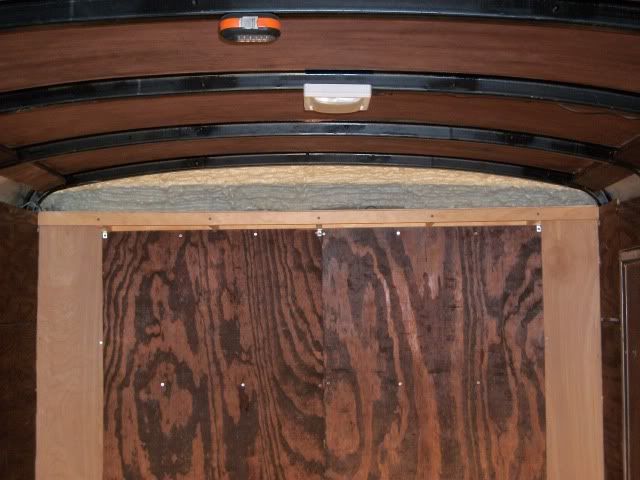
My overhead cabinet finished
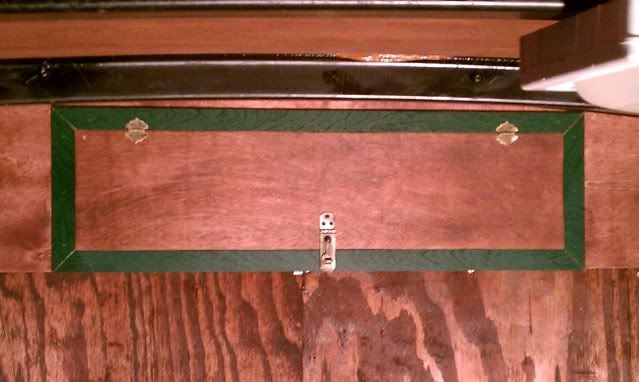
Door trimmed in:
started my cabinet face. My plan is that everything will be removable except for my electrical hardware and overhead cabinet:

Cabinet face almost finished (need to put on handles and clasps to keep closed while driving):
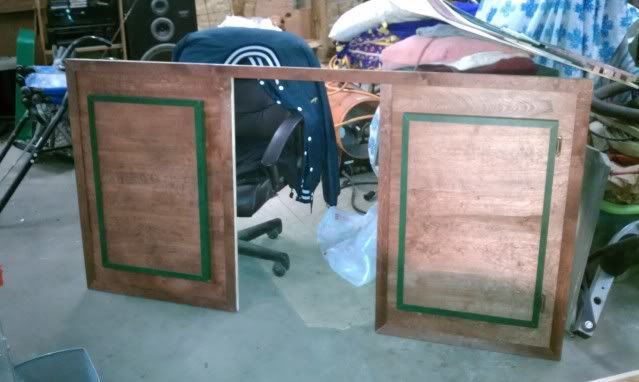
the pics were from my cell phone, that and the fluorescent lighting in the garage really do not do the stain color justice.
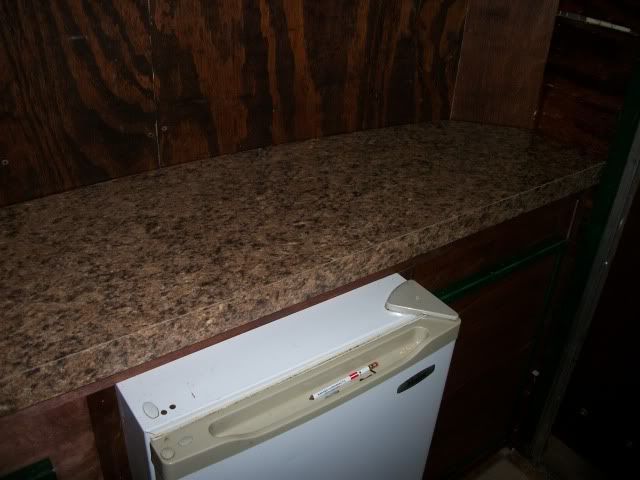
Finished the cabinets and counter-top. lightweight construction, both are removable by hand:
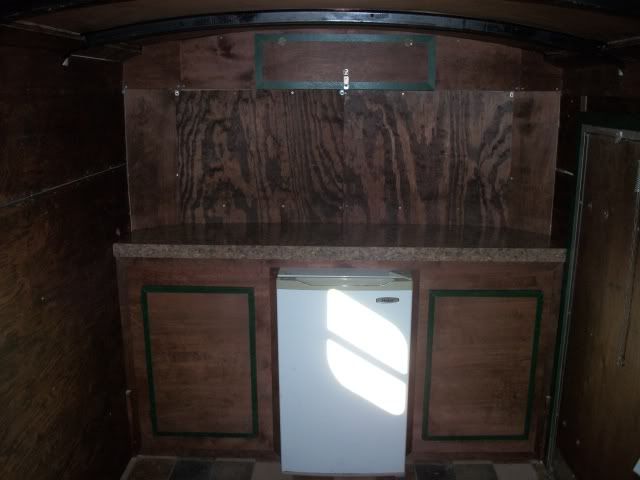
Counter-top
cabinets and fridge-open
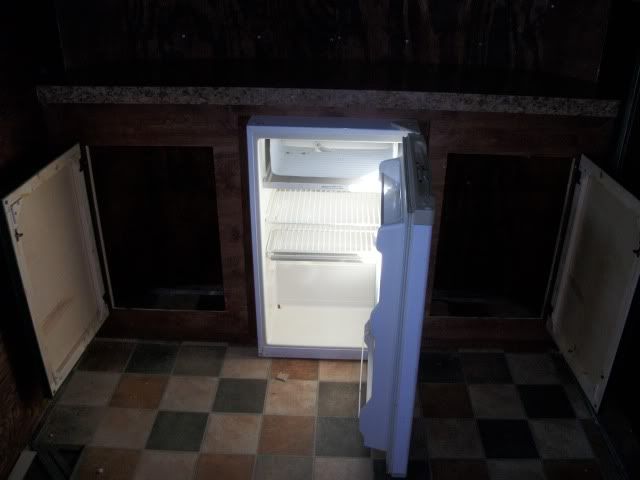
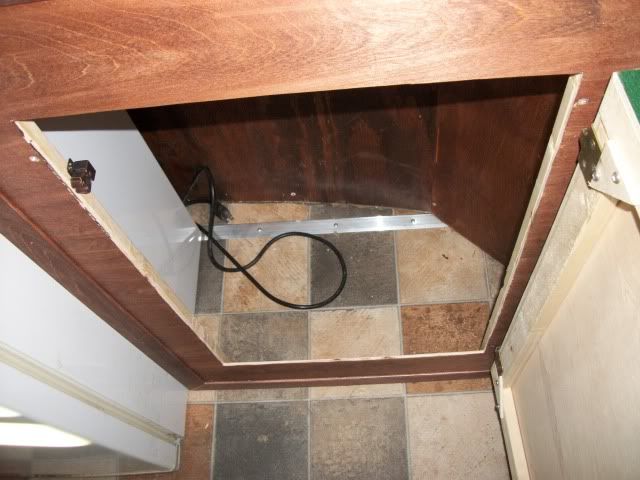
inside view of cabinets
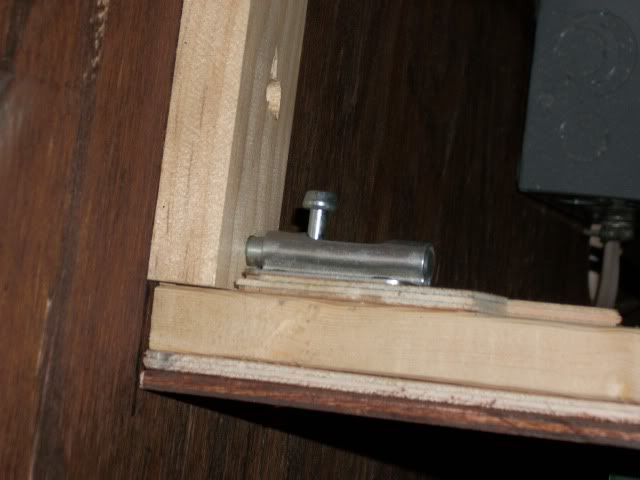
Back view of the cabinet face and countertop. Light weight construction.
How they slide into a rail system and latch:
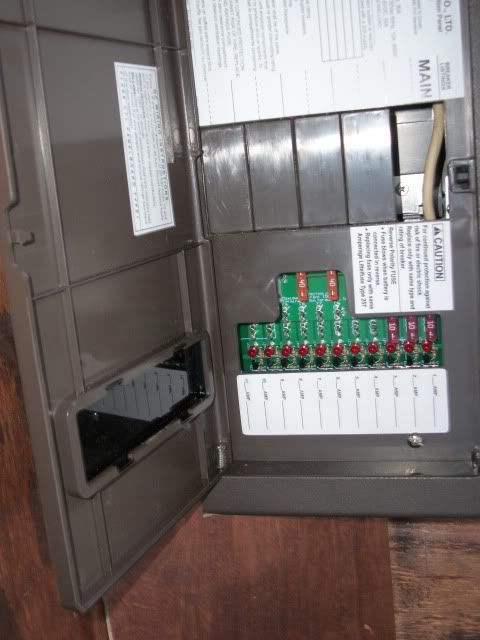
The 12v fuse panel and battery: It was a WFCO converter, but the converter part was broken so I got it cheap and used the box which had the ground bus bars and fuse block with led indicator lights. I altered the box so it would fit and I will use some of the spare space inside for replacement fuses/bulbs etc. The battery is not mounted yet I just stuck it in there for now.
12V system includes:
3 dome lights
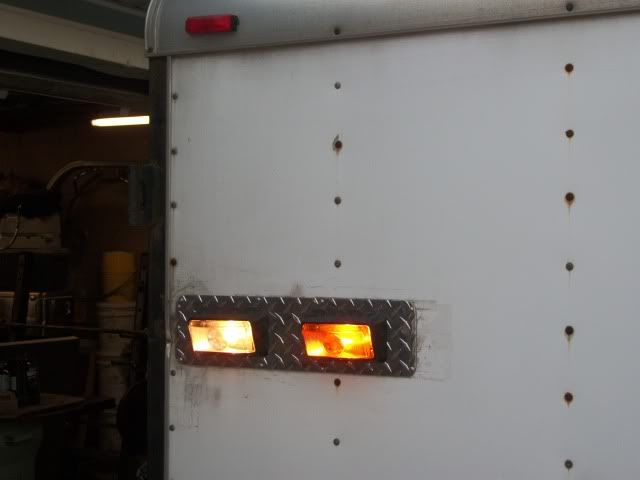
reverse/work lights on the rear
clear/amber porch lights
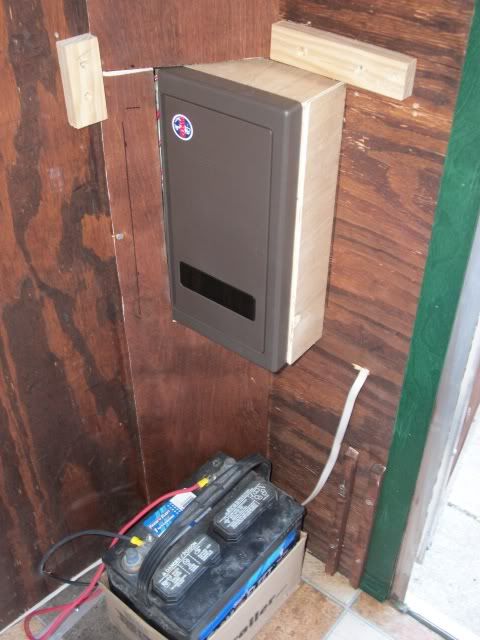
12 v outlets
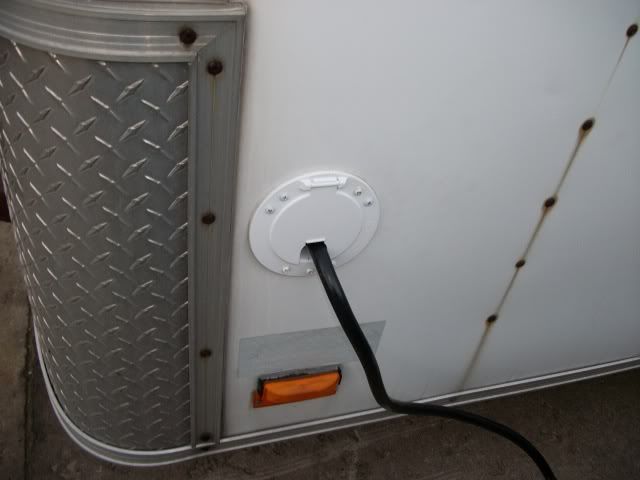
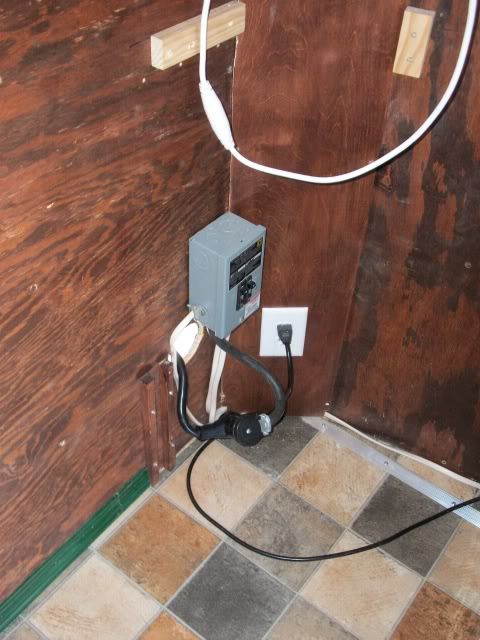
The 110 system:
A 30A box with two breakers. I use an RV extension cord run thru a cord hatch.
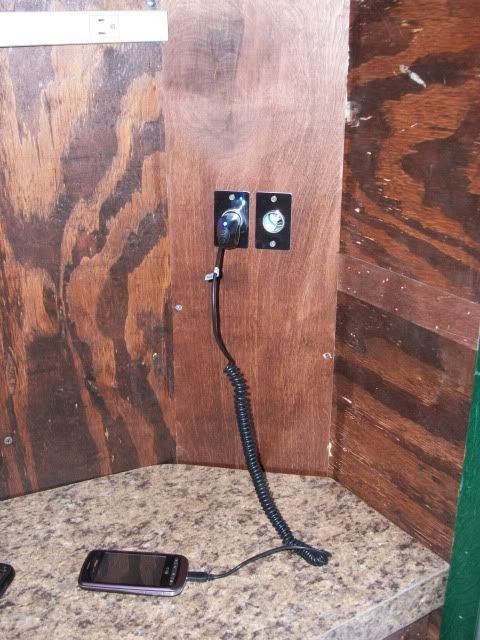
The outlet in the pic is for the refrigerator and charger
There is a strip of outlets over the galley for small appliances.
An outlet in the back near the the head of the bed for A/C and phones
An outlet outside by the front door for lights or power tools.
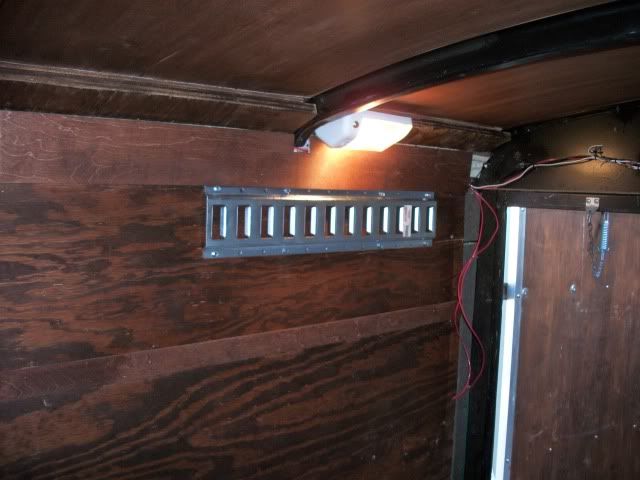
An "under cabinet" stainless light for the galley. the white light is a 12v dome light

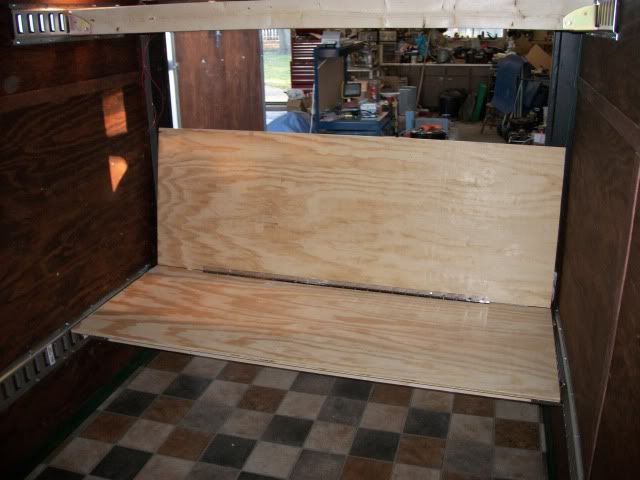
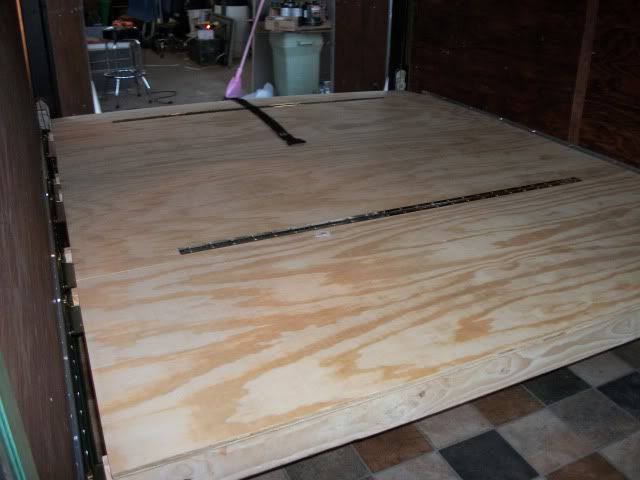
The E-Track Bed System complete:
The bed stows overhead when I bring in the quads, creating a shelf for bedding and other things.
"Couch Position" The platform folds "accordion" style (borrowed this idea from someone on here but lost all my bookmarks so I dont know who it was)
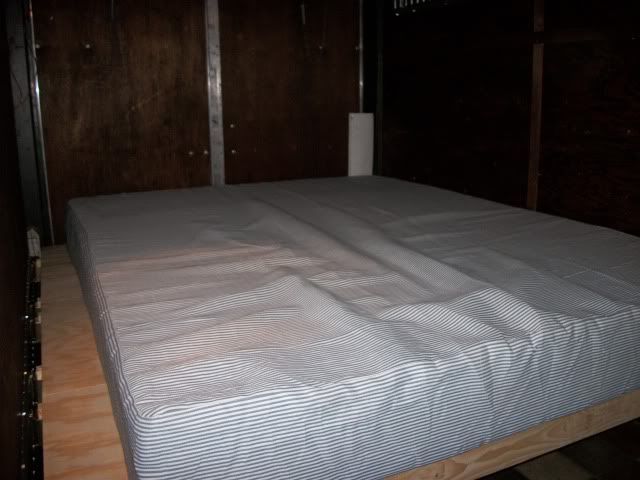
"Bed Position" It is a queen. It comes up pretty close to the door without being in the way.
The Mattress: From Foam Factory. 3" of 3LB memory foam on 5" of medium poly base. Cost was reasonable. My only beef was that I paid up front, (ordered online) and Received no updates of any kind for almost 2 weeks until it was shipped. Until that time it simply said "In Process." Other than that no complaints. I was originally worried that it may compress a lot, but it is VERY FIRM.
That's all for now.
Next up I have to repack the bearings, get plates, Fix the trailer lights, pick up a spare, and install an rv style door latch
comments or advice are welcome (this is my first build).