Really slowed down trying to design-build the cabinets. Killed one whole day trying to build a Barrister style hinge for my galley cabinet doors and finally gave up. The geometry was just too complicated. Ended up using a simple finger hole, magnetic closer, and flat hinge (hinges will be changed out later; can't stand that look but they were they only ones readily available). Also dry fit the Progressive 4045 converter/charger. The old Kreg jig and pocket screws really came in handy throughout the cabinet framing and door construction. After trying to decide how to hinge the galley counter, I finally gave up and made two pieces that simply slide over each other or come out completely for access to the storage area below. The tops will get formica and finger holes later. Used the same sliding sections and finger holes in the bottom shelf up front to access the small storage area in the front bevel area. Plan to detail the interior (caulk, spackle, trim, paint) before I start skinning the exterior next.
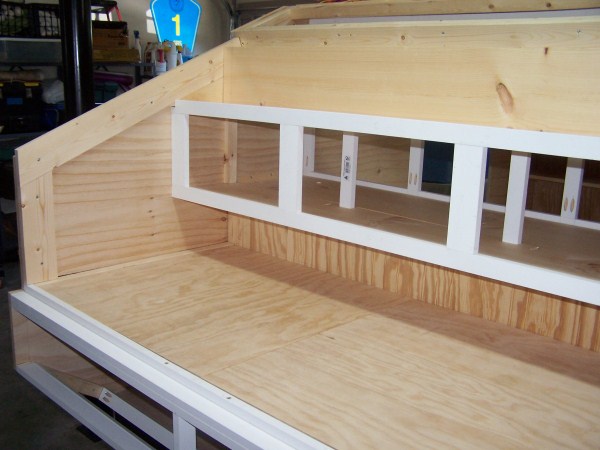
Galley framing is pretty simple with storage below the counter for ice chests, water, etc.
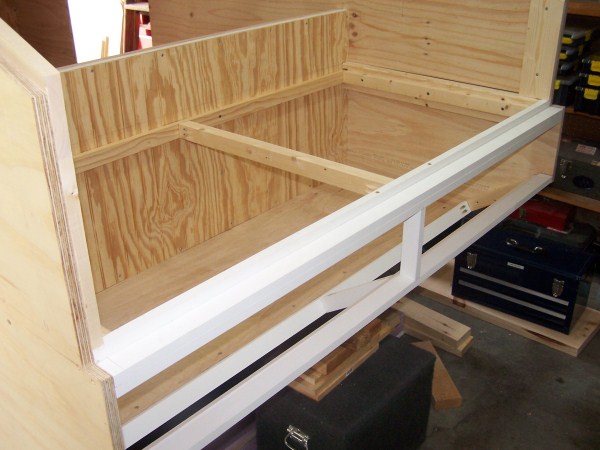
Used two pieces of 3/4" plywood for countertop sections.
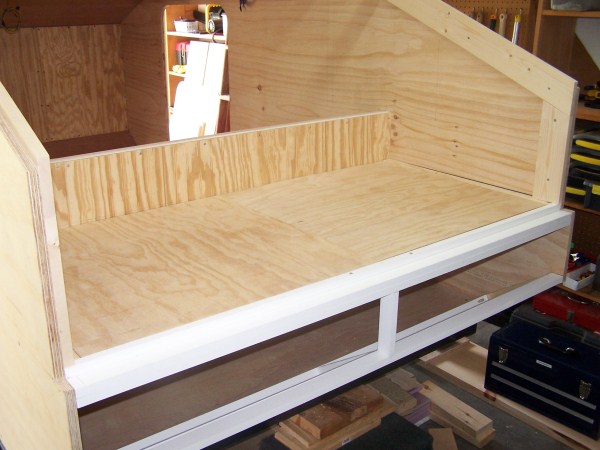
Countertop pieces will slide from side to side or can be removed completely
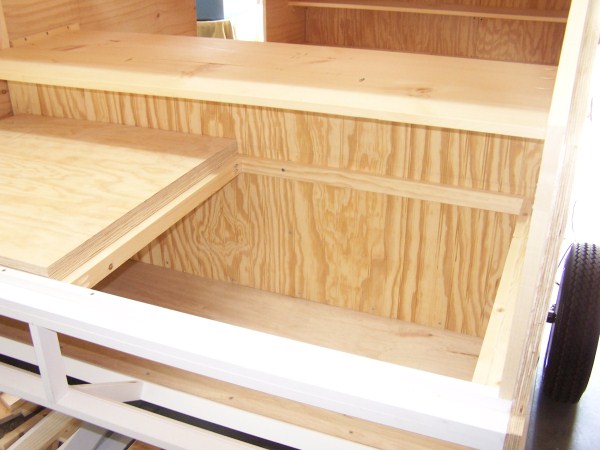
Galley cabinets are pretty simple. Left side holds converter and right side goes through to corresponding cabin cabinet.
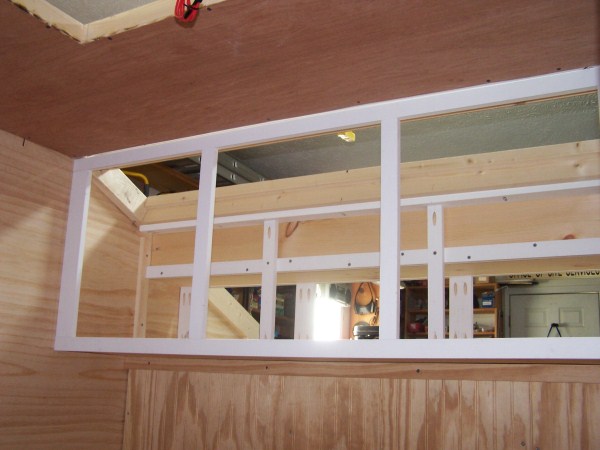
Cabin cabinets roughed in. Left cabinet gets shelf on top and bottom goes through to galley cabinet. Center section is a shelf for TV. Right section
goes through to converter and all electrical will be in this area.
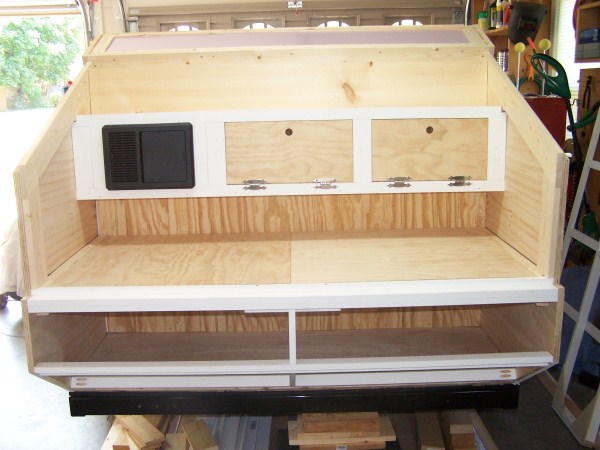
Converter dry fit and two doors with flat hinges (these old style hinges will be replaced with something more contemporary)
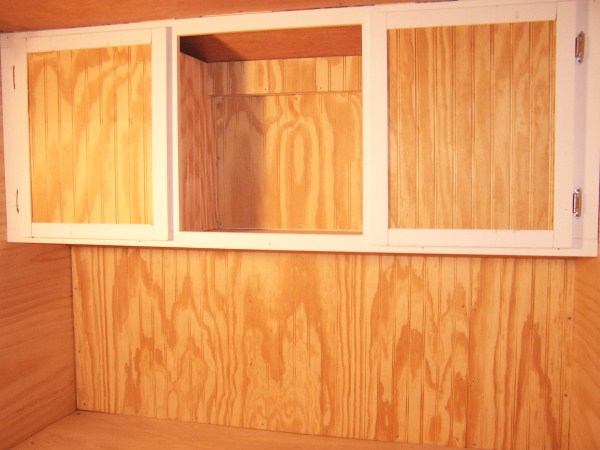
Cabin cabinet doors complete. The wife got her bead board trim pretty much throughout the cabin.
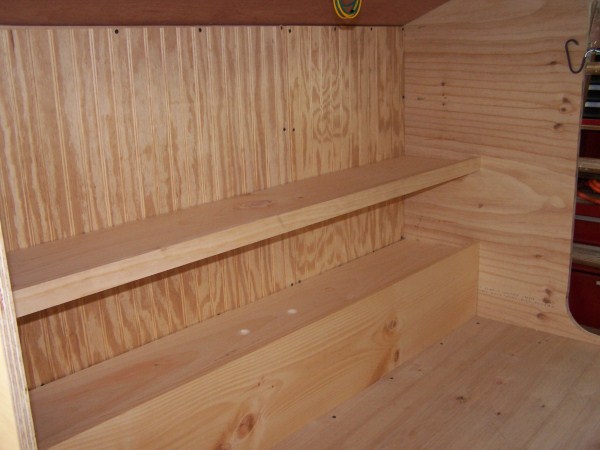
Front shelves will hold luggage, shoes, books, glasses, etc. Bottom shelf is two pieces that slide over each other with finger hole for
access to storage in front bevel area.
