Wow. There is so much activity on the forums that it is hard to keep up. Lots of spring has sprung and getting ready to camp.
Becky is almost there

, Dan has the Atma looking just dandy

, plenty of other fine examples going together, and TPCE is still in the rough.

And still I put about 4 hrs in today. Let's get caught up.
I had a tough day at work Friday doing modifications and maintenance to a “live” system. The purified water system feeds sanitary water throughout the building under constant circulation and high temperature to avoid stagnation and microbial growth. When this system is down we are essentially out of business. No pure water for product ingredients and no pure water for sanitary washing of parts or mixer systems. It was a planned outage, and still I had the entire Compounding dept. awaiting my every move to get them back up and running. I hustled and got everything done ahead of my predicted schedule, but still had plenty to do after the system was restored. Not to mention that I have to suit up in a heavy rubber apron, long heavy rubber gloves, face shield, head, beard & arm hair guards in order to safely break into the system. It makes for a strenuous day what with all of the running up and down the stairs, hauling all of my tools, PPE and sanitary gear, etc.
Wha, wha, wha. I’m a big cry baby. Bottom line is on Friday I came home directly after the bell and surrendered to a nap until about 8pm!
But let’s get up to date on Thursday’s and today’s efforts. Here are a couple of pics of the wing table cleats that I got from Sharon’s source.
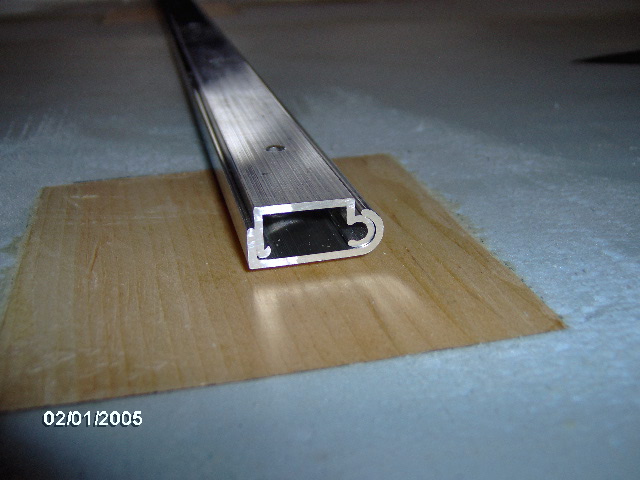
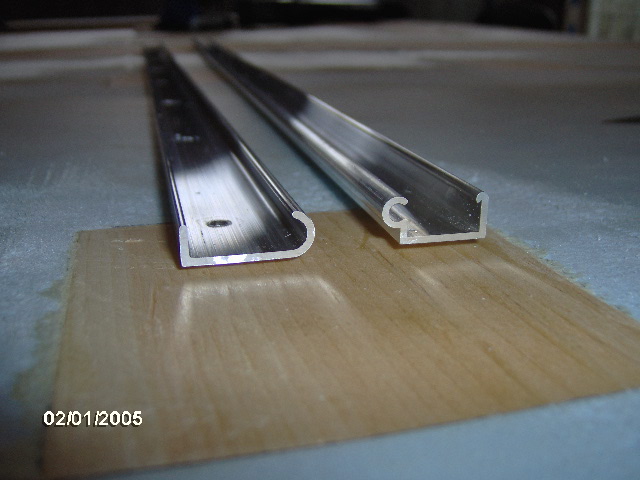
It is sometimes referred to as “Parker Rail”. (A web search found that Parker is a big name in aluminum extrusions.)
I bought one unit (2 pieces) at 30 inches long and plan to cut it into 2 sections each 15 inches long. This will allow me to make 2 wing tables, one for either side, about 24 inches wide with no problem. I’m pretty sure that the main galley counter will be a little on the high side, so I wanted to have the wing tables be a little lower. Also I was concerned about the repeated bashing the removable table edges and cleats would give to the soft canvas/foam wall sides while trying to join the tables to the walls, and the hole spacing on the cleats is only about 4 inches on center, so I decided that I wanted a generous and continuous block set into the wall. I’ll get into more detail below in the coverage of Saturday’s work.
Okay, I completed routing out the curbside wall light switch blocking recesses and did a dry fit to check.
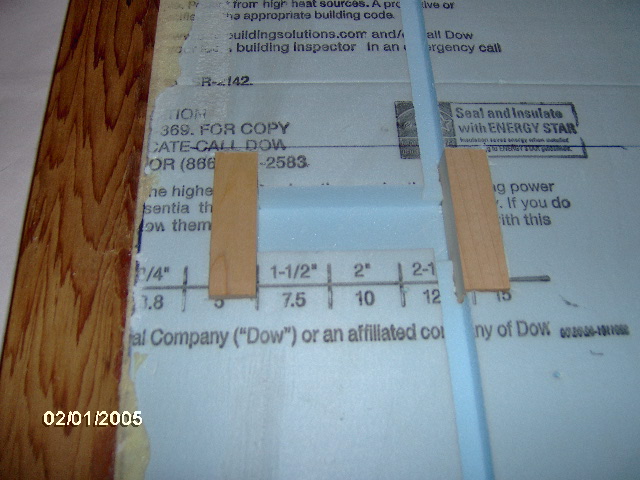
Here is the curbside hatch strut block and recess being dry fit. The fit was much tighter than the street side, and I dare not push it farther than half way into the recess for fear that I would not be able to get it back out to glue.
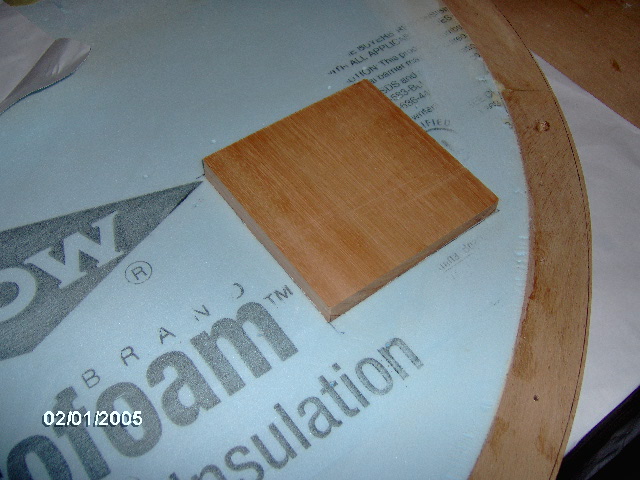
Again, it is a Red Grandis scrap used for the block (harder than the soft pine I have been using for the other blocks and better suited for the high loads of the hatch strut.
And here it is being glued up.
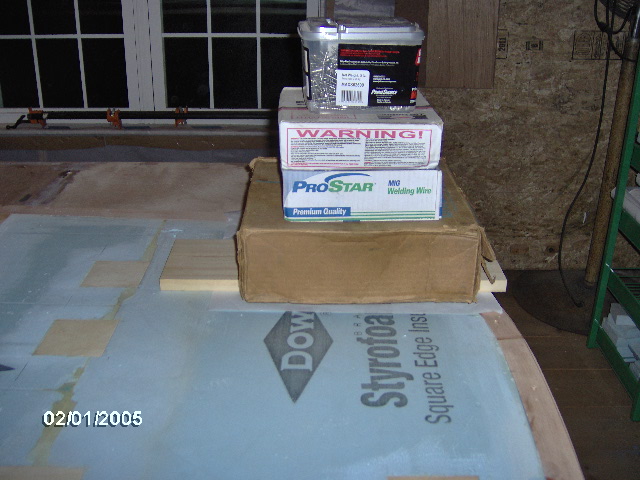
And here are the switch blocks under glue.
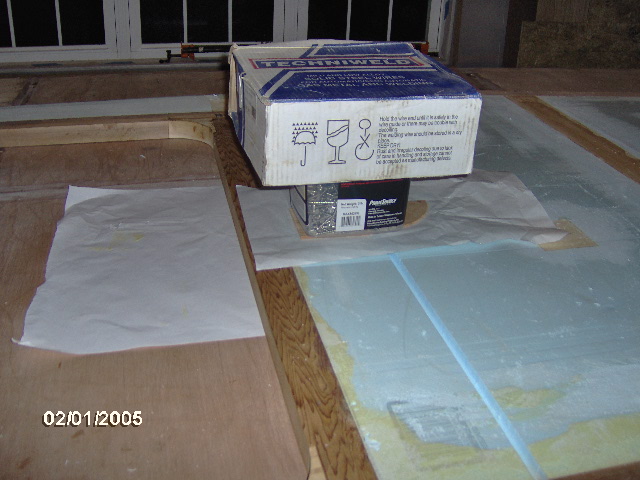
(I have to stop showing boring pic’s of wall blocks under weights.)
Today, Saturday, I picked up a new filter for Karl’s shop vac (basically the same 16 gal one I have at home), and serviced same. It has much better performance now.
Removed weights, cleaned up and fared the curbside switch blocks.
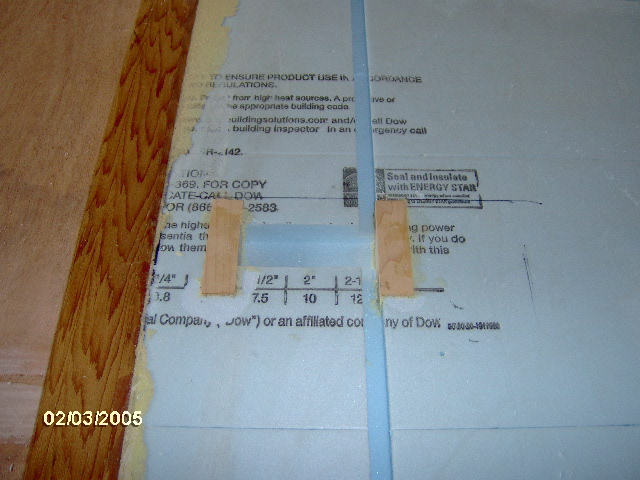
Removed weights and found that the strut block had risen up between 1/6 and 1/8 inch at one end. It had been forced up by the hydraulic action of the GG. (I wonder if the increasing humidity or the wider board preventing any escape route for the foam had been a factor, or maybe I just used too much glue…?)
I used the medium/small sized plane to shave it down. Took some fiddling and blade adjustment before I figured out that it wanted me to press down fairly firmly on the little dished thumb hold at the front. After figuring that out it went fairly quickly.
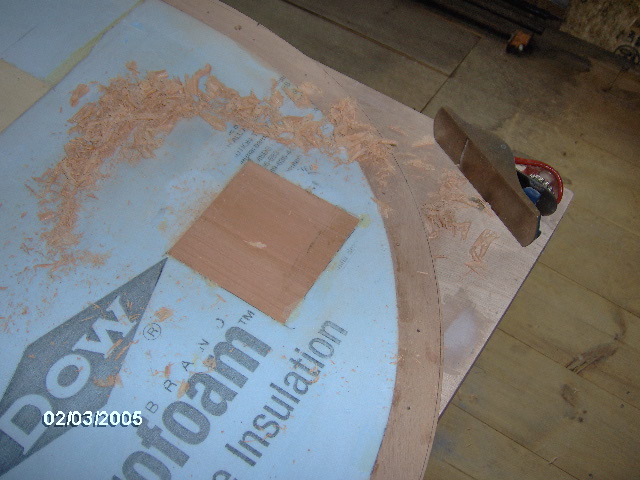
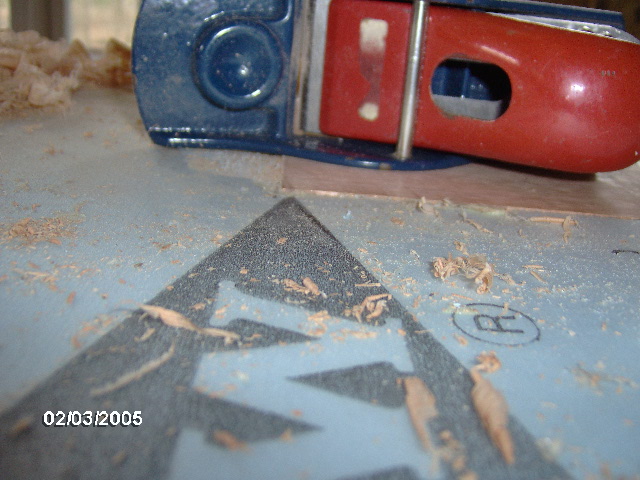
In the second pic I am almost there.
I finished that up with the belt sander, only undercutting the foam (accidentally) just a tad. Light weight spackle is in my future no matter what I do.
Okay, back to the wing table blocking. I decided that I would go lower than the inner galley counter, but thought it would be good to tie in the strength of the wing table blocking to the counter side edge blocking on the other side of the wall. And it made sense to tie the wing table blocking into both the wall edge at the rear, and the bulkhead vertical at the front. By using 1x4 (3/4 x 3-1/2 actual) I could be sure that there was plenty of wood around the area of the aluminum extrusion so that it would be robust against whacking it with the edge of the table or the table side cleat.
Here I have laid out the extents of the wing table cleat blocking so that it overlaps the bottom of the galley counter blocking by 1 inch, and the bulkhead blocking fully. I have also transferred the curve of the inside radius of the wall edging, and trimmed that with the band saw; sanded it to the line with the hand block.
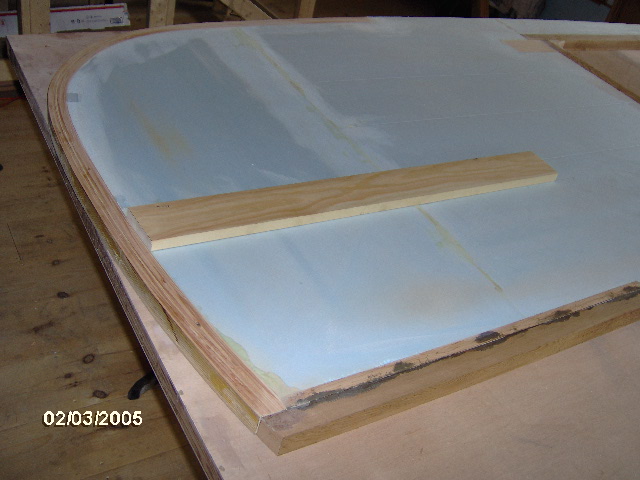
Then I knocked together this router jig using 1x pine (because I needed at least one longer piece that would reach to the door opening for clamping… raised the wall up on foam scraps so that I could clamp the jig to the edges… and was not willing to risk gouging any of the remaining 5mm pieces to the Eeyore oopsy demon).
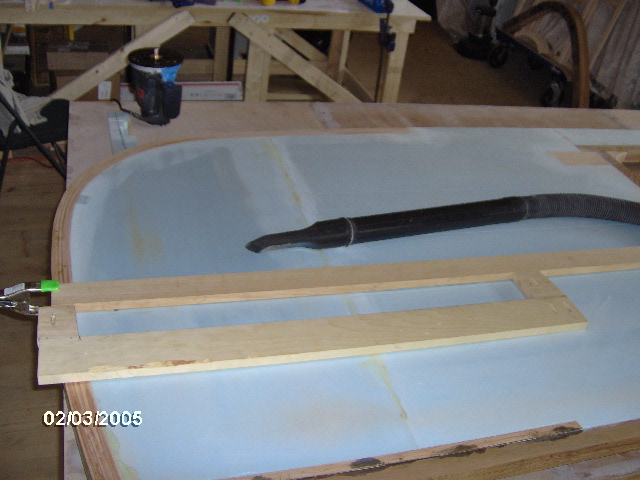
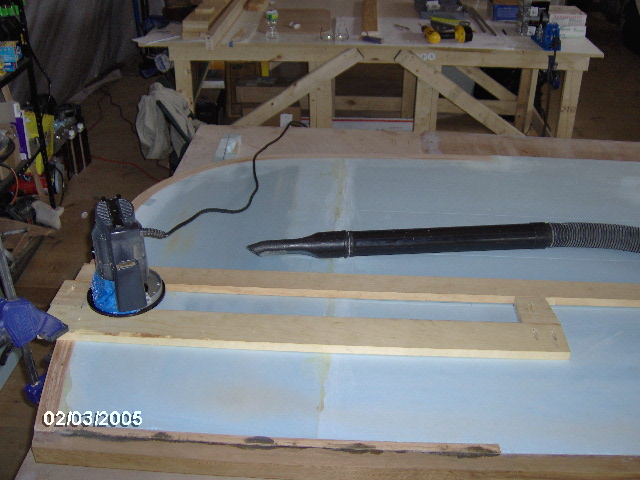
Here you can see a little of the pocket screw detail in the jig and a hint of the spacers that I ended up using to prevent the router shoe from dropping into the hole. Also you can see the blocking on the far side of the wall starting to be exposed.
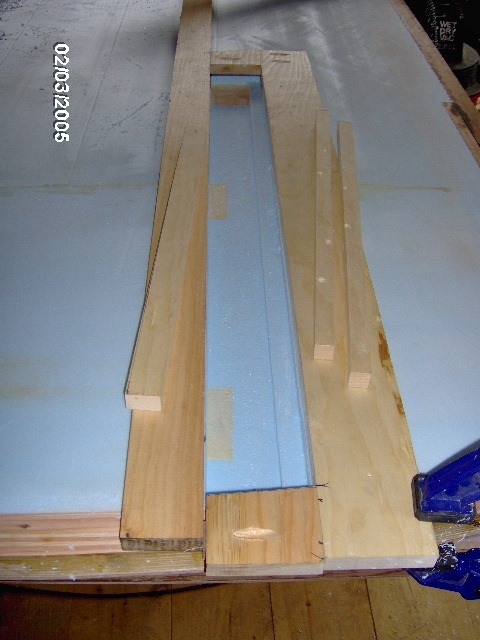
Here’s a better picture showing the progressive use of the shims. With the thicker template my router bit wasn’t long enough to make the cut in one pass, so I put a 1x spacer along one side of the template and routed out most of the first stage cut. Then I marked another piece of 1x and ripped it in the table saw so that I could set that in the hole and complete the other side of the first stage. Shown in the pic I have completed that second stage full depth cut on the far side, have doubled up the shims to two 1x’s and am about to clean out the rest of the pocket to final depth.
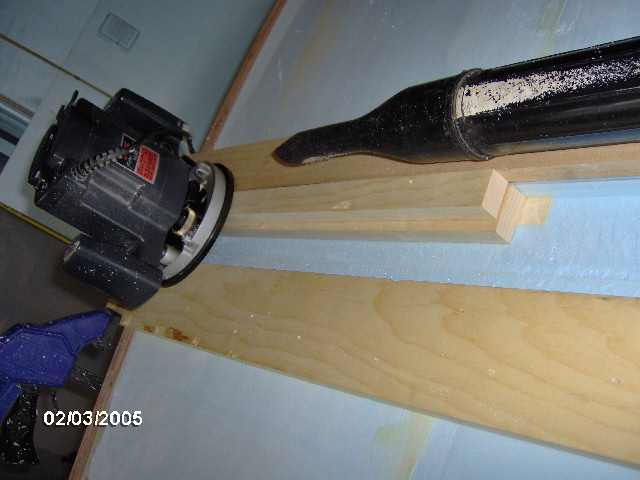
I’m sure that there must be an easier and more accurate way of doing this, but this was the method that got it done using the bits and pieces on hand that I was willing to sacrifice at the time.
As it was, there was some twist in the board that I had chosen for the blocking and the jig didn’t sit super flat on the foam, so I had to do some tune up to the pocket after the routing stage. I have been using the 320 grit sand paper stuck to the milled flat surface of my router table as a honing surface to keep the blades for my planes and chisel tuned up, and while truing up the corners of this pocket with the chisel I managed to nick my finger. Let’s just say that my tools are sharp. Small clean nick and I hardly even felt it. Very minor, but I managed to impress myself with the sharpness.
Here are some detail shots of the dry fit of the wing table blocking. It was almost too tight; I had to tune it up with the sanding block, and made an adjustment to the shims I had used in the jig so that the next one will fit a little looser.
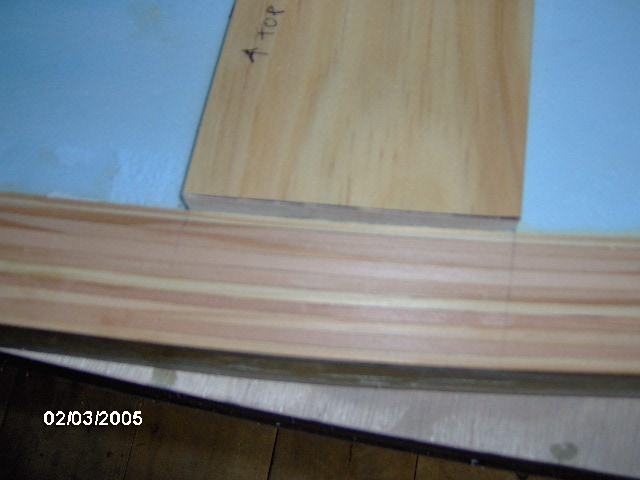
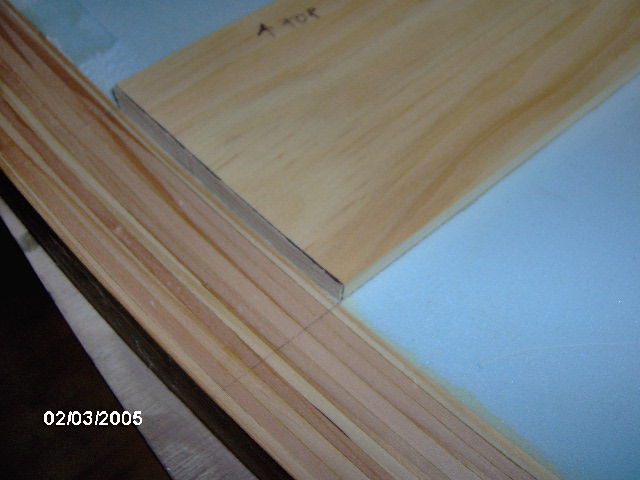
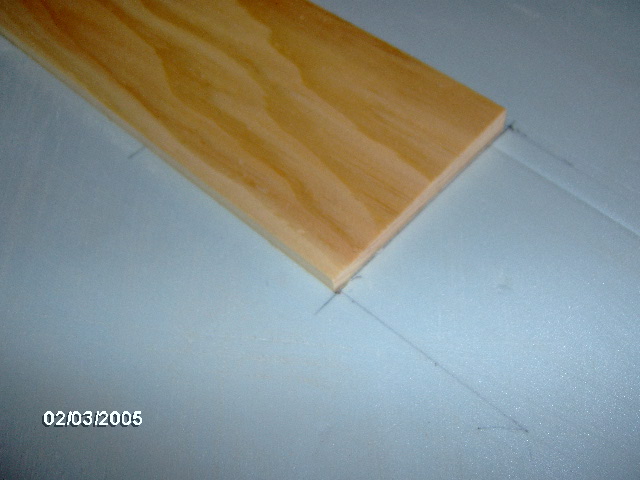
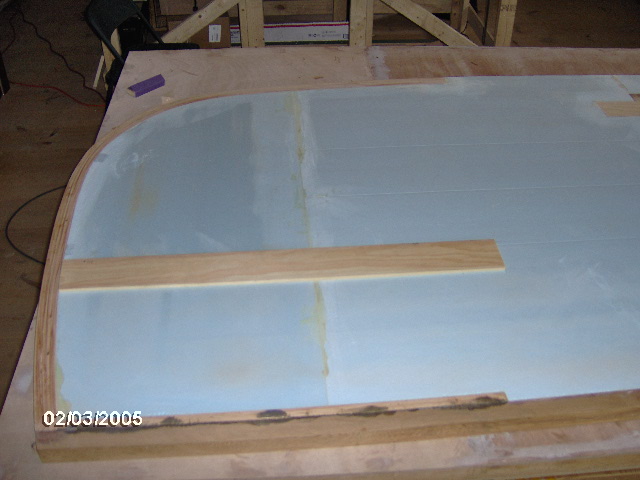
I didn’t dare press it all the way into the recess for the dry fit, lest I would have had a very hard time getting it out without having to run a screw into it for something to hold on to.
By running a smaller piece of 1x scrap around the inside of the recess I was able to tell that the depth of my routing was not uniform; from flush at the lower rear where I was able to get a good clamp fixed, to almost 3/32 high at the top front edge. Rather than trying to reset the jig and dealing with another cut and clean-up, I went ahead and glued it in, planning on shaving/sanding it down flush afterward.
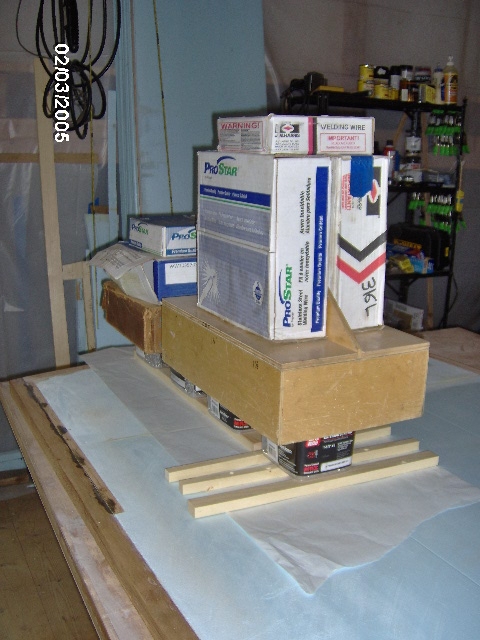
I plan to do the same thing to the street side on the morrow.


 , Dan has the Atma looking just dandy
  , plenty of other fine examples going together, and TPCE is still in the rough.


 Am sure KC’s got all this figured out already , but only he knows what the finished object d’art will look like ... just puzzle pieces to me as yet ..


 ....
.... 


 Go figure. When I finally figure out a woman I will win a Nobel Prize, or something equally magnanimous.


 They did advertise varieties that have positive lateral seal compression, but this was not supposed to be one of those. I don’t want the latch to try to rip the screws out of the hatch sill every time I latch it. I might have to shim the tab up some.
 (All my neighbors thought mine was.)
 The delivery guys all know that it’s okay to leave stuff on the covered side porch, so we rarely see them.
 )
)