Holly C%#P, August is just 2 months away! (boggle) My second annual deadline is upon me! Man, it’s not like I’m laying down on the job here, though I haven’t been killing myself hours wise… and there was that little deal with the bad back… not quite behind me yet.

I’ve been keeping at it so let’s get caught up.
In trying to decide between using the expensive 3M 30NF water based contact adhesive or regular TB2 to laminate my inner wall skins to the hybrid foam wall assemblies I wanted to do a test using a slightly larger than small scale vacuum bag test. Karl’s prior experience bagging composite layups at Calloway was indispensable.
Let me back up a bit for any new comers and those of us with memory compromise.

For my floor and bulkhead torsion box panels I used a combination of 30NF on the foam to skin, TB2 on the sub-frame to skin, and random weights to press it all together. When I was routing out some foam from the bulkhead for some secondary blocking I noticed that the 30NF was showing signs of lack of “grab”. I suspected that the random weight technique and perhaps a lack of total fairness between foam and frame had kept some areas of the surfaces from pressing together optimally. Mind you that I am not so concerned as to condemn my prior work, yet I am willing to strive for constant improvement.
Since I am running out of the rather expensive 30NF and am still working on my second gallon of the more reasonably priced TB2, I decided to test for myself if you can successfully glue large wood panels to foam using TB2. People have reported that the wood glue does not cure well when glued to foam, but my prior attempts (albeit on small scale where the glued areas were all reasonably close to an edge) seem to result in very strong bonds.
So I decided to do a larger glue up using the scrap of luan underlay that I have been using for a cutting blotter, and a section of scrap foam. Here is the blotter (1/4 nominal, 5 mm actual x 16 x 24 with rounded corners, and 1-1/2 thk blue foam board cut to match fairly closely).
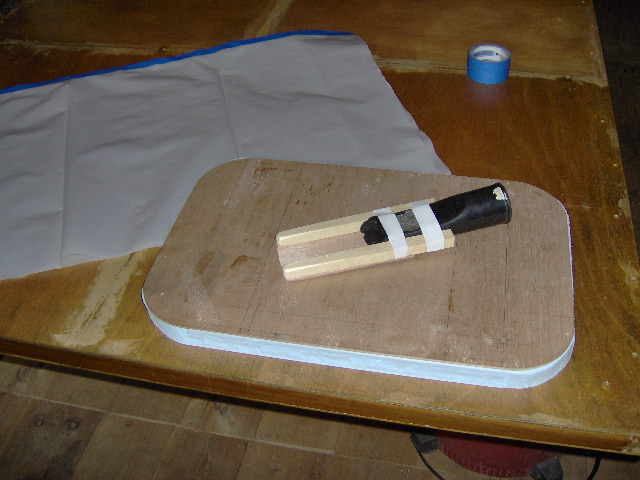
Sitting on top is the shop vac snorkel with the start of a diffuser (also built from scraps) that is intended to keep the bubble wrap and plastic bag from sucking up and blocking the vacuum hose.
In the background is the start of the vacuum bag “bag” or plastic envelope, made out of the same 6 mil plastic sheet that I used to drape off the loft.
Here are some better close ups. The side rails are the same pine that I used as router shims while routing out the fender and side table blocking, and the paddle panel is just scrap Okoume. The rails were just a little thinner than the vacuum wand, which would prove to be a slight problem later.
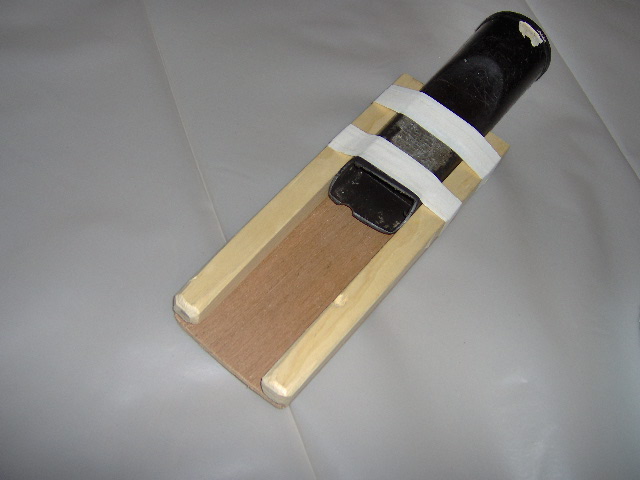
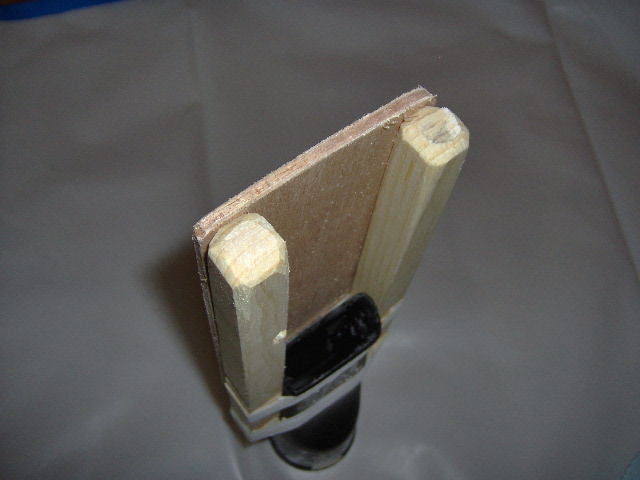
I just used my staple tacker to assemble.
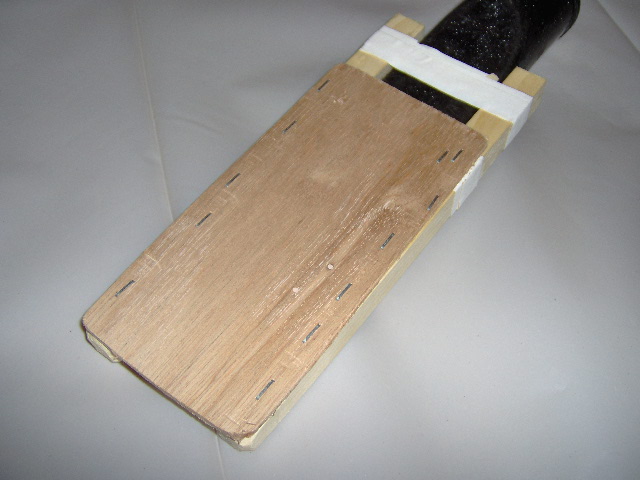
Cut a slit in the top middle of the bag and started to tape the diffuser into the bag, both inside and out.
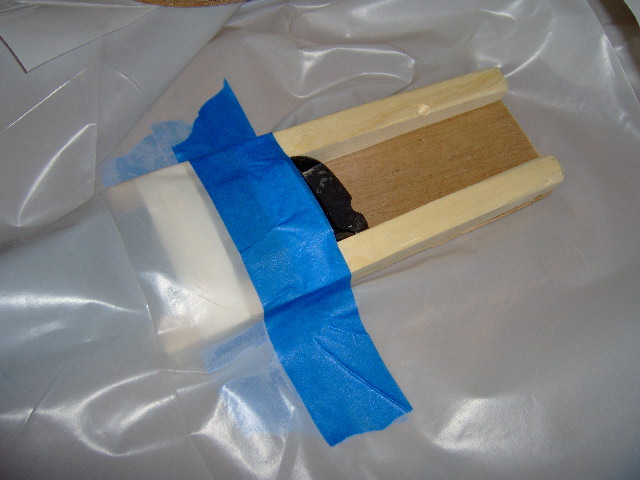
I decided to add a couple more baffles.
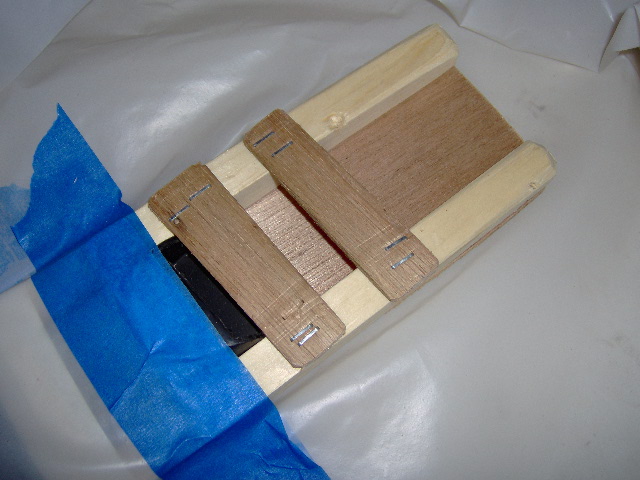
Tucked some bubble wrap up over the diffuser paddle, and some more under the wand, and just a few tabs of tape to hold the bubble wrap to the top of the bag so that when I opened the bag to stuff the panel in, the bubble wrap wouldn’t flop all over the place.
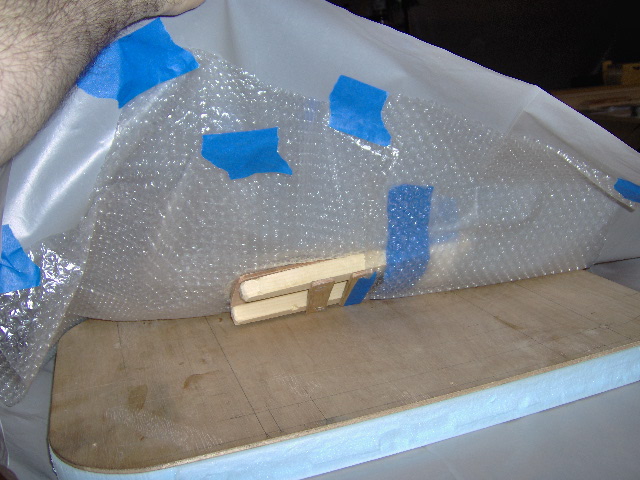
Someone here said that they just folded the bag under without bothering to tape the open edge, so on my dry run I tried it.
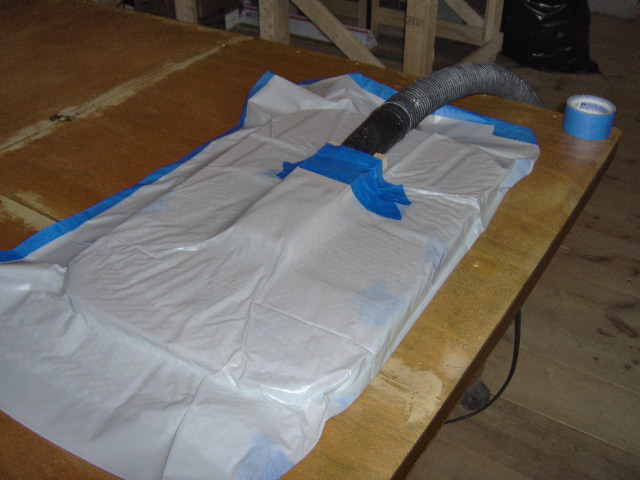
There was quite a bit of leakage around the diffuser where the rectangular shape didn’t transition well with the plastic.
That was… well the days are running together in my head, but it must have been Monday.
Last night I improved the vacuum diffuser by adding some shims so that the rails were much closer in height to the wand, and used tape and pieces of cut foam ear plug to fill in some of the gaps.
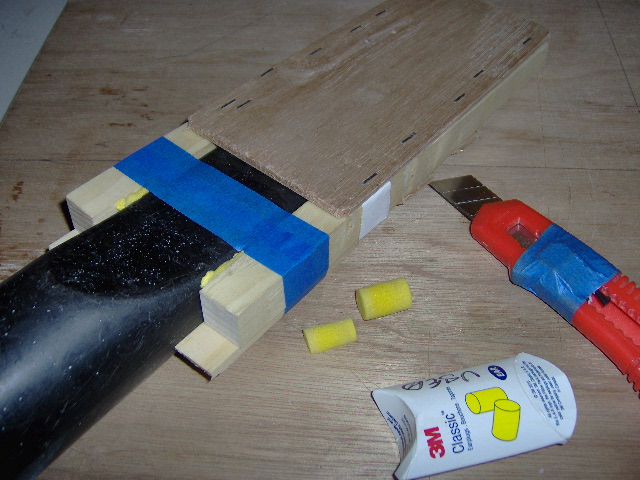
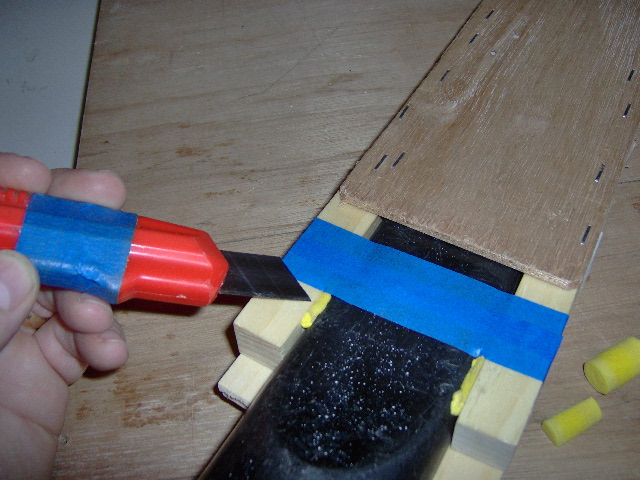
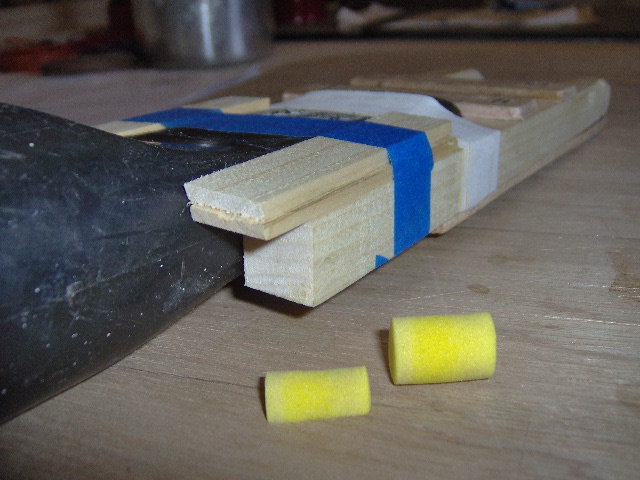
Not shown are a bunch more wraps of tape to cover and seal this area and improve fit to the bag.
Decided to hedge my bet on the test glue up and taped the “open” side of the bag. I masked along one edge of the skin (note blue tint showing thru left side of bag along the hard line formed by the vacuum). For this test I just squeezed out a zig zag pattern of glue from the small glue bottle and spread it as evenly as I could with a used credit card… didn’t want to mess with cleaning a roller just for this small test. I was worried that a lot of glue would squeeze out, but that never happened. Note the minimal amount of glue squeezed out inside of the bag around the edges. We could see a little here and there but nowhere near what Karl had led me to believe might be the case.
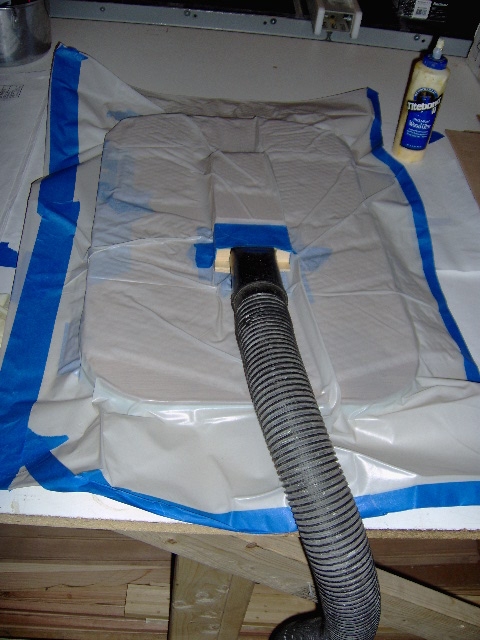
The TB2 calls for 30 min of clamp time and 24 hrs of unstressed drying time. However, based on other peoples experience here, I was leery that that would be enough time with the non-absorbent foam. So I left the vac on for 1-1/2 hrs, kept my ear plugs in (the vac is annoyingly loud), and continued to prep the curbside wall for inner skin application.
I was concerned about glue squeeze out and that it might clog my wire grooves in the foam, so I laid blue tape over the grooves. Rather than running my hand over the tape to stick it down (which tended to press the tape down into the groove) I used another of the faux credit cards to lay the tape down flat. Also trimmed the tape down close on the wood areas, around the holes, and around the graceful corners.
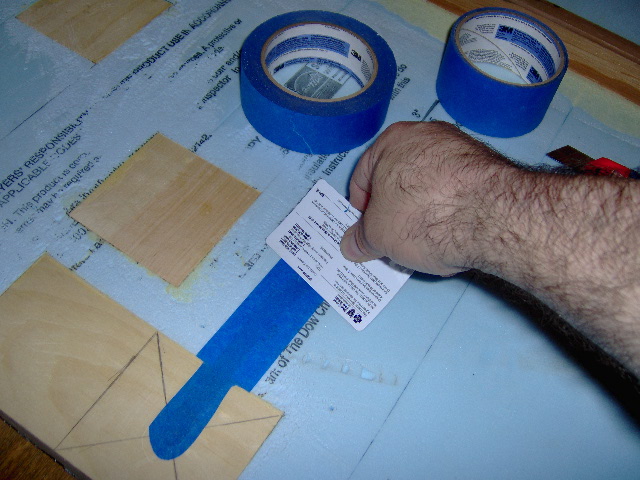
It occurred to me that I didn’t need to use a filler block of foam to fill the doorway, I could just use the door! (Doh) However, I am still not sure that I want to glue the wall panels to the door. The front and mid wall panels butt together over the door leaving a seam right thru the not quite middle of the door. A compromise trying to reduce the number of pieces of ply that I had to buy while keeping the wall grain vertical. I can just use the door as filler and not glue the skins to it during the lay up; or I can go ahead and glue them and do something else to try and hide the seam (filler and paint instead of stain), but the seam may also add a weak point, and why would I want my open door to show a painted interior when I hope to have beautifully stained/dyed and finished inner panels? I don’t have enough big pieces to skin the doors in a full piece, but I might be able to do some sort of star burst pattern from smaller drops that would have more strength and is a popular theme with the wife.

But that will take lots of time. I need to decide.
Anyway, from there, with ear plugs, I fit the door, set the shims, and cut a wedge shaped shim to tap in between the bottom of the door and the tapered door sill.
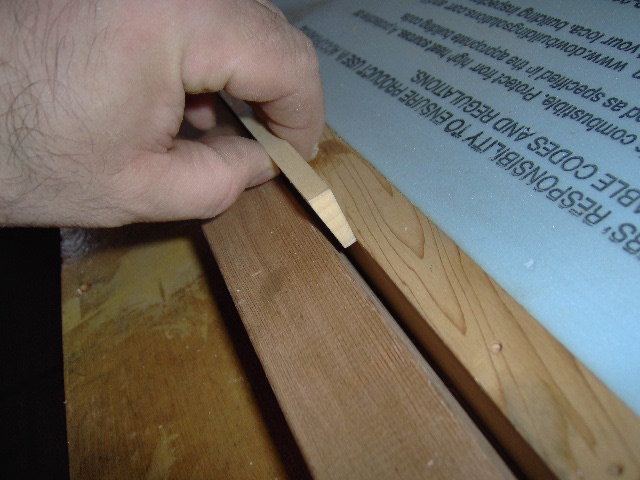
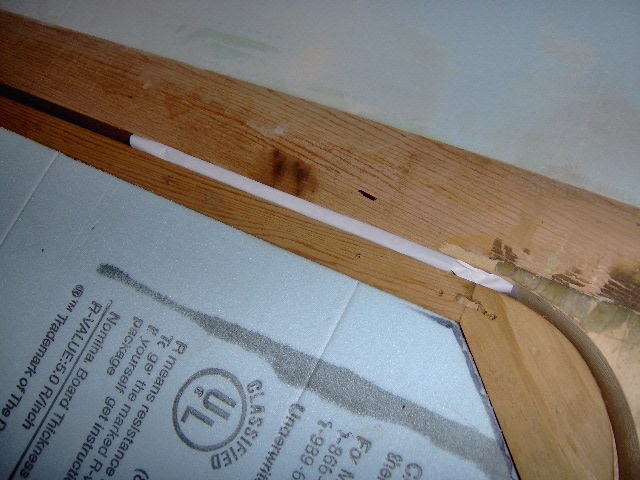
The shims and wedge will all get wrapped in freezer paper to keep any glue squeeze out from the vacuum bagging from gluing in the shims, or the door to the wall.
After 1-1/2 hrs I pulled the test panel out of the bag. The little bit of glue squeeze out was of no consequence, I could not separate the parts at the edge, and a little gentle flexing showed great promise.
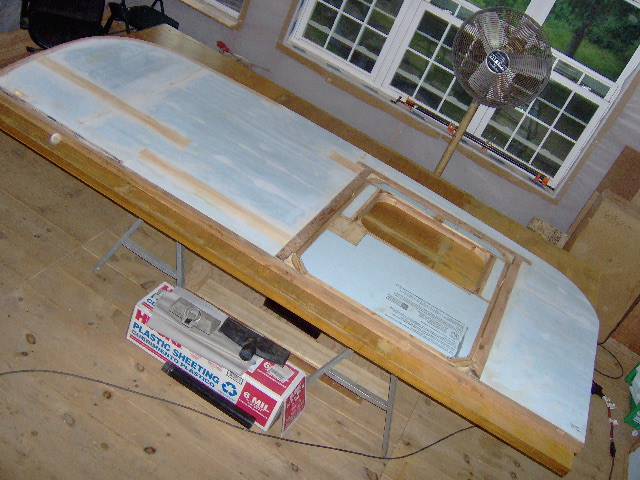
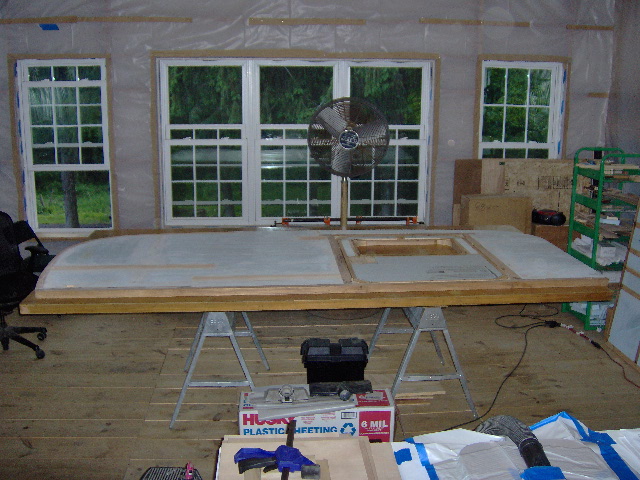
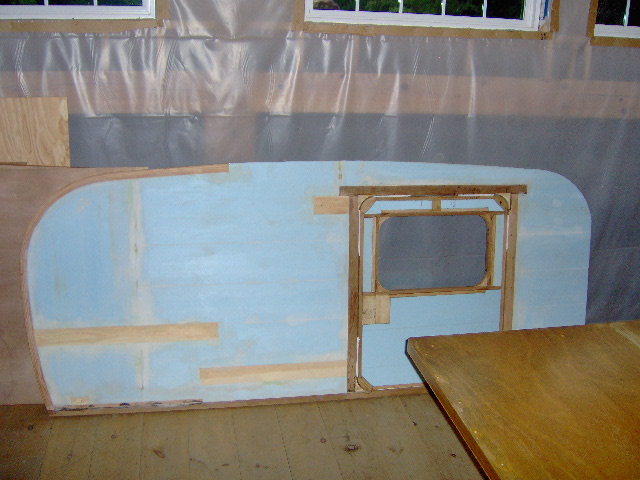
Couldn’t help taking a pic or two of the profile with door installed. She’s looking quite refined, if I do say so myself.
Now Thursday, after 24 hrs the test panel seems good and solid.
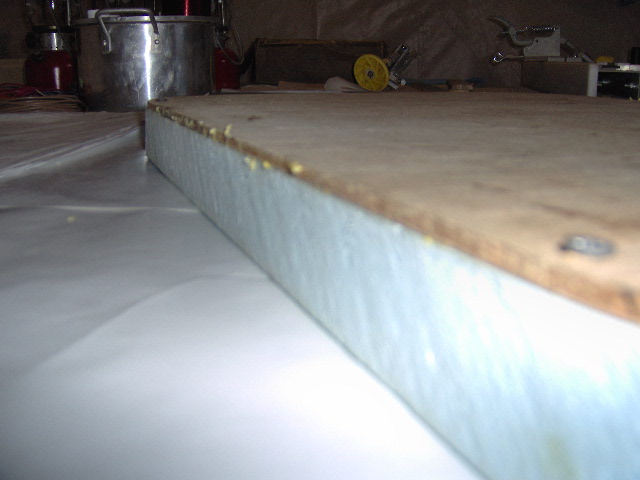
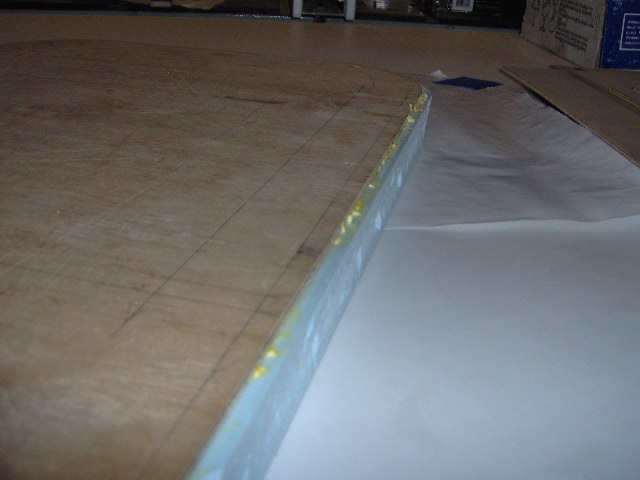
I set a couple of pieces of 2x lumber flat on the floor under the test panel (about 20 inch span) ply side down, and stood on the center on one foot.
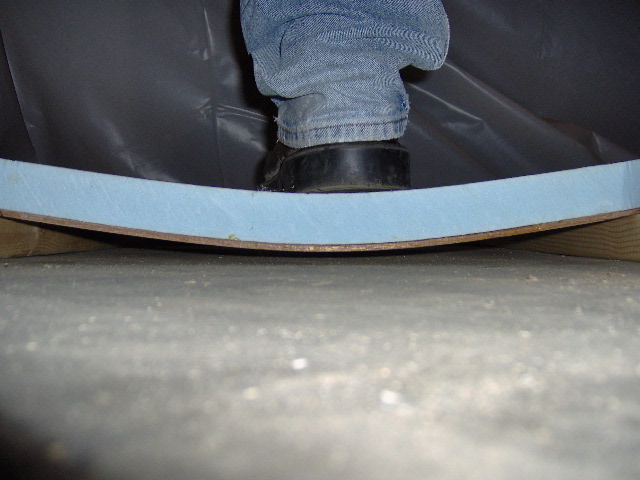
Mind you that this is just one skin, and underlay at that, plus I weigh 265 lbs. It didn’t break and did not touch the floor… maybe 1/4 or 3/8 clearance… kind of had to hurry to frame the shot with the camera sitting on the floor, get up off of my hands and knees setting the camera on timer, balance on one foot and try to stay still in 10 seconds while the camera timer took the pic. No way to measure the actual deflection accurately by myself.
Came back basically flat when unloaded, too, so, technically I could walk on my camper roof if I wanted to, but no. Mostly I am happy that I far exceed any possible snow load that might get me before she gets under cover. She will only get stronger as the “composite structure” continues to come together.
I didn't want to cut the test piece in half because it is still a useful work mat size, so instead I chiseled out about a 4x4 section of foam from the middle. There was a small area that was still gooey, and a percentage that was tacky, but it was all hard to pry up and a large percentage of the area had a thin film of foam still attached where the bond had not failed. (Not sure if it is a fair comparison with the 30NF as I did not bag that). My theory is that the gooey spot was an area where the glue was not spread as well, and that if I use a roller to apply on the big real deal panels that the wood will have no problem absorbing all of the moisture from the glue.
Pulled the door shims and wrapped them with freezer paper.
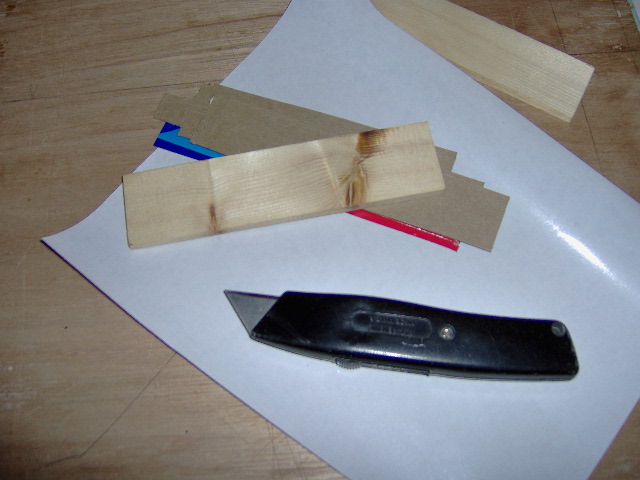
Reinstalled door shims with wrap.
And wrapped up the evening with a couple more profile pic’s. I had a hard time getting a straight on full frame shot. This one looks a little slanted in the front due to the perspective angle.
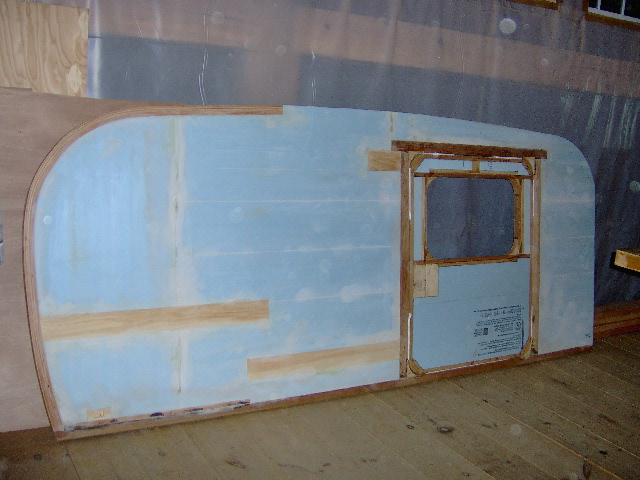
This one is more straight on, but is cut off by the floor/table.




 But that will take lots of time. I need to decide.


 Livin’ Large KC .. Time for bird food ...

