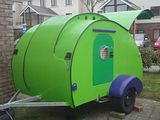
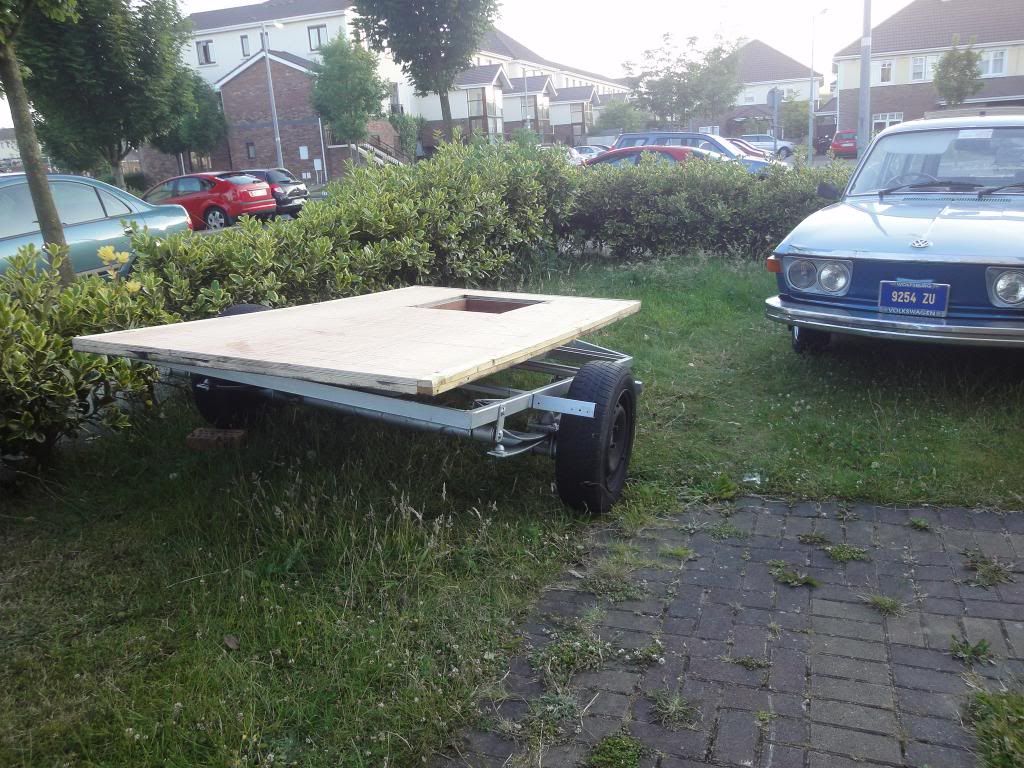
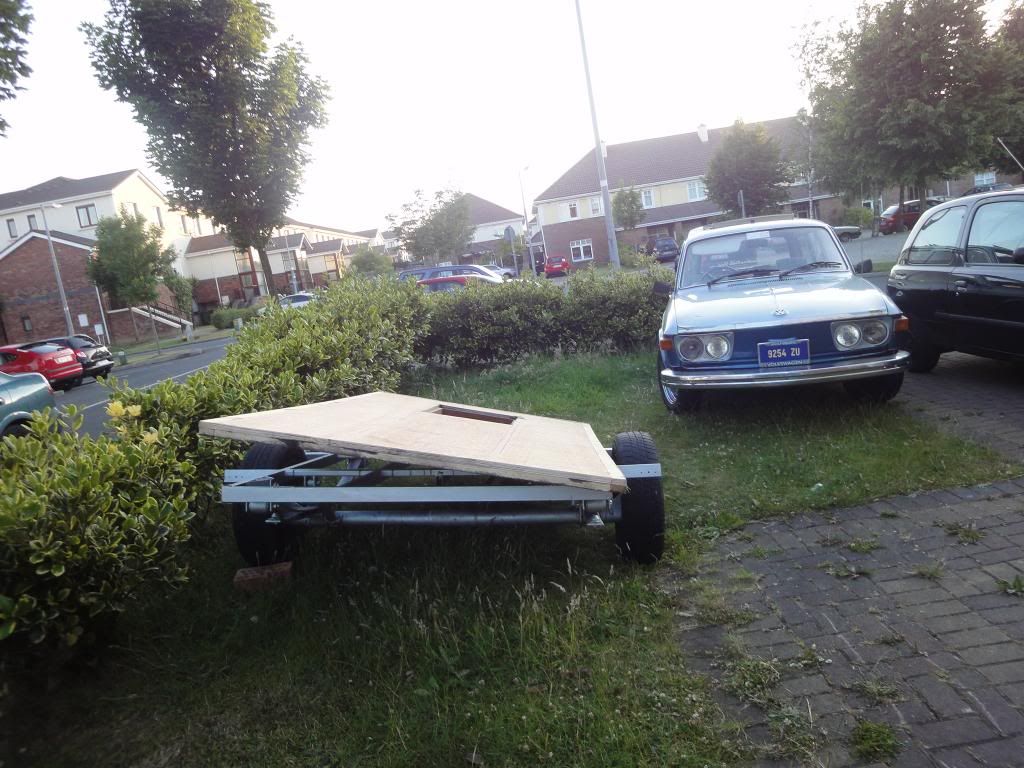
Here's Humphrey..Now a trolly top..Finished!!

...ask your questions in the appropriate forums BUT document your build here...preferably in a single thread...dates for updates, are appreciated....

Re: Here's Humphrey..Now a trolly top

Postby 3nero » Thu Jun 20, 2013 9:33 pm

mezmo wrote:I guess this is probably a matter of 'personal choice" but, have
you thought of having two doors ? It would make using the TD
so much more convenient, besides the two routes of escape
safety advantage.


Yes, i originally wanted two doors, but she who must be obeyed wants one door, plus one door is cheaper than two. If i had it my way it would have two because those windows are going to be a PITA to make and be watertight plus i'm informed that at least one of them must open (design challenge ahead).

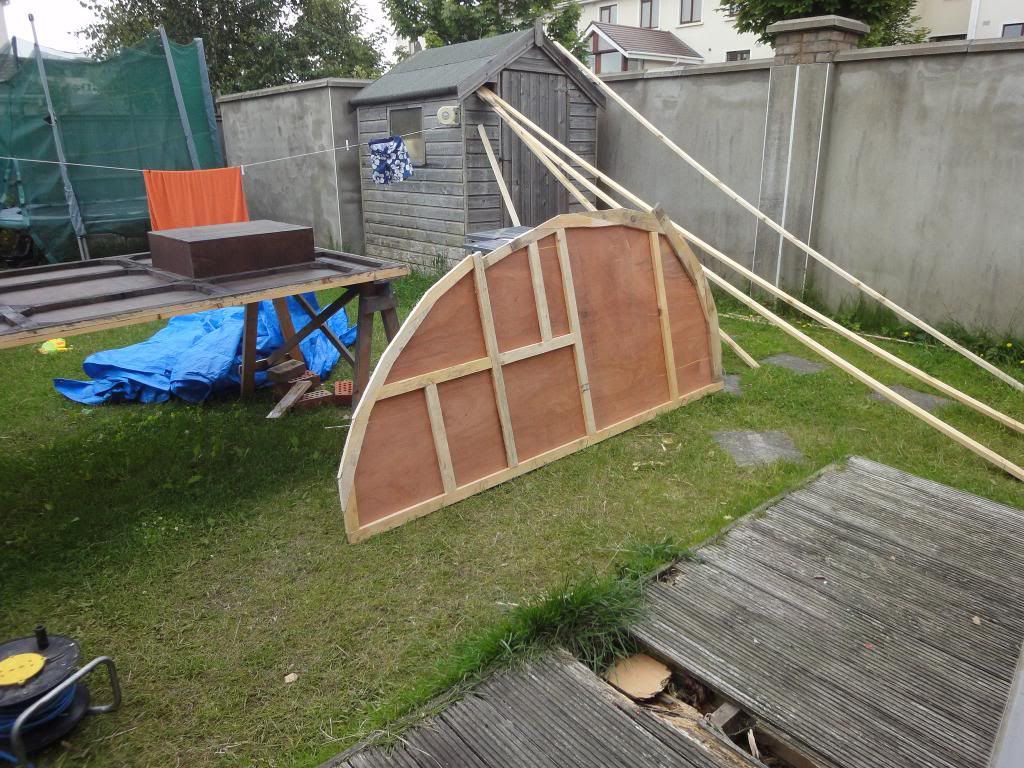
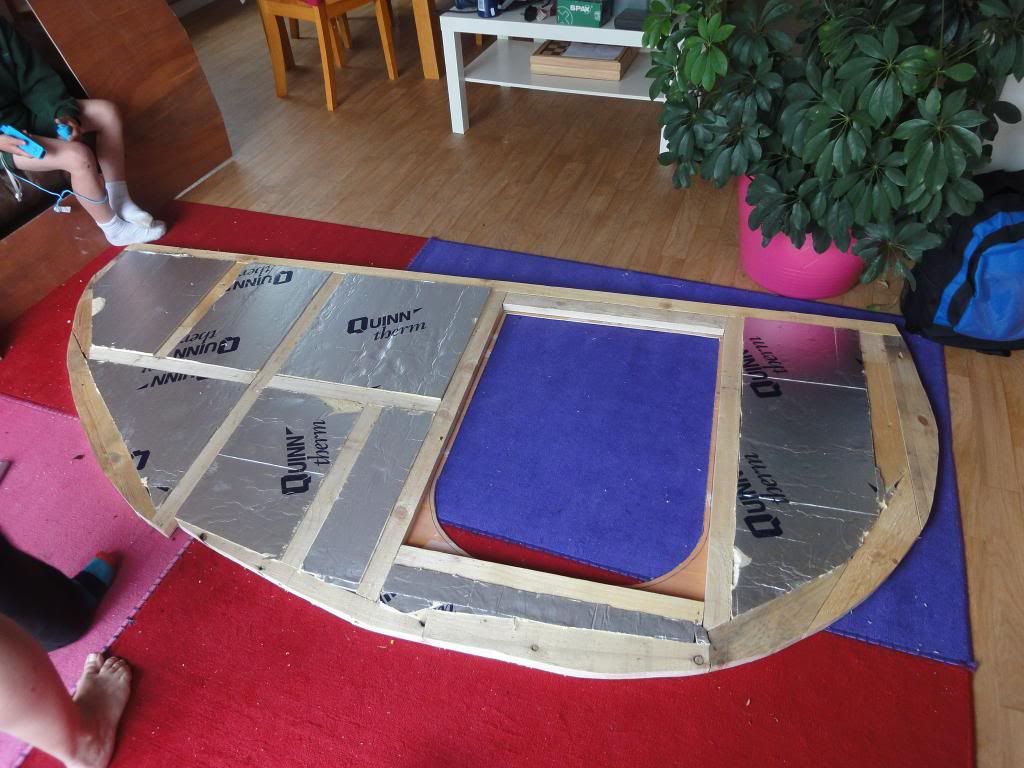
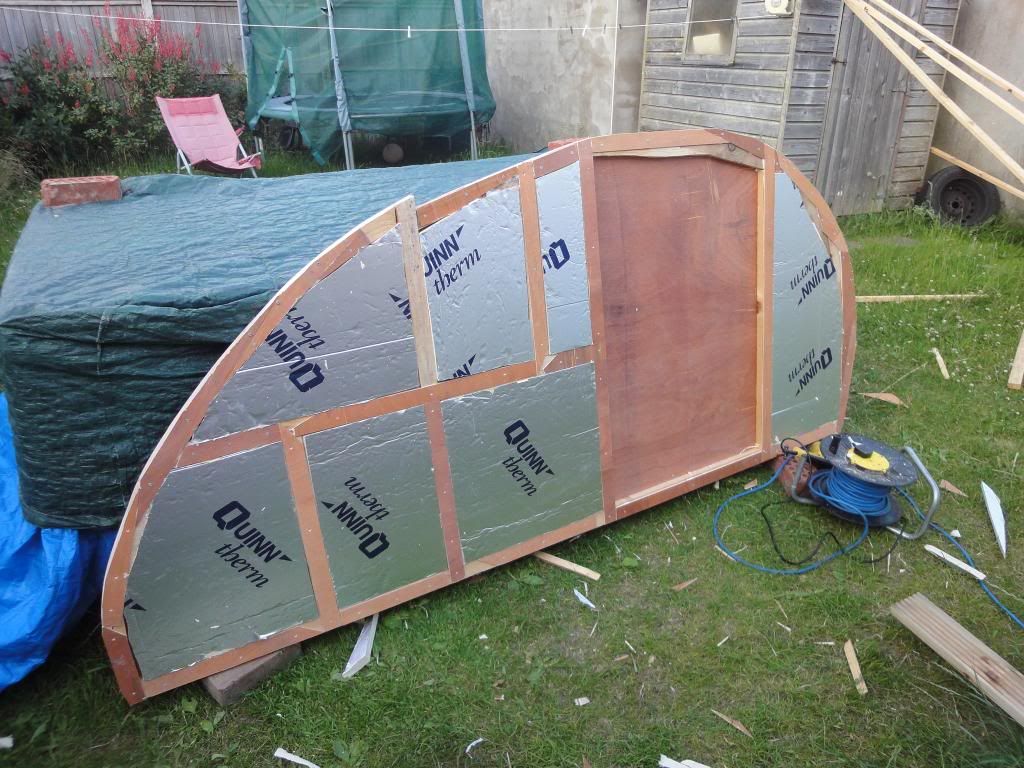
We got the second wall framed to today and ready for insulation. We tried all sorts of ideas to squash the foam but it seems to want to re-inflate after a few hours, i think if i could get my hands on an old laundry mangle i could squash it enough to make it fit, but i don't see me finding one any time soon. So plan B is to shim the frames by cutting 2 inch wide strips from my 4mm (1/6) sheets so i should end up with a 1mm (no idea of that fraction) gap between the insulation and the outer skin. The slight advantage of shimming would be ending up with a stronger internal frame because i can run the shims over existing joints in the frames.
Measure once, cut twice....throw away and repeat.
Image Image

http://www.tnttt.com/viewtopic.php?t=55971
3nero
Teardrop Master
 
Posts: 129
Joined: Mon May 13, 2013 3:40 pm
Location: Co.Wicklow Ireland

Re: Here's Humphrey..Now a trolly top

Postby Junkboy999 » Thu Jun 20, 2013 9:50 pm

Man that model is awesome.

Let SWMBO know it is much much easier changing the bed linens with two doors. After she crawls over you a few time going to the restroom in the middle of the night, you’ll want another door. keep your little rounds window small, so you might be able to cut out another door later.
User avatar
Junkboy999
1000 Club
1000 Club
 
Posts: 1259
Images: 52
Joined: Fri Jul 06, 2012 9:18 pm
Location: Wichita, KS

Re: Here's Humphrey..Now a trolly top

Postby 3nero » Thu Jun 20, 2013 10:05 pm

Junkboy999 wrote:Man that model is awesome.

Let SWMBO know it is much much easier changing the bed linens with two doors. After she crawls over you a few time going to the restroom in the middle of the night, you’ll want another door. keep your little rounds window small, so you might be able to cut out another door later.


I'll let her Know :lol:
but as the trailer is an extension to my van i don't plan on sleeping in it very often... it will be mostly used as the kids room :twisted:
I have framed the second wall exactly the same as the first wall that has the door in it so room for a possible second door already exists. Any windows she wants have to fit into the door type space.... great minds...and all that ;)
Measure once, cut twice....throw away and repeat.
Image Image

http://www.tnttt.com/viewtopic.php?t=55971
3nero
Teardrop Master
 
Posts: 129
Joined: Mon May 13, 2013 3:40 pm
Location: Co.Wicklow Ireland
Top

Re: Here's Humphrey..Now a trolly top

Postby danlott » Thu Jun 20, 2013 11:34 pm

My insulation fit inside of my framing, but there were a few areas that was a little too thick. I used a random orbital sander and 80 grit sander paper to sand it down flush. This process was very easy, easy to control and took little to no time to do it. I used the pick foam.

Image

Dan
Hoplite Traveler Build thread
Image Image
Life is what happens to you while you're busy making other plans.
User avatar
danlott
Donating Member
 
Posts: 874
Images: 264
Joined: Fri Mar 06, 2009 2:18 pm
Location: Winnemucca, Nevada
Top

Re: Here's Humphrey..Now a trolly top

Postby E. Aaron Scott » Fri Jun 21, 2013 1:47 pm

I really like the profile. :D
-Aaron KF5VBV
User avatar
E. Aaron Scott
Teardrop Builder
 
Posts: 42
Images: 9
Joined: Wed Nov 07, 2012 3:06 pm
Location: Midwest City, OK
Top

Re: Here's Humphrey..Now a trolly top

Postby 3nero » Sat Jun 22, 2013 11:26 am

Dan, I can't see your picture but i know what you mean, i taught about shaving or sanding the foam but i want to keep the foil on bothsides. The foam i'm using is a kind of pale yellow and kind of soft. I has some springback when you squash it. It looks like expanding foam formed into sheets.

Not much done again. I got both wall frames trimmed and then clamped together so i could sand the two profiles to the same curve but then the rain started and work was called off for the day..

Image

Image

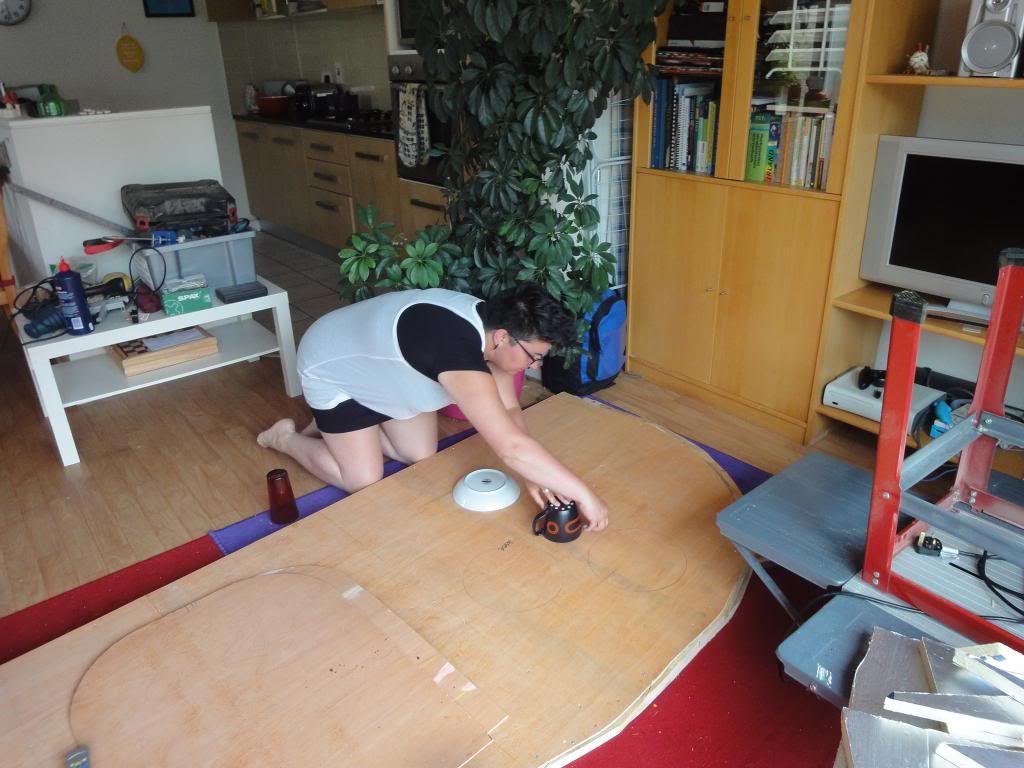
And while the walls where sitting around the windows got drawn on..

Image

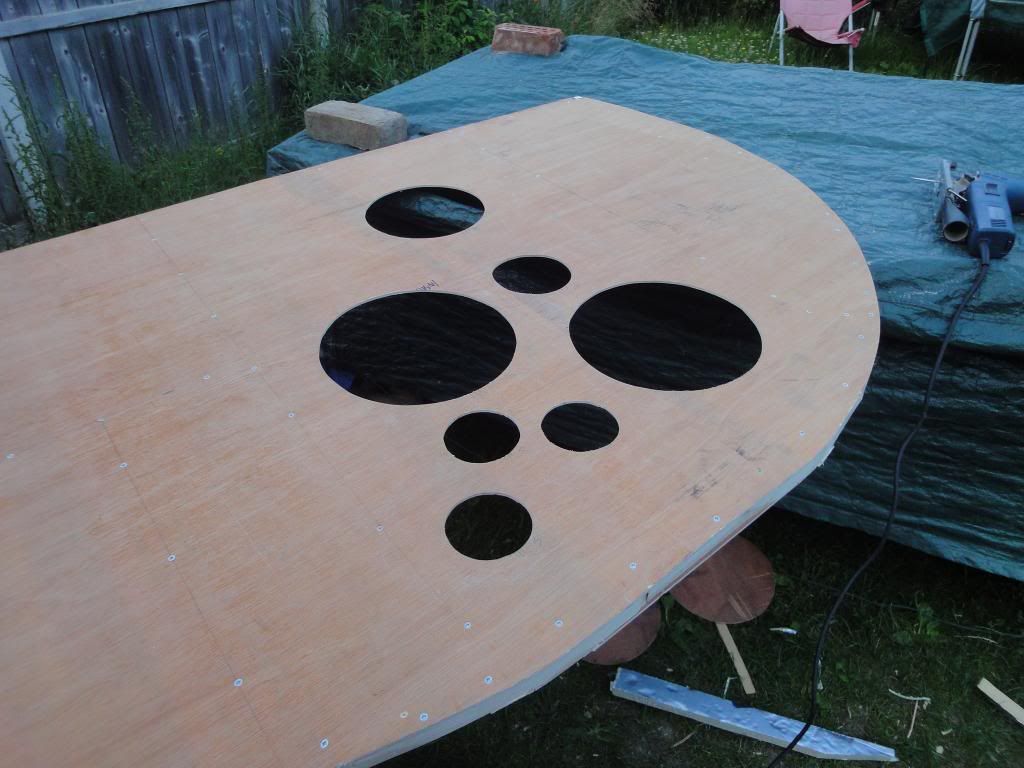
there are now 7 windows to deal with on that side :?
Measure once, cut twice....throw away and repeat.
Image Image

http://www.tnttt.com/viewtopic.php?t=55971
3nero
Teardrop Master
 
Posts: 129
Joined: Mon May 13, 2013 3:40 pm
Location: Co.Wicklow Ireland
Top

Re: Here's Humphrey..Now a trolly top

Postby Junkboy999 » Sat Jun 22, 2013 11:55 am

Quick take away her markers and hide all the round pots and dishes. Those window would be better left until you figure out the bunk or cabinets arrangement in that area. It would not be good, trying to secure a bunk mount and there is a big hole in the middle of the wall.

Not sure if Ireland sales “ multi coloured rubbers “ in their newsagents. If so, it is time to go get some.

We’ll leave that to the forums members inmagations. :oops:
User avatar
Junkboy999
1000 Club
1000 Club
 
Posts: 1259
Images: 52
Joined: Fri Jul 06, 2012 9:18 pm
Location: Wichita, KS
Top

Re: Here's Humphrey..Now a trolly top

Postby 3nero » Sat Jun 22, 2013 1:08 pm

There is no cupboards or anything in that area...but i told her if she wants that many windows so close together it would be "impossible" (ahem) to make any of them openable ;) so instead i will install some more vents on top of the ones i was allready planing on but the new vents will be manual ones. My plan to make the windows will be from one big wood and perspex sandwich. With the shims going on the frames the gap between the skins will now be 29mm so i'll get my hands on some 12mm ply and cut two pieces the same size to fit in side the frame...then route out all the windows and insert one big piece of 5mm perspex between the 2 pieces of 12mm ply. I'll glue the whole sandwich together with some kind of silicone and then stick it into the wall. sounds like it will work but only time will tell.

BTW all our newsagents sell rubbers but what we call rubbers and what you call rubbers are totally different things ;)
Measure once, cut twice....throw away and repeat.
Image Image

http://www.tnttt.com/viewtopic.php?t=55971
3nero
Teardrop Master
 
Posts: 129
Joined: Mon May 13, 2013 3:40 pm
Location: Co.Wicklow Ireland
Top

Re: Here's Humphrey..Now a trolly top

Postby Ron Dickey » Fri Jun 28, 2013 11:59 am

on the new drawing where will you put the roof air vent?

on Doug's he put it at the back between the trolley sides.

I am going to put on on the Cross Bow but am going to make it so the vent can draw heat from the cabin, like Doug's hidden by the Trolly.

Ron Dickey
173882......173887
Inside almost done--Trolly top has opening windows & roof.doors need assembling--pictured above waley windows..galley 1/3 done
Cross Bow in Build Journals....http://www.tnttt.com/viewtopic.php?f=50&t=54108
User avatar
Ron Dickey
Silver Donating Member
 
Posts: 3105
Images: 787
Joined: Tue Apr 20, 2004 5:56 pm
Location: Central Coast, CA
Top

Re: Here's Humphrey..Now a trolly top

Postby 3nero » Sun Jun 30, 2013 3:54 pm

Ron Dickey wrote:on the new drawing where will you put the roof air vent?

on Doug's he put it at the back between the trolley sides.

I am going to put on on the Cross Bow but am going to make it so the vent can draw heat from the cabin, like Doug's hidden by the Trolly.

Ron Dickey


That's exactly where it's going. It will be about 2 or 3 inches in from the end of the top to shelter it from most of the rain, probably not the horizontal kind though. Also going to add 2 small vents inside the front cupboard, one each side near the floor. All three will be permanently open to allow for fresh air.
Measure once, cut twice....throw away and repeat.
Image Image

http://www.tnttt.com/viewtopic.php?t=55971
3nero
Teardrop Master
 
Posts: 129
Joined: Mon May 13, 2013 3:40 pm
Location: Co.Wicklow Ireland
Top

Re: Here's Humphrey..Now a trolly top

Postby 3nero » Wed Jul 03, 2013 4:41 pm

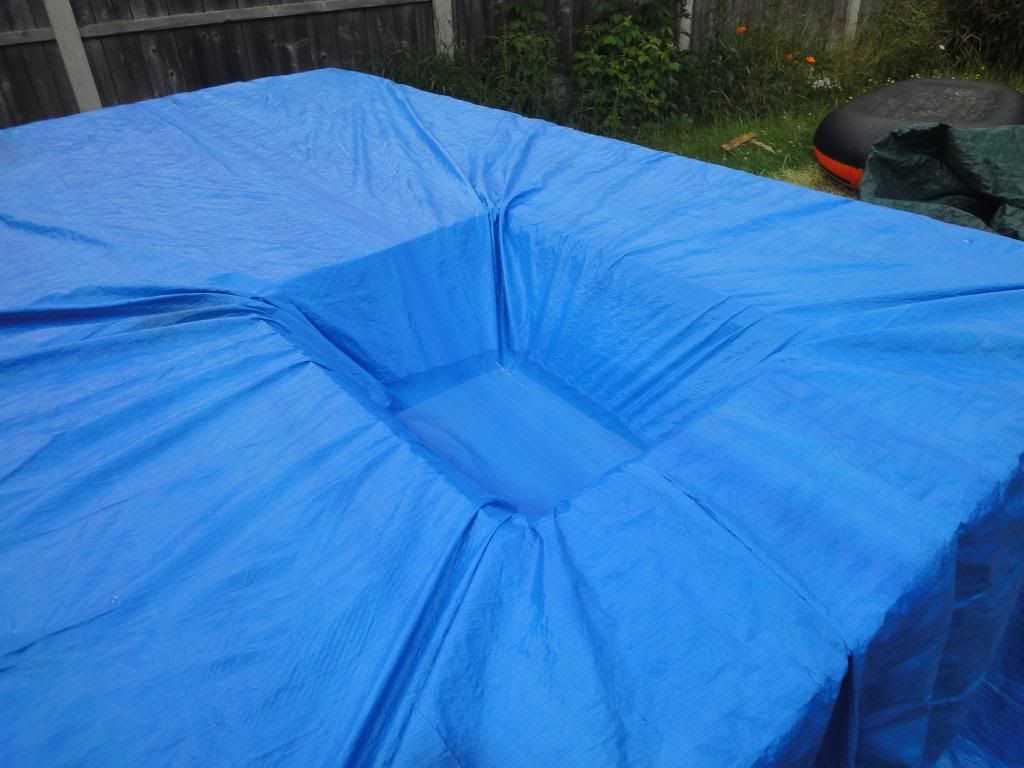
Not much done lately. Got the underseal on and then had to cover it again to stop the rain getting near it.

Getting used to bailing out the storage area :NC

Image

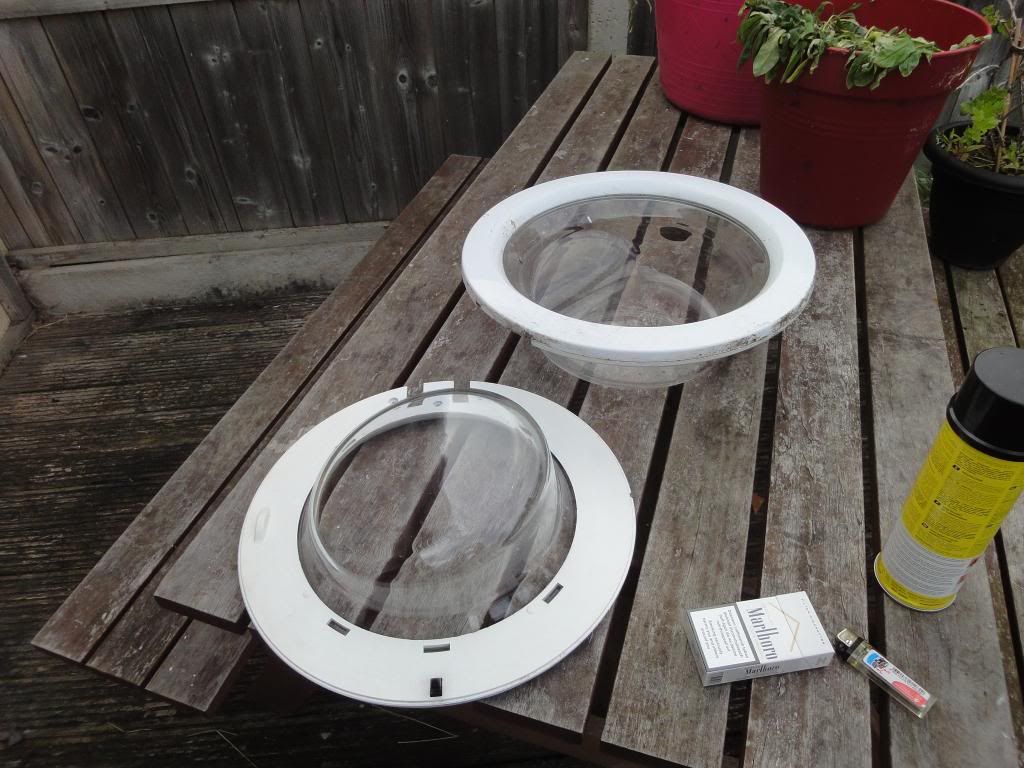
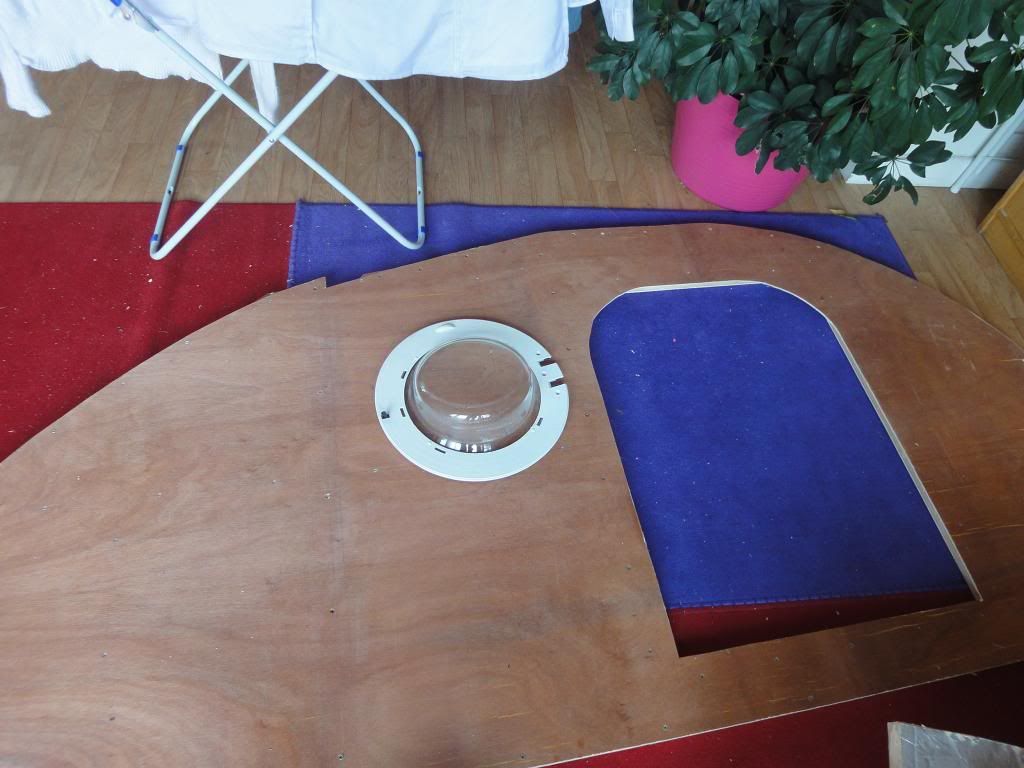
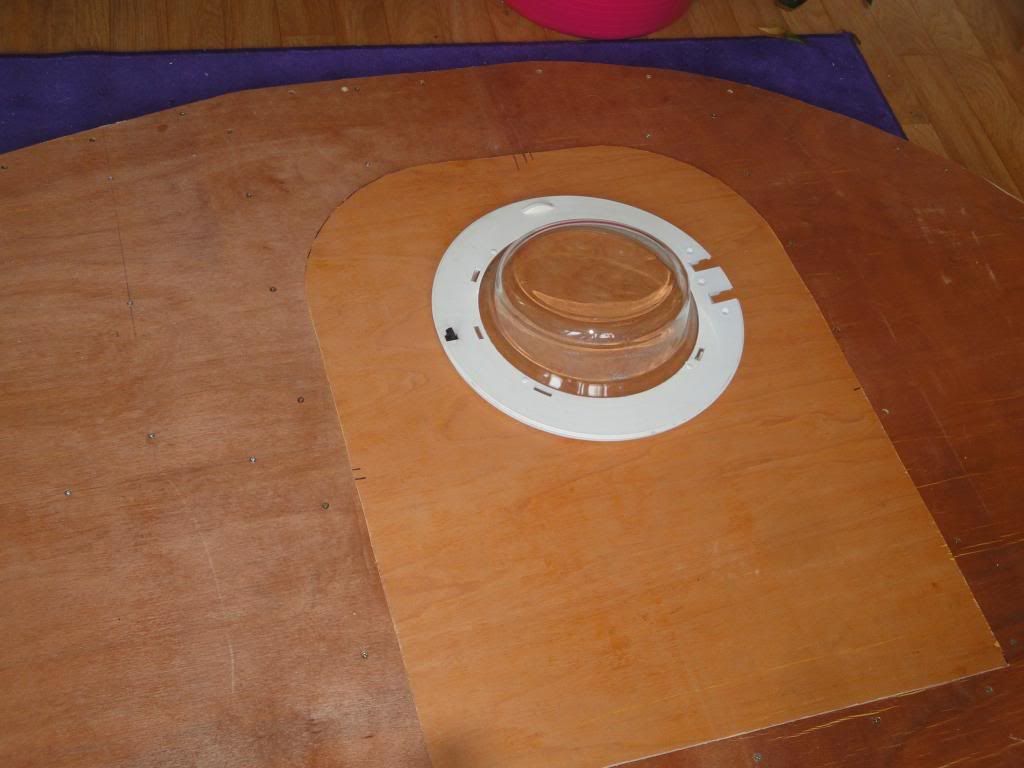
But on the usual trip to the local recycling centre i noticed the pile of washing machines in one corner. A quick explanation to the head man and i was allowed in behind the barriers with my tool kit...10 mins later i came out with 2 doors.

Image

Not sure if i will use them yet but they where free so either i will have two new windows or a new place to display my fruit :thinking:

Image

Image

Image

I Might use them with the door frames or without them....need to experiment a bit first.
Measure once, cut twice....throw away and repeat.
Image Image

http://www.tnttt.com/viewtopic.php?t=55971
3nero
Teardrop Master
 
Posts: 129
Joined: Mon May 13, 2013 3:40 pm
Location: Co.Wicklow Ireland
Top

Re: Here's Humphrey..Now a trolly top

Postby 3nero » Sat Jul 06, 2013 6:39 pm

Finally got a few hours to work on the trailer today...

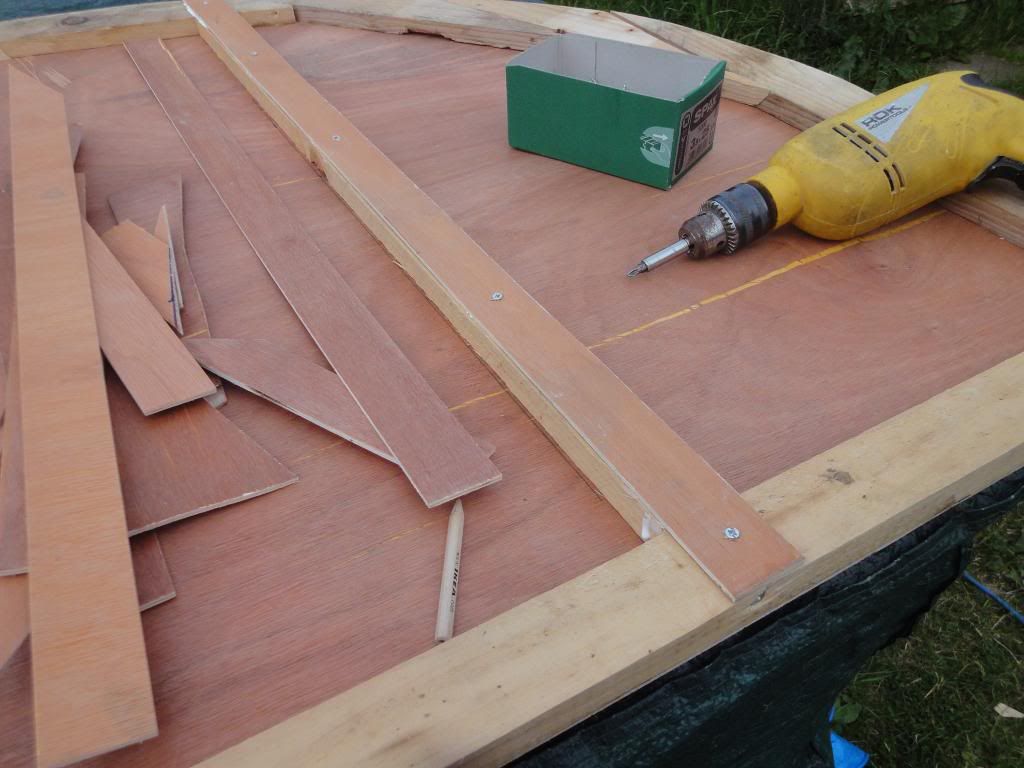
First i finished of the shimming on the second wall..

Image

The screws are only to hold them in place until the glue dries. (cheap clamps)

Then i got the insulation in.

Image

And got the crazy arty windows cut out..

Image

Then things started to go downhill.....
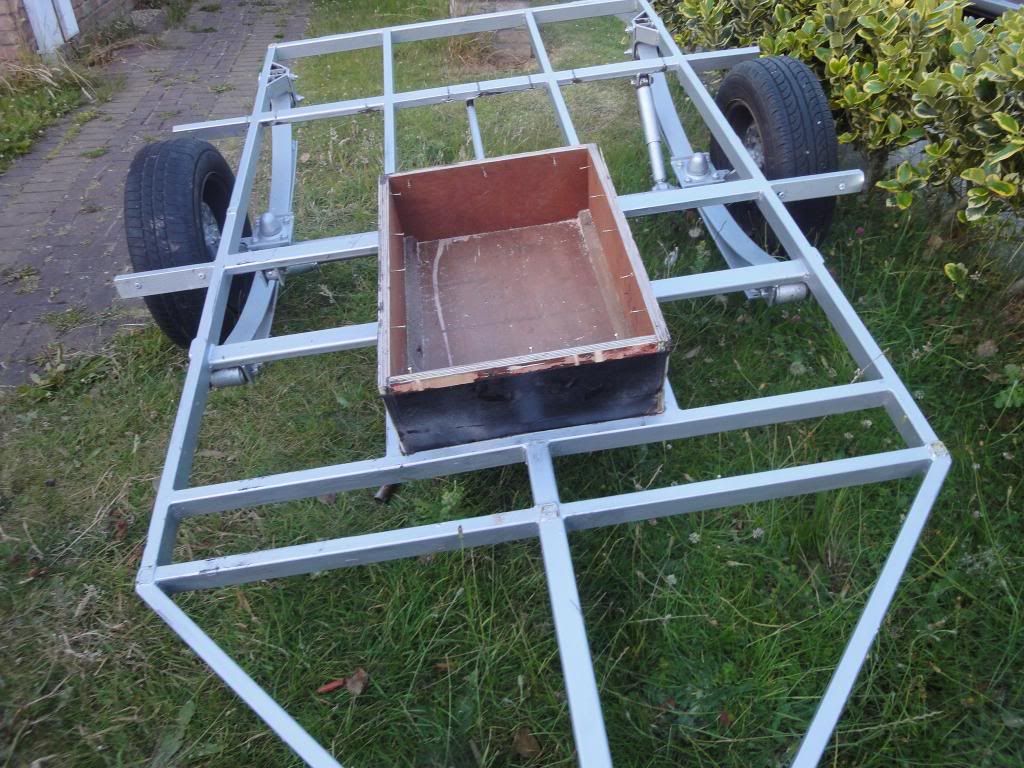
I decided it was time to put the floor onto the trailer...

Image

But the floor had other ideas..
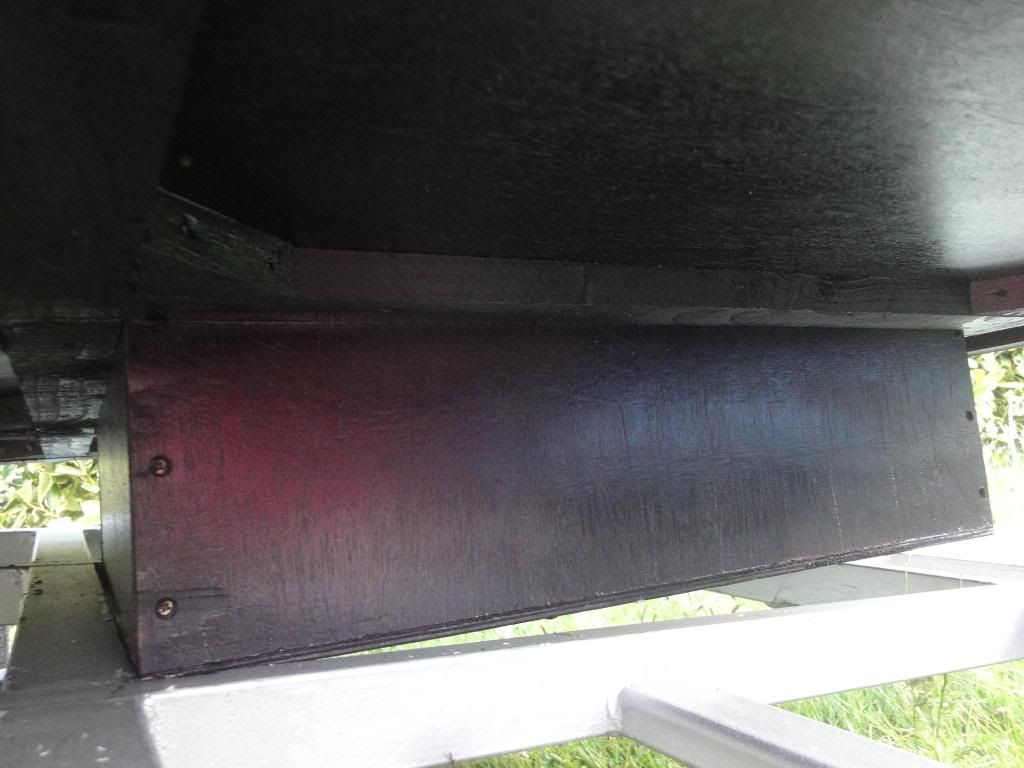
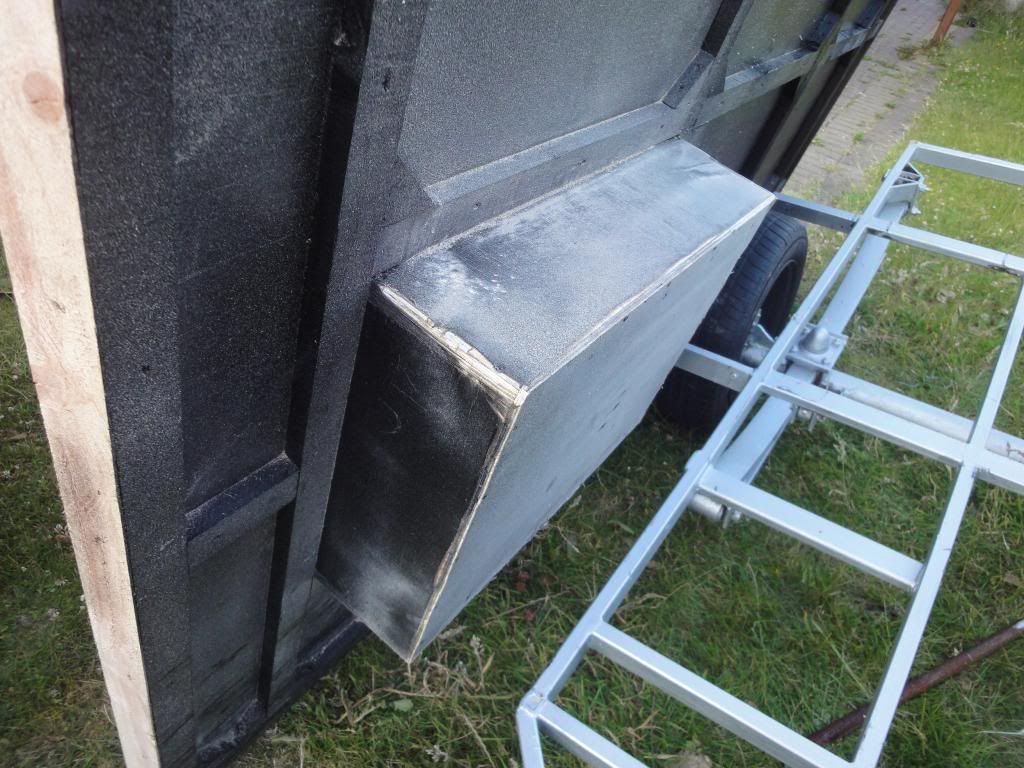
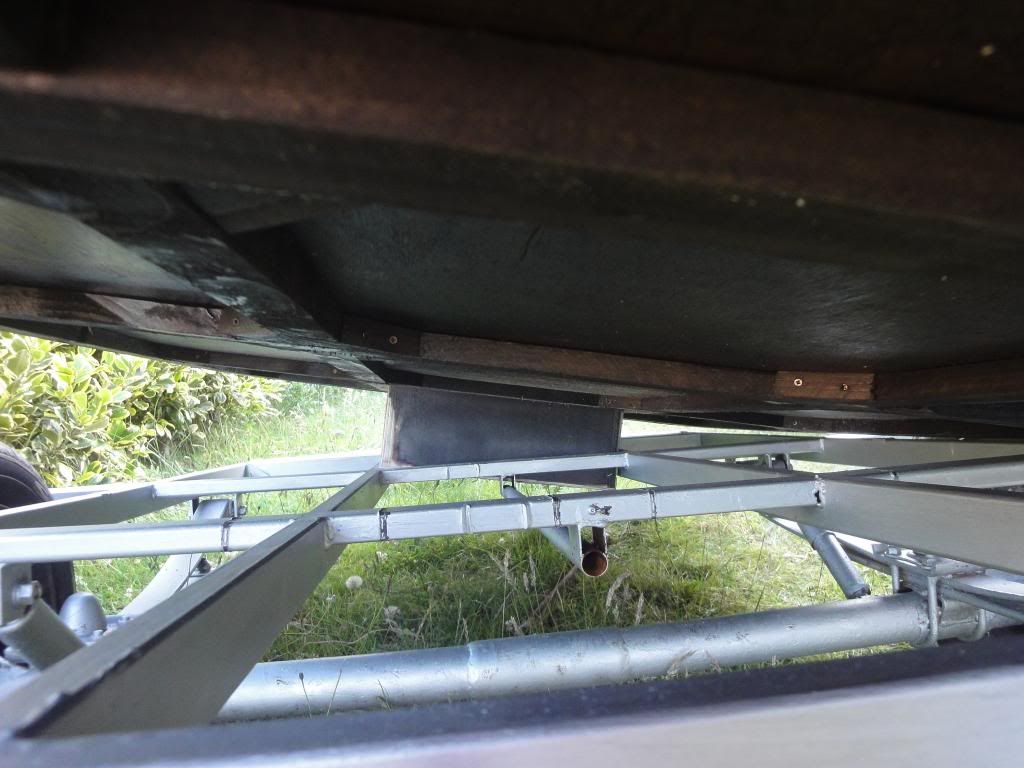
The problem was the storage box...

Image

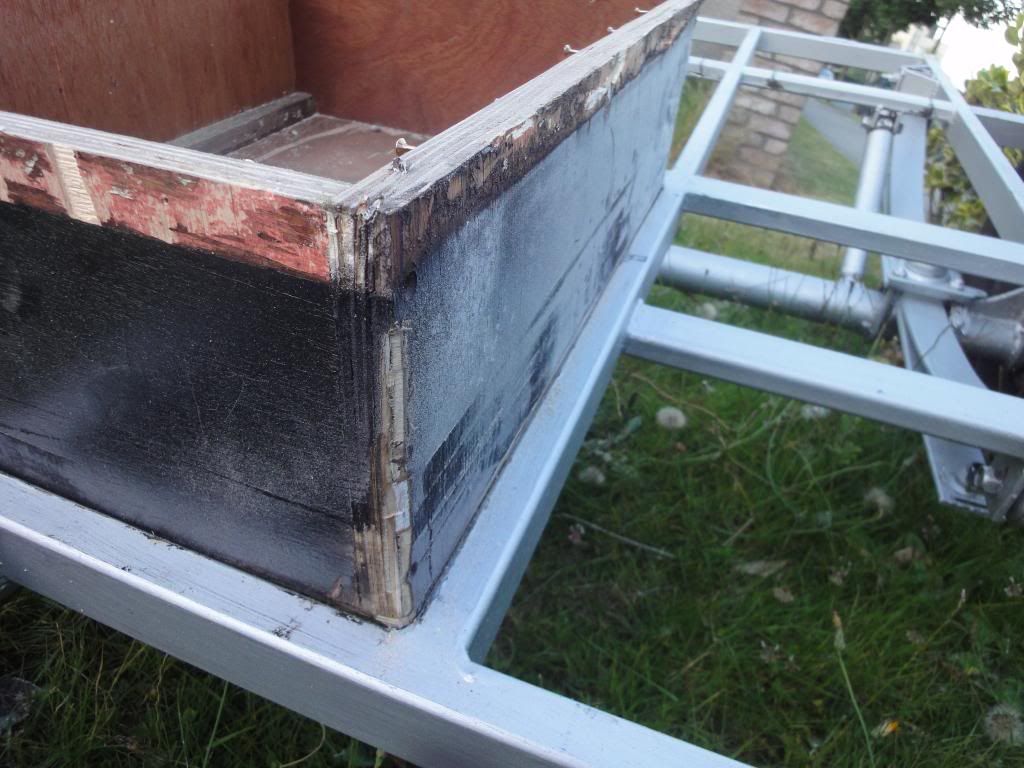
It seemed a little oversized so i attacked it with a belt sander...

Image

still no joy...

Image

Image

So then i attacked it with a BFH...

Image

Image

Then i invented a few new words and taught them to the neighbours :x

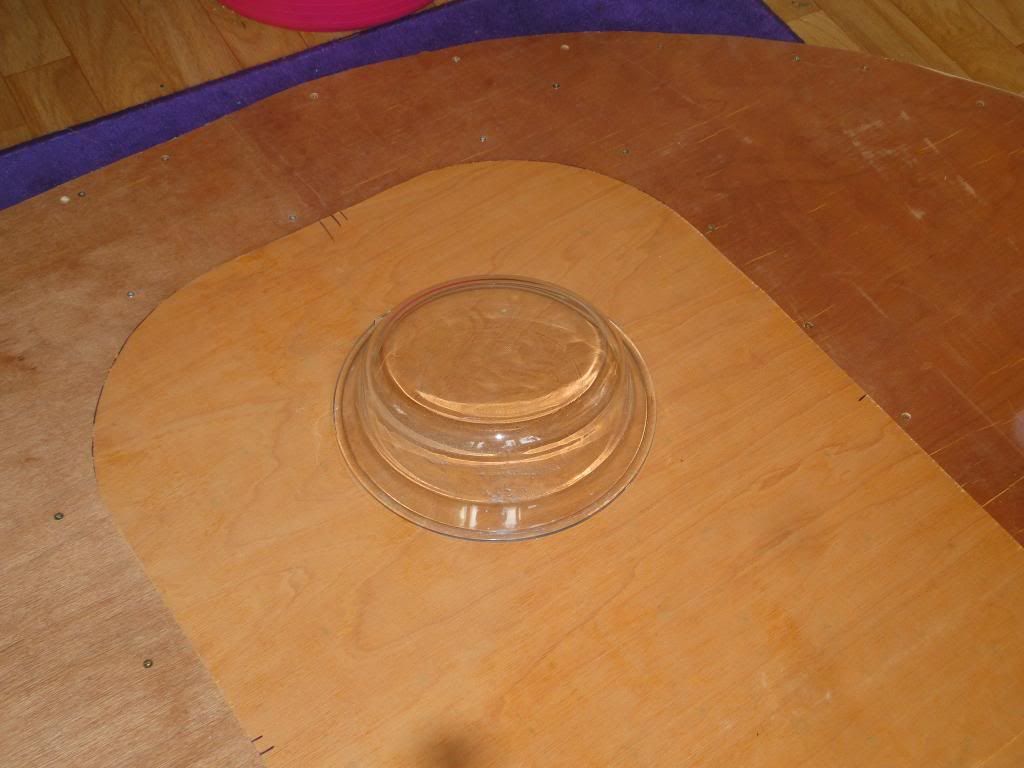
2mm.......2 fricken Millimetres...too wide...plus the bars on the frame are not straight. and i did too much damage to the box getting it off. So now I'm going to have to make a new one. I hate doing things twice :cry:
Measure once, cut twice....throw away and repeat.
Image Image

http://www.tnttt.com/viewtopic.php?t=55971
3nero
Teardrop Master
 
Posts: 129
Joined: Mon May 13, 2013 3:40 pm
Location: Co.Wicklow Ireland
Top

Re: Here's Humphrey..Now a trolly top

Postby dodgedartgt » Sat Jul 06, 2013 9:11 pm

3nero wrote:The foam i'm using is a kind of pale yellow and kind of soft. I has some springback when you squash it.


3nero,

The foam insulation you are using is polyisocyanurate, http://en.wikipedia.org/wiki/Polyisocyanurate It seems here in the states, more people tend to use either expanded (little white balls) or extruded (blue, pink or green) polystyrene foam panels.

Mike in FL
dodgedartgt
Teardrop Advisor
 
Posts: 69
Joined: Fri Jun 24, 2011 6:19 pm
Top

Re: Here's Humphrey..Now a trolly top

Postby rebapuck » Sat Jul 06, 2013 10:41 pm

I would have loved to see you use a rear Beetle pop-out window.
Judy
1966 VW camper
1967 VW singlecab
Image
User avatar
rebapuck
.
 
Posts: 2243
Images: 1
Joined: Thu May 14, 2009 1:55 pm
Location: Chapel Hill NC
Top

Re: Here's Humphrey..Now a trolly top

Postby 3nero » Sat Jul 06, 2013 10:59 pm

rebapuck wrote:I would have loved to see you use a rear Beetle pop-out window.


the taught did cross my mind...i have lots of VW glass in the shed. I just couldn't figure how to make the rubber fit the 37mm thick walls. I have lot's of type 3 glass aswell but that's more square than the beetle window. Next build might be a folding roofbox/bedroom for my type 2 so definitely got to use VW glass in that ;)
Measure once, cut twice....throw away and repeat.
Image Image

http://www.tnttt.com/viewtopic.php?t=55971
3nero
Teardrop Master
 
Posts: 129
Joined: Mon May 13, 2013 3:40 pm
Location: Co.Wicklow Ireland
Top

PreviousNext

Return to Build Journals

Who is online

Users browsing this forum: No registered users and 0 guests