I am almost positive I will paint my trailer rather than skin it. So that is not something to consider at this point

kd5edj63 wrote:I was at the lumber yard today (Home depot) looking at plywood and such. Spesifically I wanted to see the thin stuff. The stuff that flexes and allowes one to make a traditional tear drop shape. In birch, the thinist they had was quarter inch. I found some other thinner underlayment (2.7mm I think) that was very flexible but very thin. I also saw 5mm stuff that was of course less flexible. I an leaning heavily on a boxy type shape for simplicity reasons both in design and construction. Particularly in simplifying the hatch design. I think, I THINK I can at least make the front end rounded somewhat, but I think being my 1st build, I would want to go with a flat hatch. Flat as in not curved. Not flat as in perfectly verticle. I need persuasion in going with a rounded front end. I think by next weekend (mid-late October) I will be ready to get after doing the sides and making some good progress. Any advice would be helpful. I hope to test out my 1st build by winter
I am almost positive I will paint my trailer rather than skin it. So that is not something to consider at this point
Flat, angular ? Where have I seen that combination ? Before you decide, ask yourself " Do I want a Teardrop? or do I want to repeat (over and over) "It's like a Teardrop, but, it's not ....". For heavens' sake, make at least one part curved, or you'll get no understanding or comfort.les45 wrote: How about a weekender? Totally angular.


 Danny
Dannyhalfdome, Danny wrote:The method used in the second video is way too labor intensive and having the grain going in different directions will show, even when painted.
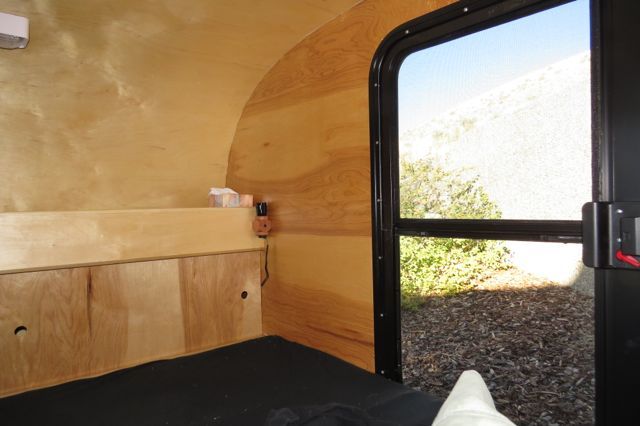
Remember, you'll be looking at the ceiling while laying in bed, so make it as nice as possible.
I use my router with a wood fence clamped to the base and route a 1/4" deep rabbit along the 3/4" thick roof profile to the depth of the spars and ceiling profile.
After the walls and bulkheads are attached to the floor I drop the pre finished 1/8" Baltic Birch ceiling down on the lightly glued 1/4" rabbit edge and staple it down.
I then glue & install the roof spars.
Where there is a joint on a spar I use lath screws to temporarily pull it up tight.
I don't have a seam going the length of the ceiling as shown in the video.
After the screws are removed I put a 1/4" x 3/4" piece of matching trim over that joint and one in the same spot at the other end to give it some visual balance.
I use prop sticks to hold the rest of the roof while the glue dries to the spars.
This produces a nice looking ceiling even where the walls and the ceiling meet.Danny
halfdome, Danny wrote:I use my router with a wood fence clamped to the base and route a 1/4" deep rabbit along the 3/4" thick roof profile to the depth of the spars and ceiling profile.
After the walls and bulkheads are attached to the floor I drop the pre finished 1/8" Baltic Birch ceiling down on the lightly glued 1/4" rabbit edge and staple it down.Danny
kd5edj63 wrote:halfdome, Danny wrote:I use my router with a wood fence clamped to the base and route a 1/4" deep rabbit along the 3/4" thick roof profile to the depth of the spars and ceiling profile.
After the walls and bulkheads are attached to the floor I drop the pre finished 1/8" Baltic Birch ceiling down on the lightly glued 1/4" rabbit edge and staple it down.Danny
can you explain that better. Whats a rabbit and what kind of stapler do you use
 Danny
DannyUsers browsing this forum: No registered users and 5 guests