Lots of ground to cover tonight. Some good, some not.
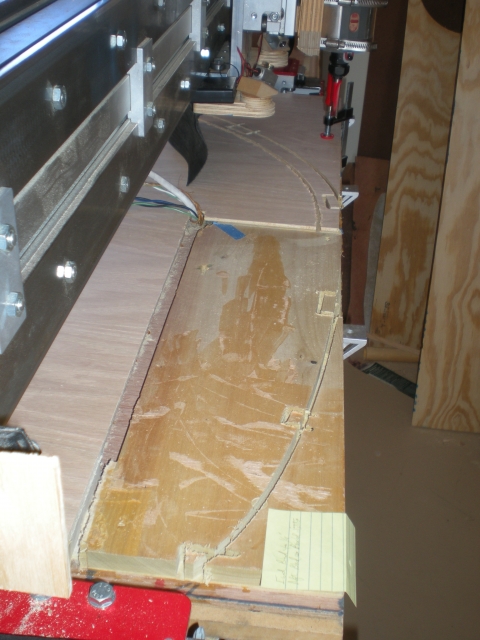
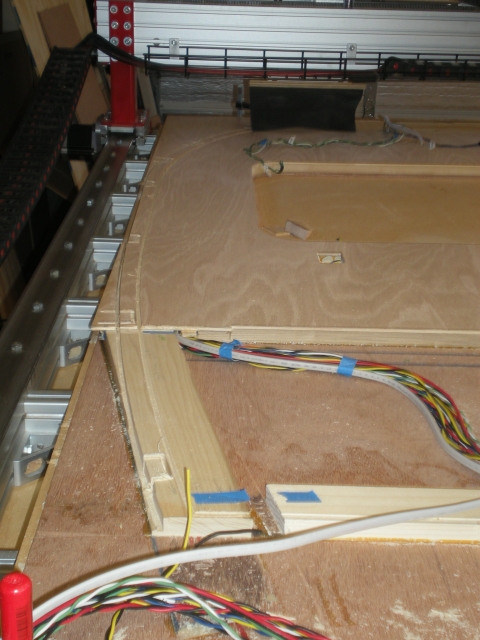
First rough cuts on wallI'm making cuts into the framing under the interior ply all the way sown to the inside side of the outside ply. (Was that the least bit clear?) Just to be sure, I took the first rough cuts planned for the 1/2" cutter with the 1/4" cutter so extra meat would be left in case something went amiss. No problems. No video, either. Just the opposite af this morning. Keep reading.
Nose:
Roofline:
 CNC down for maintenance
The CNC was down for maintenance yesterday. My Y axis kept drifting in the Y+ direction. I'll bet you don't have that problem.

I contacted CRP to see what they said. Make sure the motor set screws are tight. I just did that for the same problem, but what the heck, I'll try it again. The Y motor set screw's hex hole was munged up. I couldn't get an Allen wrench in it well enough to tighten it any more. Off to HD with setscrew in pocket to get a new one. So I'm trying to compare my set screw with the screws on their thread finder, and drop the d@#% thing, and it is lost down in the crack where all the washers & stuff fall.

Gone, never to be found again.

Now I
must come home with the right screw. So I made a couple of guesses, then stopped by the paint department to pick out a wood stain, then off to checkout. Luckily one of my guesses was right. I got that done and my Y axis worked fine this morning. I still can't figure out how it would drift only in the Y+ direction and not the minus.
 Wood Stain
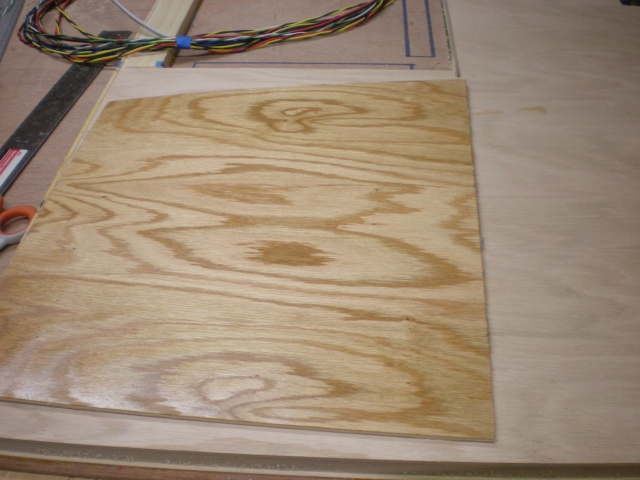
Had to try out my wood stain to see how it looks. Stained the end piece of the cabin cabinets. I like it.

The interior will get this and 2-3 coats of wipe-on polyurethane. Here's the stained wood next to unstained:

 The Bulge
Remember the bulge at the bottom of the door?
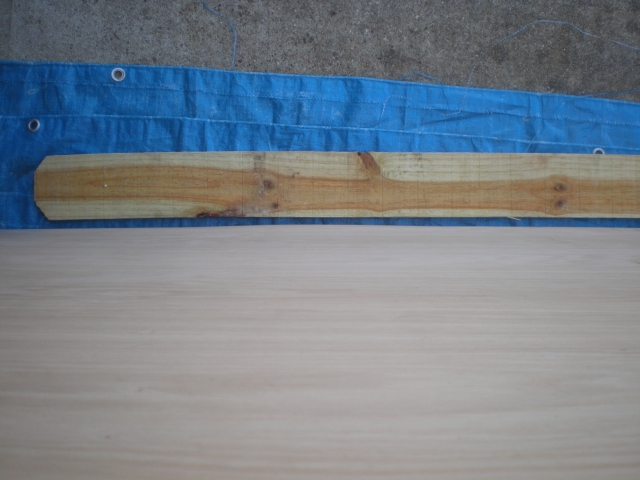
Here's a view from the bottom after cutting out the door opening. Light shines through!
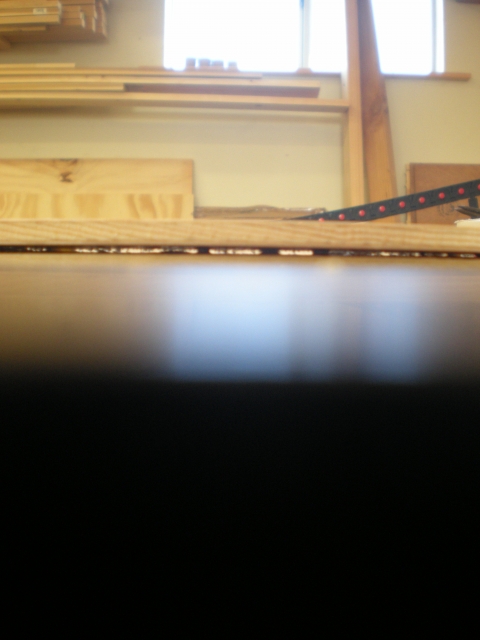
I don't know what I want to do with this.

I can just leave it alone, 'cuz it ain't hurtin' nobody. I could try cutting through and under with a coping saw, and try gluing it down. It'll leave a line, but less bulge.

OK, do nothing just won. I've already done enough repair work today. Read on.
Disaster strikes! 
I managed to steer the router waaaaaaaay off course.


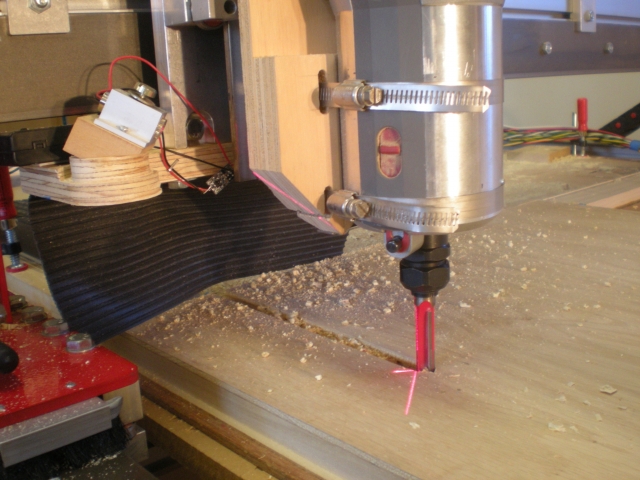
Another long story. I got the baseboard bottom rough cut and started on the cut for the aft bulkhead. These are the two most critical cuts of the whole project. If they aren't right on both walls, the Tear is going to look like my only tools were a dull hand saw and a rusty hammer. On my first rough cut for the aft bulkhead, the gantry was out of square and so was the cut. That won't do.

So I squared up the gantry, and I'm ready to make another cut. I want to pick up where I left off, so I position the tool where it needs to be and scroll to the line of G-code I want to run next. At this point, I need to digress for the sake of the non-CNC reader.

To pick up and continue from a particular line of g-code, you first scroll to the line and
then you have to push a button to tell the computer that's the next line. Ok, now even the non-CNC readers can guess that what's about to happen isn't going to be the desired result. From a tool position 3/8" below the bottom of the interior ply, the router takes off at full rapid for parts unknown. Based on the length of the gash, it took almost 3 seconds from stuff starting to go wrong to my recognizing bad stuff is happening to hitting the Emergency Stop button. You don't want me tailgating you in traffic. Ever.
Disaster RecoveryHere's a closer look at the carnage.:
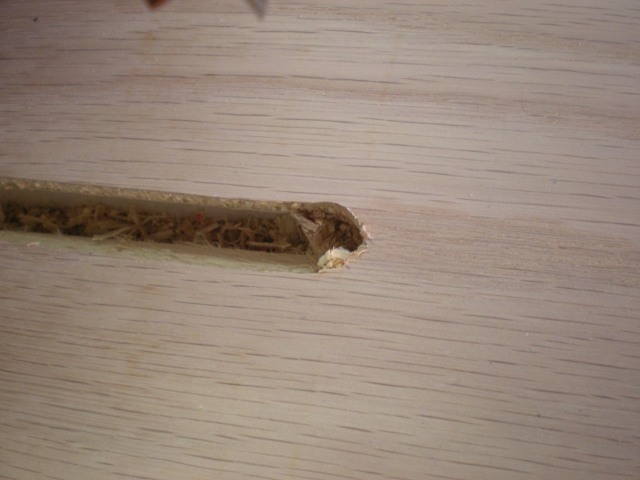
I started off by making a series of cuts to expose the baseboard and straighten out the gash, which was at an angle.
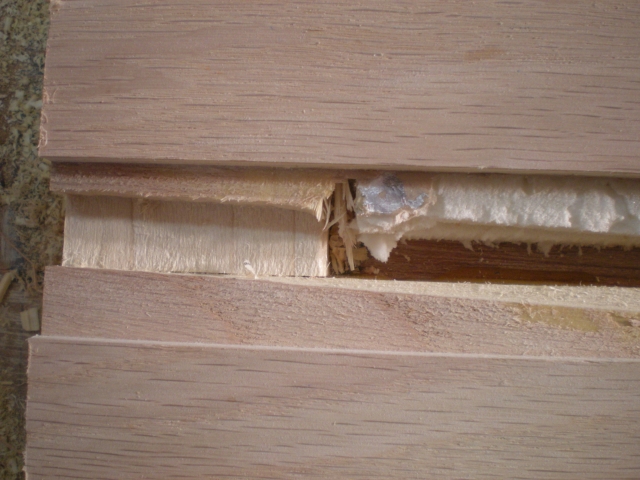
Did a little chisel work to square the corners on the one end. Note the round tool marks in the corners.
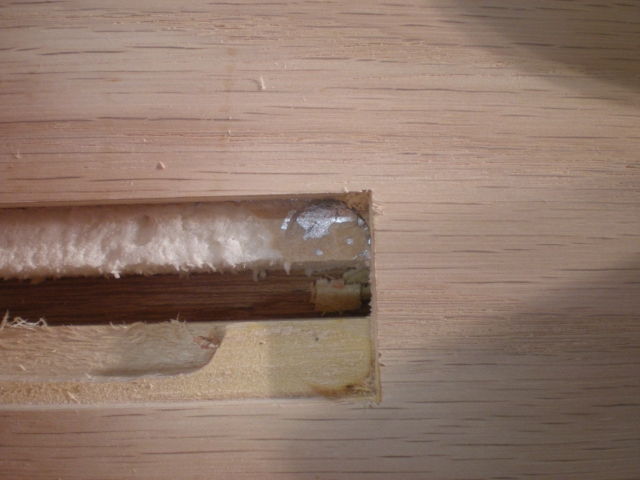
Dry fit a patch piece:
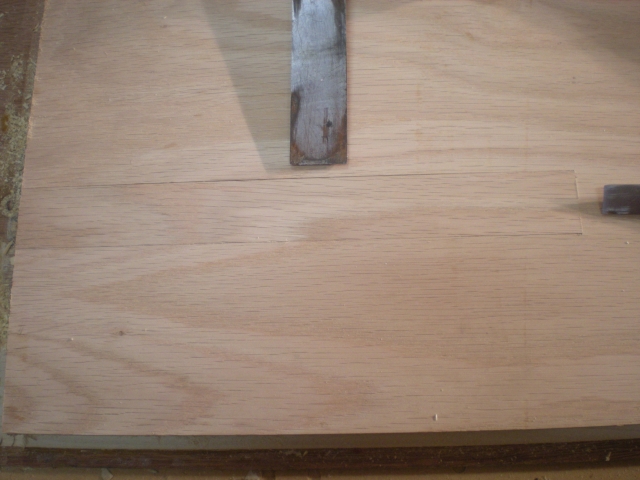
Just add glue and 220 grit:
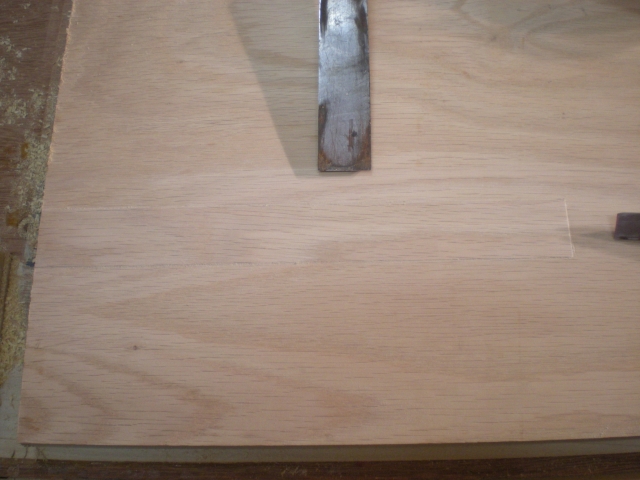
It'll probably have a dark stain line around it, but it's down in the footwell, and I bet no one will ever know it's there. Except you, Dear Reader.
Stay tuned for more excitement.




 . As you know that also means they are brittle and can fail if you apply too much side loading from too fast of a feed rate. That said the single upcut or downcut bits are pretty durable. The compession bits are the ones you need to watch out for. I'm not sure of the technical term but with the dual helical cutting edge directions they have a smaller cross-section and can snap on you pretty easily. I've witnessed how much energy a small piece of metal has when it comes apart while spinning at 20-25,000 rpm. They do make nice clean cuts though.
 I haven't had that problem as much (knock on wood) since I learned how to set the speed limit on the CNC. Now there's more time to react to impending disaster.
  I contacted CRP to see what they said. Make sure the motor set screws are tight. I just did that for the same problem, but what the heck, I'll try it again. The Y motor set screw's hex hole was munged up. I couldn't get an Allen wrench in it well enough to tighten it any more. Off to HD with setscrew in pocket to get a new one. So I'm trying to compare my set screw with the screws on their thread finder, and drop the d@#% thing, and it is lost down in the crack where all the washers & stuff fall.
  Gone, never to be found again.
  Now I
Now I 

 OK, do nothing just won. I've already done enough repair work today. Read on.


 To pick up and continue from a particular line of g-code, you first scroll to the line and
 I can change settings and make the problem worse or better, but how do I know when it's cured?
 'ed around with this problem all day today.