Well, it rained a bunch today, so did not split wood; although I did manage to pick up and get the splitter close to where I wanted it last night (in the dark); and then into position today between downpours.
With the rain I managed to sneak off to Mecca and worked on the switch plates some more.
Punched them out on the iron worker. Filed the backs flat a bit (the punching curled them some and raised a small burr), then used a small rat tail file to remove the remainder of the burrs from the back side. These are the pillow light switch plates; one pillow light switch hole for the curb/wife side and two switch holes {pillow light and red night light… (?) ... can’t remember at the moment whether the red light or bulkhead fan switch is at this location} for the street/my side.
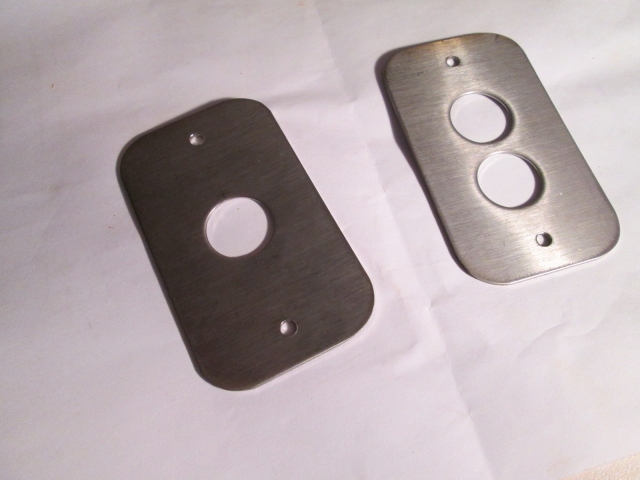
Having decided to turn the trim blocks for the pillow lights vertically (so the mounting screws don’t run into the embedded wire ways), the grain in the brushed stainless steel sheet stock no longer runs the right way… so I will have to “re-grain” them ( ...or maybe RO, grit blast to matte, or even engine turn them).
I may have worked out of sequence here, as the punching operation curled the plates a bit, and, while taking two steps forward, I took at least one small step back (more on that in a sec).
The next step was to file the keyways for the anti-rotation keys, and the springy keeper tabs on the switches. I laid out the centerlines for the keys, paying particular attention to each plate’s orientation to its block, and that the relative position of the ‘O’ (off) mark on the switch was always down. I used Karl’s small machinist’s vice to hold the plates steady while I filed. Also used a piece of paper towel to hold the parts in the vice, minimizing scratches and marks from the vice (soft jaws, if you will).
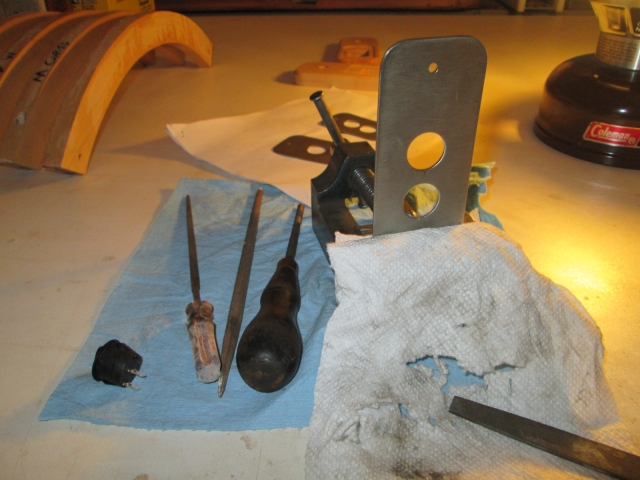
Here I am holding a piece of white paper behind the street side pillow light switch plate to better show the keyways.
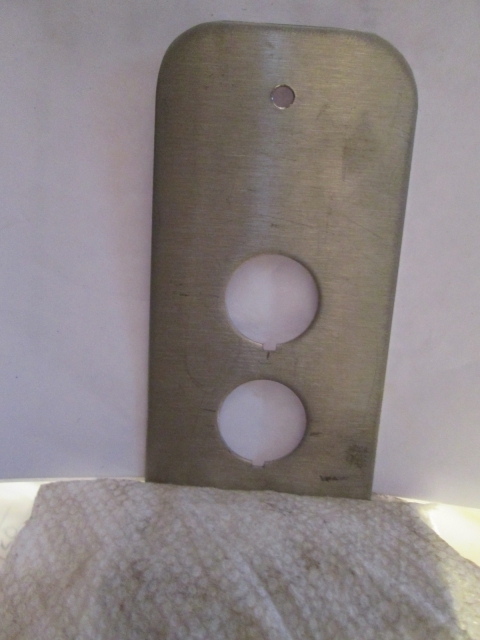
A better look at the machinist’s vice.
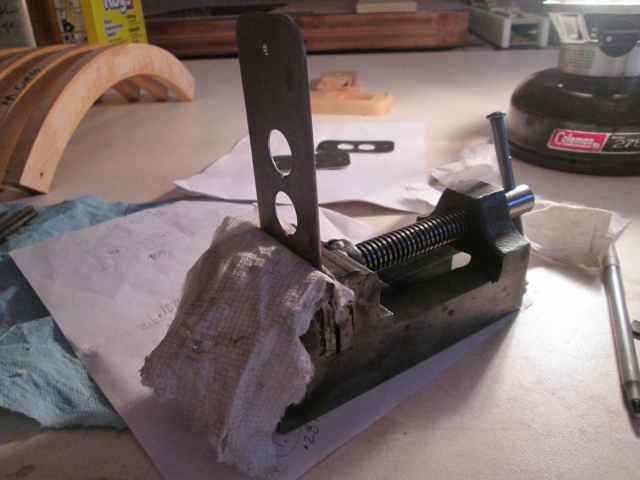
Using the same technique and a wider file, I test fit a switch into each hole and transferred marks to delineate the bounds of the keeper tabs. Then I filed each of those starting with the longer horizontal curb side main switch plate (dome and porch lights).
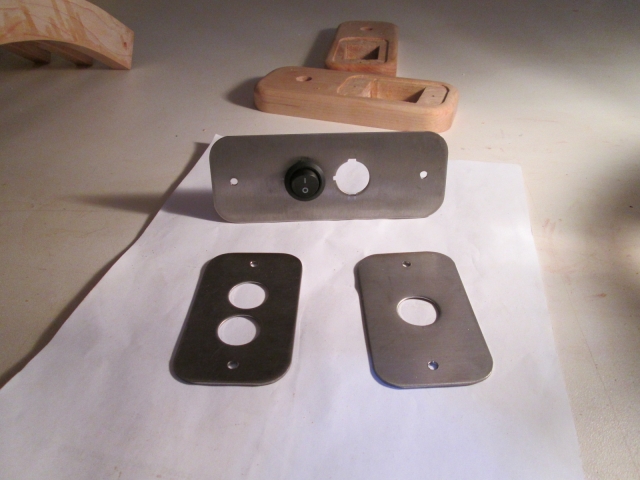
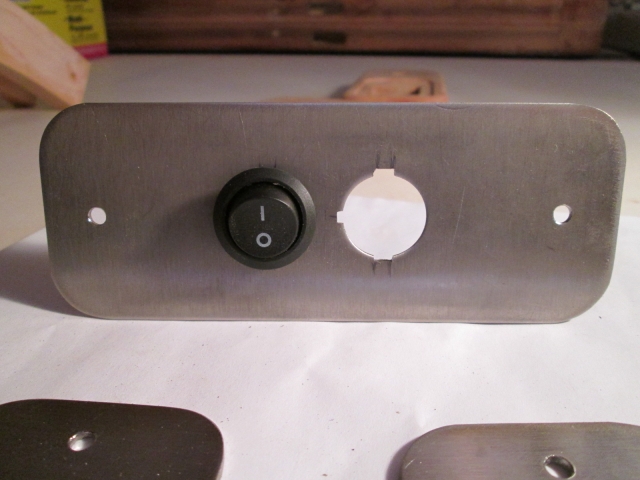
Moved on to the curb side pillow light. Note that the screw holes (over the switch) for the light are on a diagonal facing rearward and downward.
Here was my screw up. After punching the three holes in the street side main switch plate (dome, porch, and red night light… or fan?... the red light is a ‘tell’ of my submarine experience and friend Dale’s astronomy experience rubbing off on me) and noting how much the punching operation had curled the plates, I attempted to press it flat between some heavy steel plates. Despite putting some paper towel on the switch plate to help avoid scratches (a big under estimation) the press “coined” the texture of the steel plates into the switch plate rather aggressively, and made some other kinks.
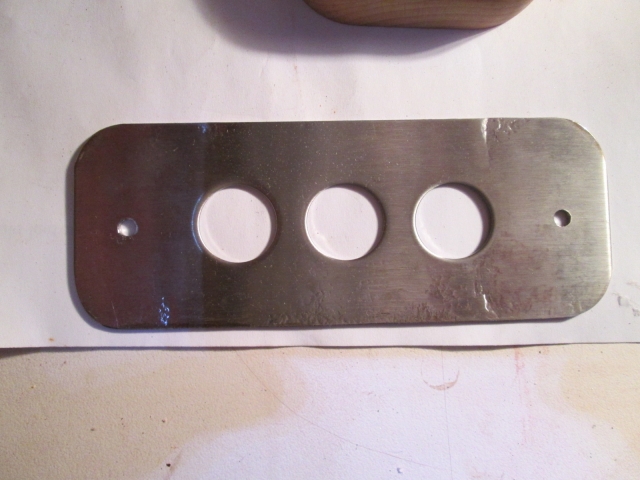
If the texture had been even across the plate I might have gone with it; kind of stone like.
But no, so I’ll have to make this piece over again.
I needn’t have bothered, as the curl in the plates would have easily been pulled flat by the mounting screws, but it will complicate holding these true in the mill to finish the counter sinks for the mounting screws, and the re-graining operation… it would be better if they were still perfectly flat.
Here are the curb side main switches test fit in the plates and blocks. The extra scratches and layout marks will disappear with the re-graining (or optional finishes mentioned above).
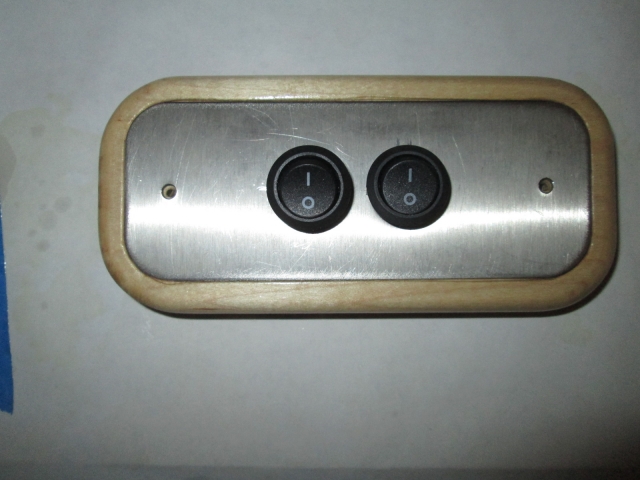
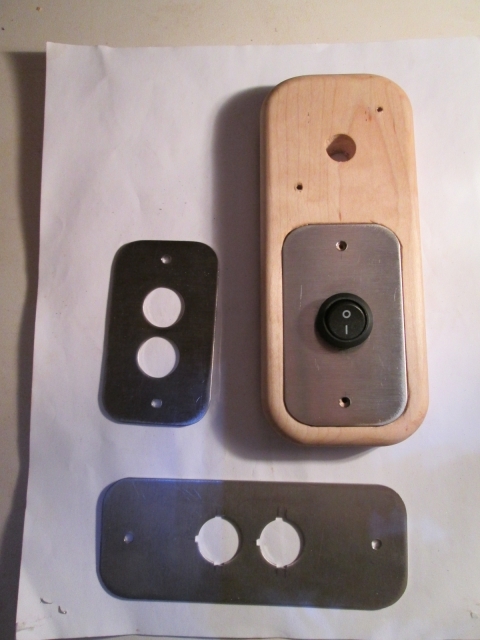
Here is the street side pillow light block with pillow light switch and bulkhead fan switch(?).
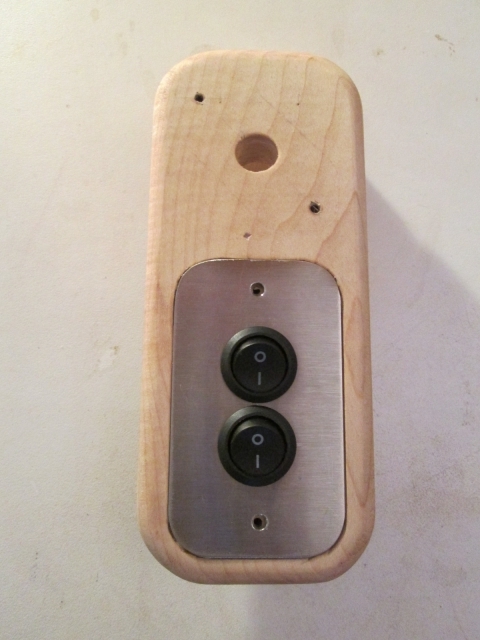
Still need to cut the wire way in the backs of the pillow light blocks, and they still need poly. The dome light blocks came out nicely, and the main switch blocks still need another coat.
Tomorrow’s weather should be better for splitting wood; Monday we will see if my back is still with us.





 Even the ones that have been in the shop for a while and gathered sawdust seem to do fine if you shake them out good. I like to use the folded edge, as opposed to the ripped/scissored edges.

