Recapping, it’s cold and we have had a lot of snow around here lately.
Here is how I did that under the galley counter side ledger I mentioned previously. Ran one corner of a 1x something thru the 1/4 inch 1/4 round bit in the router table.
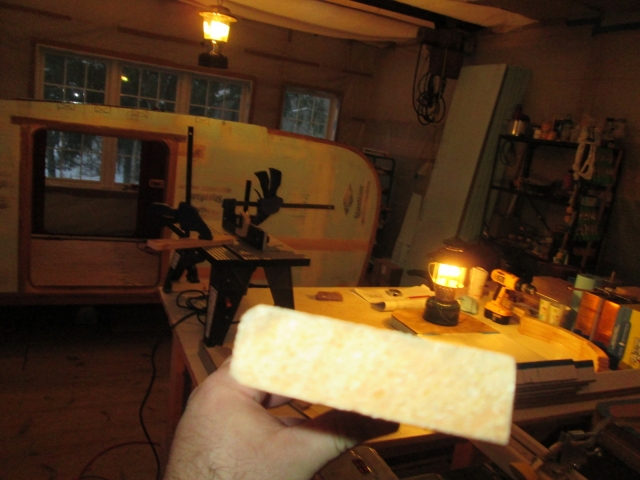
The lower left corner by my hand isn’t rounded over; it just has a chip or dent in the rough piece that will not come into play after the finished part is trimmed to length.
Next was ripping to 5/8 inch on the table saw.
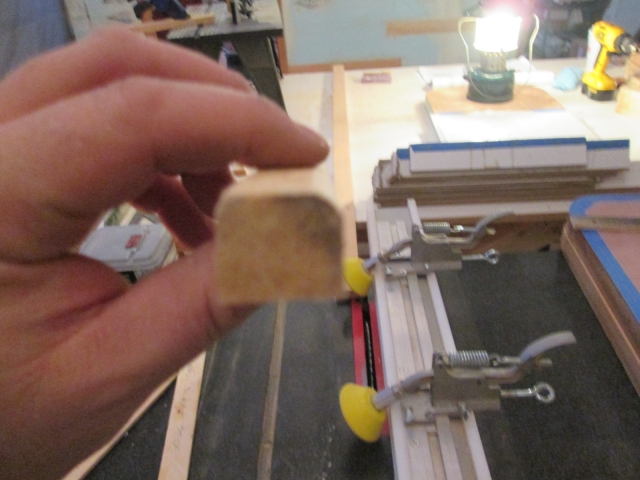
Wash, rinse, repeat to get the required footage.
So in the above pic the top of the ledger is on the left. I’ll use screws with small diameter flat heads to screw these ledgers into the side wall blocking giving the galley counter something to land on at the side walls and bulkhead, and then I’ll screw down thru the counter plywood into these to fix it in place; with glue, of course.
I suppose I need to seal these and the underside of the counter ply with something. Since they won’t really be seen, maybe I’ll just use some of the other dark stain that I’ve got kicking around, or the same as the walls.
The “front” of the counter (at the rear of the trailer) will be supported by the three legged face frame and an edge rail spanning across from wall to wall. Underneath the divider that carries the inboard glide for the cooler tray will support the counter at roughly 1/3 of its span. If you refer to the 3D model images in the very first post of this thread, you will see the under counter dividers and face frame (don’t forget that I have shifted the cooler to the street side now). I am still considering leaving the other divider out. Despite still having the leg from the face frame, I would be able to stow larger objects under the counter if I leave the other divider out. The thing is, I don’t think the large lounge style bag chairs that I got will fit either way, so they will either need to go on the galley counter or mattress while on the road.
Anyway, the reason I mention this is that I planned to cut out and fit the wood for these frames today, because it is something that I can get done in the cold. I decided that it would be an inefficient use of the cedar that I have remaining (too much waste and not enough to do the job), so I stopped and got some select pine. <Start rant> Do you think you can get a 1x4 x 8 ft board at the big orange? No. Two bins of 6 footers, and 10 footers, but no 8 footers

. And I only had to pick thru eight or ten 1x2’s before I found an acceptably straight specimen. <end rant>
Once at Mecca I started up the heaters, refueled and lit the lanterns, then decided to give Karl’s big kerosene heater (stored under the eaves of the loft) a quick once over, like I have been threatening to do for some time now. Fueled it and let it sit for a couple of hours to let the wick soak; since it had been sitting idle and on “empty” for some long time.
Then I got into building the under counter divider frames. I will build them both and decide later whether to install both.
After posting last night I had a brainstorm. If I use 1x4 (3-1/2 wide) for the rear vertical stiles, they will support the narrow 3 inch wide panel filler pieces and provide a backer for the butt joints in the panels. The bottom rail will be 1x4 ripped to 2-1/4 wide, matching the height of the bottom rail and filler block in the side wall, giving the cooler tray glide plenty to screw into. The top rail, and two other verticals pieces will be 1x2’s.
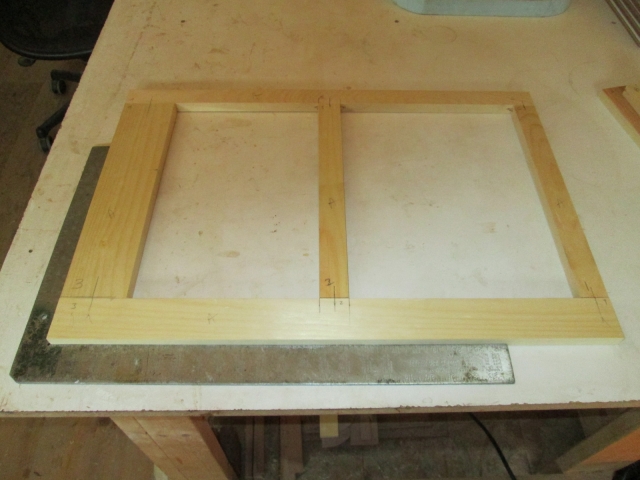
Cross cut two sets, ripped the bottom rails and did a dry fit to lay out the biscuit joints (pocket screws will be used to install the assembly, so biscuits to join so that the installation screws don’t clash later).
Hmm, it had been a couple of hours. Let’s see if we can get that big kerosene heater to light.
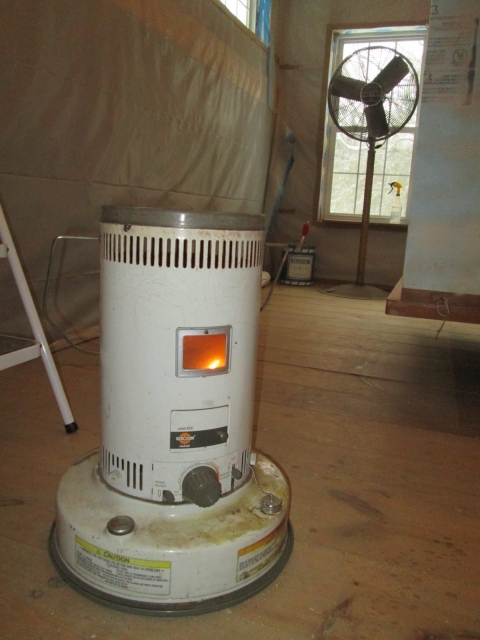
With the other junk running I could get it from 39 to 49 in about 2 hrs, and that was it. With this sucker running I could watch the thermometer coming up from there in tics every few minutes. Should have done this ages ago!
Back to work, I ran the jointer around and plunged all slots in the mating surfaces, taking the time to clamp each piece down to the bench for both accuracy and safety. I used the large #20 biscuits for the 1x4 style, and the small #0 size for the rest. Then I put the jointer away.
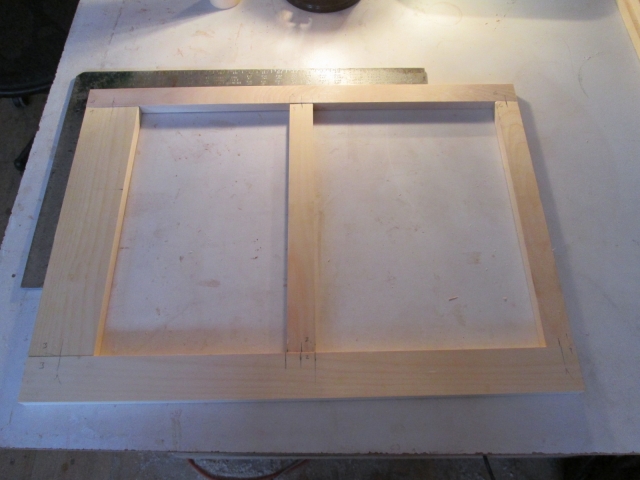
For some reason I decided to do a dumb idiot check on the dry fit and found the assembly height to be 1 inch strong. Checked my math and found that I had made a subtraction error when allowing for the rails. Well at least it wasn’t too short. Back to the miter saw, get the biscuit jointer back out, and run those slots again. Here is the dry fit again, only the correct height now.
Snowing out again,
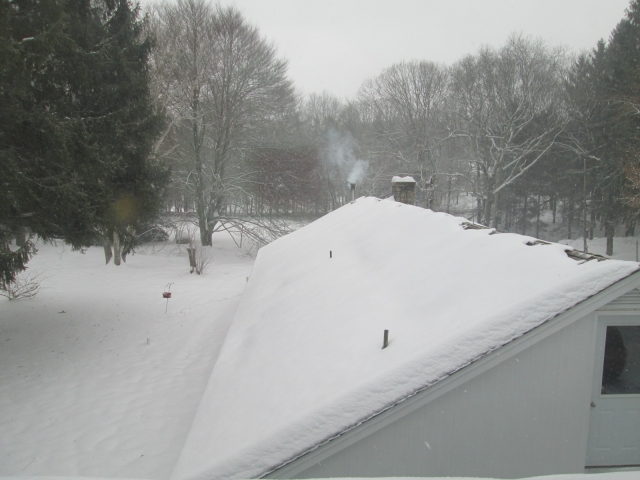
…but hey, looky here, it was now over 50 deg F in the loft!
Let’s see, the wood came from the store (warm), the glue came from my house (warm), and the loft was quickly approaching minimum gluing temp of 55 deg.
Let’s move on and see what we can do about dry fitting the panels. Here is one of the four “too short” panels. Technically it is too narrow, not too short.
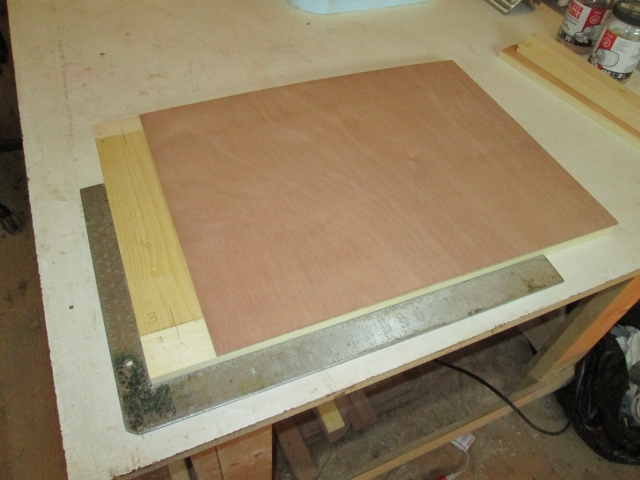
Not shown, I dug into my pile of narrow drops of the 5 mm ply, and found a couple of pieces with the grain running the long way. Cross cut and ripped 4 pieces just slightly oversize so that I can patch them on, filling the void at the backs of the panels, and trim them flush with the router later.
Well looky here, it was now 56 deg F and still rising. Time for glue!
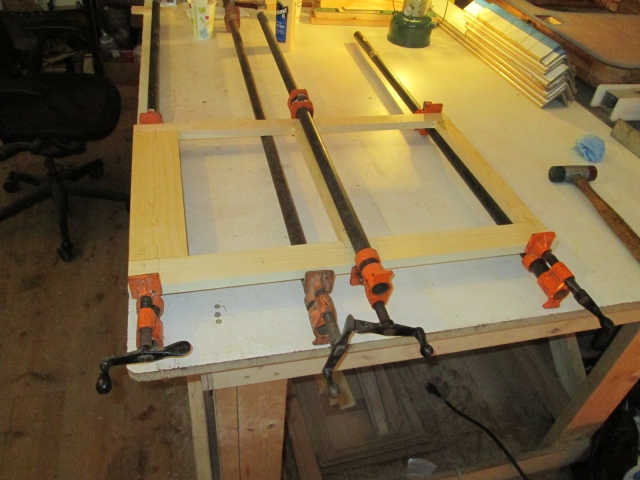
Do that twice and then bring the clamp ups down to sit sort of by the wood stove overnight; stoked a few more logs onto the coals and called it a night.
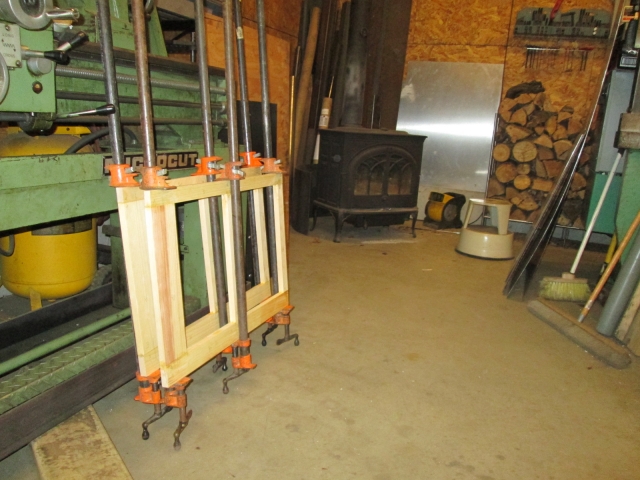
And none too soon! Driving in the snow was no big deal…
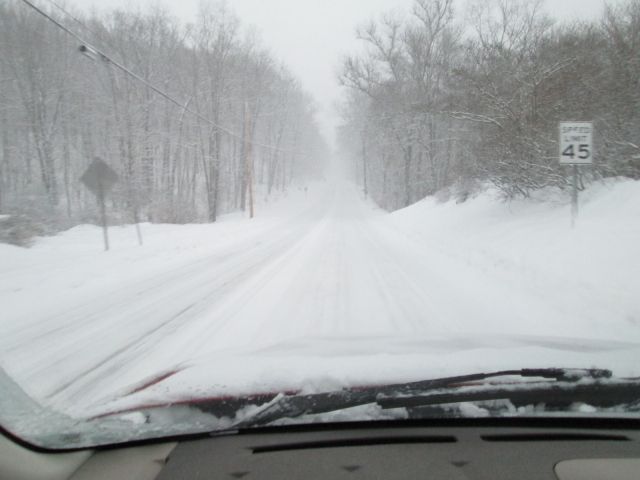
… until I got down off the hill. Then it was packing up into hard ice and people were getting stuck and spinning out all over the place.
The Escape did great though and I was able to weave my way thru with no trouble getting up and down the hills.
If I can get out and about tomorrow, I will fire that big heater up straight away and see if I can carry on.


 . And I only had to pick thru eight or ten 1x2’s before I found an acceptably straight specimen. <end rant>

