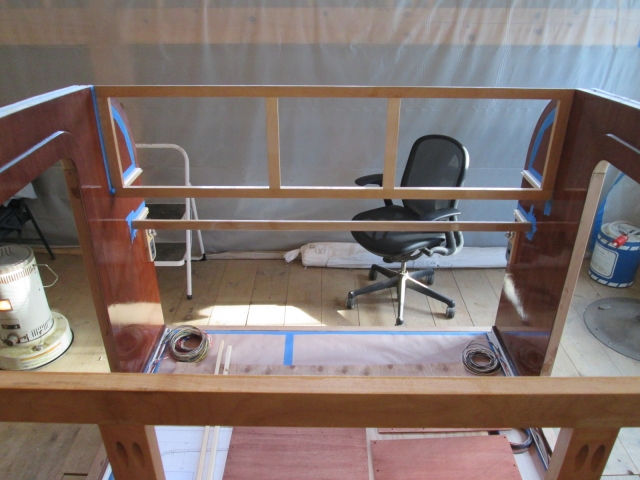
I’ve had a lot of nice comments from friends and family about the overhead shot that Kudzu also mentioned. Thanks.
I guess we forget to step back and take a little orientation shot once in a while to maintain perspective on the big picture.
Thanks for the nice words and opinion on the coat hook, Mel. I was actually leaning in the other direction, thinking that the over and under would accept bulky items better.
Thanks GPW, I’ll keep that in mind about the hanging pole. Not sure if any of my outdoor clothes need a proper hanger, but you never know. Could be useful someday.
So the weather today was great, well into the low 50’s off the hill, and no problem getting the loft up to 60 with just two heaters. Another 4-1/2 hours making progress on miscellaneous cabinet stuff.
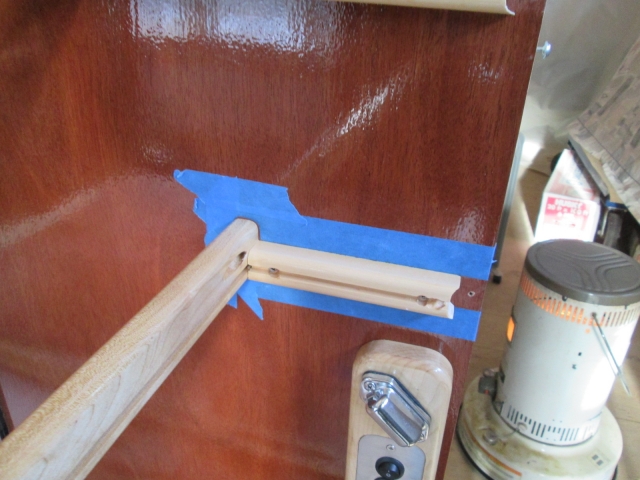
One thing that I have been mulling over has been the key catcher front rail. All of the other cabinet face frames have high and low rails separated by side stiles, with a pair of pocket screws in each end of the upper rails, and just one screw at each end of the lower rails due to the panel slot. For the key catcher rail that’s it, just the rail with a slot in the lower "rear" and a pocket screw at each end in the upper "rear". My concern was that if the glue joint were to fail the rail could potentially pivot on the screws allowing the panel to pop out, or just being an annoying failure. So I ran a second pocket screw hole into the slot of a scrap piece to see if it would provide purchase for a second screw. Not so much.
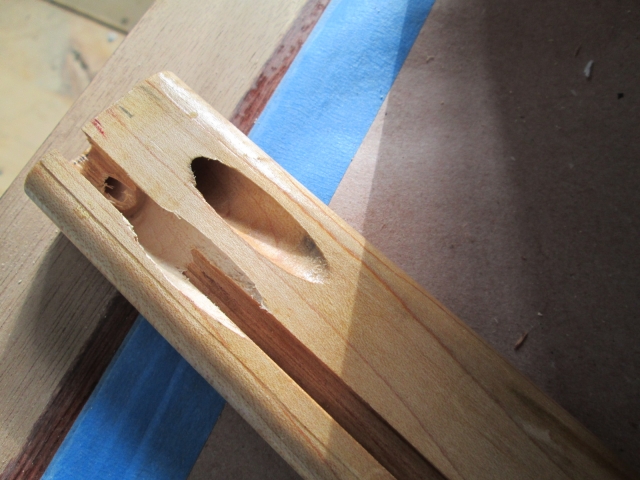
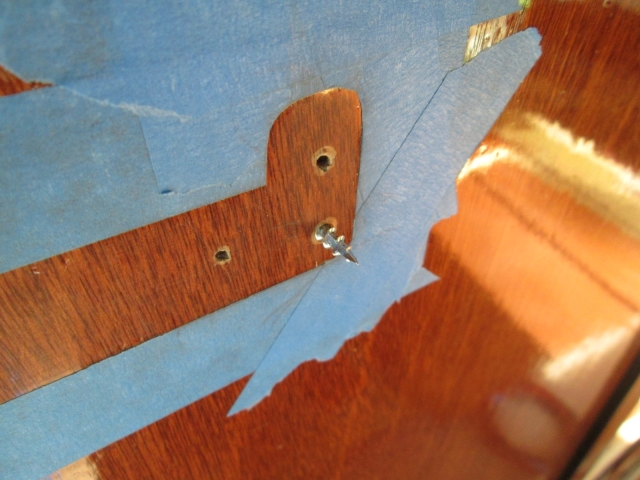
It is not so much an issue of fastening the rail to the wall (one screw will do that) as it is pinning it from spinning, so I wasn’t so worried about screwing into the end grain. As you can see here by the pencil mark behind the slot, there is enough room for a screw, just not an angled one.
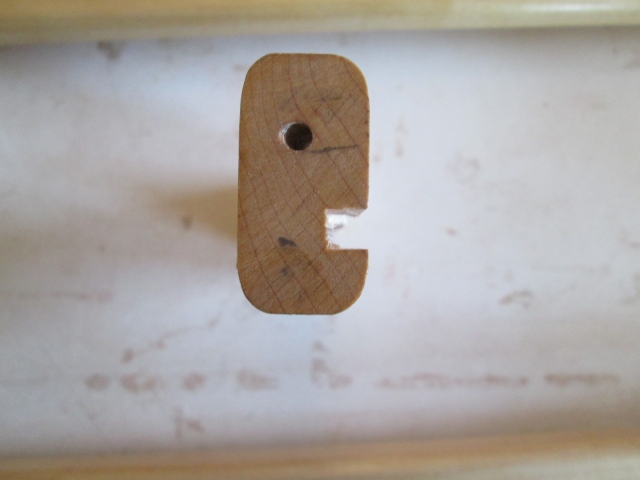
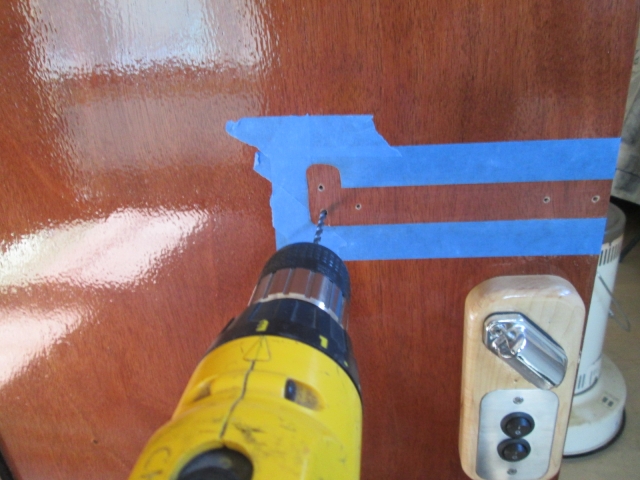
So I used the scrap piece to align and trace the slot location onto the wall to help me located a good spot to drill.
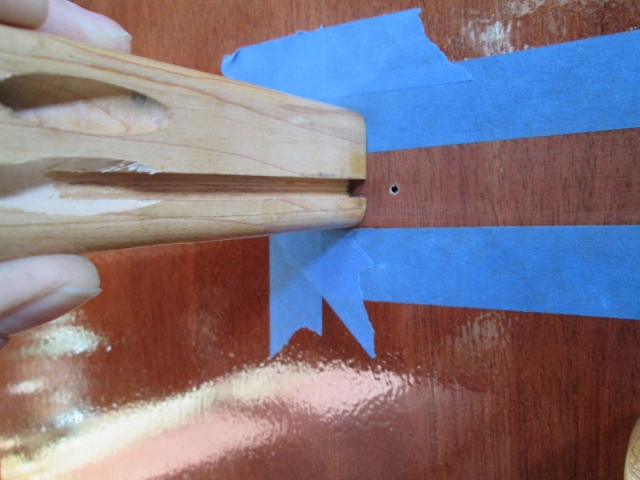

Finding the correct size drill to clearance for the Kregg screws was easy.
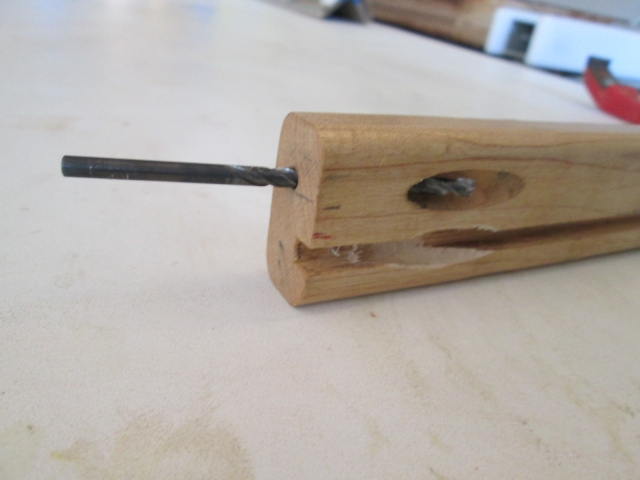
And drilling from the inside meant I did not have to worry about hitting my target when I drive the screw from the outside in.
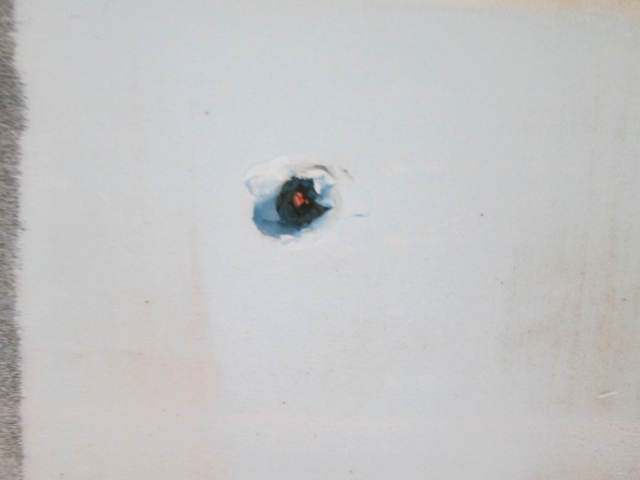
Ran one of the Kregg screws in and out of each hole (from outside of the curb and street sides) as a dry test and to clear the foam away from the buried blocking a little. First pic shows the screw sticking in. Second pic shows there is a pin hole of sunlight visible thru the foam and internal blocking from the outside.
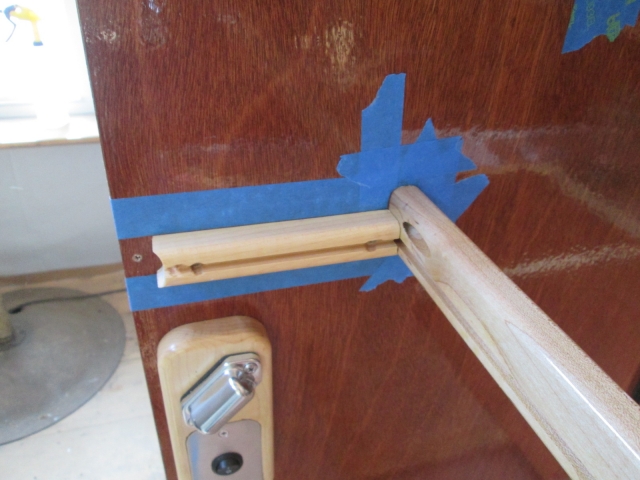
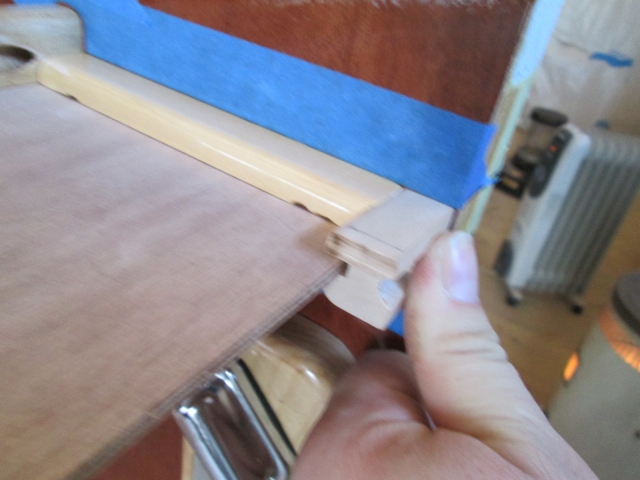
Next I glued and screwed the little key catcher side ledgers into place, wiped glue, then went ahead and did the same for the rail.
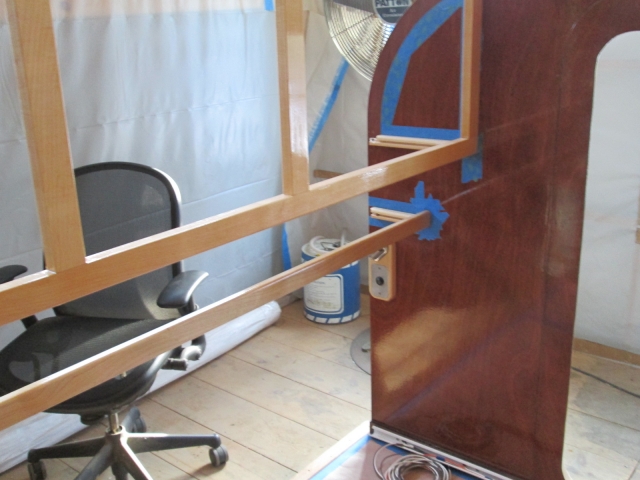
At some point in the past I seem to recall thinking that the key catcher panel was a little narrow, but now that I am happy with the method that I have been using to pin the "front" of the panels preventing the "front" rails from bowing out, I decided that the pre-cut panel would be okay. So I trimmed it for length and did a dry fit. Actually, I crept up on it by making several half blade width cuts until it slid in easily with a tad bit of float to allow for swelling (humid in summer and dry in winter here, so wood moves around with the seasons).
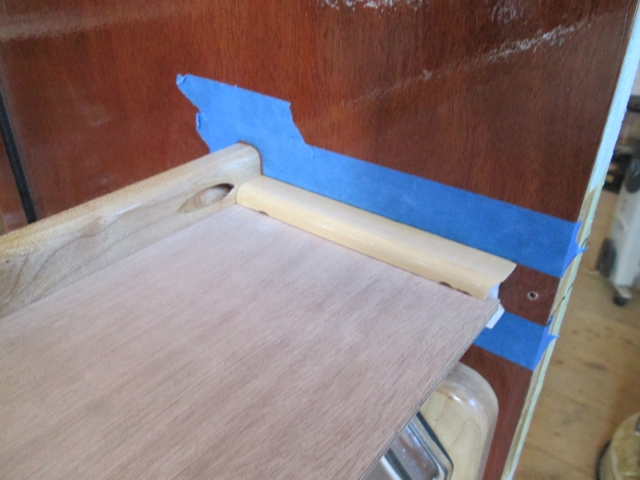
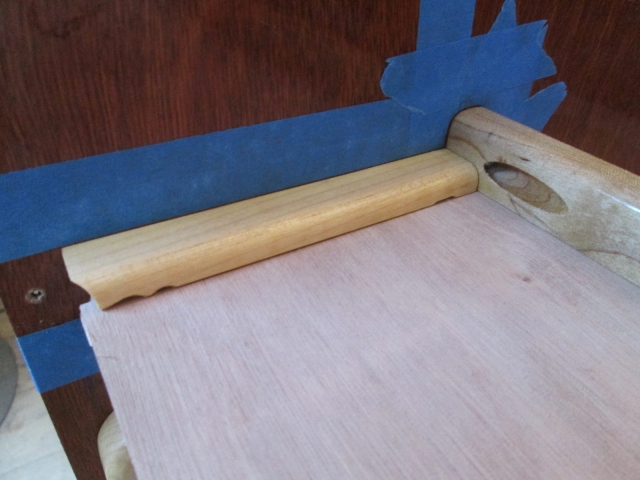
With a scrap of the ledger stock. This is a little misleading on the slot engagement because I had the panel shifted to the front (back of the shelf) a little to center it.

Now that the panel fit was set I stained it and the floor of the upper front cabinet, shown sitting across the top of the bulkhead and rear cabinet frame to keep them clean and make room on the bench.
Next, I had gotten a little ahead of myself starting to put the finish on the under galley counter face frame. I had forgotten to add the pocket screw holes in the "backs" of the legs where they will screw into the floor blocking (that blocking also does double duty as the blocking for the thread inserts that receive the bolts that secure the cabin to the trailer frame). The leg in front of the cooler divider gets secured to the divider from behind, but the other two legs need to be secured to the floor at the bottom so they don’t get knocked out of position while loading and unloading cargo. You can see here that the new holes are lighter than the surrounding areas that have been oiled and have a first coat of poly. The frame is standing upside down on temporary cleats.
After this pic I pushed a little of the natural oil stain down into the holes and they will get poly with the second coat. Not tonight though. I wanted to let the first coat setup good and hard before attempting to scuff.
Finished up the evening by back sealing the under counter support parts with diluted poly. I didn’t bother staining the insides of the divider panel.

And now the news. Next weekend Karl and I will be helping Ben move his stuff, including the table saw, band saw, work bench and chair that I have been using; so I will have some prep work to do during the week so that I can move the cabin further into the loft off of the floor hatch, and clear my stuff off of and out from under the bench. I’ll get my small vertical band saw moved over to Karl's and ready to hoist up, as well as some lumber to build a new work bench. Karl and I have been discussing our options and whether we want to go in on a decent table saw together, or if I just want to make do with the other saws that I have access to. Karl spent some time on the phone with our chunker buddy Dave (who is a tool hobbyist and follows regional auctions in his spare time) to get some advice.
On another note, I hope you will all join me in wishing my mother a happy birthday today!


 Here, it’s started the rainy season (even More rain that usual ) and the trees are starting to show spring growth ... Won’t be long till the nicer weather KC !!!
  All signs of Spring (and about time too) ...Real Building weather soon KC !!!


