
I’m not a Saab fan. Never had one, so I guess I wouldn’t really know the difference, but everyone I have ever known that had one said they were difficult to work on and repairs were expensive.
Thanks for sharing Randy (Wolffarmer). Nothing like a good old thrash on your beloved beater.
But that’s not why we are here, so let’s get back on topic (at least for a little bit ).
I’ve been working some OT at my day job, and will be doing more over the next week or two (and maybe longer). I knew today’s weather was supposed to be really good, so instead of going in to work today, I took it off to work on TPCE and will go in tomorrow for a 1/2 day.
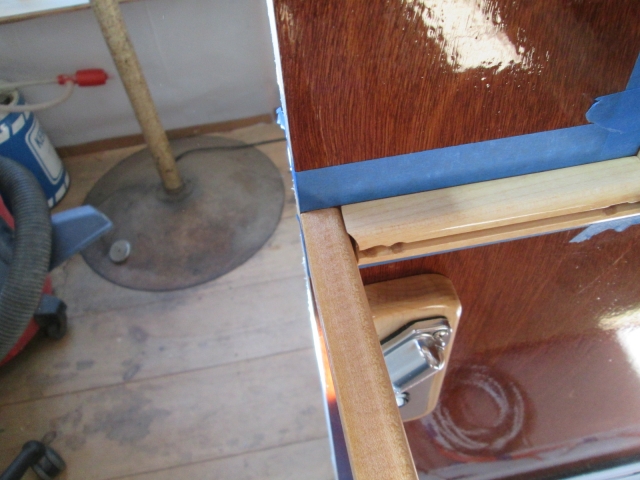
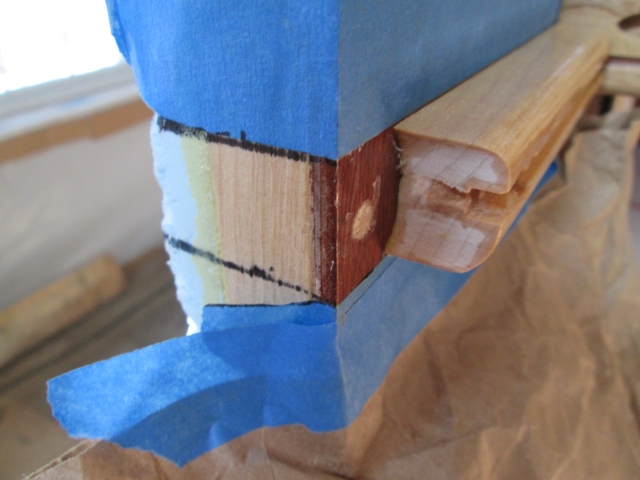
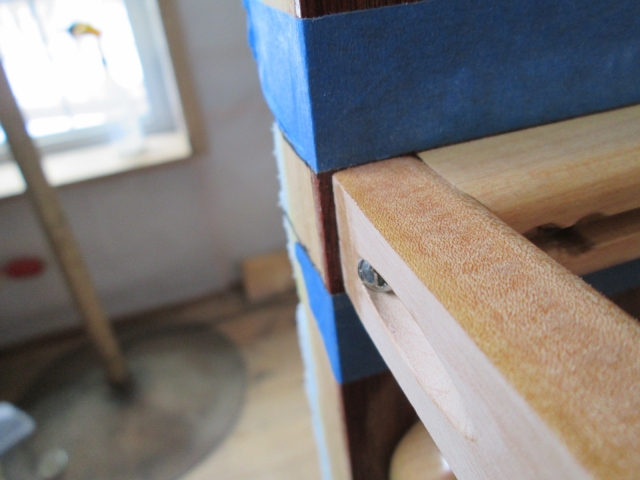
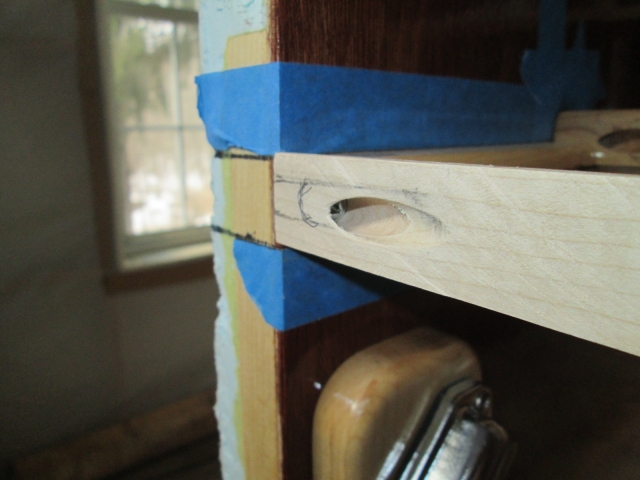
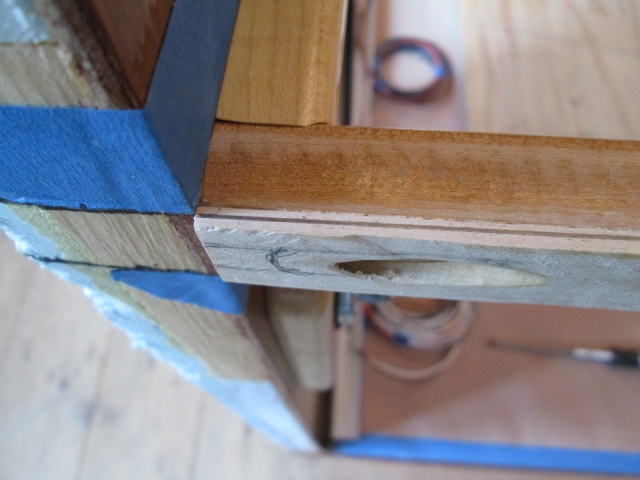
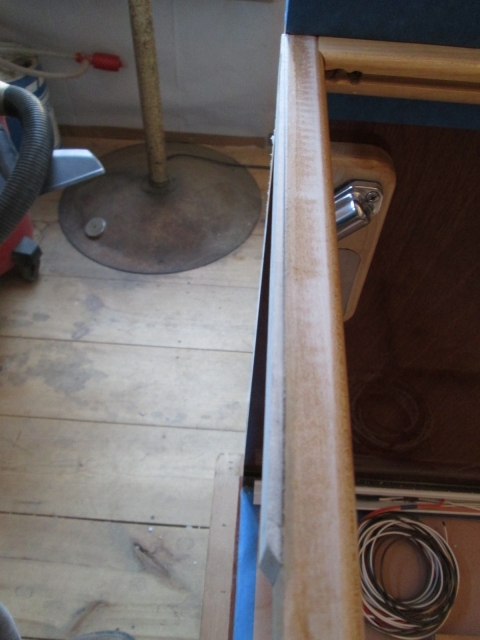
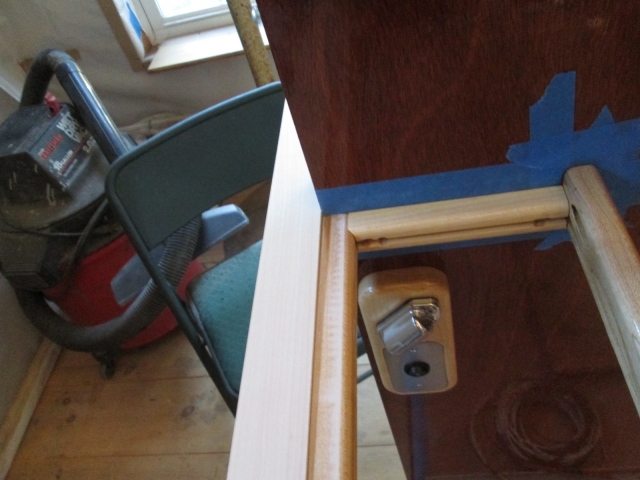
Anyway, as I mentioned way back, the “rear” ledger (front of cabin) for the key catcher shelf ended up with a big gap between it and the side ledger on the curb side. I think the “front” edge/rail of the shelf shifted a little when I ran the Kregg screw in. The street side was not as bad but still left room for improvement. Here in this dry fit of the curb side you can see that the ledger is flush at the front of the cabin (on the left) and there is a big gap at the side ledger where it is coped.
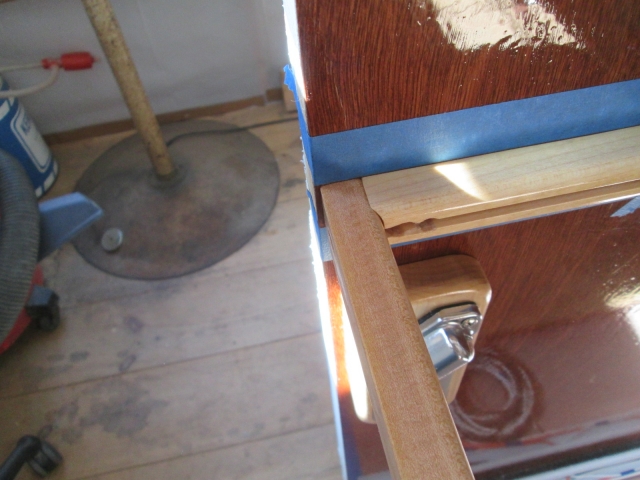
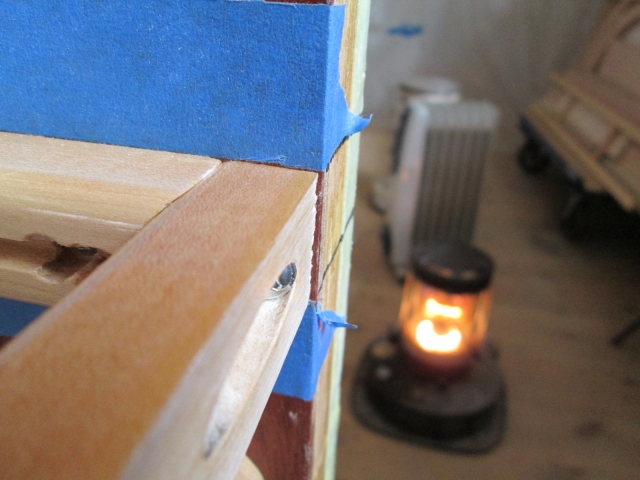
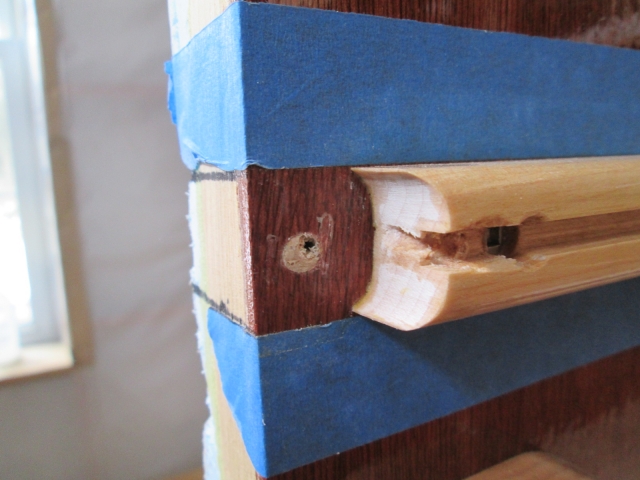
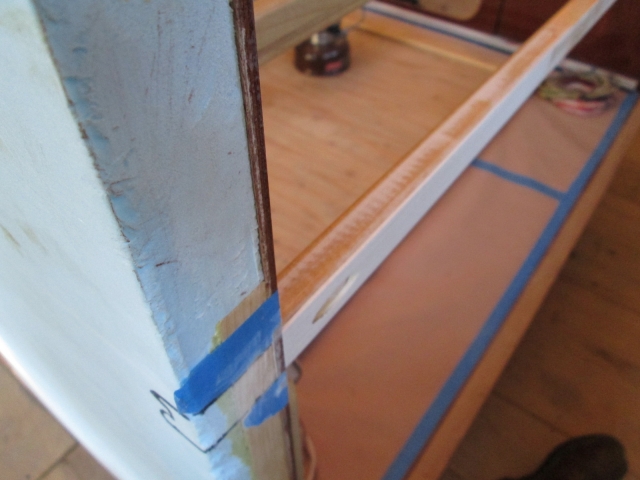
Here I have pulled the screw from the “back” of the ledger and pushed it tight to the cope. Now there is a big gap between the “back” of the ledger and what would be the front wall inner skin, and the pocket screw no longer aligns to its hole.
Since the side ledger and shelf face rail are already glued to the wall, they cannot be shifted easily.
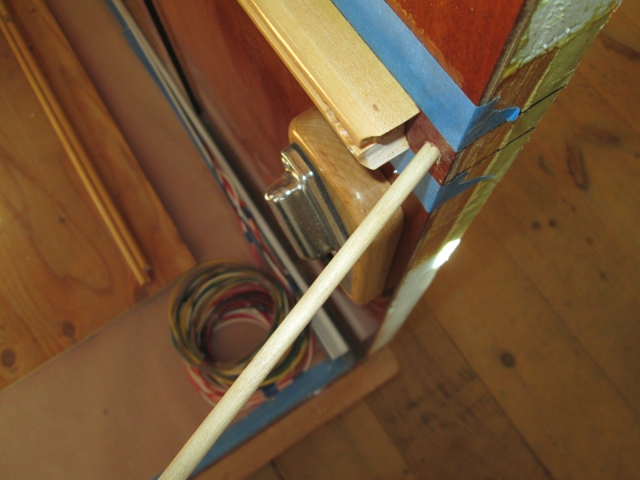
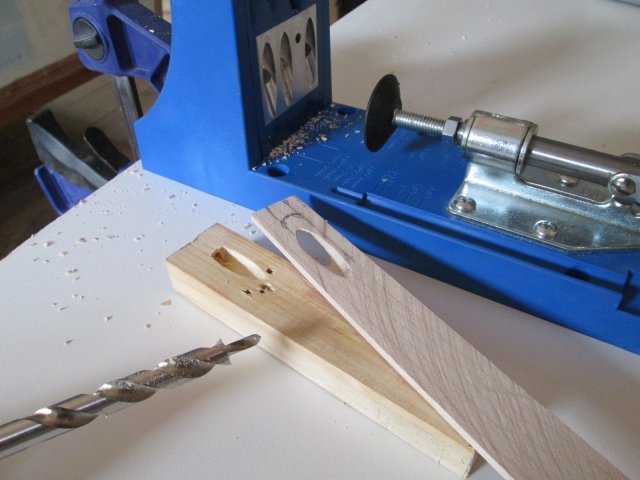
So in order to shift the “rear” ledger I drilled out the existing screw holes to fit 1/4 inch dowel plugs. Here I am showing the street side with the dowel stock dry fit so that I can mark the depth and angle of cut.
I cut the first one on the bench with the serrated steak knife, but then realized I could get a cleaner cut on the miter saw if I went nice and slow (haven’t worked on the camper enough lately that I am feeling a bit like a fish out of water in the shop).
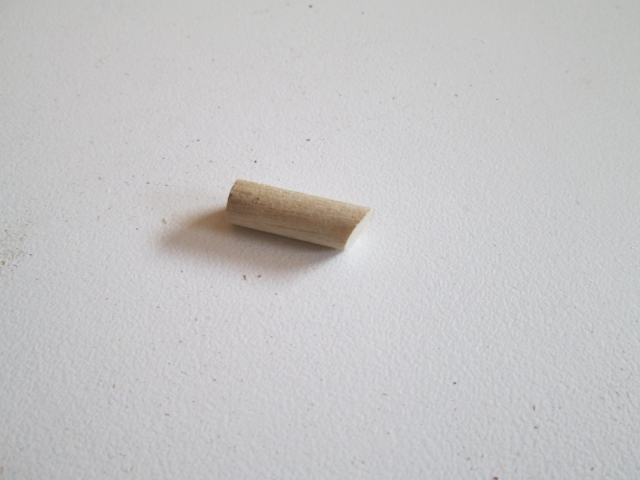
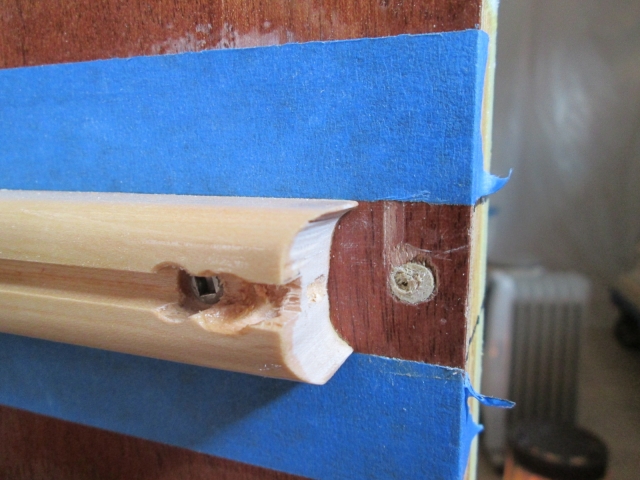
Swished some glue around inside the holes with a little splinter, smeared some on the dowels and tapped them into the holes with a block of wood as a punch and the mallet. Used the narrow 3/8 chisel to trim them flush. Here’s the curb side.
I thought about just remaking the front ledger and making it a little thicker, but that would mean another piece of maple and I don’t know how well the new (cheesy) table saw is going to work. (Side note: Karl and I bid on a Rockwell 66 but did not win.) Also, I already have a bunch of time on the finish work for this piece, and I figured it would be easier to patch a shim on and match it.
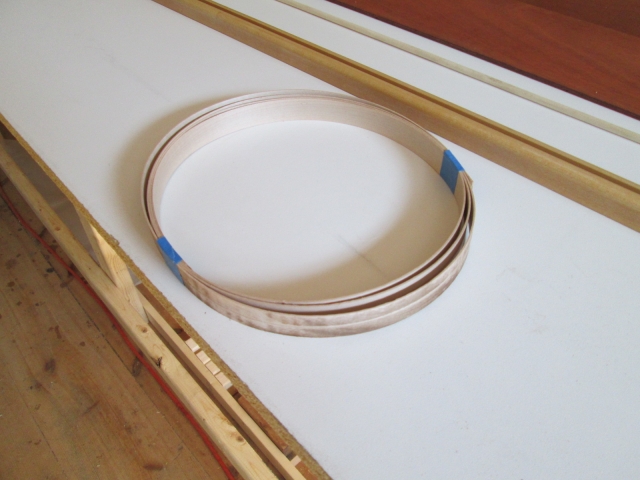
I had saved this thin strip of maple from when I ripped some of that 1/4 round earlier, but it was not wide enough to cover the 15/16 thick ledger and had taken a pretty good set from storing it rolled up like this.
So I decided to cut a thin slat from a larger piece of maple to scab on to the back of the ledger. I figured I'd go a little bigger and that would give my something to work with after gluing. After fiddling with the saw some just to get the rip fence set right and true to the blade, the first cut at 1 inch went okay but wasn’t a super clean cut. On the next thin cut things went wrong fast. This is why you don’t stand in line with the blade; shattered the work, busted one of my feather boards into pieces and sent shrapnel flying into the plastic drape wall.


I do not like this saw. Ben’s saw would have laughed and made these cuts like butter.
So now what? Well, I could at least dry fit the ledger again and see where I was.
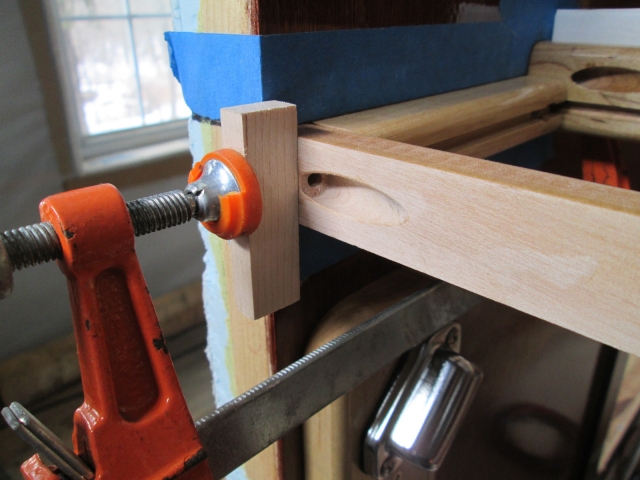
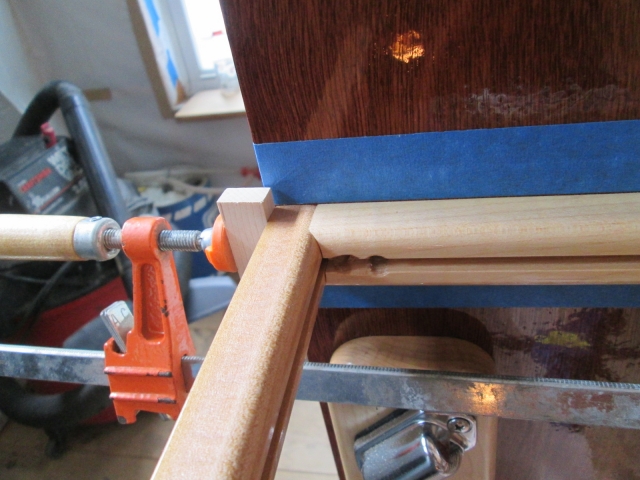
To make sure that the Kregg screws didn’t move the ledger out of position when I drove them in I made sure to clamp it in place securely.
This little block of maple kept the clamp from blocking the screw hole.
The cope fit much better now.
But I need to make up a scant 1/8 inch (actually less) gap.
The street side only has about 1/32 inch gap.
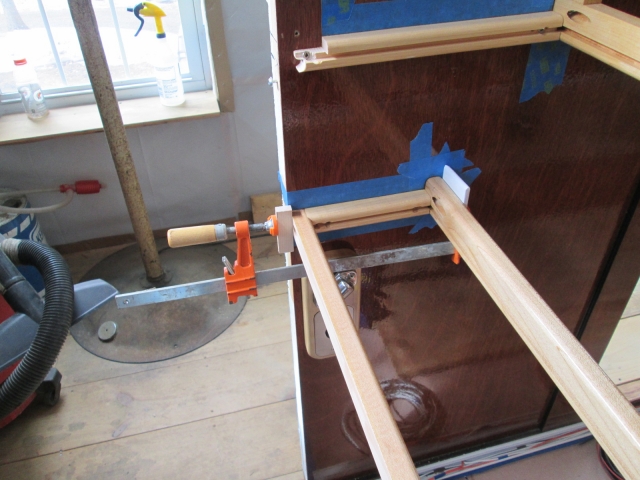
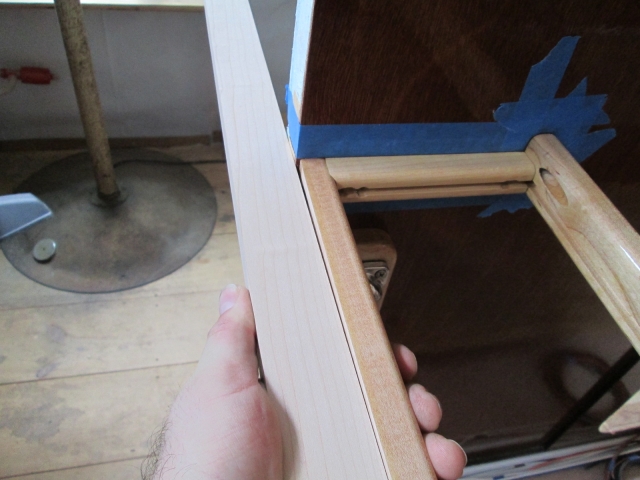
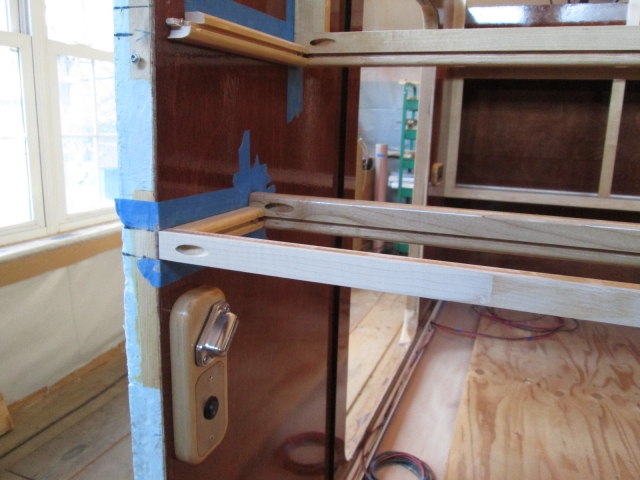
Here I am holding a piece of 1x2 maple up across the front of the walls. It turns out that the ledger was bowing into the cabin just a little, and by just gently squeezing it into the board I could see that the shim would only need to be about 12 inches long (from the wall to about where my hand is in this pic).
Why go to all of this trouble? Well, the underside of the key catcher is what I am going to see when I’m laying there in bed looking up, and a big dark gap would just not do, despite the fact that no one else would likely ever see it.
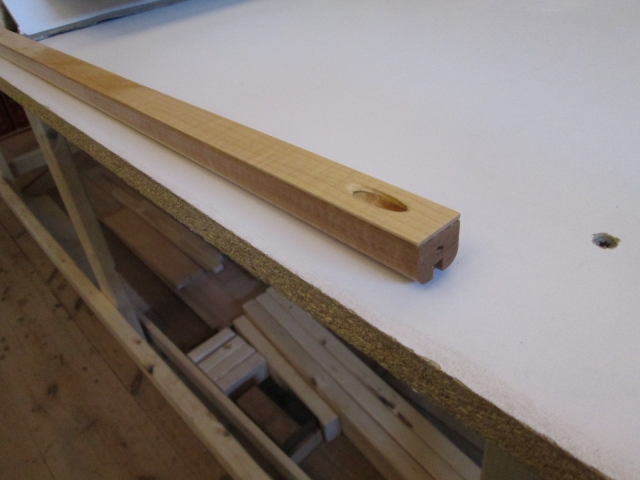
I pre drilled the shim using a piece of wood backing it up in the Kregg jig. The alignment to the “back” of the ledger was not critical; I just need to be able to get the screw into the hole. Also note the rough cut on the shim that the saw left.
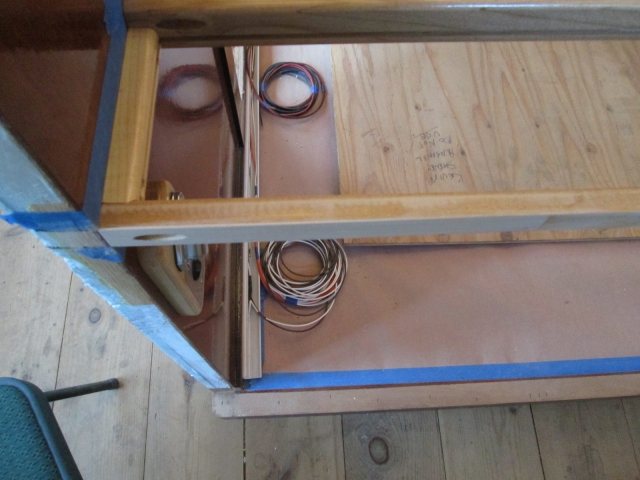
Here I am just holding the shim up to double check.
Knowing that I would be fairing the shim down to nothing at one end, I cut a bevel on the other end to make it easier to plane (not sure if it was really necessary; probably not).

After pulling the ledger back down to glue the shim on you can see how much the screw holes had moved. Curb side.
Street side.
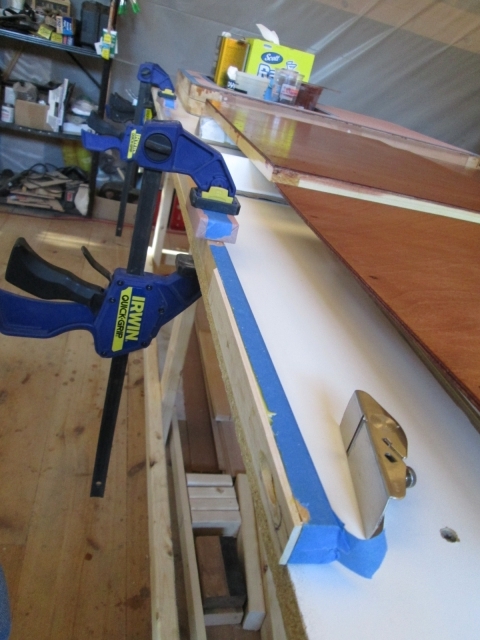
I glued the shim up and clamped it to the back of the bench with the spring clamps (forgot to take a pic) while I did another round of polyurethane on the shelf panels and galley bits.

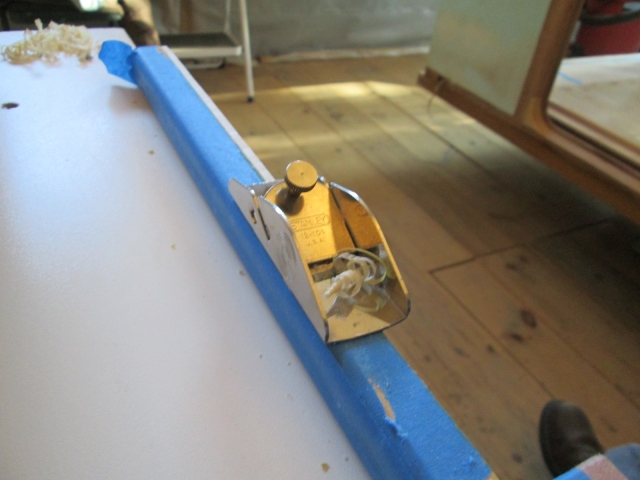
That took a while, so after lunch I felt okay shaving the edges of the shim flush. I left the tape from the glue up on to start. That protected the finish some and acted as a gauge; when the plane shaved the tape I peeled it off and did the final clean-up with the sanding block.
Next I dry installed the ledger again and used a framing square as a straight edge to mark the taper on the shim top and bottom. Need to remove about half of its thickness at the wall end, down to nothing at the other end of the shim.
Took it back and clamped it to the bench on top of a few scraps of rosin paper to help protect the finish on the “front” side. Then used a combination of the plane, Surform rasp plane, and sanding block to get down to the line. Back dry fit to the walls I only needed to do a little more hand sanding to make it match.
The straight edge showed that the fix was good, but the whites blended together and came out overexposed so you can’t really see. The main thing is there isn’t a big dark shadowy gap.
Finally, I hit the shim and scuffed up areas of the ledger with some of the natural oil. Once I get some more poly on it I think it will blend in well enough.
The best part was that by midday the loft was up to 60 deg F and I was able to turn all of the heaters off! It was actually warmer outside than it was downstairs.
So that was another 7-1/2 hrs of work.


 I used to do much hot rod and Van stuff in the old days , re-building Everything .... Now ... forget it ...


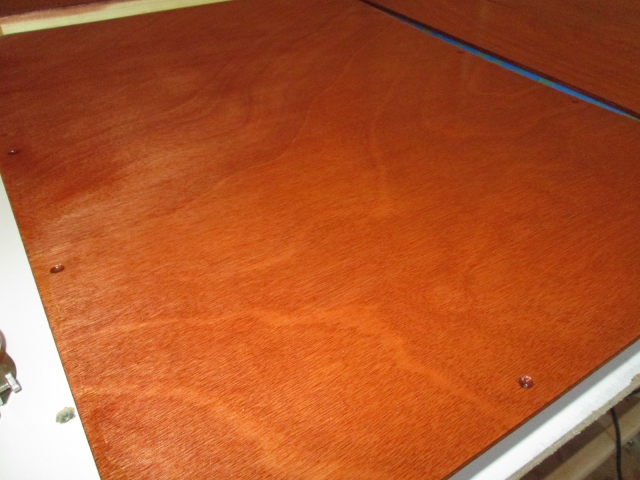
 They each have a small cup shape warp to them, presumably from putting poly on one side at a time. Nothing that the shelf frames and ledgers won't put right, but enough to cause the thinned poly to run and collect. It was already 8pm and I didn't want to have to clean the brush again, so I just grabbed a shop towel and mopped up the bulk of the excess. My thought was if it is too tacky and doesn't flow out, at least it will dry quicker and I will be able to sand it quicker for another attempt. Just can't seem to get past this stage building the front cabinets.

