Let’s see if I can remember what I have done since my last update.
Once the saw had power I used it to cut a waster/sacrificial fence to screw to the cast iron fence. That way if the fence gets too close to the blade neither will be damaged. (Not surprising, many of the old fences I have seen recently have blade scars on them!)
Next I made a piece to attach to the miter gauge, making it wider and easier to clamp the work pieces to. By making it a little long and then passing it through the blade, it also gives me an alignment reference to the blade.
Here you can see me using these new additions to notch out the bottom of one of the locker side pieces. In the pic I had already run the cuts and have just mocked the cut out piece back into place to show it better.
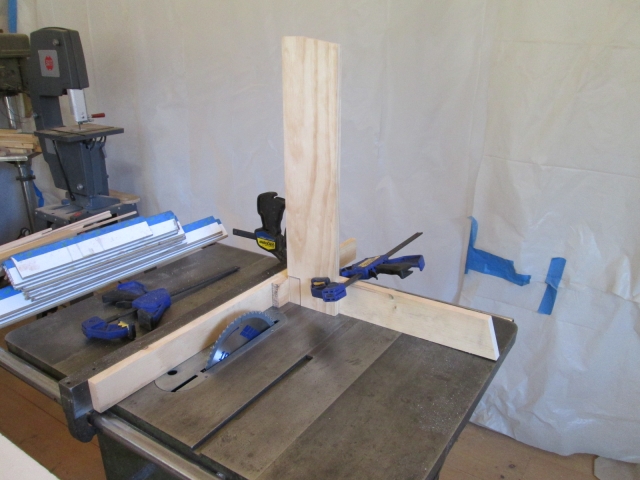
You don’t want to ride the rip fence for cross cuts, so the shorter block is clamped on well ahead of where the work piece enters the blade and is just used as a reference stop to locate the work on the miter gauge for clamping.
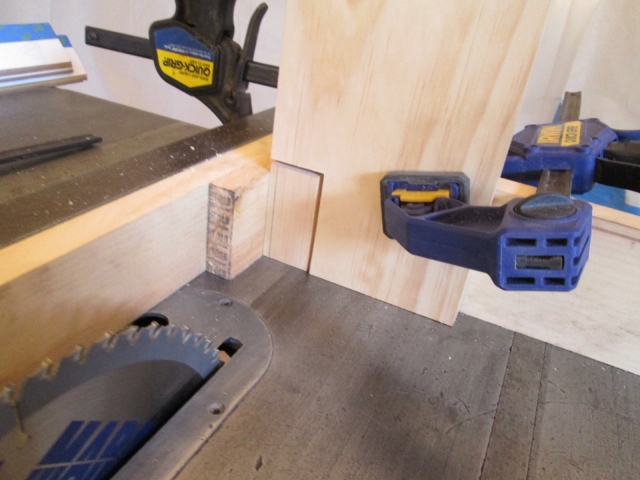
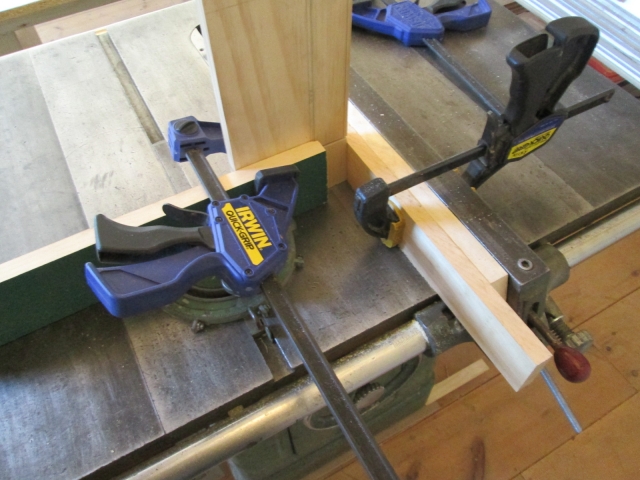
You can see how the part leaves the block before reaching the blade. Also note how the miter gage extension can be used to align the edge of the cut. Just need to remember to make your pencil marks on the back side of the work.
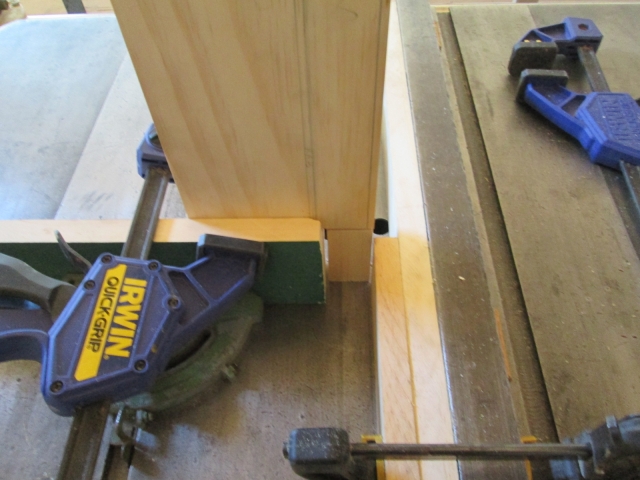
This is kind of rudimentary for experienced wood workers, but having just read thru the owner’s manual for the Powermatic 66, I was reminded about some of the basics that some may not be aware of, so I thought I would share.
The next accessory I made was a low rip fence extension for thin rips. I think this is more important for allowing a guard to be used when ripping something narrower than the guard is wide, but it helps make room for a push stick between the blade and main fence, so it is useful all the same. I need to come up with a better clamping arrangement to keep the clamps from extending out so far. In future I might just screw it directly to the waster fence when needed.
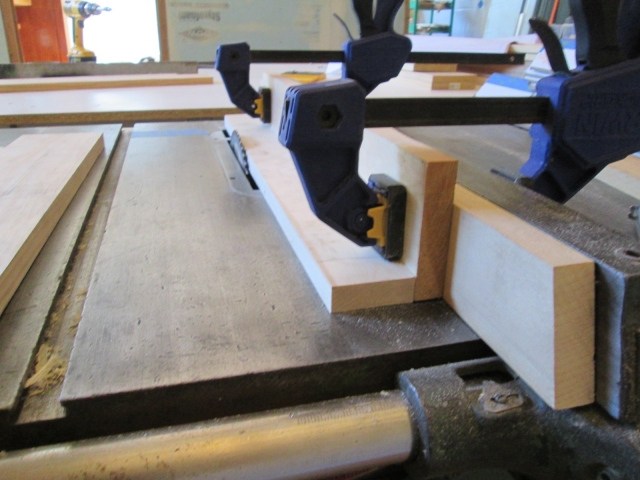
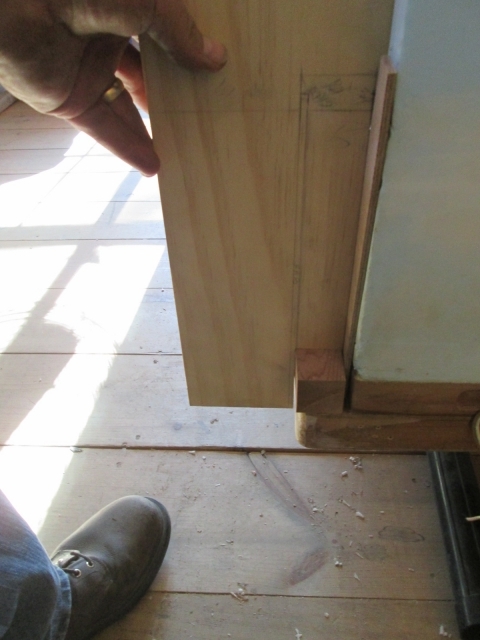
Where the inner wall skin near our pillows nests into the fronts of the locker side panels under the locker opening, I needed to trim the side panels by the thickness of the front wall inner plywood (5mm or 3/16 inch). First I set the blade to 3/16 deep then cross cut the sides to define the end of the step. Then I raised the blade and used the rip setup above to trim up to the slot. I put a piece of blue tape down on the table and marked a line to reference the end of the cut, ran one side, shut the saw off, then flipped the board and ran another cut from the back side. This left me just a little delta shape to deal with (disregard all of the excess pencil marks; those were part of the abandoned design development process).
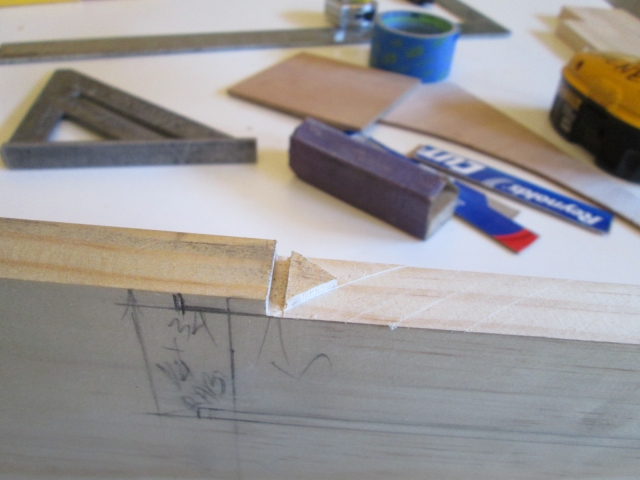
Clamped them to the edge of the bench and used a chisel to clean it off.
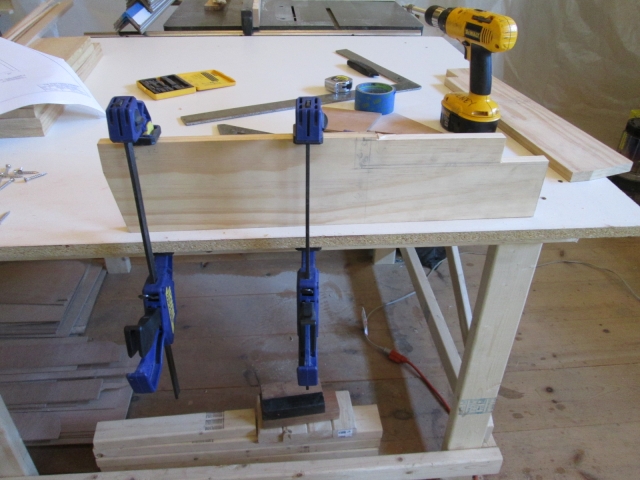
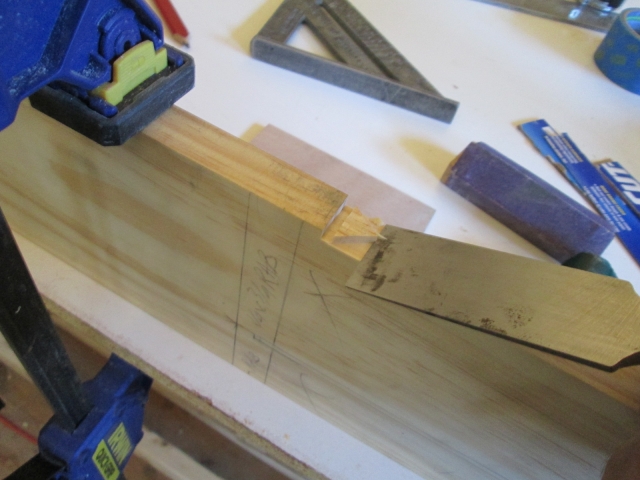
In this pic I’m holding one of the locker sides out near the side wall to check progress by dry fitting to the front profile. In reality the part is set in away from the side wall some. The open inward face of the locker is flush to the inside of the front wall skin (same as the front edge of the raw side wall). The wall skin in front of our pillows fits into the narrow cut under the locker opening, and the notch fits over the toe kick spar.

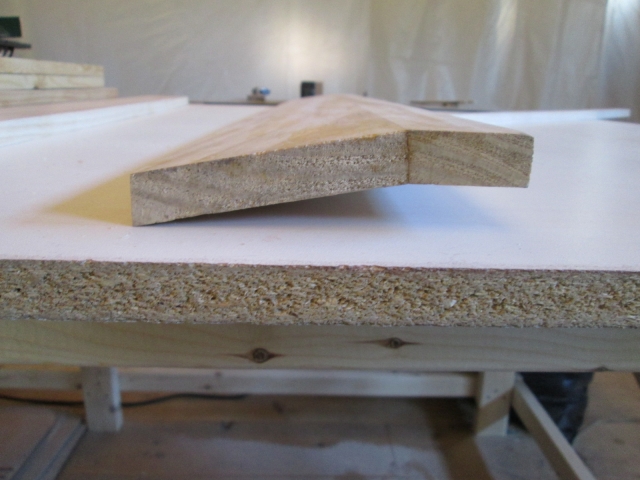
When I made the beveled top of the locker the front edge was also going to be the hinge mount for the TB lid, so the leading edge was left perpendicular to the slope. Now the front edge will be flush to the vertical face of the locker, so I dialed in a 10 deg bevel on the saw and ripped the edge accordingly.
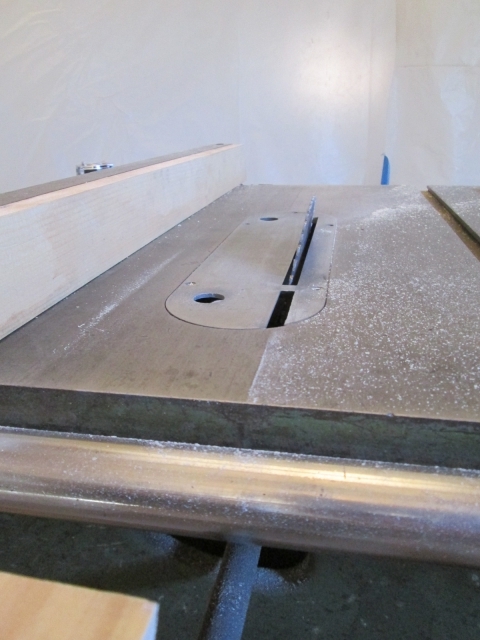
Shown upside down.

Upside up.
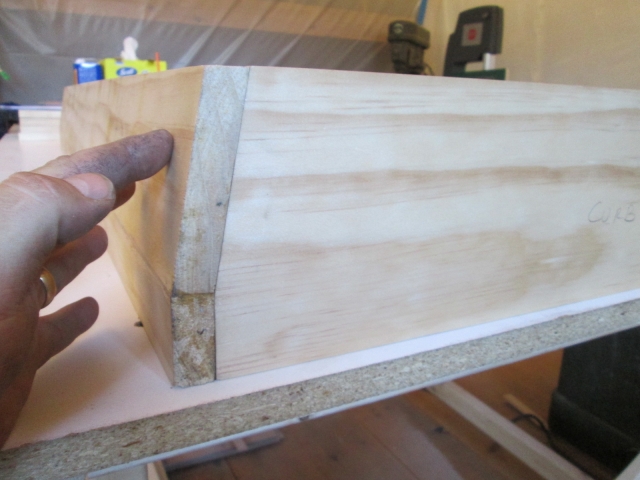
Laying on the rear (opening side) dry fit to one of the locker sides.
That brings us to Monday night.
Originally the floor of the locker was going to be above pillow height and the sides of the locker were going to extend down to the floor of the TB. Now there will be a narrow sill across the bottom of the opening (still above pillow height) and the front edge of the main floor plus a narrow board about 3-1/2 inches wide will make up the floor of the locker well. So I took the wider piece that would have been the floor of the locker and ripped off the new floor of the well, then made another narrow rip to set the width of the sill piece at 1-1/2 inch. The thin little sliver that came off of the second rip was impressive in its uniformity… impossible with the crap saw… I love this saw.
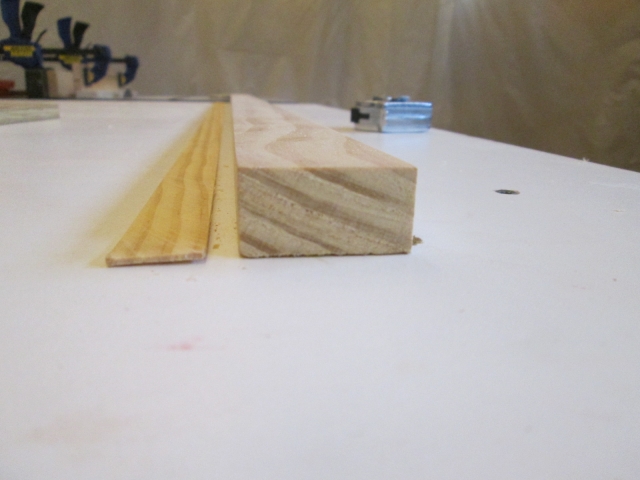
For the next couple of operations I needed a way to anchor the feather board. Crude but affective, I used 3 screws to attach it to the underside of a 2x4 that was long enough to span the saw table. Also screwed a couple of matching spacer blocks to the ends so that it would clamp level.
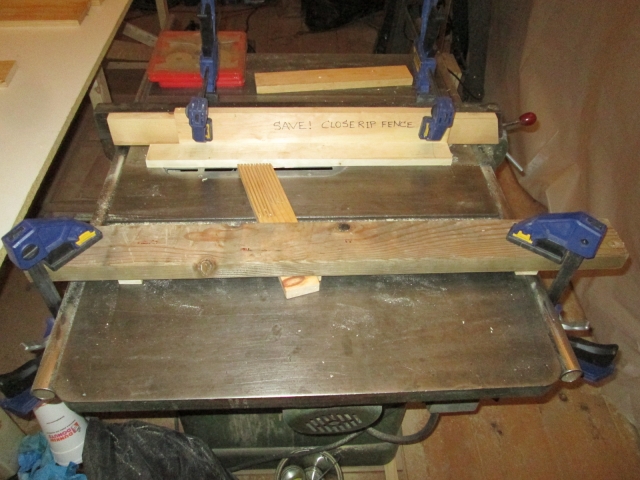
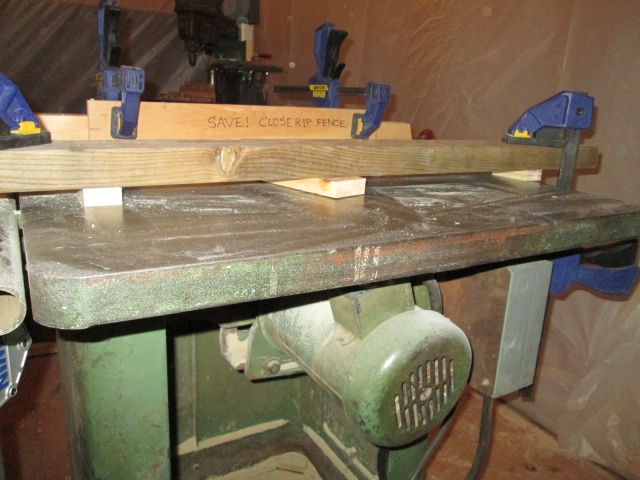
Here’s what I’m working toward. The top of the sill is on the left. The small 3/16 inch wide notch will receive the front wall skin, and the 1/2 wide notch is a half lap to support a drop in cover that will fit over the well in the locker.
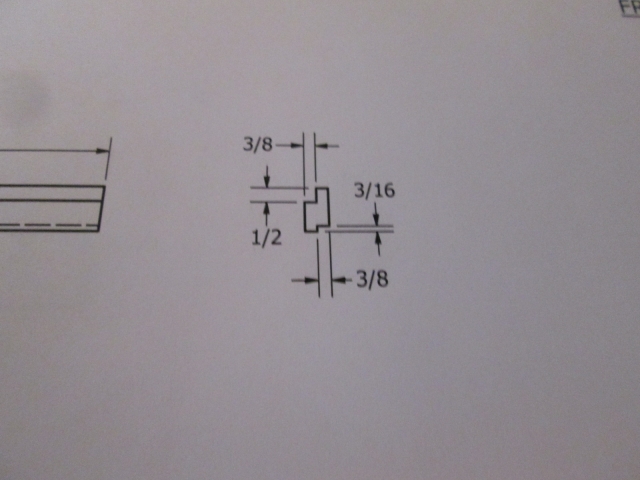
Two rips each notch (shown upside up).
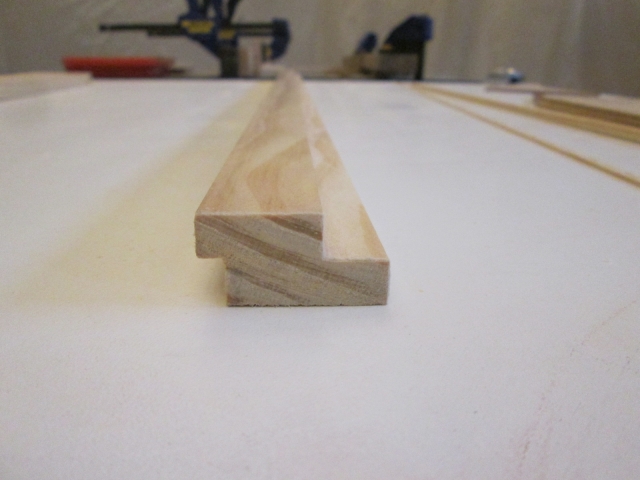
Mockup of inner wall skin fit to locker sill.
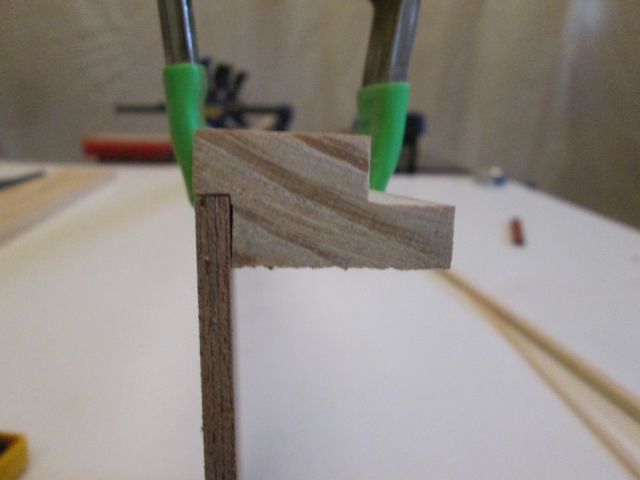
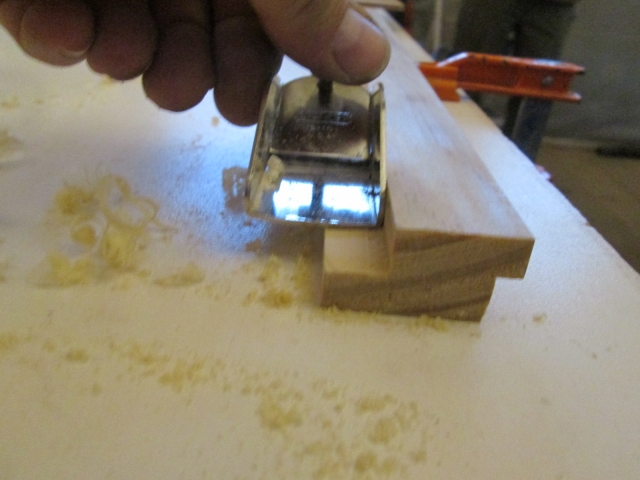
On one of the cuts you can see how the piece rolled out the back of the blade once it left the feather board, leaving a little more material than the depth of the other kerf. I used the little matchbox plane to true this up (held funny for the pic).

The sill will fit into blind dados in the side pieces of the locker. To cut theses dadoes to match the profile of the sill I will make a router template. I traced the profile onto a scrap of the 5mm ply, stepped it off by the guide collar thickness, scored it with the utility knife using the back of my hand saw as a straight edge, chiseled out a couple of plies, then finished it on the band saw.
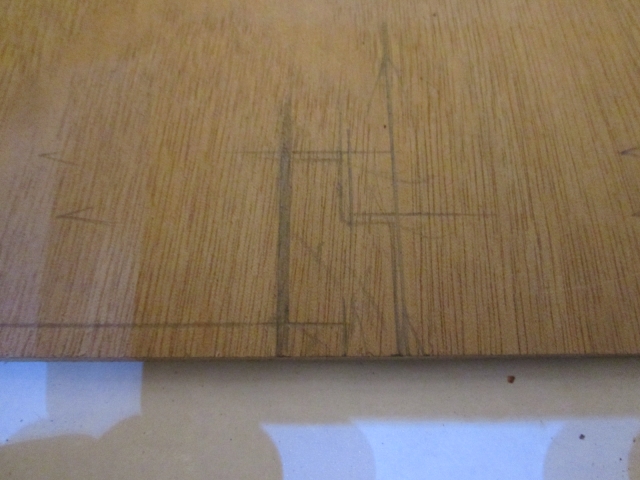
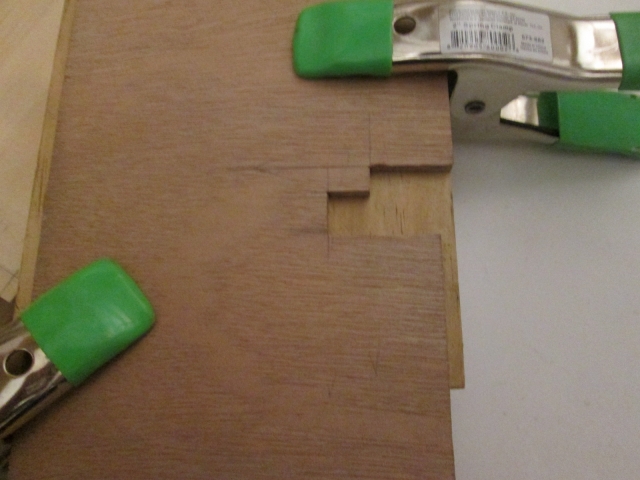
The offset on the right matches the inner wall panel recess cut in the side piece.
I will have to turn the brass collar for the 1/4 inch straight cutting bit down to work with the template thickness and will do a test cut on a scrap to verify a good fit before committing to the real parts.
And that took me past 7:30pm for another 2-1/4 hrs of build time.


 KC, similar problem , usually half of what the wife takes is “things she needs” , not clothes , but ALL that other stuff...
  Me, I can travel with a gym bag , "Her Worship” needs an entourage ...
 That’s such a nice saw , and workplace !!!


