Spent the afternoon/early evening continuing to work on the front locker.
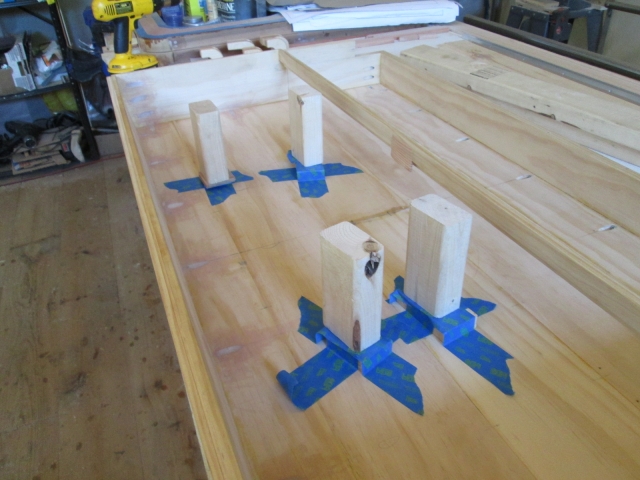
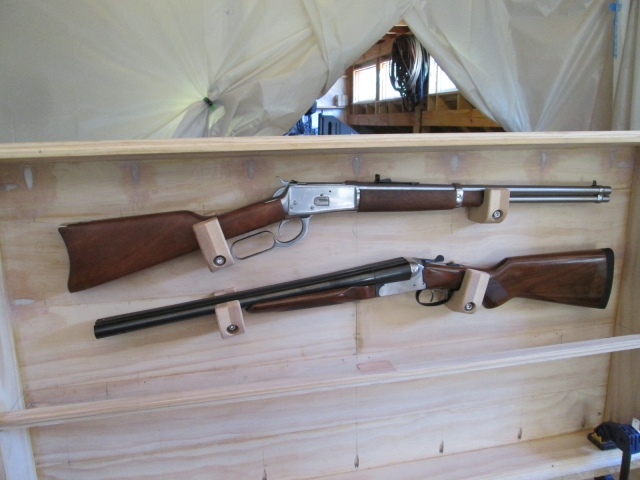
Karl gave me a second set of hands, helping to hold the gun mount perches down and confirm their locations while I simulated placing and retrieving each arm. I couldn’t do this by myself because there was no practical way to clamp them and without enough hands it was too easy to bump them out of position. Once we had checked that there was ample clearance between sights, brackets, and the top and divider panel of the locker, I knew that I was good to go drilling for the T-nuts.
I’ve mentioned transfer punches before. Here’s how they work. They are cylindrical shaped punches that come in sets of various diameters. By selecting the punch that matches the diameter of your thru hole, you can transfer a center mark to the mating surface to accurately position for drilling a mating hole.
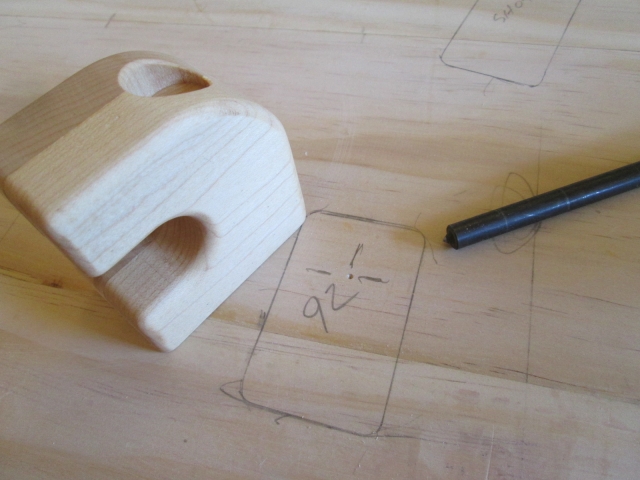
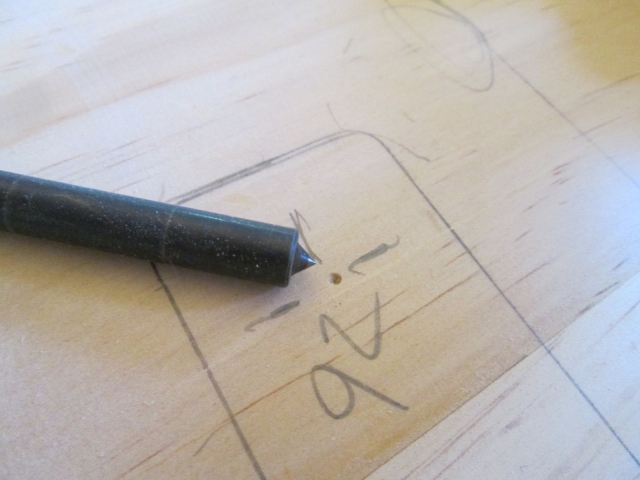
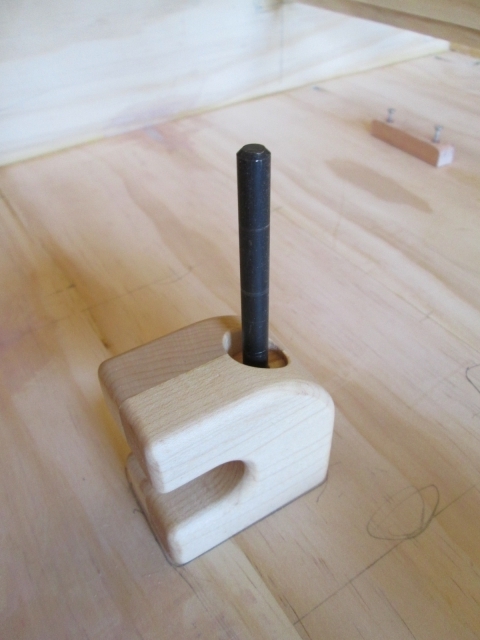
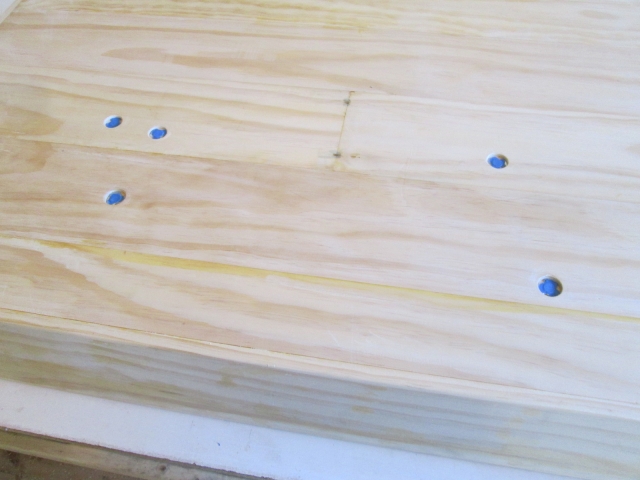
I used a little chunk of the grooved shelf ledger stock as a V-block to help plumb the drill bit and drilled pilot holes for the mounting bracket T-nuts. This transferred the location of the fasteners to the front/outside of the locker.
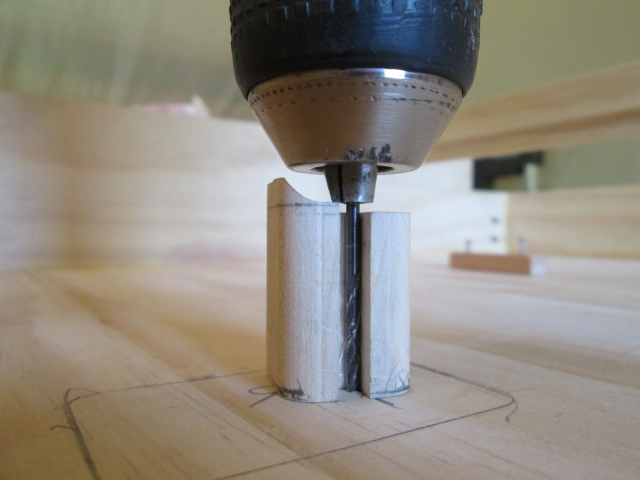
Before flipping the locker over, I taped some scraps of 5 mm ply over the pilot holes to help guard against chip out.
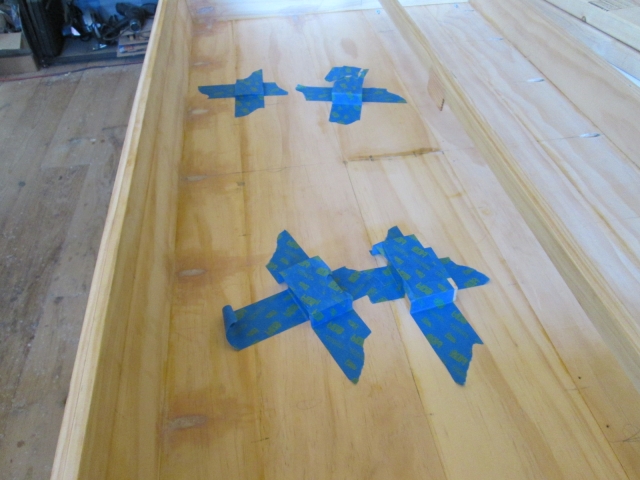
Then I backed these up with some chunks of 2x that would hold the locker up off of the bench and support the ply shims.
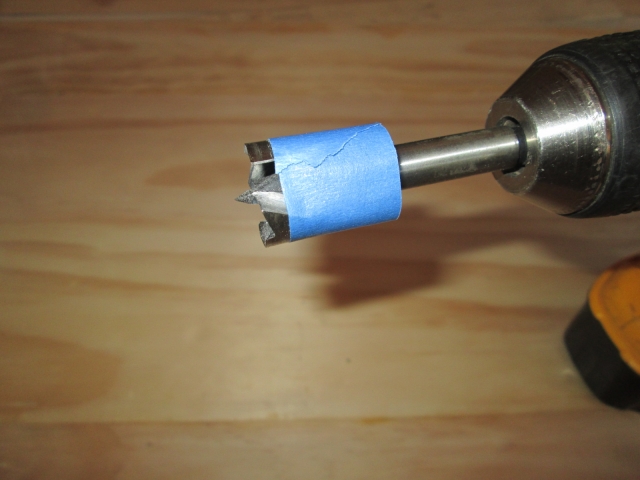
To recess the T-nuts to a fixed depth and help make sure to keep the counterbores parallel to the face, I marked the Forstner bit with a wrap of tape.
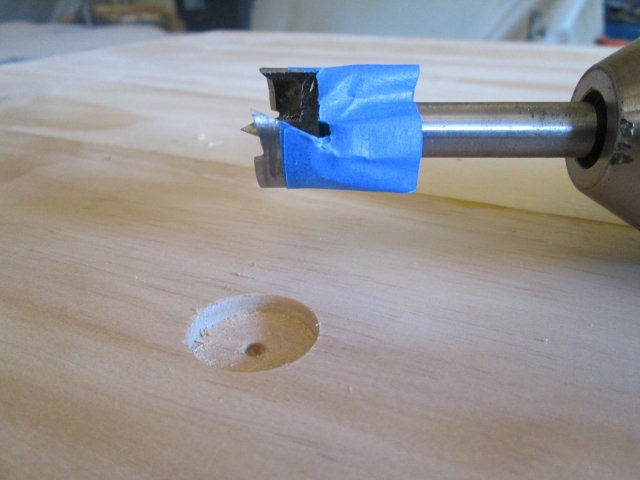
After the first hole I trimmed that tape away from the flute recesses to give the chips an escape route. You can also see one of the T-nut recesses.
To span the recessed hole and work with larger diameter drill bits I needed a bigger drill guide V-block. Here you can see the V-block layout and how I used the quick square as a miter gauge on the band saw.
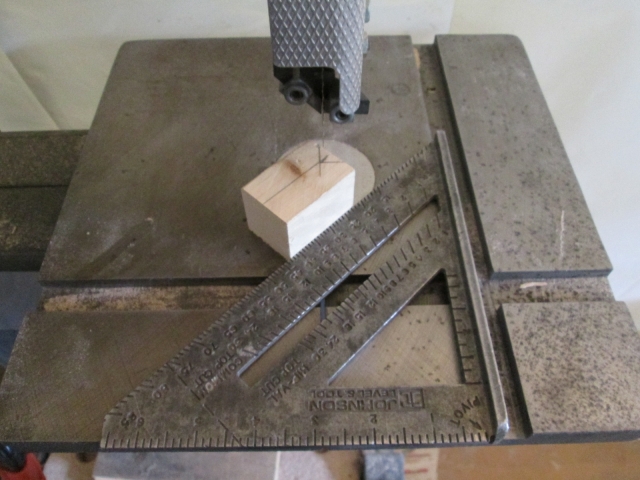
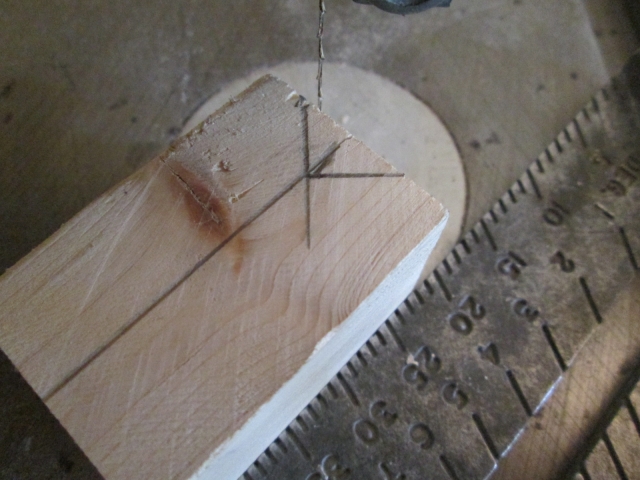
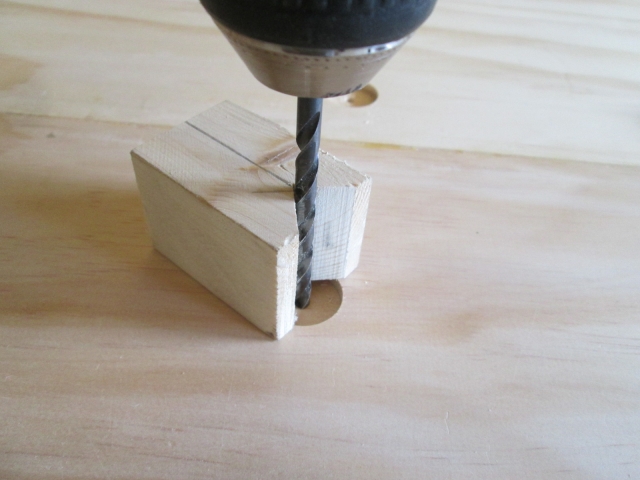
A series of successively larger drill bits was used to increase the hole size until it was a snug fit with the barrel diameter of the T-nuts.
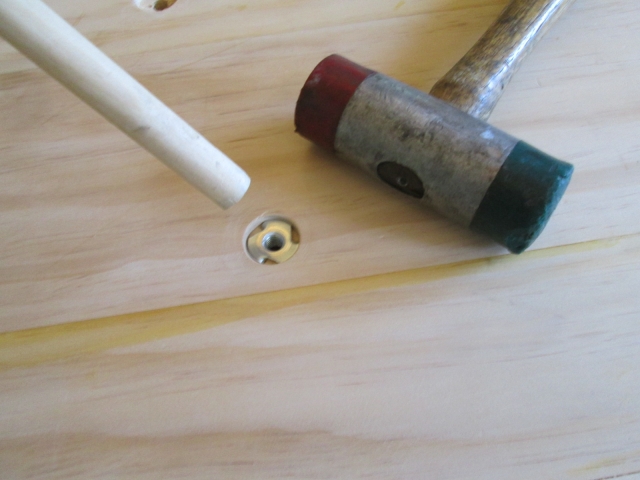
I used a length of dowel to drive the T-nuts down into the recessed holes.
After shortening one of the bolts about 1/4 inch for the rifle barrel perch, I got to bolt the perches in for a test fit.
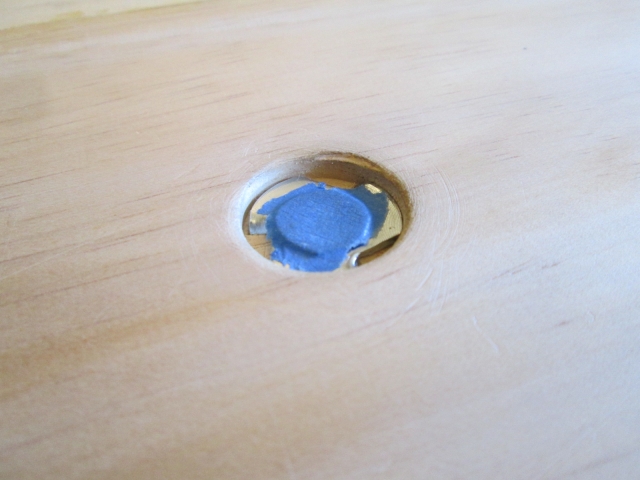
I wanted to fill the T-nut recesses in so that later, when the canvas and paint goes on there is a stable base underneath. Otherwise I would be concerned that the canvas could flex, allowing the paint to break down, and a leak to form. To make sure that the filler didn’t ooze into the threaded holes, I cut little round discs out of the wax paper box chipboard (that I have been using as thin shim material) and taped them on with blue tape. You can also see how I trimmed the tape away from the voids using the utility knife, giving the filler a chance to key in to the voids.
There is a certain anxiety on construction sites when you are trying to finalize all of the forms, rebar, anchor bolts and whatnot before a concrete pour. Invariable when the mixer truck arrives someone will yell out, “Muds here!”

If you catch it just right you can use the “cheese grater” rasp to knock the bulk down while it is still relatively pliable, yet firm enough to avoid clogging.

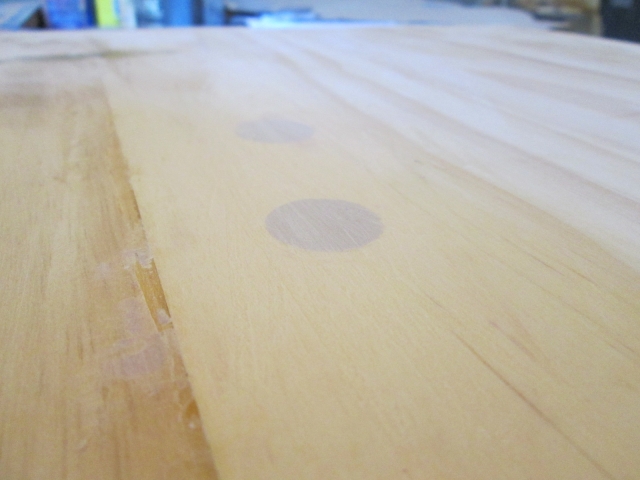
Not long after that the filler was firm enough to smooth out the rest of the way using the sanding block.
Even though I don’t have the correct diameter guide bearing for my rabbeting bit (I ordered it later when I got home), I worked on setting up supports to stabilize the router shoe when I cut the inlay rabbet for the trim piece on the locker sill. Here are a couple of temporary chocks that will be used to hold the divider panel up on edge to support the router while cutting the sill. I decided to use the divider panel as a prop because it was already the correct length to fill the locker.
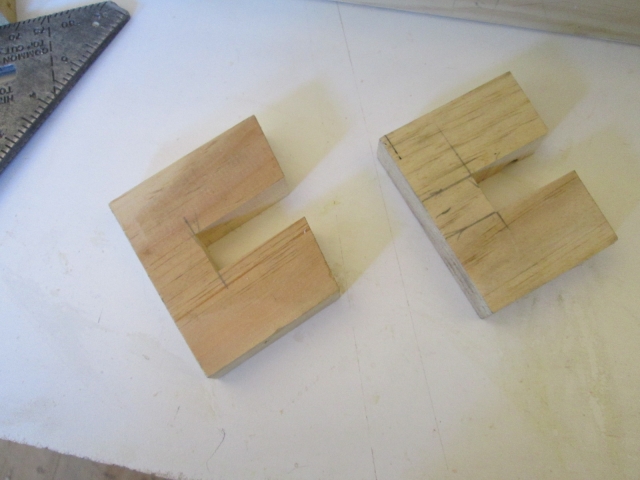
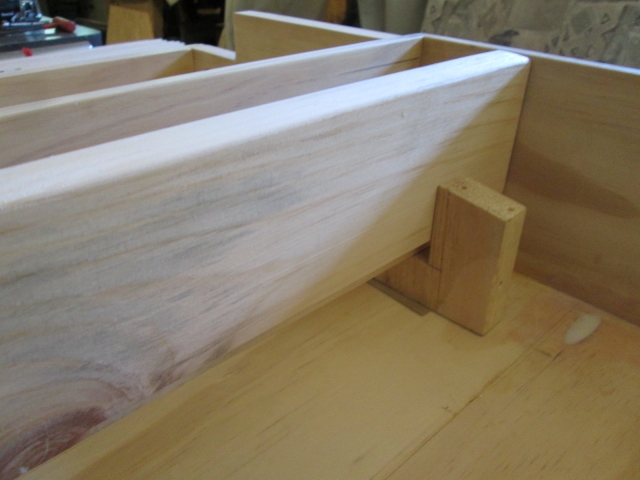
Cut this little scrap as a temporary perch to stick under the middle of the sill to keep it from flexing under the router.
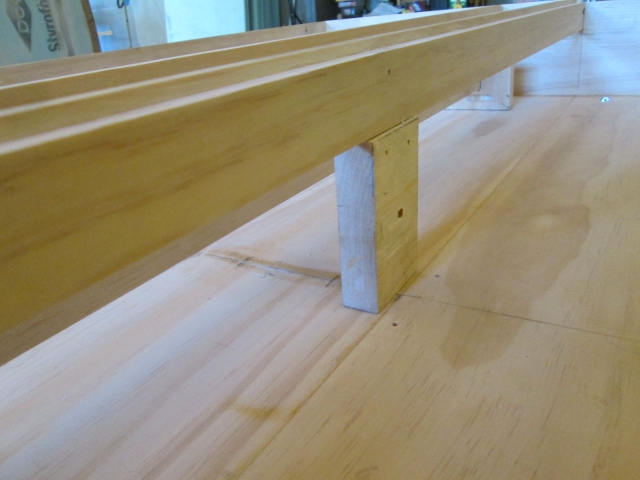
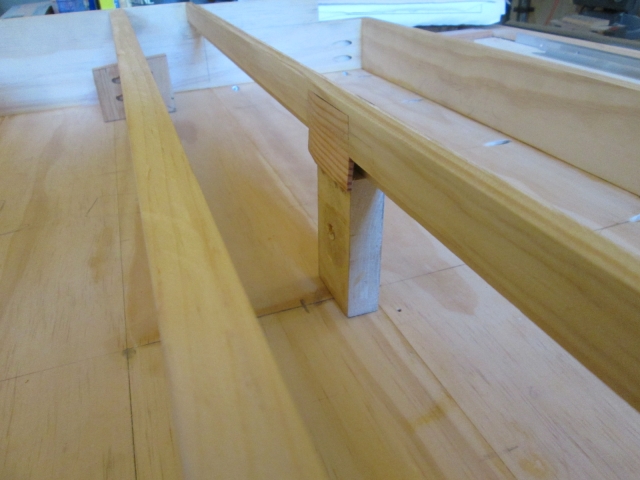
Last job for today was oiling the little center support piece and staining the little divider support ledgers.
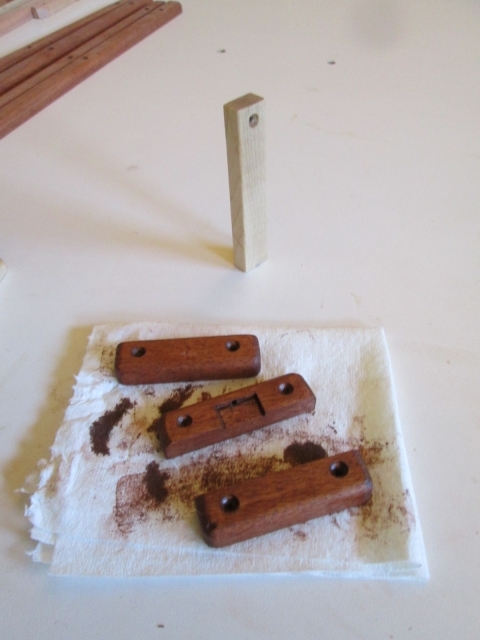
Tomorrow I will probably get into polyurethane on the locker door, the above small parts, and the galley shelf ledgers that were completed previously. I will have to wait to prime and paint the locker "jambs" until I get the bearing and can cut the rabbet for the trim.
 Think how many poor people might benefit from a small mobile HOME ... as a primary residence ...
  Better than a tent , more portable than a Mud hut ... Not all of us are blessed with Real Estate ...
 Think how many poor people might benefit from a small mobile HOME ... as a primary residence ...
  Better than a tent , more portable than a Mud hut ... Not all of us are blessed with Real Estate ...
 That's kind of funny. Me think'st they'd be much better off looking at some of Mike's POD ideas.
 Wonder how fast you could get a TD up to behind an Ox or Mule ..

