I worked this weekend on getting the headliner installed. Like Ryan did on the Wyoming Woody build, I also applied 3 coats of Helmsman spar urethane to the headboard storage area. This was because when the headliner is installed you can not easily access this area. For the same reason, I applied spar urethane to the TV cabinet as well. I sanded with 400 grit and tack clothed between coats. I was really happy with how clean and nice the Baltic birch looked with the coating!
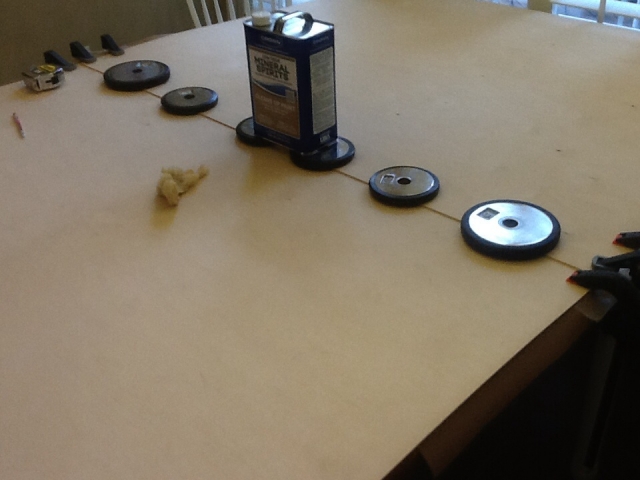
I then moved on to working on dry fitting the headliner. Once I had the pieces cut I then spliced them together on the backside with a 2" wide piece of 1/4" birch and Titebond III. Here is the splice drying (my wife is on a business trip so I commandeered the kitchen table

). I located my splice a little further forward than Ryan did. I had a couple of small tanin steaks on the plywood that I wanted to end up inside the cabinets. Also my skylight is a 9" versus Ryan's of 12". Being narrower allows me to move the window forward to a slightly more curved area on the profile but right along the splice so it is visually minimized.
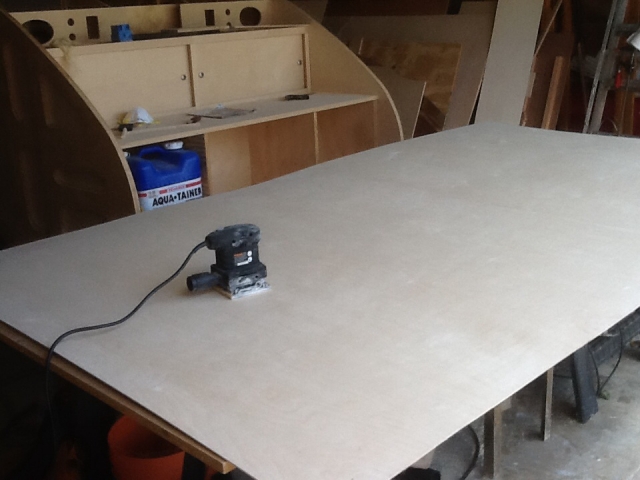
After the splice was set up for 24 hours I brought it outside for sanding. I started with 220 and ended with 400 grit. I sanded before installing it. I reasoned that sanding later would be more difficult along with dust falling on me! I am not sure if others do it this way or not.

I then was able to dry fit the entire headliner using clamps to hold it in place. This was a little easier than I was anticipating but I am not complaining!

After getting in place on the outside I then was nervous about checking the inside! I was so excited with what I saw I just sat inside for about 10 minutes! It is so much fun to see it coming together albeit a bit slower than I want.
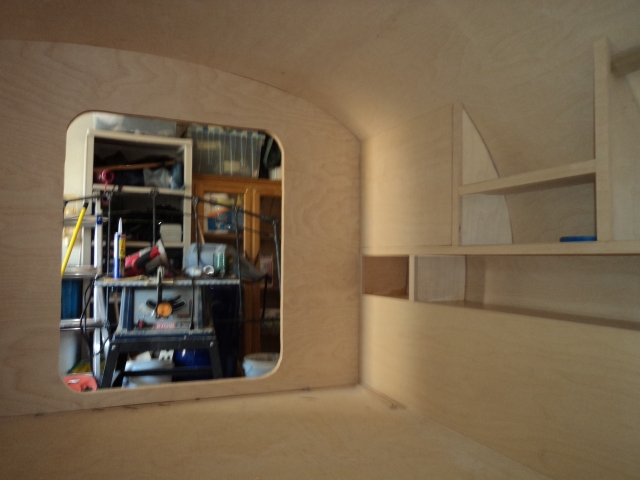
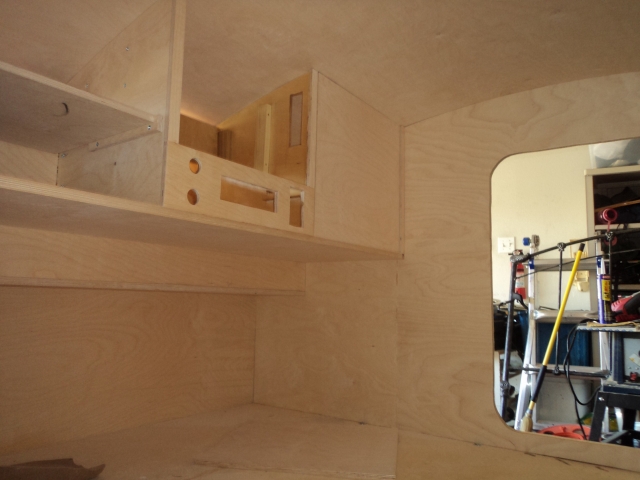
Here are four pictures two have the cabinet doors in place and two do not. Two are of the front headboard and two of the inside back cabinets. I think with brads and better pressure using come-along straps it should be very tight fitting!
Here is the headboard on the driver side with the cabinet door in place. You can see the splice about 10" from the cabinet face.
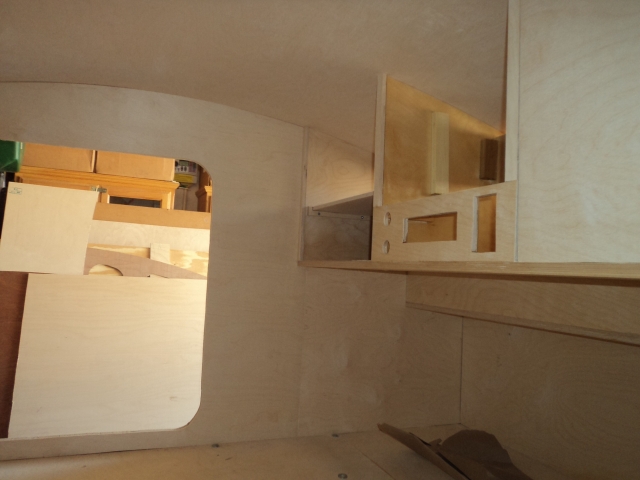
Here is the back driver side cabinet with the door in place.
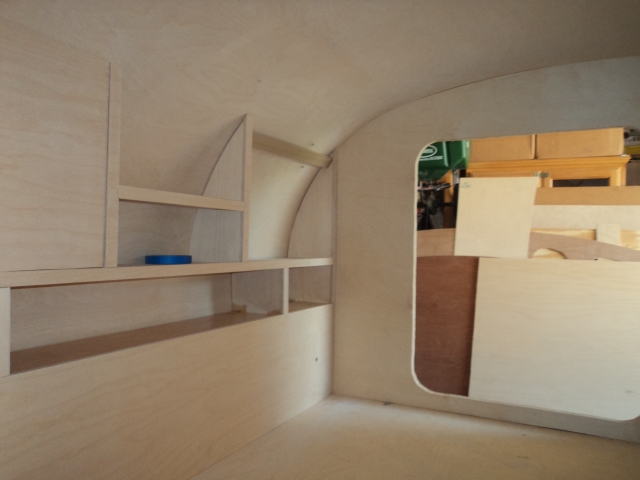
Here is the front passenger side cabinet without the cabinet door in place. You can see the two tanin spots on the plywood that I ended up placing them inside the cabinet so they would not be visible when the door was closed. You can also see the headliner splice about 10" in front of the cabinet face.
Here is the back passenger side cabinet without the door in place.
Time for a brew!

I hope to get the headliner installed early this week!