.
Bugged out for a week in the Adirondacks, but am back now and have some catching up to do on the build thread.
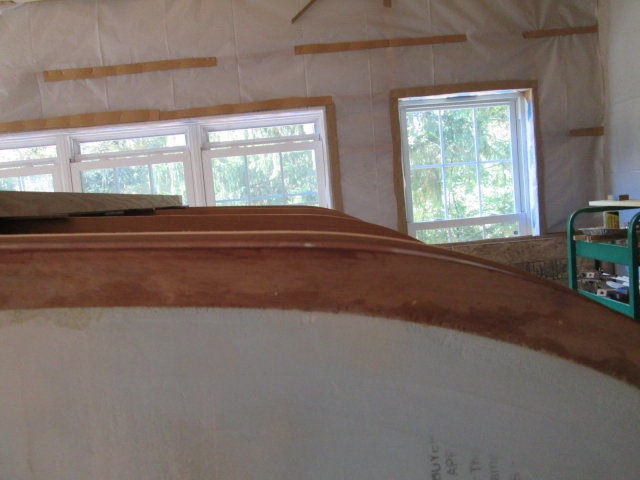
On Friday (9/19) I got the hatch frame screwed onto the back of the cabin, anchored into position for the skinning operation.
In order to be able to screw the frame to the galley and still be able to unscrew it after skinning, I used the extra screw holes down thru the ends of the hinge spar at the top, and made a pair of cleats, simulating the future lower edge of the hatch, at the bottom. This way I could run screws thru the temporary cleats and not the permanent piece.
Here I have screwed up thru a scrap of 1x4 into a small chunk of 2x4. The 1x4 allowed me to clamp this small piece to the bench while leaving room between the clamps for the block plane.
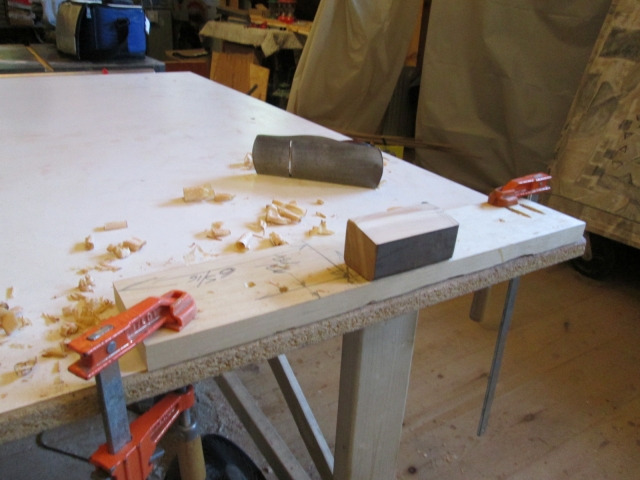
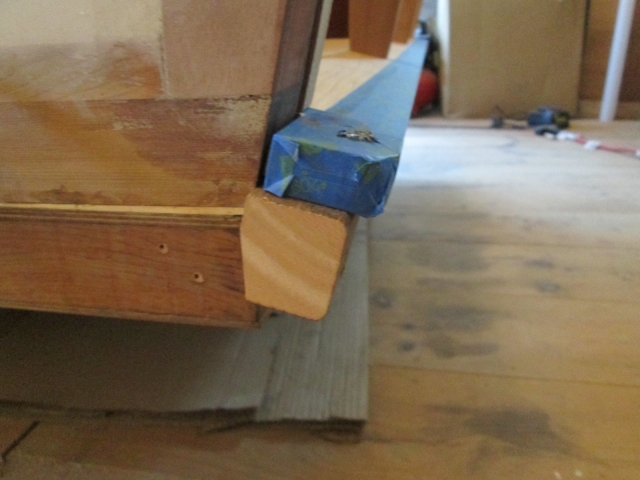
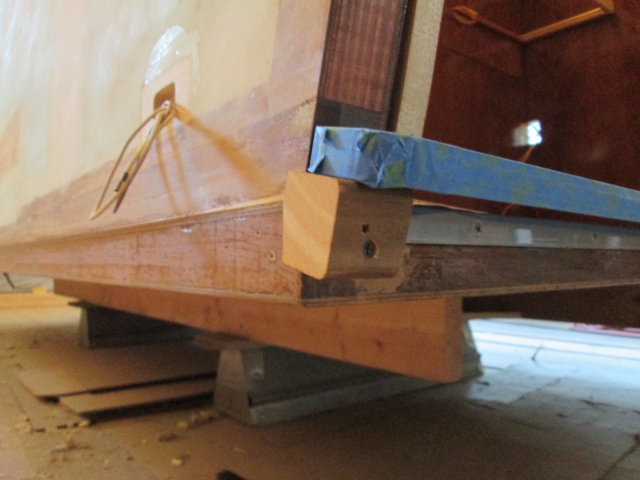
A little trial and error and I had the cleat fitting nicely. Next I cut it into two blocks, one for each side. The holes thru the top of the lower hatch spar (wrapped in blue tape) will be used again when the permanent shaped piece gets attached (later), and will eventually get covered with foam anyway. That just leaves one screw hole on each side into the back of the floor to be filled later.
So that was my short goal for the day before going home to pack for the trip; got the hatch frame secured in the galley.
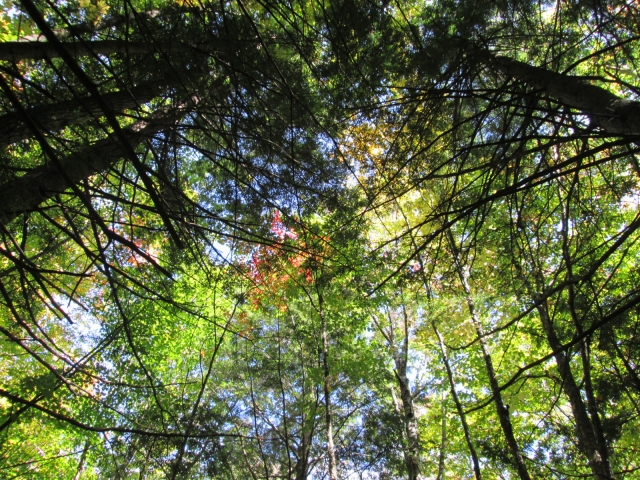
Had a great trip; still too many pics to wade thru, but I like this one of the start of the fall colors while walking thru the woods at
Mt Severance, NY.
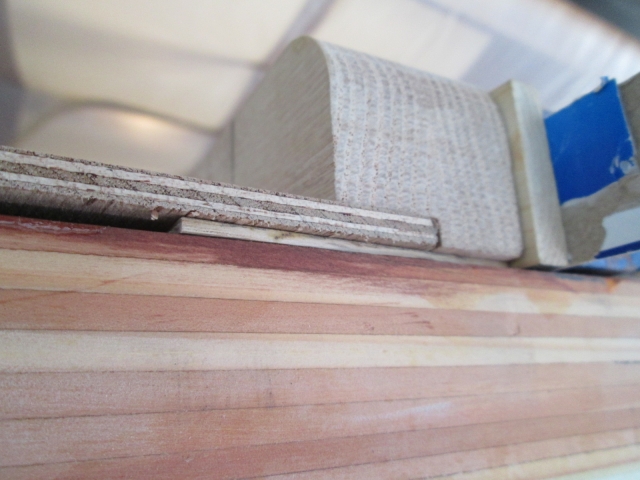
On Sunday (9/29) I picked up work on the hatch again. The curb side rib was somehow twisted in a touch at the hump (top of the bustle) with a much bigger gap to the wall than everywhere else. To correct this without flexing either wall in or out from its free position, I fit temporary spacers starting at the inner face of the street side wall, working across to the curb side wall; held here with blue tape just to be sure that they don’t fall out while fitting the skin.
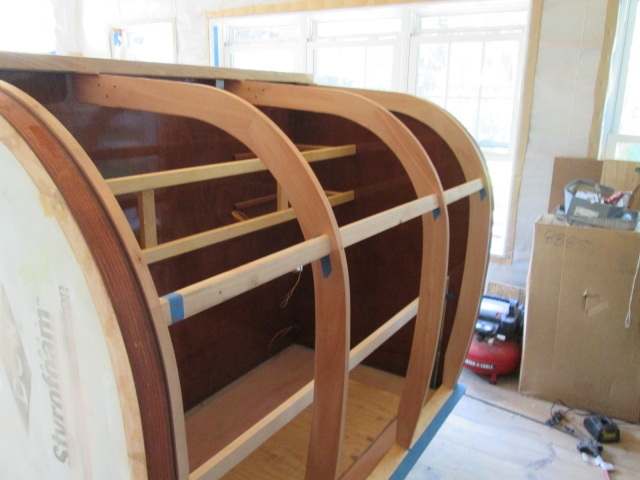
You might just be able to see the 5mm shims on either side.
Now, you may recall that the template I used to cut the rib profile was made from a full size cutout of the plan, while the rear wall edges where forced into compliance before being cut with the CNC templates. On top of that, at the last minute I decided to shim the hatch frame up and back by 1/16 to allow for the thickness of the canvas to be wrapped around under the skin. So there is starting to be some stack up of tolerances. The street side rib profile was sticking above the wall profile by about an extra 1/16 inch strong.
It is not so important to me that it isn’t perfect, but I do want to try and get the gap to at least appear even from top to bottom on each side; can’t hurt the seal to be even, either.
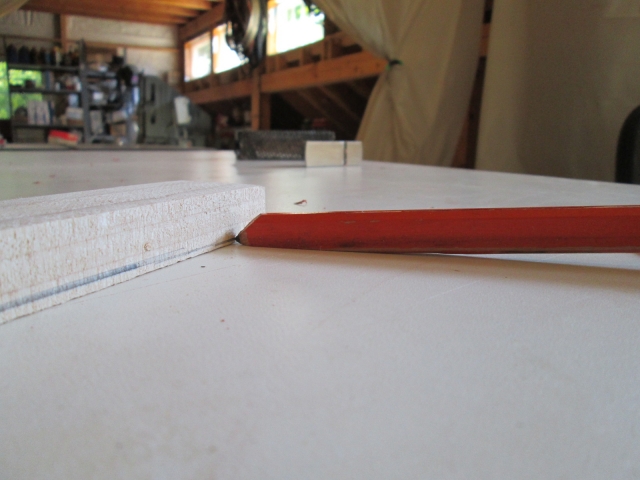
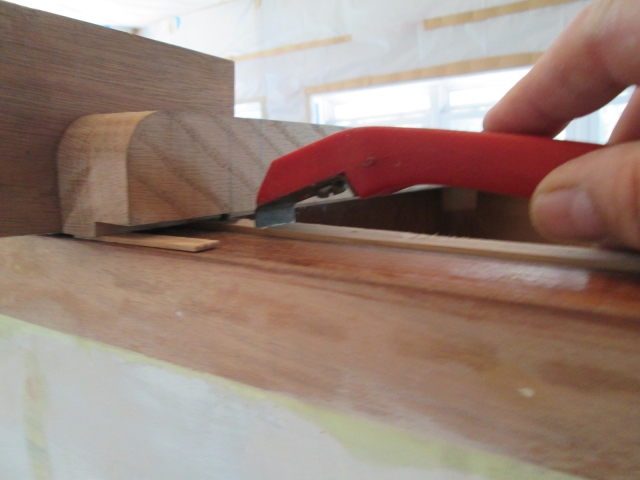
To get a better idea of where I was, I finally got to use one of the carpenter’s pencils salvaged from the Charcoal Briquette resurrection. By shaping the pencil into a wedge with the match box plane I could make it trace a reference line 1/16 inch off the top of the wall edges; demonstrated here on a scrap referencing the top of the bench. (Don’t mind the wandering pencil line in the foreground; I was creeping up on the final shape of the pencil.)
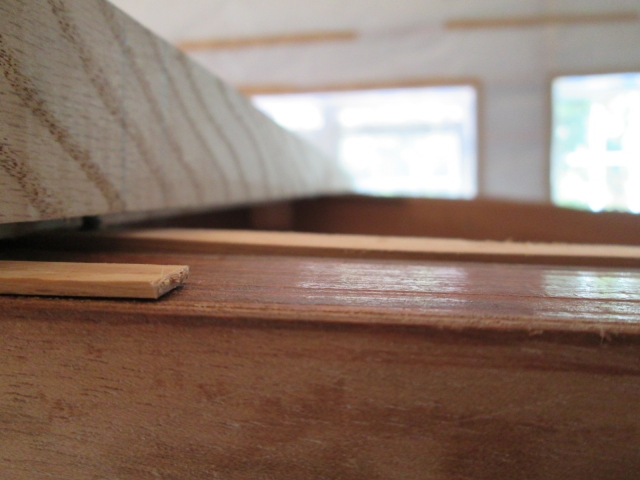
That showed me that I had some areas that were a little tighter (zero), but put a bound on the high area on the top of the street side.
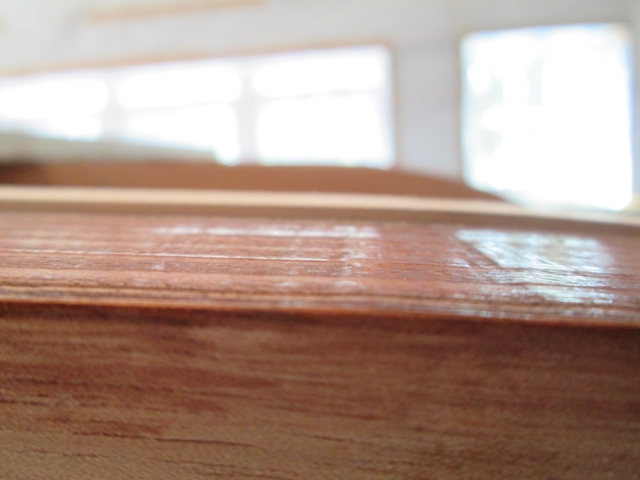
To trim this down I used a 1/2 inch bottom bearing bit and the 5/8 inch roller bearing from my rabbeting bearing set. The smaller 1/2 inch bit worked better in the smaller trim router for this side wall use. I made a first pass referencing the top of the wall, then switched back to the flush bearing to finish the cut referencing the first cut. That brought the top portion of the rib back to 1/16 above the wall.
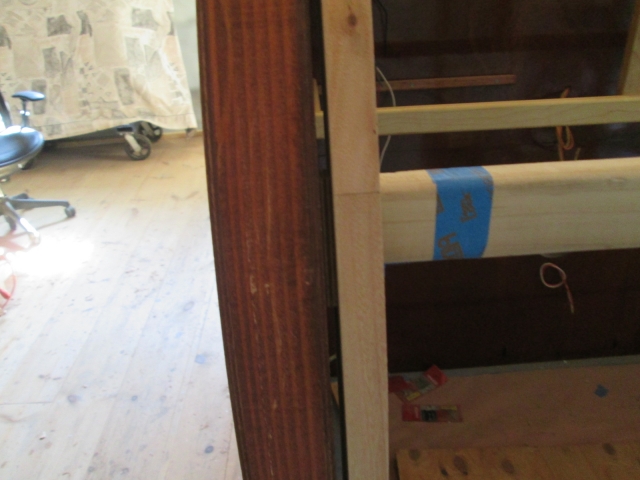
Up by the hinge spar the router base wouldn’t go all the way to the spar.
So I blended that in using the small scraper and sanding block.
I did some final checks across all four ribs and both walls using a straight piece of 1x2 on edge.
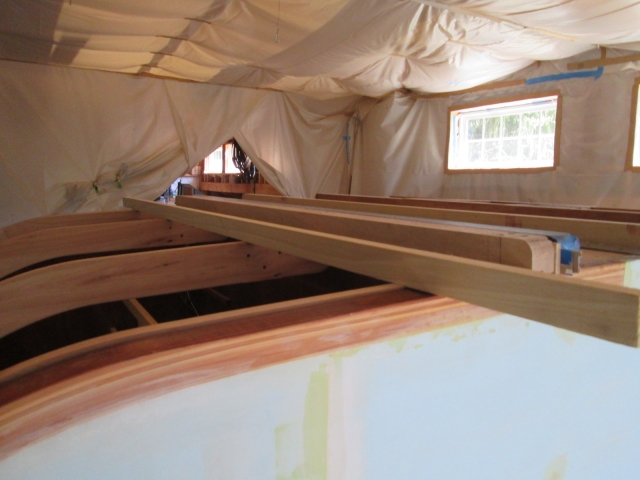
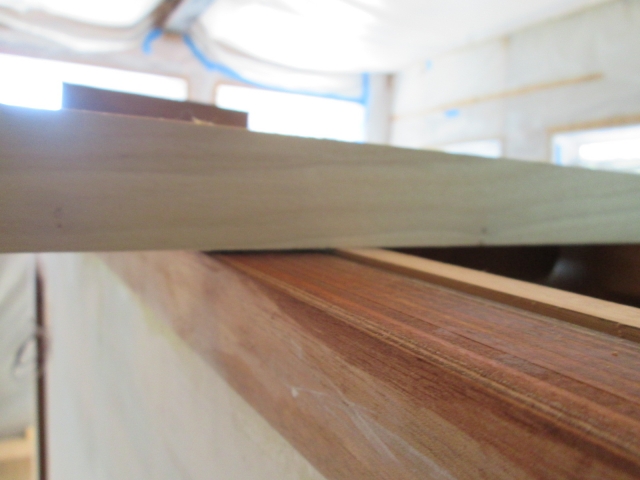
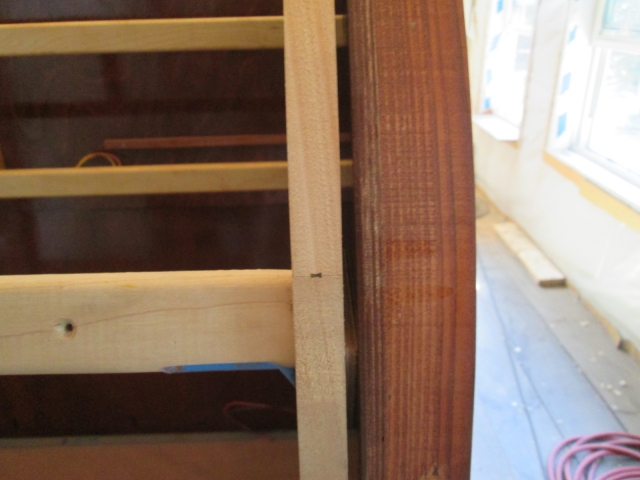
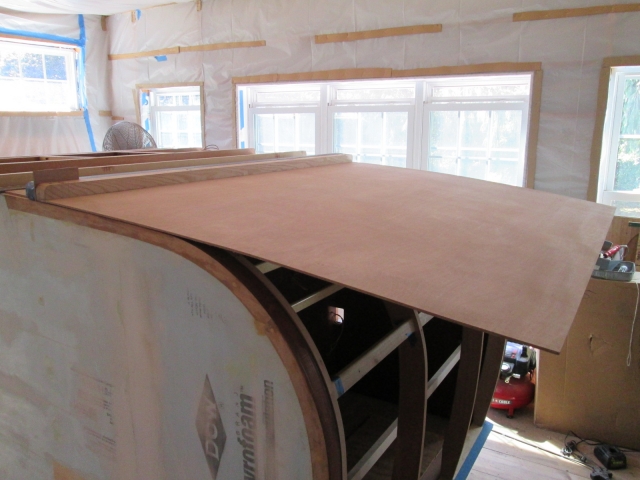
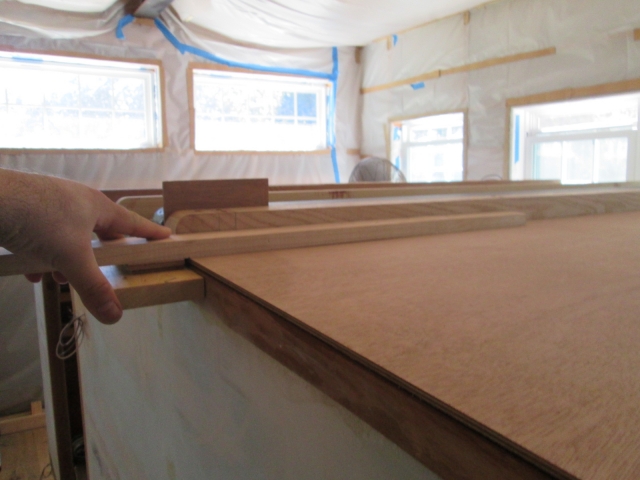
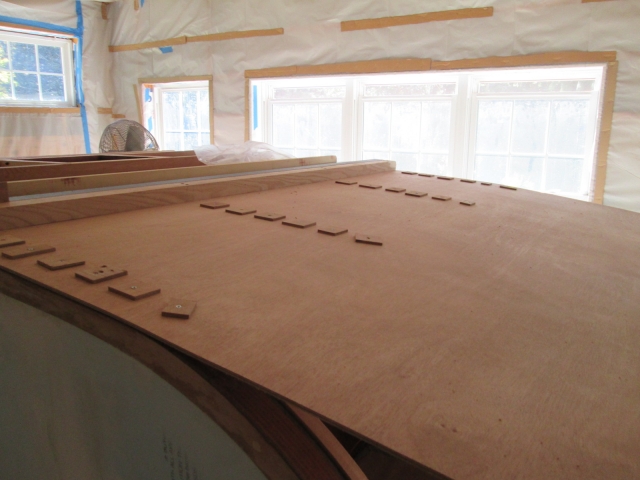
On to the dry fit of the upper hatch skin. Once I removed the temporary spacers and rear screws from the rabbet (of each pair of screws going down thru the hinge spar into each rib) I was able to start the skin into the rabbet. It was nice and snug so I used a small block and mallet on the edges of the skin to knock it into place.
I hadn’t planned for it, but got lucky and found that the skin was a touch long side to side giving me a little wiggle room. Looking up inside at the rabbet joint, it looked about as good as I could expect it to be, and it looked like the extra skin would just be enough to cover the side to side variance in the upper spar alignment; so I decided not to change anything except to shift the skin over so that it was flush to the end of the upper spar on the street side top.
The skin will wander off the street side a pinch.

On the curb side the skin will start a little over the wall and will wander back to it. Without actually bending the skin I couldn’t be sure that it wouldn’t go wrong, but at this point it looked like it would be okay and I was worried that “I could make it worse”.
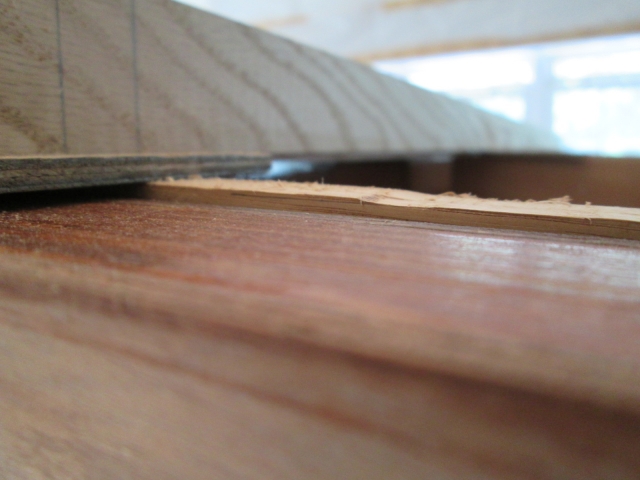
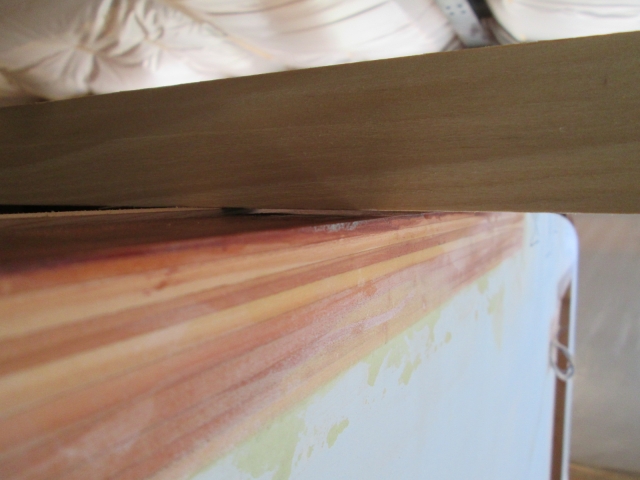
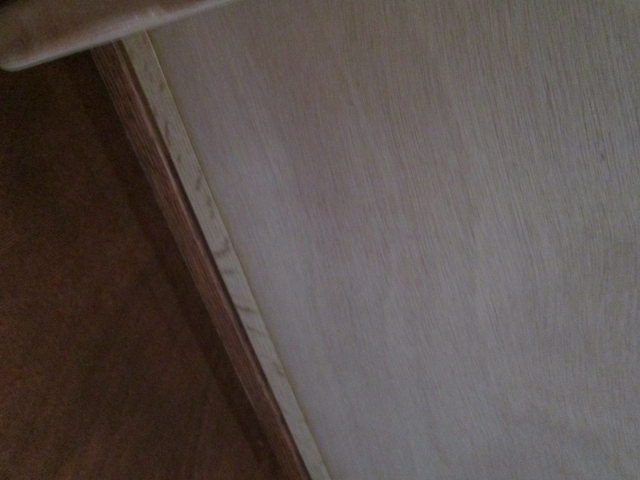
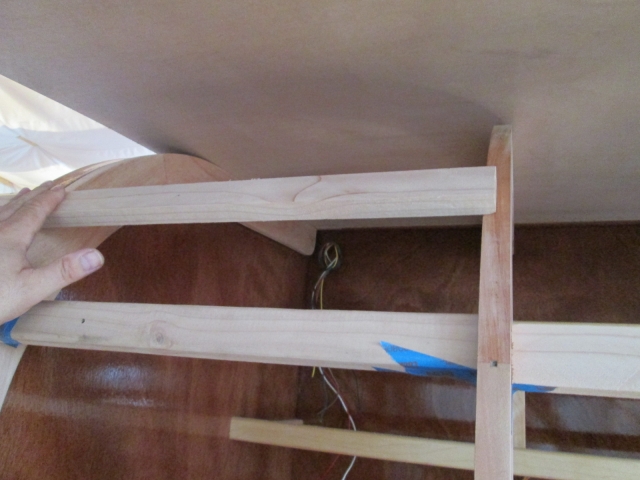
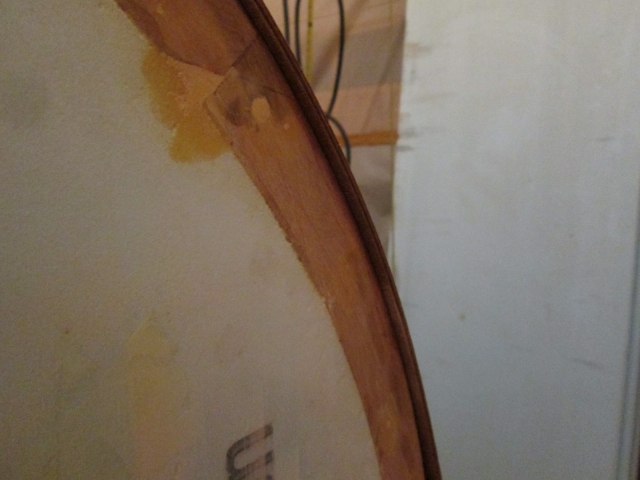
Here’s a pic of what I saw when I peeked up under from the inside. On the left is the shiny surface of the bulkhead; then the narrow strip of stain on the overhanging section of the cabin side hinge spar (no poly yet); then the raw forward portion of the hatch upper hinge spar, then the skin where it butts into the rabbeted edge of the hatch side hinge spar. There is a little yellowing along the edge of the ply, but the joint (dry at this point) is reasonably tight.
At this point I ran the screws back thru the rear of the upper spar back into the ribs, pinning the top of the skin into position.
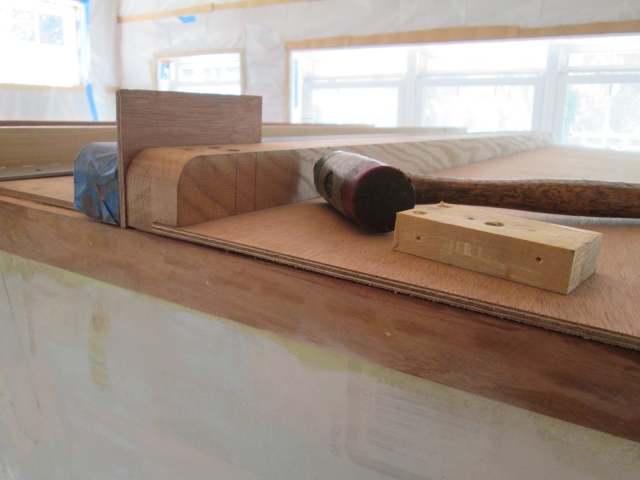
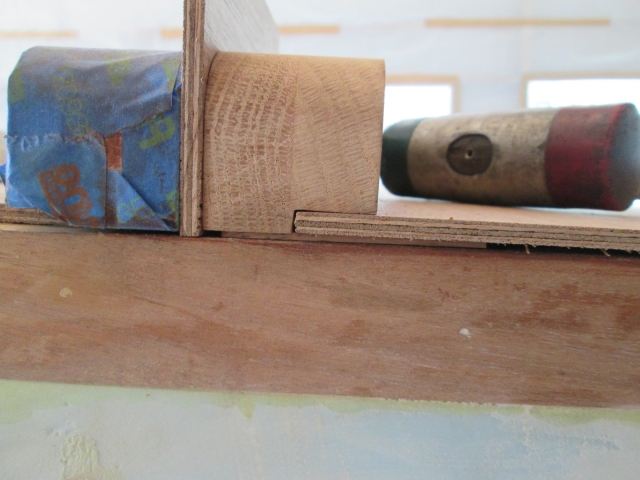
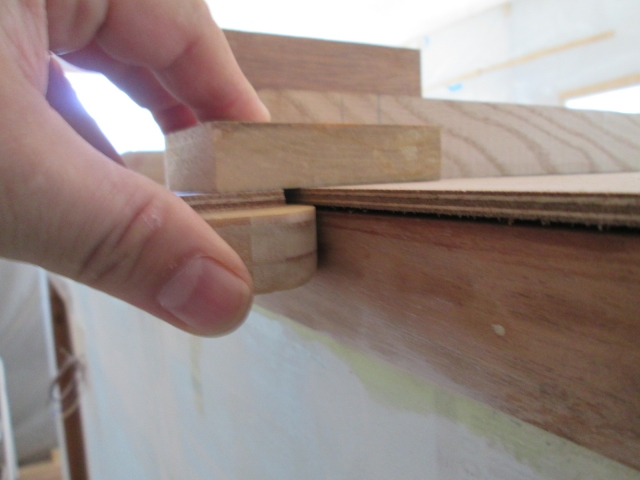
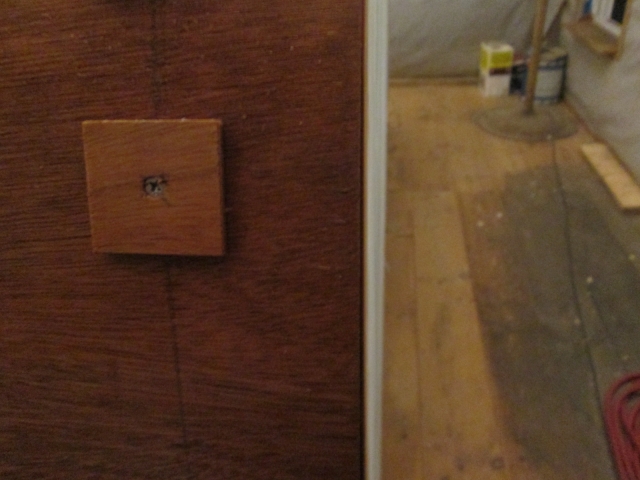
I made a pair of transfer gages to mark a screw line on the outside of the skin at the center of each rib. This is the short gage for the outer pair of ribs. The undercut spacer allows the ‘T’-block to reference the outside surface of the wall without interference from the overhanging skin (later I added a second shim to help deal with the radius edge).

Here’s the longer gage to find the middle pair of ribs, shown first in use.
Then just double checking under the skin to be sure that it is actually finding the middle of the rib.
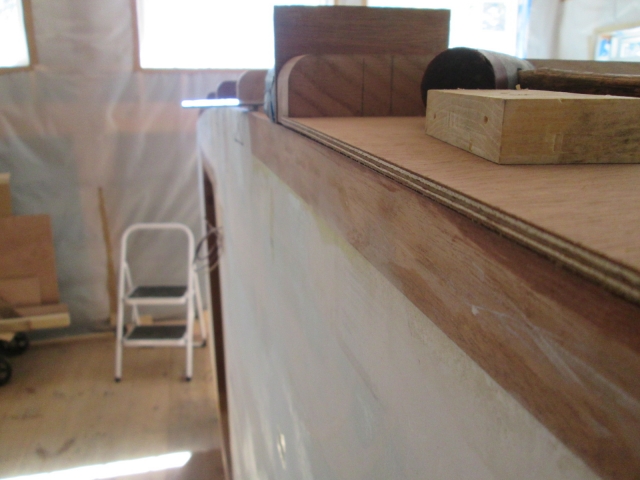
Starting from the top middle working my way out and down, I predrilled each hole using a square cut block as a guide to make sure I was drilling plumb into the ribs. Got a few rows of screws in using temporary wooden washers and checked progress inside.
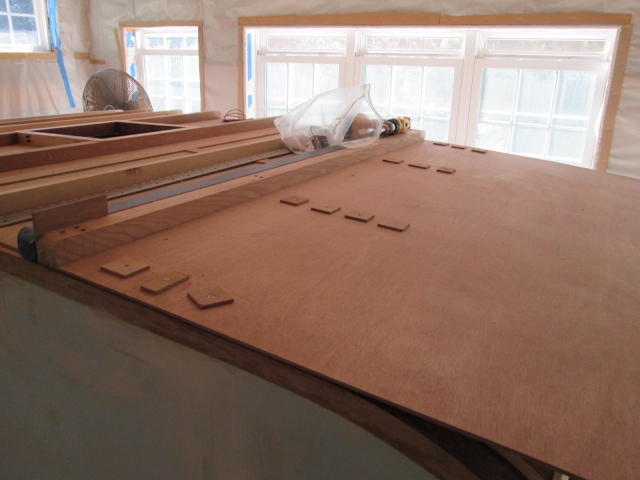
Did a couple more rows of screws before stopping for the day at the top of the tighter radius section.

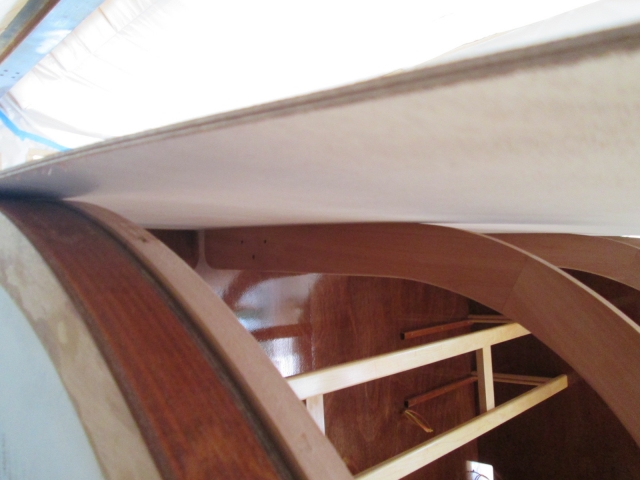
Catching up now, Monday, I soaked the skin down, clamped a board to the tail end, used a couple of ratchet straps (just pulling the straps thru the pawls using friction mostly in the beginning, then using the ratchets a little further on) to get to this point.
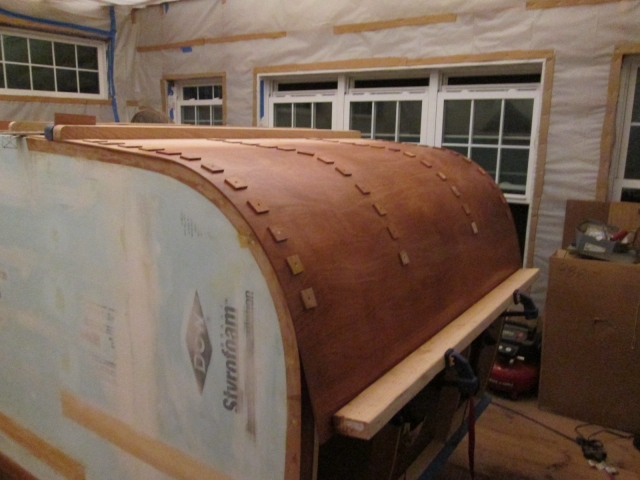
The street side is running out a little further than I had predicted, maybe an 1/8.
While the curb side is just slightly under flush (just a portion of the lighter colored wood seen between the skin and blue foam here).
I could let this go, or I could try to fix it before committing to glue. To fix it I could pull the skin back off, shave a little off the top edge (more on the curb side) to skew it back, then reattach it using a new screw pattern; or I could flip the panel top to bottom, refit it straight and use the same screw holes in the skin (assuming they still line up to the ribs okay), but new pilot holes in the ribs (assuming that the pattern shifts enough to avoid the first set of holes). Mud.
I will wait and decide after I finish screwing it down and see how far off it gets. Remember, this will all get covered with foam and canvas wrapped around the edge, so there is opportunity to fudge it a little or add an edging, plus when I fit the lower skin I can help correct the run out from that point down.
Need to remember to pick up some more 6 x 3/4 FH screws.
All caught up.


 Such a Cool idea ...

