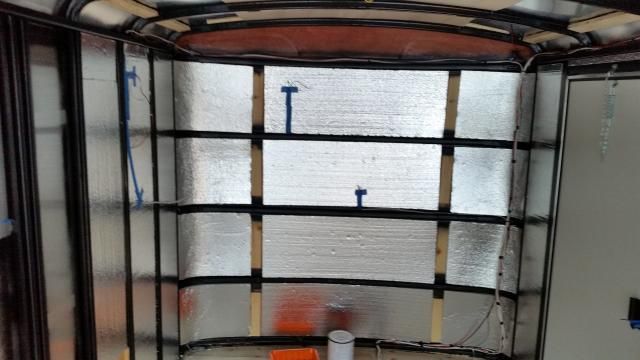
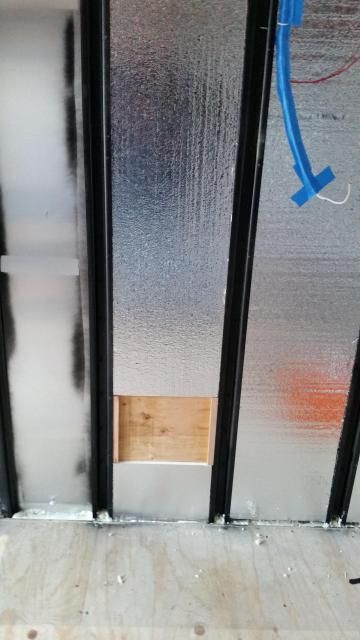
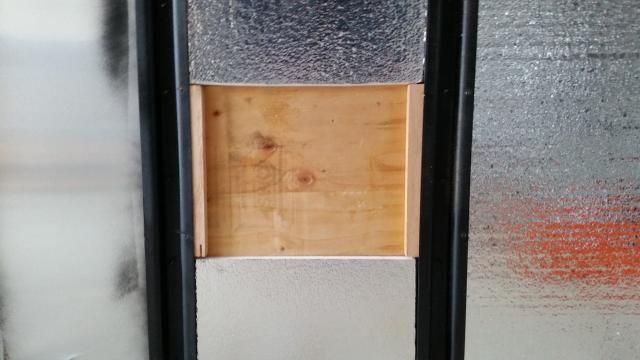
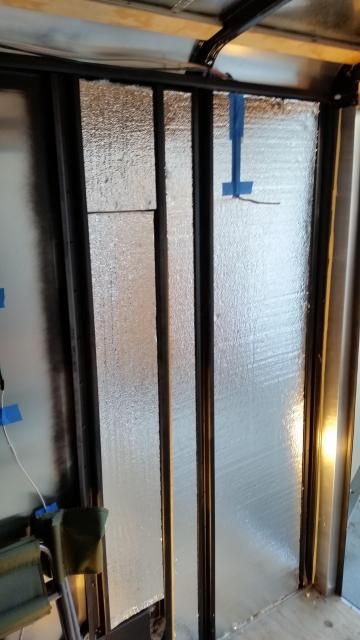
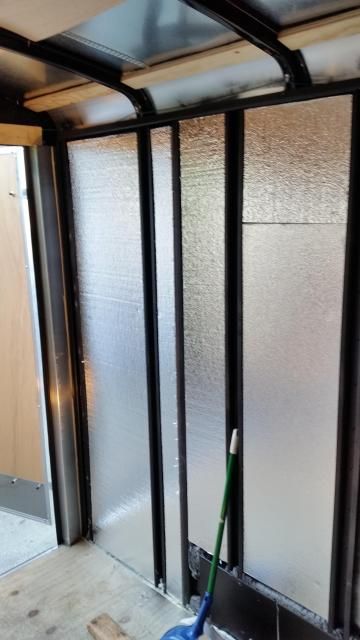
More progress today on the trailer. The last thing I did last night was to glue the wood blocks in place to provide a location to screw the ceiling in place at the rear of the trailer.
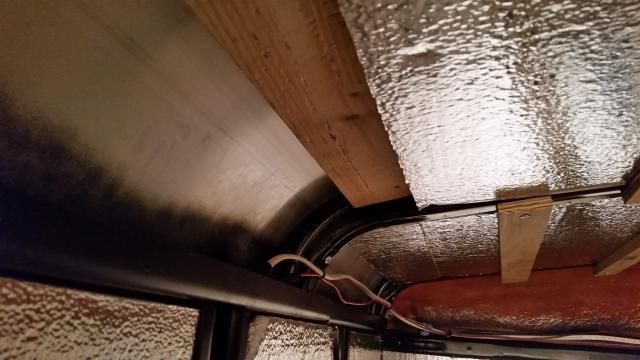
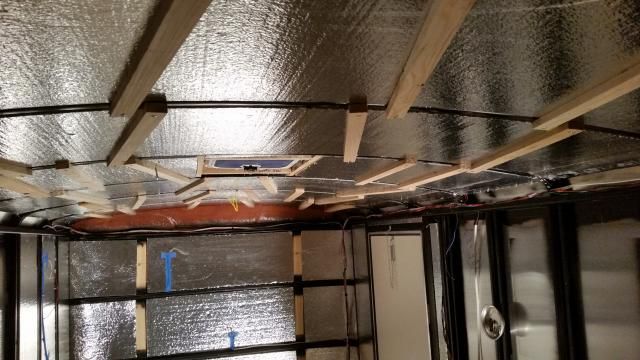
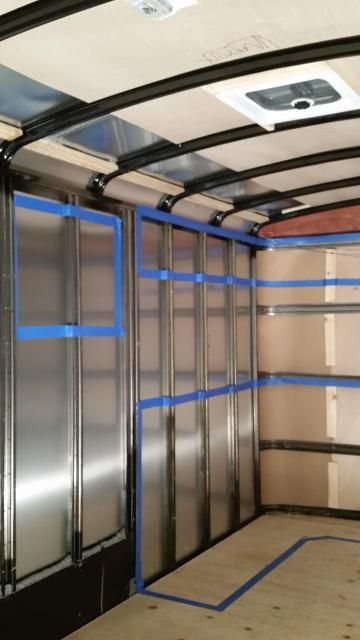
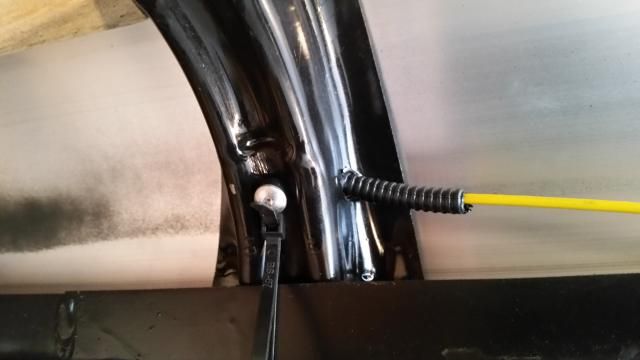
You will notice in the second picture below that my trailer has a round top, and there is a 1x3 piece of wood glued at the corner along the edges from front to back. Using a table saw, I cut my Styrofoam panels just a little longer than the distance between the right and left hand pieces of wood between the metal ceiling ribs. To install, I place each end of the panel on the wood, which cause the panel to curve in a downward arc. I simply pushed the middle up and the arc reversed, holding the panel in place.
To secure to the ceiling, I ran several lines of Foam Adhesive on the back of the panel. The information I found on the internet suggested 10" apart for each line of adhesive, but I decided to go with 6 inches apart for no special reason. After test fitting, I laid the panel on the floor of the trailer to apply the adhesive then snapped in place.
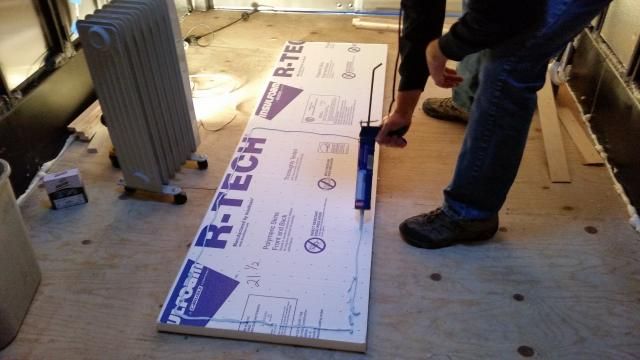
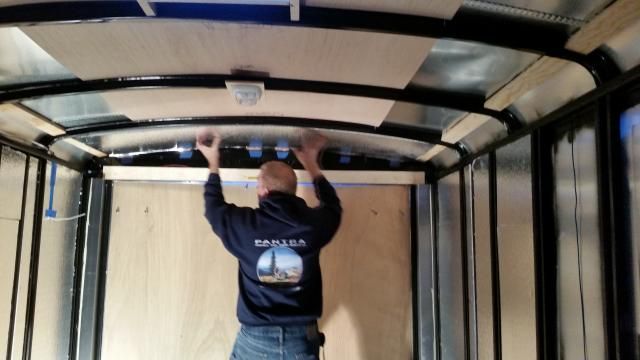
The adhesive instructions suggested clamping while the glue dried, about 24 hours. I had previously cut 1x2 pine into 26 inch lengths, and predrilled holes on 24 inch centers. After a panel snapped in place, I simple attached 4 boards using self tapping screws into the metal ceiling ribs.
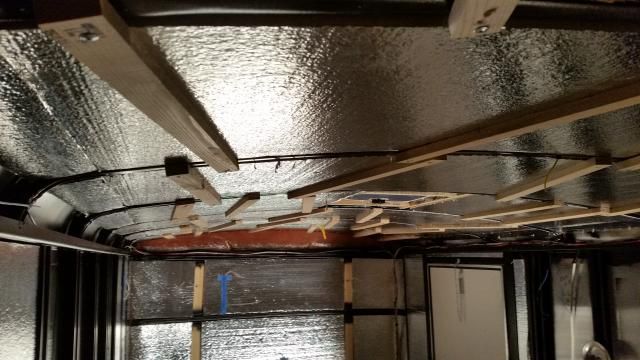
Once all of the Styrofoam panels were in place, I surmised that the edge of each wood ceiling panel was not going to be supported over each 1x3. So, I cut pieces of Styrofoam down to 5/8" thick by 4 inches wide, then glued to the top of each board. Here is a picture of one 5/8" piece in place next to one that has yet to be installed.
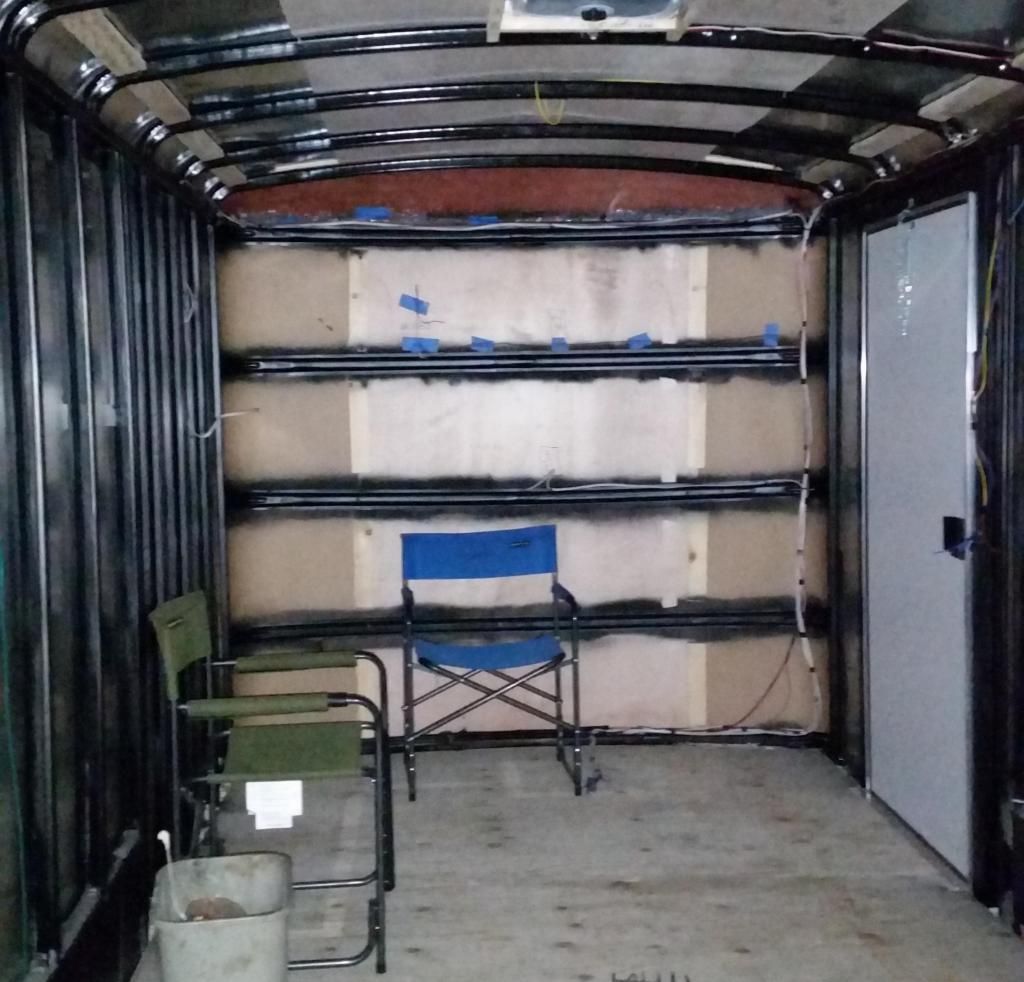
The finished ceiling insulation.
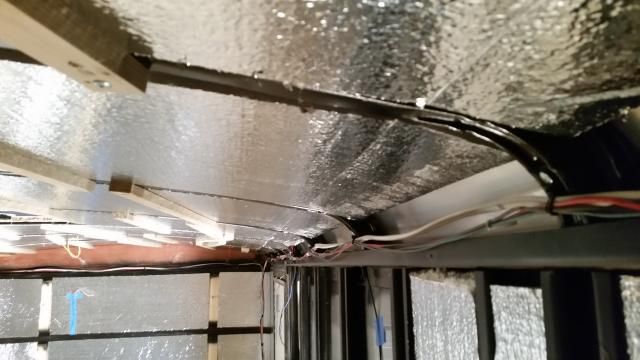
Now, I just need the windows to arrive so I can button up the walls and start the kitchen. While at Home Depot two days after Thanksgiving, we found 7.5x14 garage mat on sale for $100, so grabbed a roll for the floor. My wife and I are having a lot of fun with this build, and it's keeping us busy while it's cold.


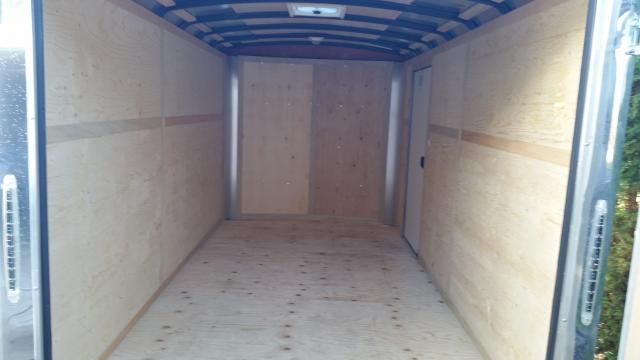

 Good progress on the wiring, following your build.